Electronics experiment box of the 80s

Loading

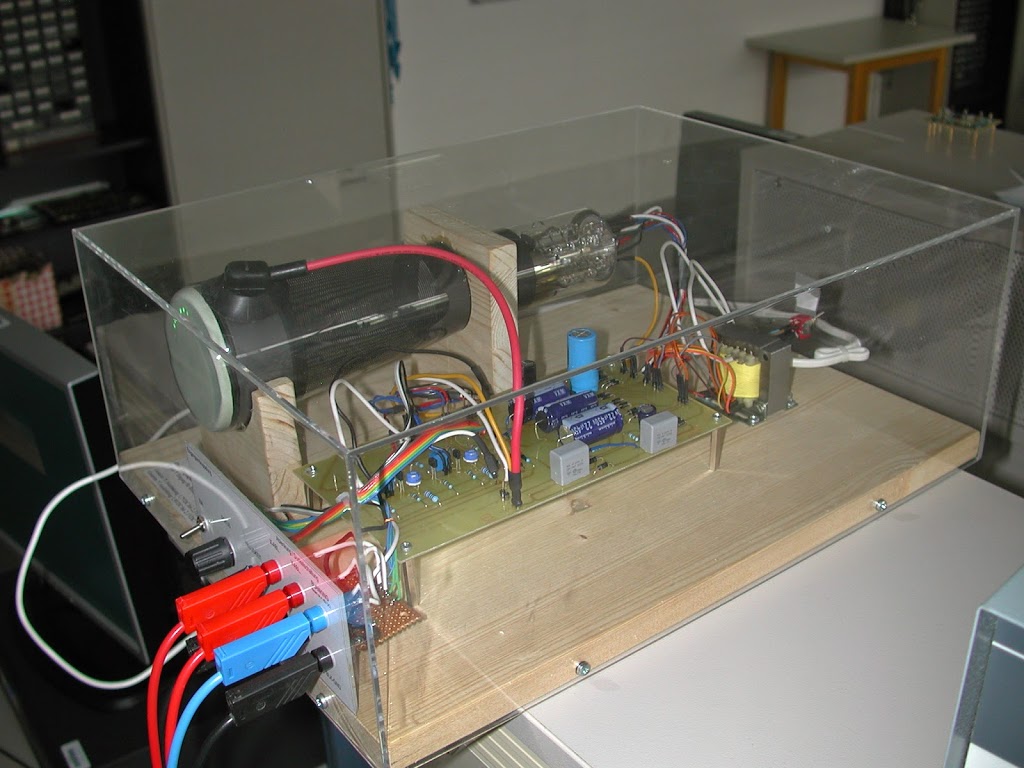
From my youth, these three red boxes came to this article. A relic from the basement of my parents’ house. These are the electronic experiment boxes from Busch. These are the boxes “Compact studio 2060”, the “supplementary package 2061” and the “digital-technik 2075” box.

Busch electronic 2060, 2061 und 2075

The kits are in a relatively good condition, although I’ve made plenty of it as a budding teenager.
The first, so the basic box 2060, I got in the elementary school once for Christmas (must have been so about 1979 – 80), because the predecessor modular system of Philips for lack of knowledge and my urge to experiment unfortunately did not bring the success. (There was one of the transistors quickly broken and nothing worked anymore …) So my parents have looked for a new modular variant, with which I came as an 8-year-old then also coped perfectly. (Of the Philips kits, unfortunately, only fragments and parts of the base plate exist – but I’m currently in the bay looking for a copy of this kit.)
Back to the bush system:

As you can see in the photo, just about all parts are still present. Neatly I have then combined the two boxes 2060 and 2061 to a box. (Unfortunately)

The company Busch advertised at that time with the following slogan:
“Experiment without prior knowledge!”

The instruction books were structured in such a way that one quickly came to a sense of achievement and could then also think about the technical background. From the description of the boxes:
The “compact studio” 2060 offers about 40 experiments and circuits, such as: “Electronic mini organ, alarm and rain warning systems, automatic flashing and timer, tone generator and audio amplifier,
Sensor key, voltage tester, remote-controlled electronic relay, siren and room switching, light organ principle circuit. ”
One year later, I got the expansion box 2061. With that, experiments such as radio receivers were possible. From the MW and LW receivers to the FM FM receivers, where the inductors for the oscillating circuits themselves had to be wound (of course strictly according to plan).

Also, the 2061 is in good condition, unfortunately, the plastic retaining clips of the smoked glass plastic cover are broken, so that it rests only on the housing.

Here is now plenty of room for the multitude of experiments. Nicely tidied up, with a media panel with built-in potentiometer, variable capacitor for the receiver tuning stories. The loudspeaker is now also integrated in the housing, as well as a slide switch, a moving coil meter and a 5-pin diode socket. (That was a standard for audio connectors at the time).


Again, I tinkered in my childlike carelessness and integrated the LED and a 3.5mm and a 2.5mm jack into the control panel. Unfortunately, this does not look very professional and destroys the originality of the kit.

Another step was the entry into digital technology with the box 2075.
Here experiments such as: a 1-bit memory memory, counters with 7-segment LED display, random generators, etc. are built.

The power supply was provided for all experiment boxes with a 9V block battery. As an option, Busch also offered a power supply unit at that time.

2.5 inches earlier and today

Loading

Before it lands in the archive, I have to put it here too …
It is a hard drive from the 90s (exactly 21.10.1991) – namely a 2.5 inch disk from Seagate with the incredible storage capacity of 85.3 MB (yes MEGABYTE). In comparison, a 160 GB (Gigabyte) disk from Fujitsu in 2007.

The Seagate disc with the designation ST-9096 was installed in a Commodore Amiga 1200. It kept the complete Amiga OS 3.1 including plenty of applications space. At that time you could not get that 85MB so easy.
To the technical data: If you want to format it today, you should know the following parameters: 980 cyl, 10 heads, 17 sectors gives a capacity of 85,299,200 bytes. The HDD has a power consumption of 2W in read / write mode and 1W in idlemode. 300mW still consumes it in sleep mode.
Interesting is perhaps even the size comparison to current records.
 
The interface complies with the IDE standard (Integrated Drive Electronics).
Größenvergleich
 /- 44-pin I/O Connector (* see below)
                                      |                     o o
                                    ::::::::::::o::::::::1  o o
                               =P=W=A===========#==================
                                                |           | |
       pin-20 removed for keying ---------------/           | |
                                                            | |
                                                            | |
 Drive is Master, no Slave drive present ------------------ 0 0
 Drive is Master, Seagate Slave drive present ------------- 1 0
 Drive is Slave to another ST9xxxA/ST9xxxA Master --------- 0 1
 Reserved Position (Do Not Use) --------------------------- 1 1

 * Drive uses +5vdc power supplied to the drive
   via the interface connector. The drive does
   NOT make use of a +12vdc power line.
   pin-41  +5vdc (Logic)
   pin-42  +5vdc (Motor)
   pin-43  Ground
   pin-44  Reserved

something for the home network

Loading

I recently updated my home network a bit and swapped the old Netgear ReadyNAS Duo for a QNAP TS420. Since the supplier wanted to have a “rating” on the article, I indulged myself in the five minutes and wrote a few lines …


I opted for Qnap based on a recommendation from an IT colleague and because I was also looking for a new, more powerful NAS that also supports WakeOnLan.
The NAS server should be able to be remotely powered up from the road. But this only works if the mains voltage of the NAS is not interrupted in the switched-off state (for example, by a Lan-controlled power strip). Furthermore, the router must support the forwarding of the MagicPacket.

A great feature of QNAP is TV streaming to the home network. You can plug a DVBT stick to one of the three USB sockets and then install a small tool on the NAS.
The Terratec Cinergy Piranha is NOT supported.


Unfortunately, very few DVBT sticks are compatible and recognized. So if you want to use this feature: Be sure to see the website for the compatible sticks. Of the APPs that can be installed on the QNAP, there’s plenty of … OwnCloud, all sorts of webapps and servers, downloaders … Everything is available on network protocols. There is also a quota management for each share or each user.


To the noise: The noise-volume of the NAS depends only on the volume and especially the temperature of the hard disks used. Here I would recommend to use only real server disks, otherwise the SMART status of the disks will quickly display an “ATTENTION” or “WARNING”.

A problem that occurs every now and then: After booting, sometimes the web service will not start and the NAS will not be accessible through the browser. The shares are always there. However, a reboot always fixes the problem. (at least until now 🙂 A future firmware update should fix the problem. (meanwhile this problem is solved due to updates 2015)

It is time…

Loading

Slowly, it is time to archive all the tech stuff you have to deal with on a daily basis and always had to do before, in a blog. Above all, when I’m in my parents’ house, I always find interesting things from my childhood and adolescence …
And since you are always on the move with a mobile office (ie a smartphone) anyway, you can try to capture these things … let’s see how far that works. The information here on the blog merely represents an ‘archival’ of small projects and events I’ve dealt with over time.
Remark: This is NOT a scientifically edited blog.

Incidentally, the picture here shows a small project with an old oscilloscope tube (Braun tube), which I wanted to bring back to life … more information will be available later.