
![]()
Little by little, I am bringing many of my smarthome components to a common standard. I have decided to bring all devices together via a NodeRed server. The HomeMatic system also communicates with NodeRed. Among other things, I also transfer the measured values of the EVU meter (I have a Siemens IM350 smart meter installed) to the HomeMatic CCU. This is done as mentioned in an earlier post, via the LED pulse interface (1000 pulses/kWh). For this purpose, a phototransistor is simply attached above the LED on the meter, which detects the flashing pulses of the LED and converts them into the instantaneous power in the meter sensor transmitter unit HM-ES-TX-WM and integrates them over time and then sends the data on to the CCU. This works quite well in itself. Only the update rate (in the minute range) is too long for me. Also, the phototransistor seems to react again and again to the stray light of the neighboring LED (which displays the reactive power in 1000 pulses/kvarh). This causes discrepancies between the count via the HomeMatic sensor and the values read directly from the meter.
 This is definitely more accurate. If you look at the IM350 Smartmeter meter in detail, or read through the manual, you will quickly see that it has a so-called “customer interface”. This customer interface provides some measurement data via a galvanically isolated data line every second. This includes, among others, the momentary active power in both directions, as well as the meter readings of active and reactive power in the reference and feed-in direction. So perfect starting conditions to replace the HomeMatic meter sensor with my own design. After a little Internet research, I quickly realized that I am not the only one who deals with exactly this issue. The data of the customer interface tumbles out after request over a data request line with a speed of 115kbaud. However, they are encrypted, and not directly readable. To obtain the 16-byte decryption key, the utility must be consulted. The key is tied to the smart meter serial number and is unique to each smart meter. After some phone calls with my Carinthian energy provider, the key code was sent to me by mail. In the next step I tested with a USB-UART adapter on a PC, if data really come out of the meter when the interface is wired correctly. For this I crimped a RJ11 connector to a suitable 6pin cable and wired the open end of the cable according to the datasheet of the meter. Not much is needed for this. A 5V supply must activate the interface, likewise the Data Request line must be switched to 5V and already the data packets are available at the Data Out line. By the way, it also works with a 3V3 supply. With a terminal program on the PC (I usually use putty or hterm) you can visualize the encrypted data.
Now it was time to think about how to decode and process the data. For this, one finds two approaches with net:
* via a RaspberryPi, with a Python environment and a Python script. The scripts here take over the reception and decryption of the data and then make them available for further processing in different ways
* via an ESP32. The ESP is also able to decode a 128Bit AES encryption and still has plenty of resources to process the data and send it via WiFi. Furthermore, an ESP is available in sufficient quantities for little money. So I decided to use this solution. There is an open source project on GitHub from the user https://github.com/Andre-Schuiki/esphome_im350 in which he provides an ESP32 IM350 decoder as a basis for own projects. With his sources you get a decoder that reads the meter data every second and outputs it via the USB UART programming interface and also via Telnet over WiFi. I used this source as a basis.
My goal is to put the data obtained from the smart meter into MQTT messages and send them to my MQTT broker. From there it is then a simple matter to get them into NodeRed and the HomeMatic CCU and store them there. So I adapted the code. This involved setting the wifi connection to the router to a static IP. (are to be defined in settings.h). The readout readings, as well as the RSSI of the wifi connection, are now provided via MQTT Topics. (the IP address to the broker is also to be defined in settings.h). If you compile the code now and run it on the ESP, then it should log into the respective network. As long as the ESP is still connected to a PC, you can check what it is doing via the programming interface and a terminal. If you now connect the RJ11 plug to the customer interface of the meter, the triangle above the label “KU” should flash in the display of the meter every second. If this happens, the measured values should already be displayed in the terminal (provided that you have not forgotten to enter the KEY from the utility in secrets.h). If this also works, then a look at the MQTT broker (with e.g.: MQTT Explorer) makes sure that the messages arrive. Now the ESP can be removed from the PC.
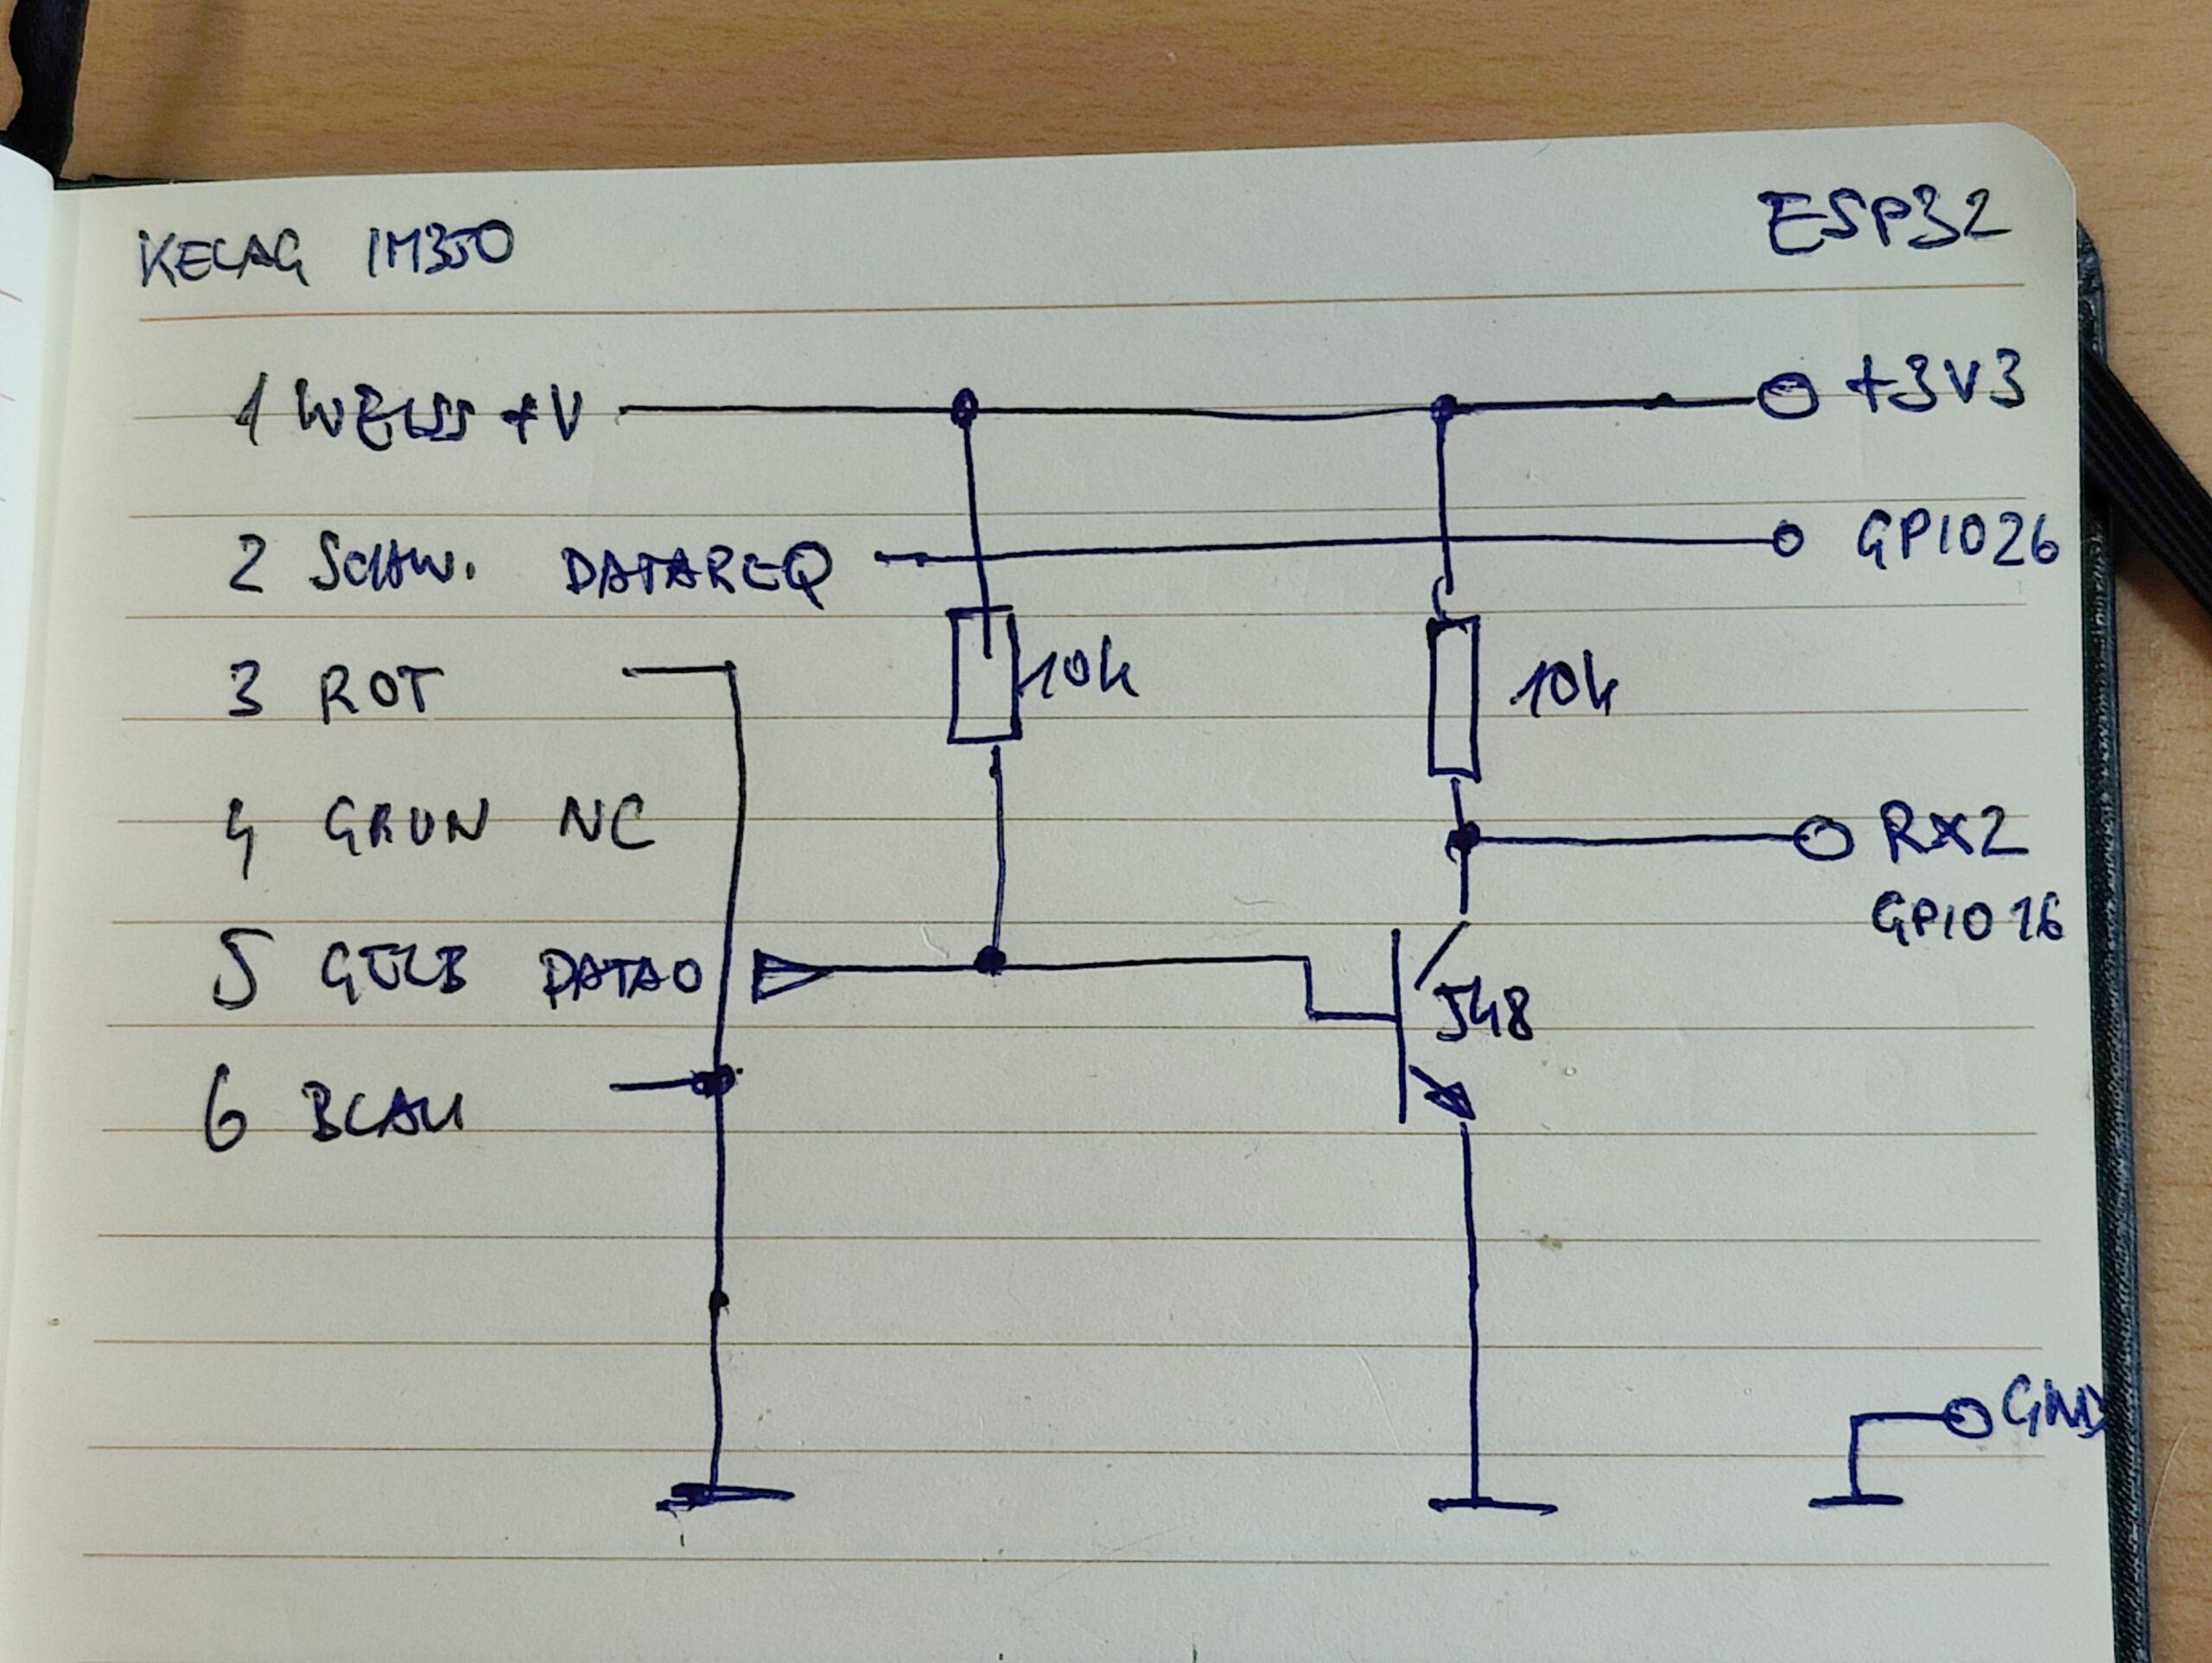
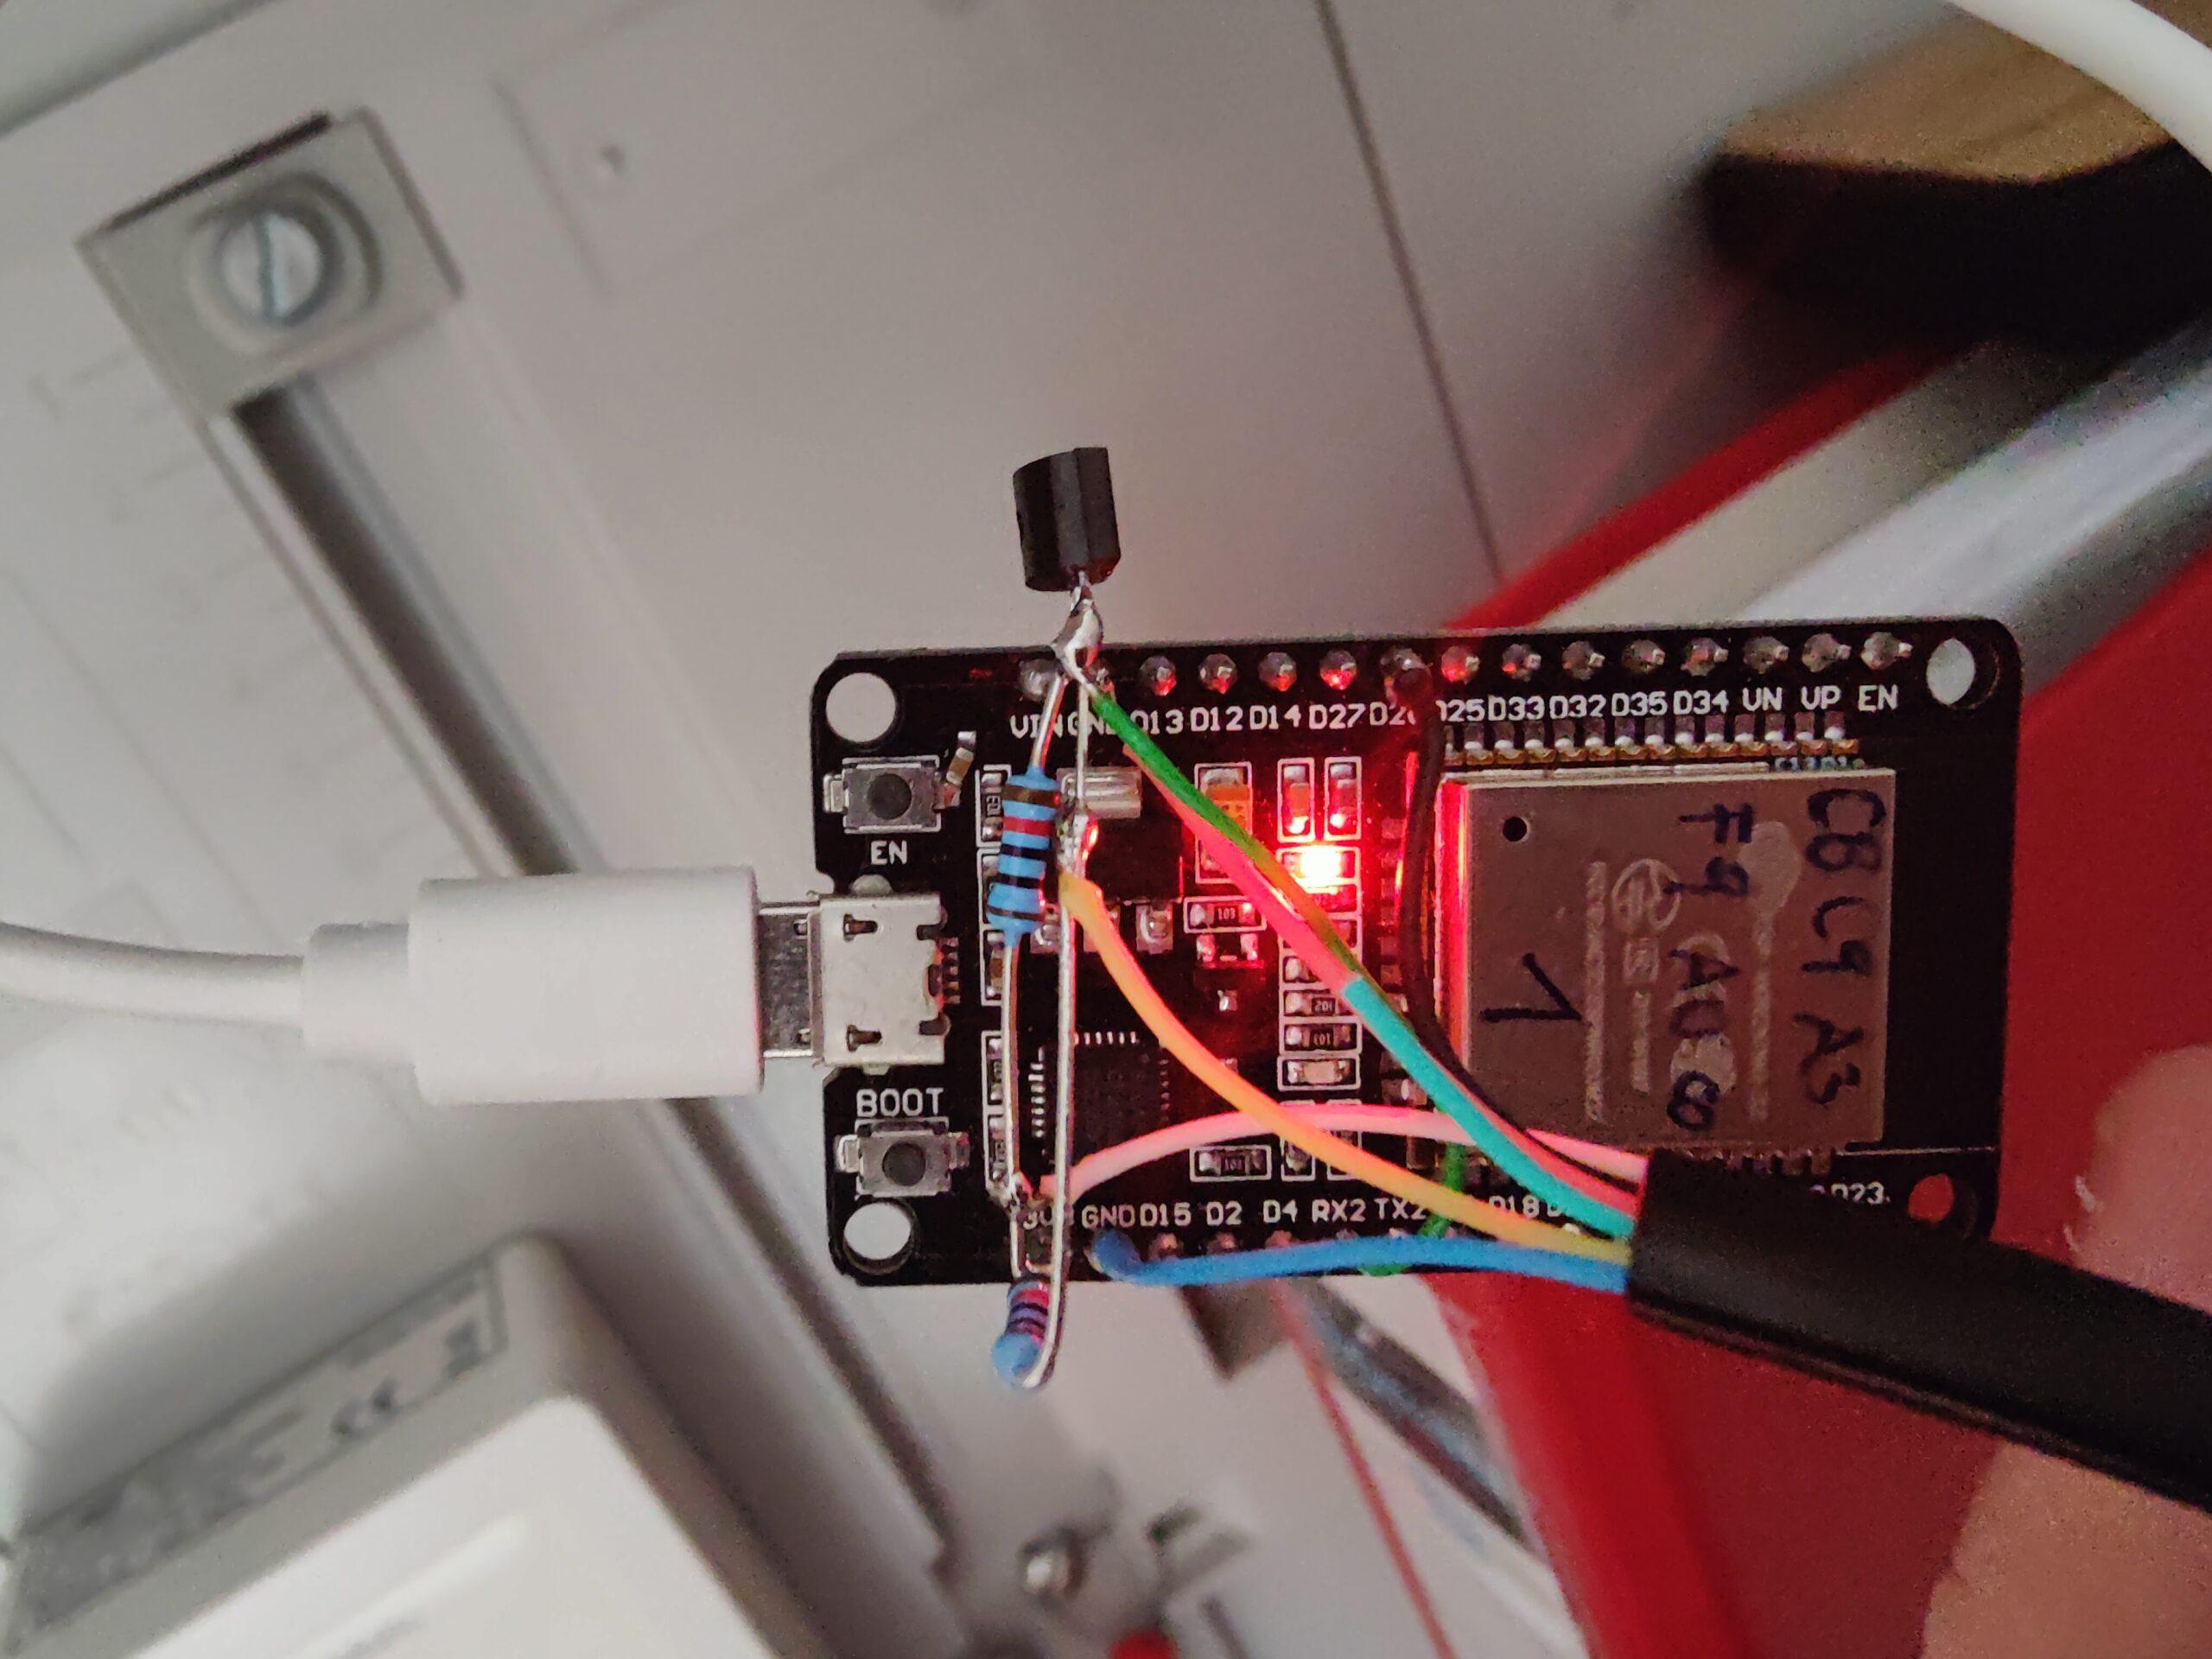
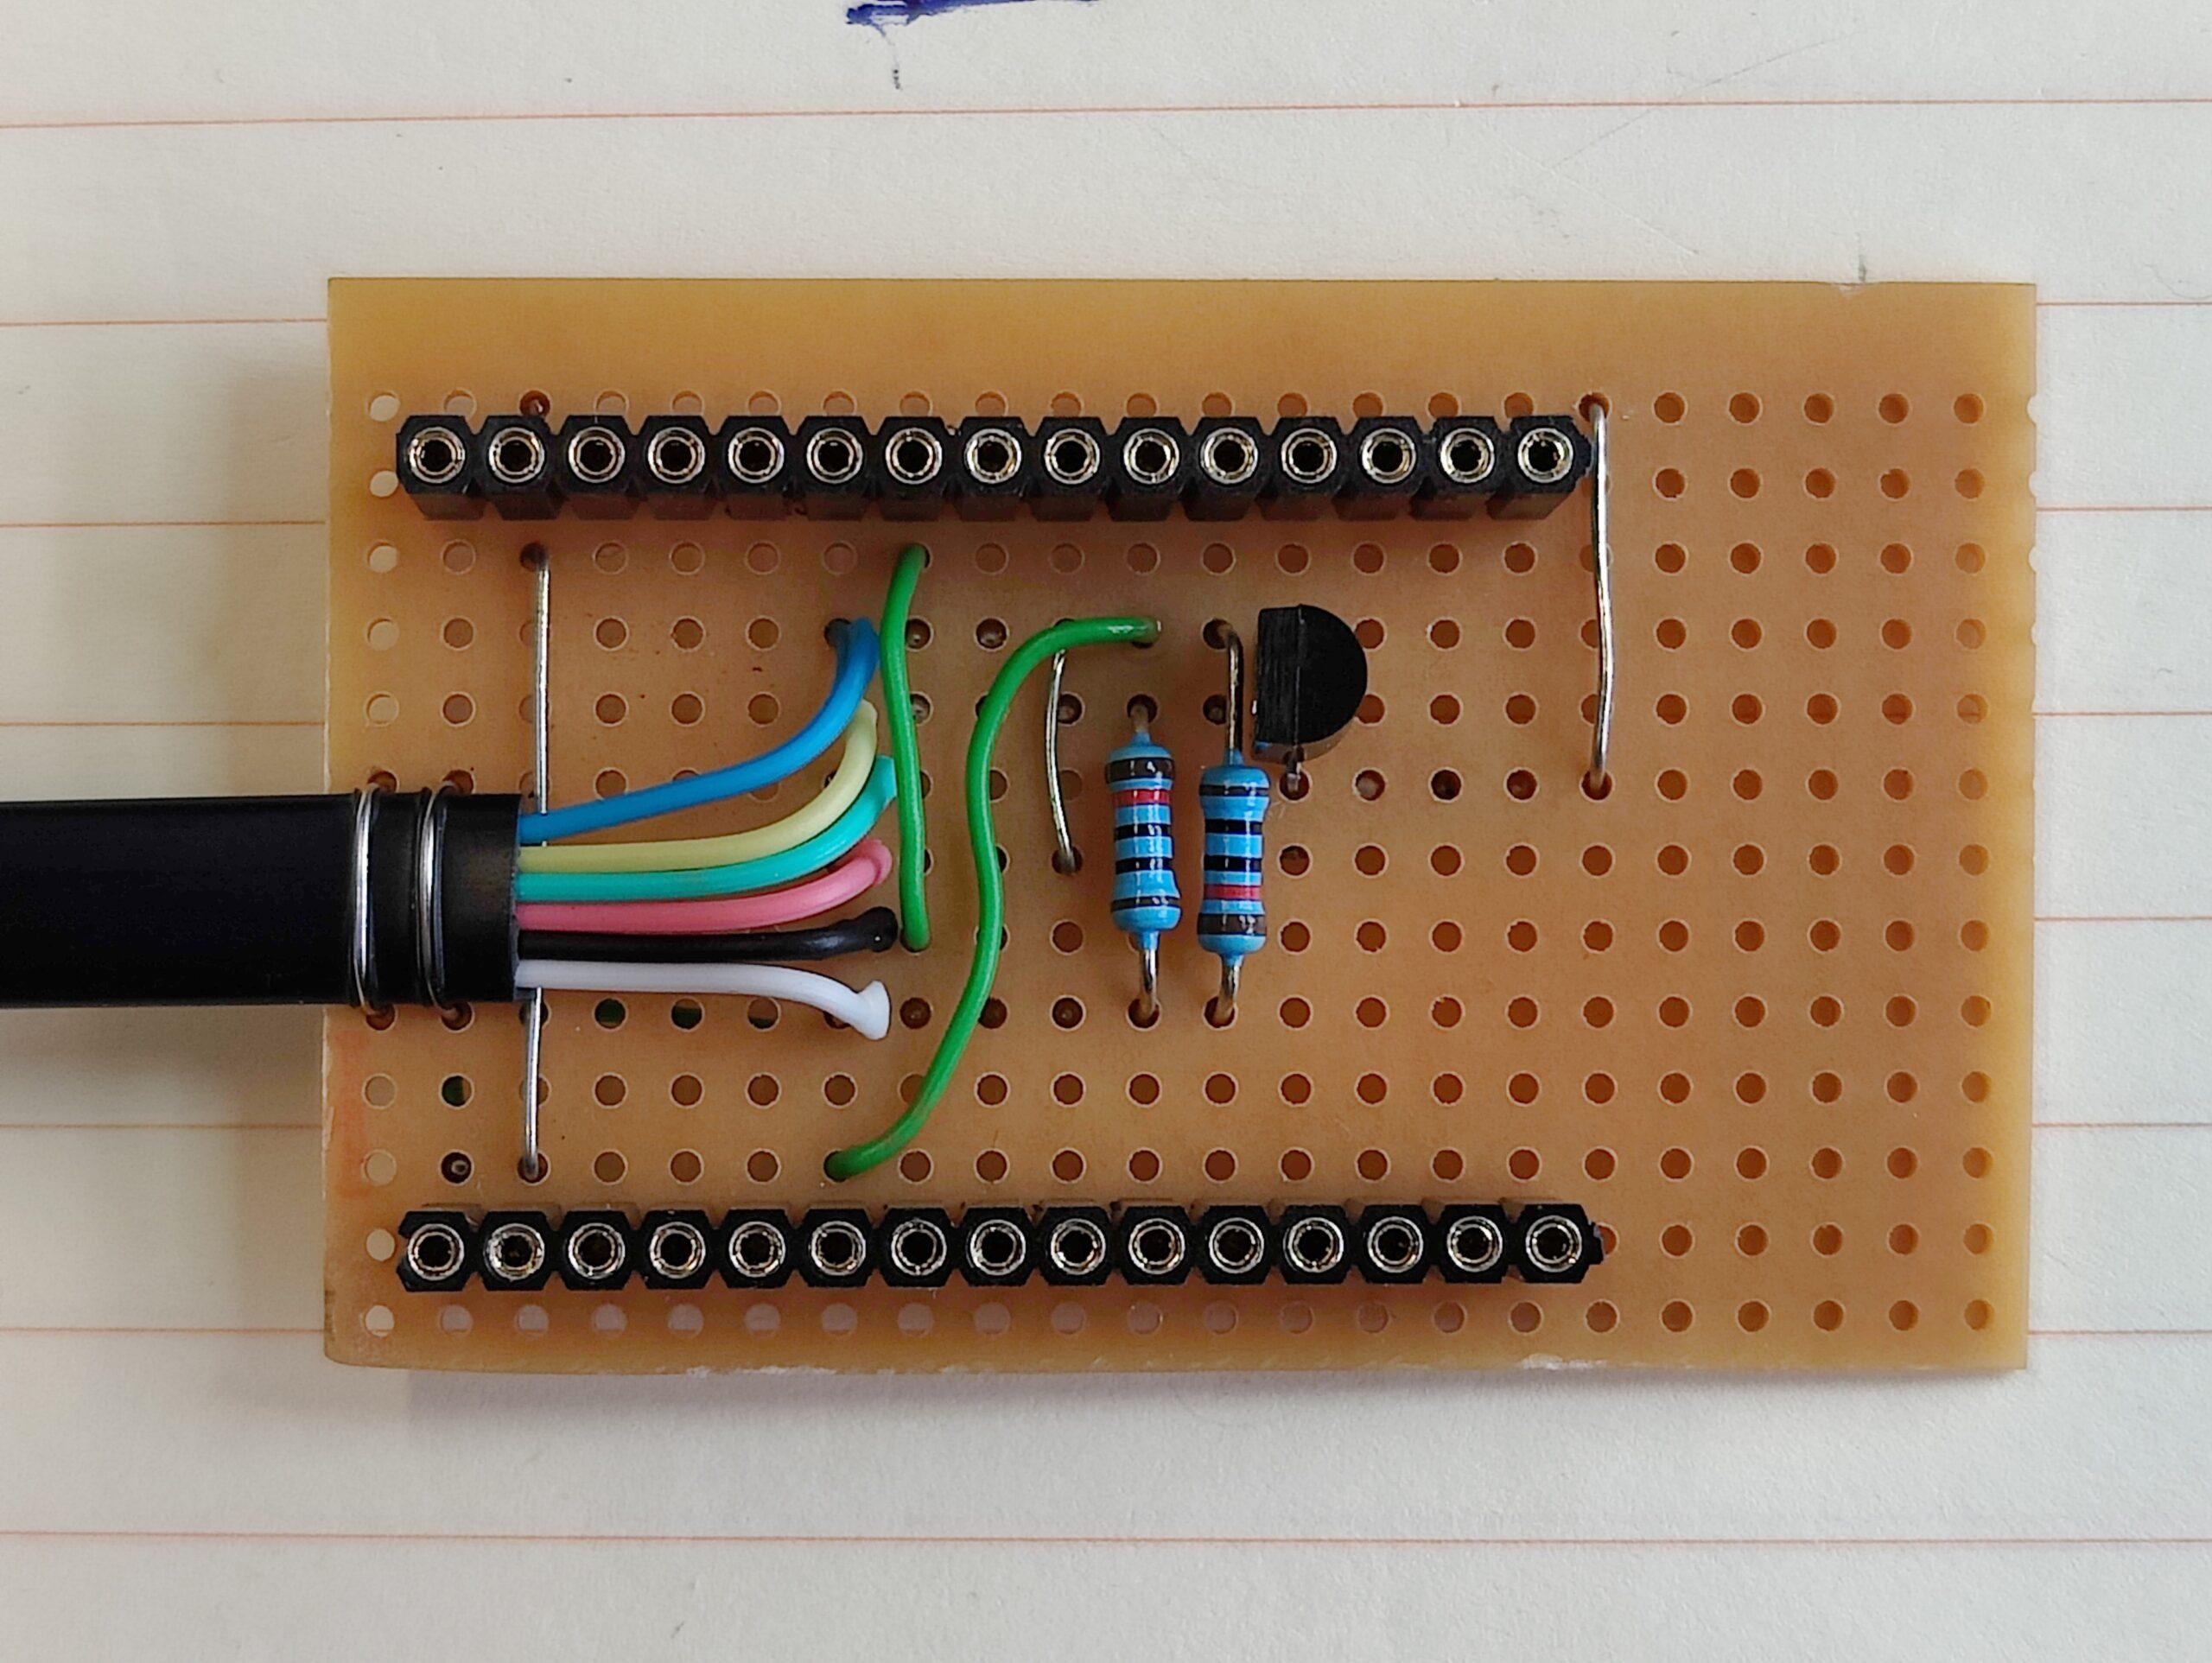 I chose a very simple solution and mounted the ESP on a breadboard. The 6pin cable to the smartmeter is soldered there. On the breadboard there is room for the pull-up resistors and a NPN transistor (BC547 etc.) for inverting the data pulses. I put the board in a small plastic box, which is now only connected with a cable to the customer interface and with a USB cable to a USB power supply.
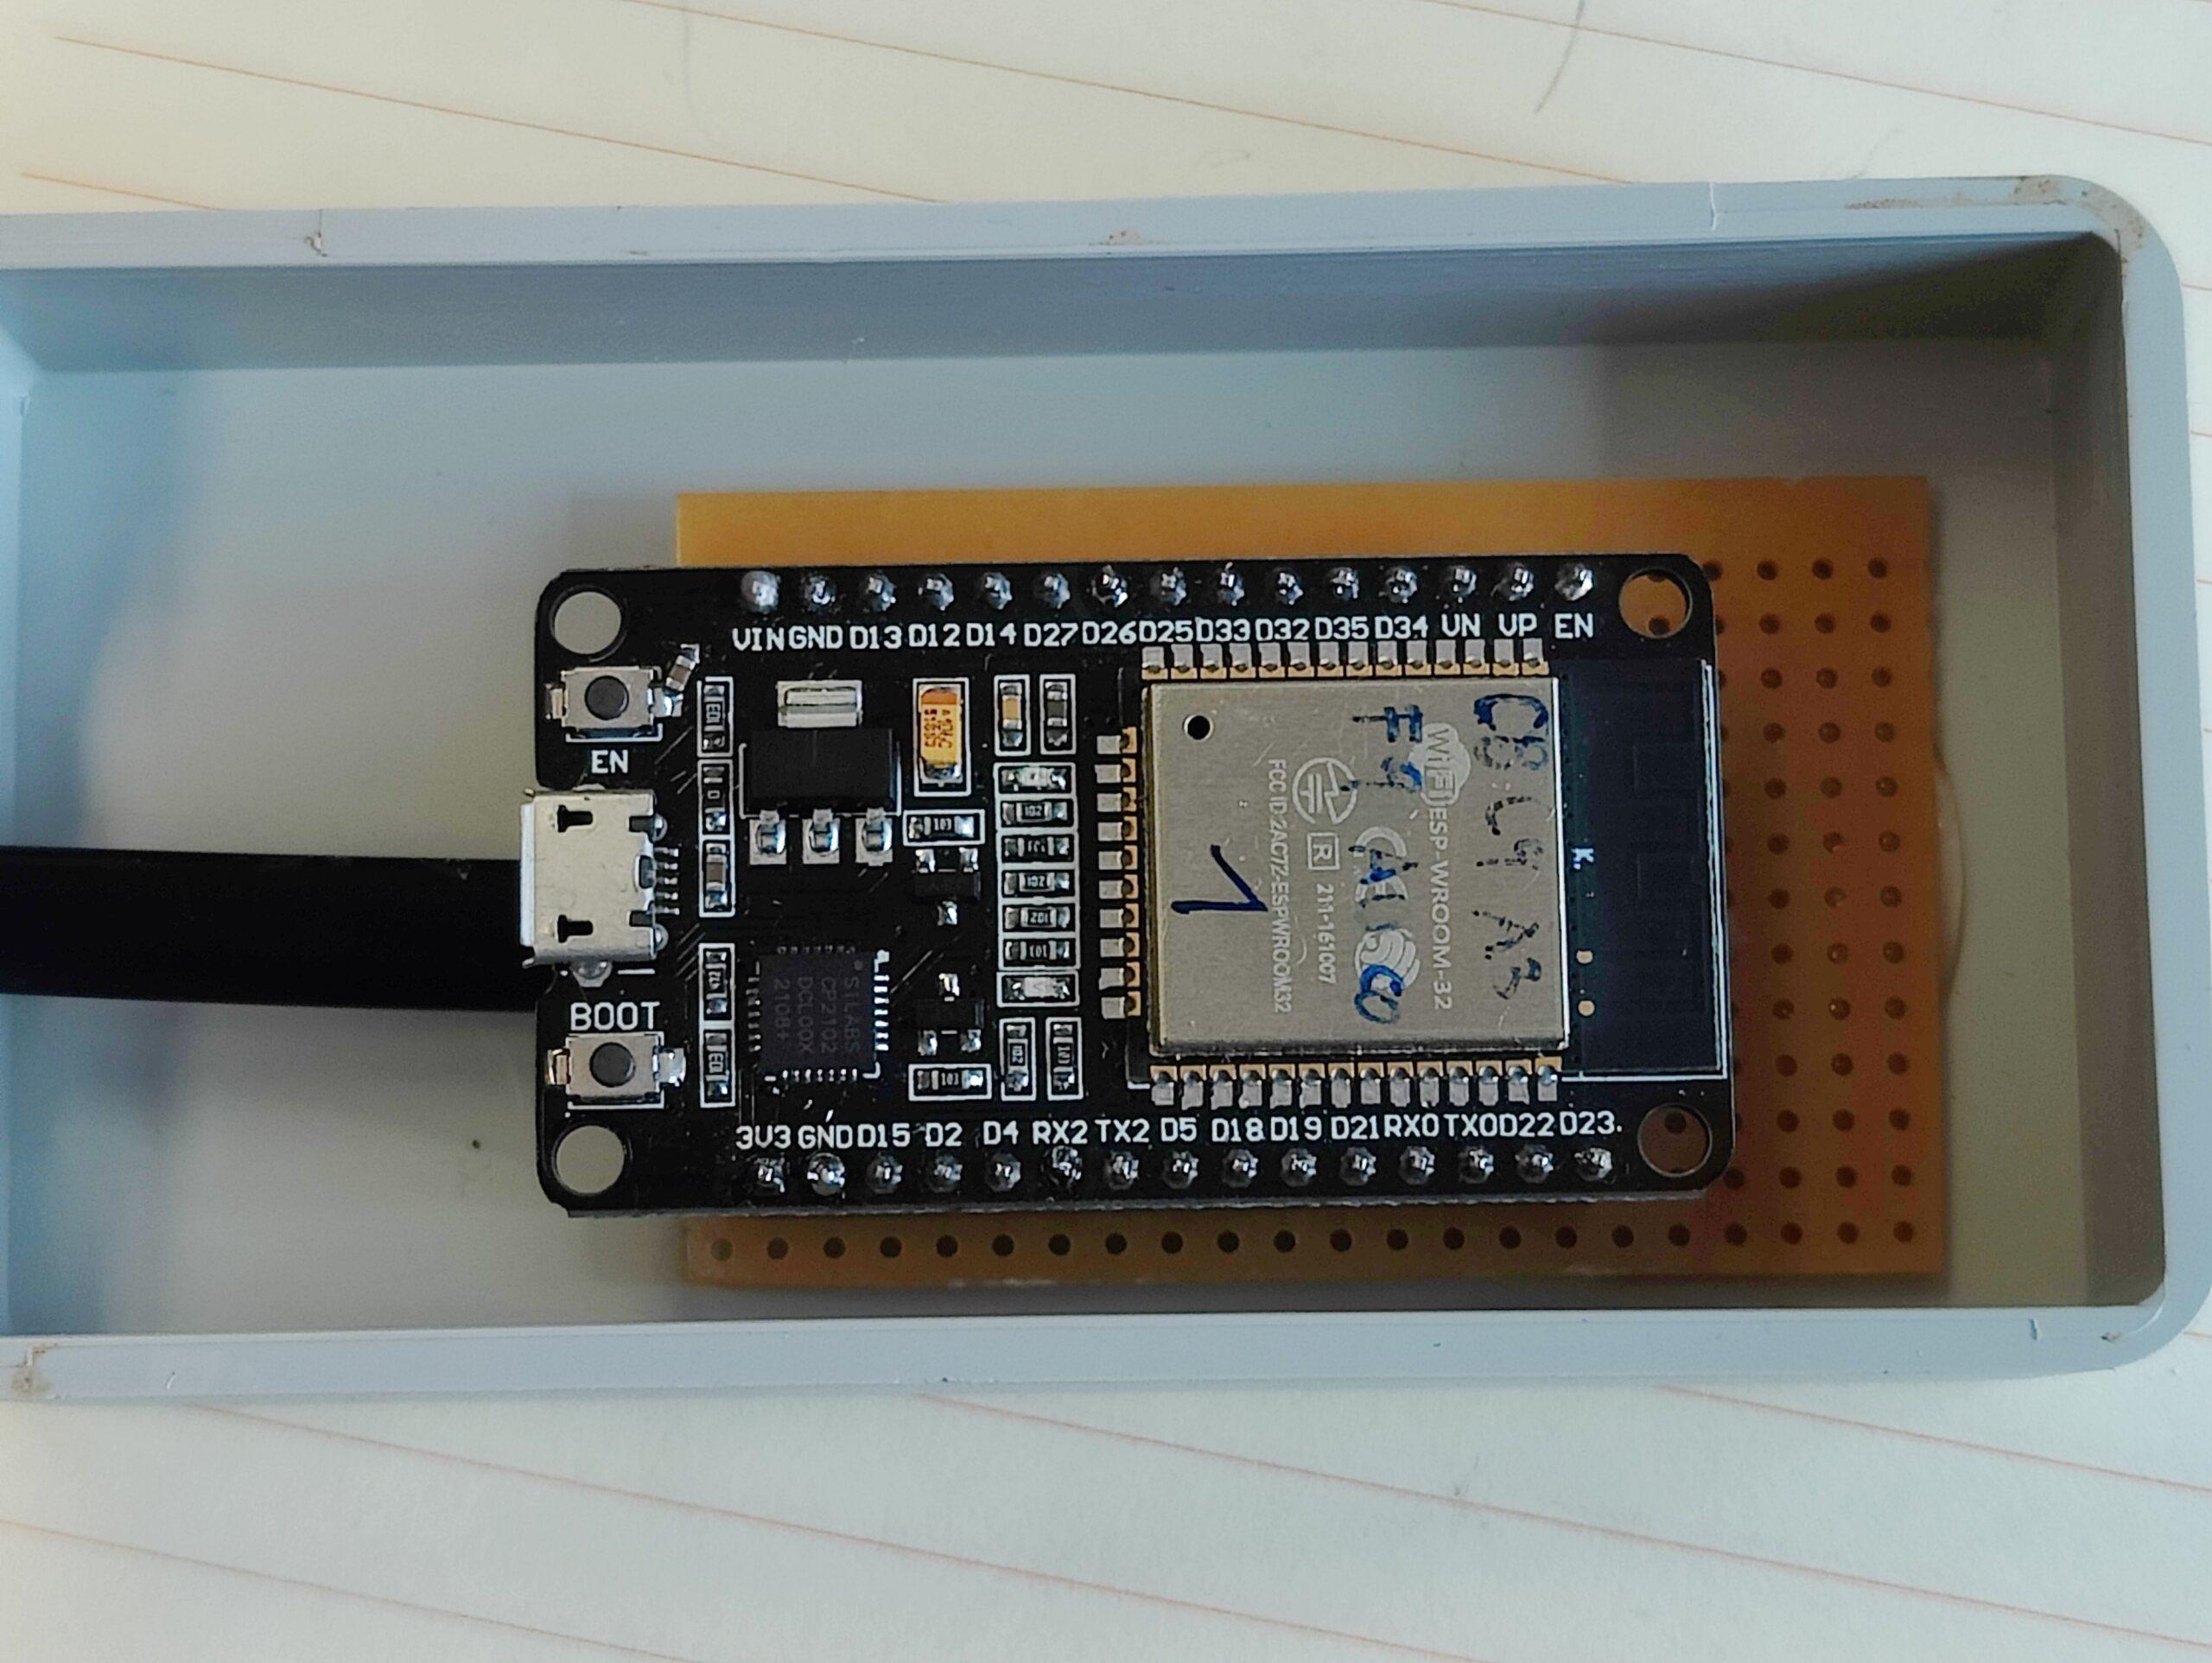
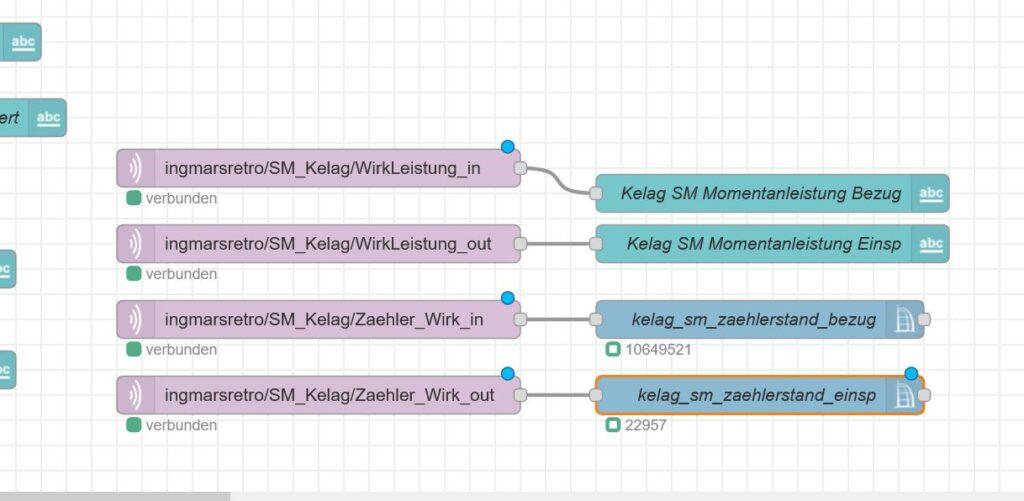
The finished structure then (or currently) looks like this. The data ends up in the MQTT broker and NodeRed visualizes it and sends it to the HomeMatic CCU.

if someone is interested in the customized scripts, I can send them to you. Regarding a publication on GitHub, I have to find out first which license conditions have to be fulfilled concerning the original repository. It will then be available here (public):
https://github.com/ingmarsretro/esphome_im350/tree/main/standalone_version_mqtt