![]()
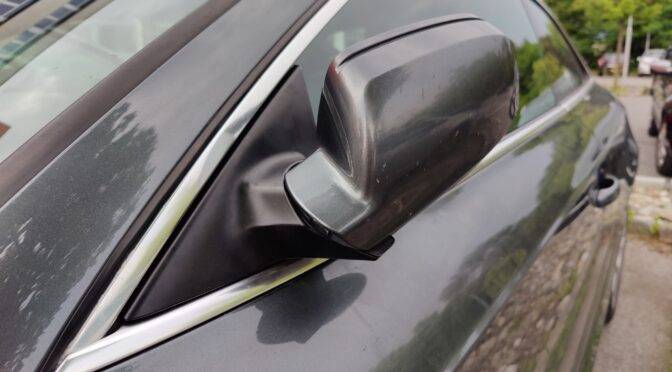
I hear and read more and more often about electrically folding exterior mirrors that no longer work properly on vehicles from the German manufacturer with the four rings. The problem occurs with many models that have been in service for a few years and are operated in our local climate. In Internet forums you will find some users who know this problem. Also in my circle of acquaintances there are a few rings drivers who have a stuck electric exterior mirror. As a solution, the manufacturer always recommends replacing the entire unit. If you don’t want to spend your savings pointlessly on newly produced residual waste, you can take on this problem yourself. There is even a fairly small cause that causes this problem. And best of all – it can be repaired without any material costs. The longevity of the repair has also been proven…
The error manifests itself through the following behavior:
- the mirror makes squeaking, creaking noises when folding in and out
- the mirror stays in the wrong position and can only be engaged by moving it manually
- the folding behavior depends on the weather
There are many posts about this with possible causes – from defective motors and defective door control units. The best thing to do would be to replace the mirror unit right away and get a new door control unit – yes, of course…
The solution to the problem is simpler: a small steel bolt that is supposed to be pushed out by a small spring gets stuck in its guide. The mechanical part of the mirror is of course also exposed to the environmental conditions and so the area comes into contact with rain, splash water – in winter salt water. Over time, the lubricants lose their properties or are even washed out and the whole “work” becomes stiff. So what helps? Completely disassemble, clean, re-lubricate and reassemble.
For this almost one and a half hour operation, I started by removing the mirror from the door and examining it in the cozy workshop. The easiest way to do this is to remove the inner lining of the door (depending on the vehicle, a few screws and many clips…) The mirror is then connected to the door control unit with a cable and secured with Torx screws.
The easiest way to click out the mirror glass is to use a plate lifter (suction cup). Then carefully – if present – pull off the two flat plugs from the mirror heating (it is essential to hold the contacts on the heating foil against). Next, both plastic halves of the mirror housing can be removed. A little observation helps here, which screws to remove and how the halves are held together.
Now the core of the mirror is there. The two die-cast parts are connected to each other via a hollow axle. The connection cable to the mirror adjustment drive and to the heater runs through the axle. A large steel spring sits above the axle and is attached with a spacer and a clamping ring (I don’t know if that’s the correct term). The spring exerts a fair amount of pressure between the two parts – and this is now the only slightly trickier part – the spring has to come out. To do this, the clamping ring must be levered out while the spring is held under tension. It comes out easily – but putting it back in becomes a challenge if you don’t have the right tools.
The already relaxed spring can be seen in the picture. Now the two parts can be taken apart.
Here the parts are to be recognized in disassembled form. In order to reach the Corpus Delicti, the small gearbox with the motor must be unscrewed. Underneath you can see the bolt, which in this case was stuck firmly in its hole so that the spring was no longer able to push it out.


The procedure is quite simple – clean everything, remove the corrosion and re-grease with lubricants. After that reassemble everything rejoice. 🙂 Most of the time of the whole job is cleaning.
By the way: the mirror described here comes from an A5…


