![]()
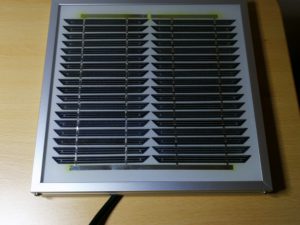
As a mini – craft project for the summertime I call the following tinkering. A small monocrystalline solar module called “SM 6” from a well-known large electronics distributor starting with “C” and ending with “d” plays the main role in the project. The module has a nominal power of 6Wp with a maximum current of 320mA. The rated voltage is 17.3V. The open circuit voltage is 20.8V. The silicon cells are embedded in an EVA (ethylene vinyl acetate) plastic sheet and are UV and moisture resistant. The whole module is about 25cm x 25cm in size. It is thus ideally suited to provide the power to power USB devices. For example, I thought about WIFI IP cams. It should also be possible to charge smartphones or tablets.
In order to be able to do this, the operating voltage of the USB standard (5V) must be generated from the rated voltage of the photovoltaic cell. You could do that easily with a 7805 controller and convert the difference into heat. But this is the least efficient way to get the panel’s energy into a cell phone. Firstly, the internal resistance of the panel depends on the light intensity, which has a major impact on the efficiency of unmatched load resistors. On the other hand, a series regulator is a power shredder, since the difference between input voltage and regulated output voltage is converted into power loss, ie heat, during the flow of current. Here you are better served with a switching converter (buck converter).
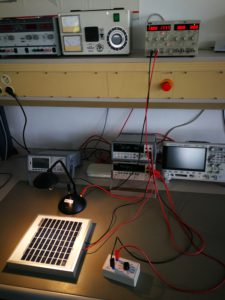
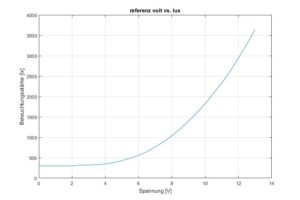
The lamp is placed at a distance of 25cm in the middle of the panel. In order to get a feeling of which illuminance is achieved with the lamp, a reference measurement is taken with a luxmeter. That is, the lamp goes through the power ramp of 0-13V and the lux meter measures the illuminance at a distance of 25cm under the lamp. The whole thing is resolved in 0.5V steps. This results in a curve that looks like this:
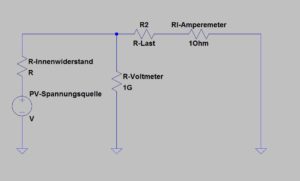
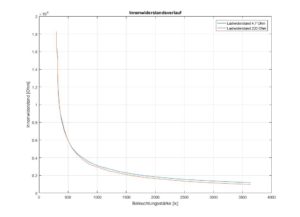
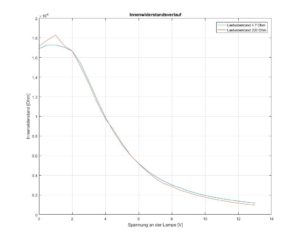
Now the measurement can begin. Resistors are manually connected to the panel as a load resistor and current and voltage are measured at each brightness level. There are eleven load resistance values ranging from 4.7 ohms to 220 ohms connected in sequence. An idle measurement is then of course made without load resistance. The following graph shows the calculated internal resistance for two loads of the panel over the brightness curve of the lamp in lux and in the other graph over the voltage at the lamp (for better scaling). The internal resistance of a source is calculated from the open circuit voltage of the source minus the voltage under load, divided by the current. With the difference between the no-load and load voltage, the voltage drop at the internal resistance is obtained. Since the load is also known as the current, it is only necessary to use Ohm’s law to obtain the resistance value …
Since some clarifications about the behavior of the PV cell have now been eliminated, I can briefly report on the structure of the voltage converter. As previously announced, a switching converter is the more efficient way to adapt the energy to the consumer. Here comes an LM2596S used. The LM 2596 is a “Simple Switcher Power Converter” that switches at 150kHz and can supply a load with 3A.) Here is an overview of the functions:
-
3.3-V, 5-V, 12-V, and Adjustable Output Versions
-
Adjustable Version Output Voltage Range: 1.2-V to 37-V ± 4% MaximumOver Line and Load Conditions
-
Available in TO-220 and TO-263 Packages
-
3-A Output Load Current
-
Input Voltage Range Up to 40 V
-
Excellent Line and Load Regulation Specifications
-
150-kHz Fixed-Frequency Internal Oscillator
-
TTL Shutdown Capability
-
Low Power Standby Mode, IQ, Typically 80μA
-
Uses Readily Available Standard Inductors
-
Thermal Shutdown and Current-Limit Protection
(source: datasheet from vendor TEXAS Instrument)
With this switching converter and a few other components can quickly assemble a circuit and transform with the layout tool “Eagle” into a board. However, this circuit is so simple that it only works as efficiently as possible with the advantages of the LM2596, but does not perform any power tracking. This means that the load representing the circuit for the solar cell is not adapted to the internal resistance of the solar cell.
 Circuit diagram of the DC-DC converter
From this circuit, a simple layout was created, a board etched and equipped. A USB socket on the output allows the direct connection of USB devices. To make the whole thing look a bit reasonable, I have donated the board still a small plastic casing …
 Measurement of illuminance
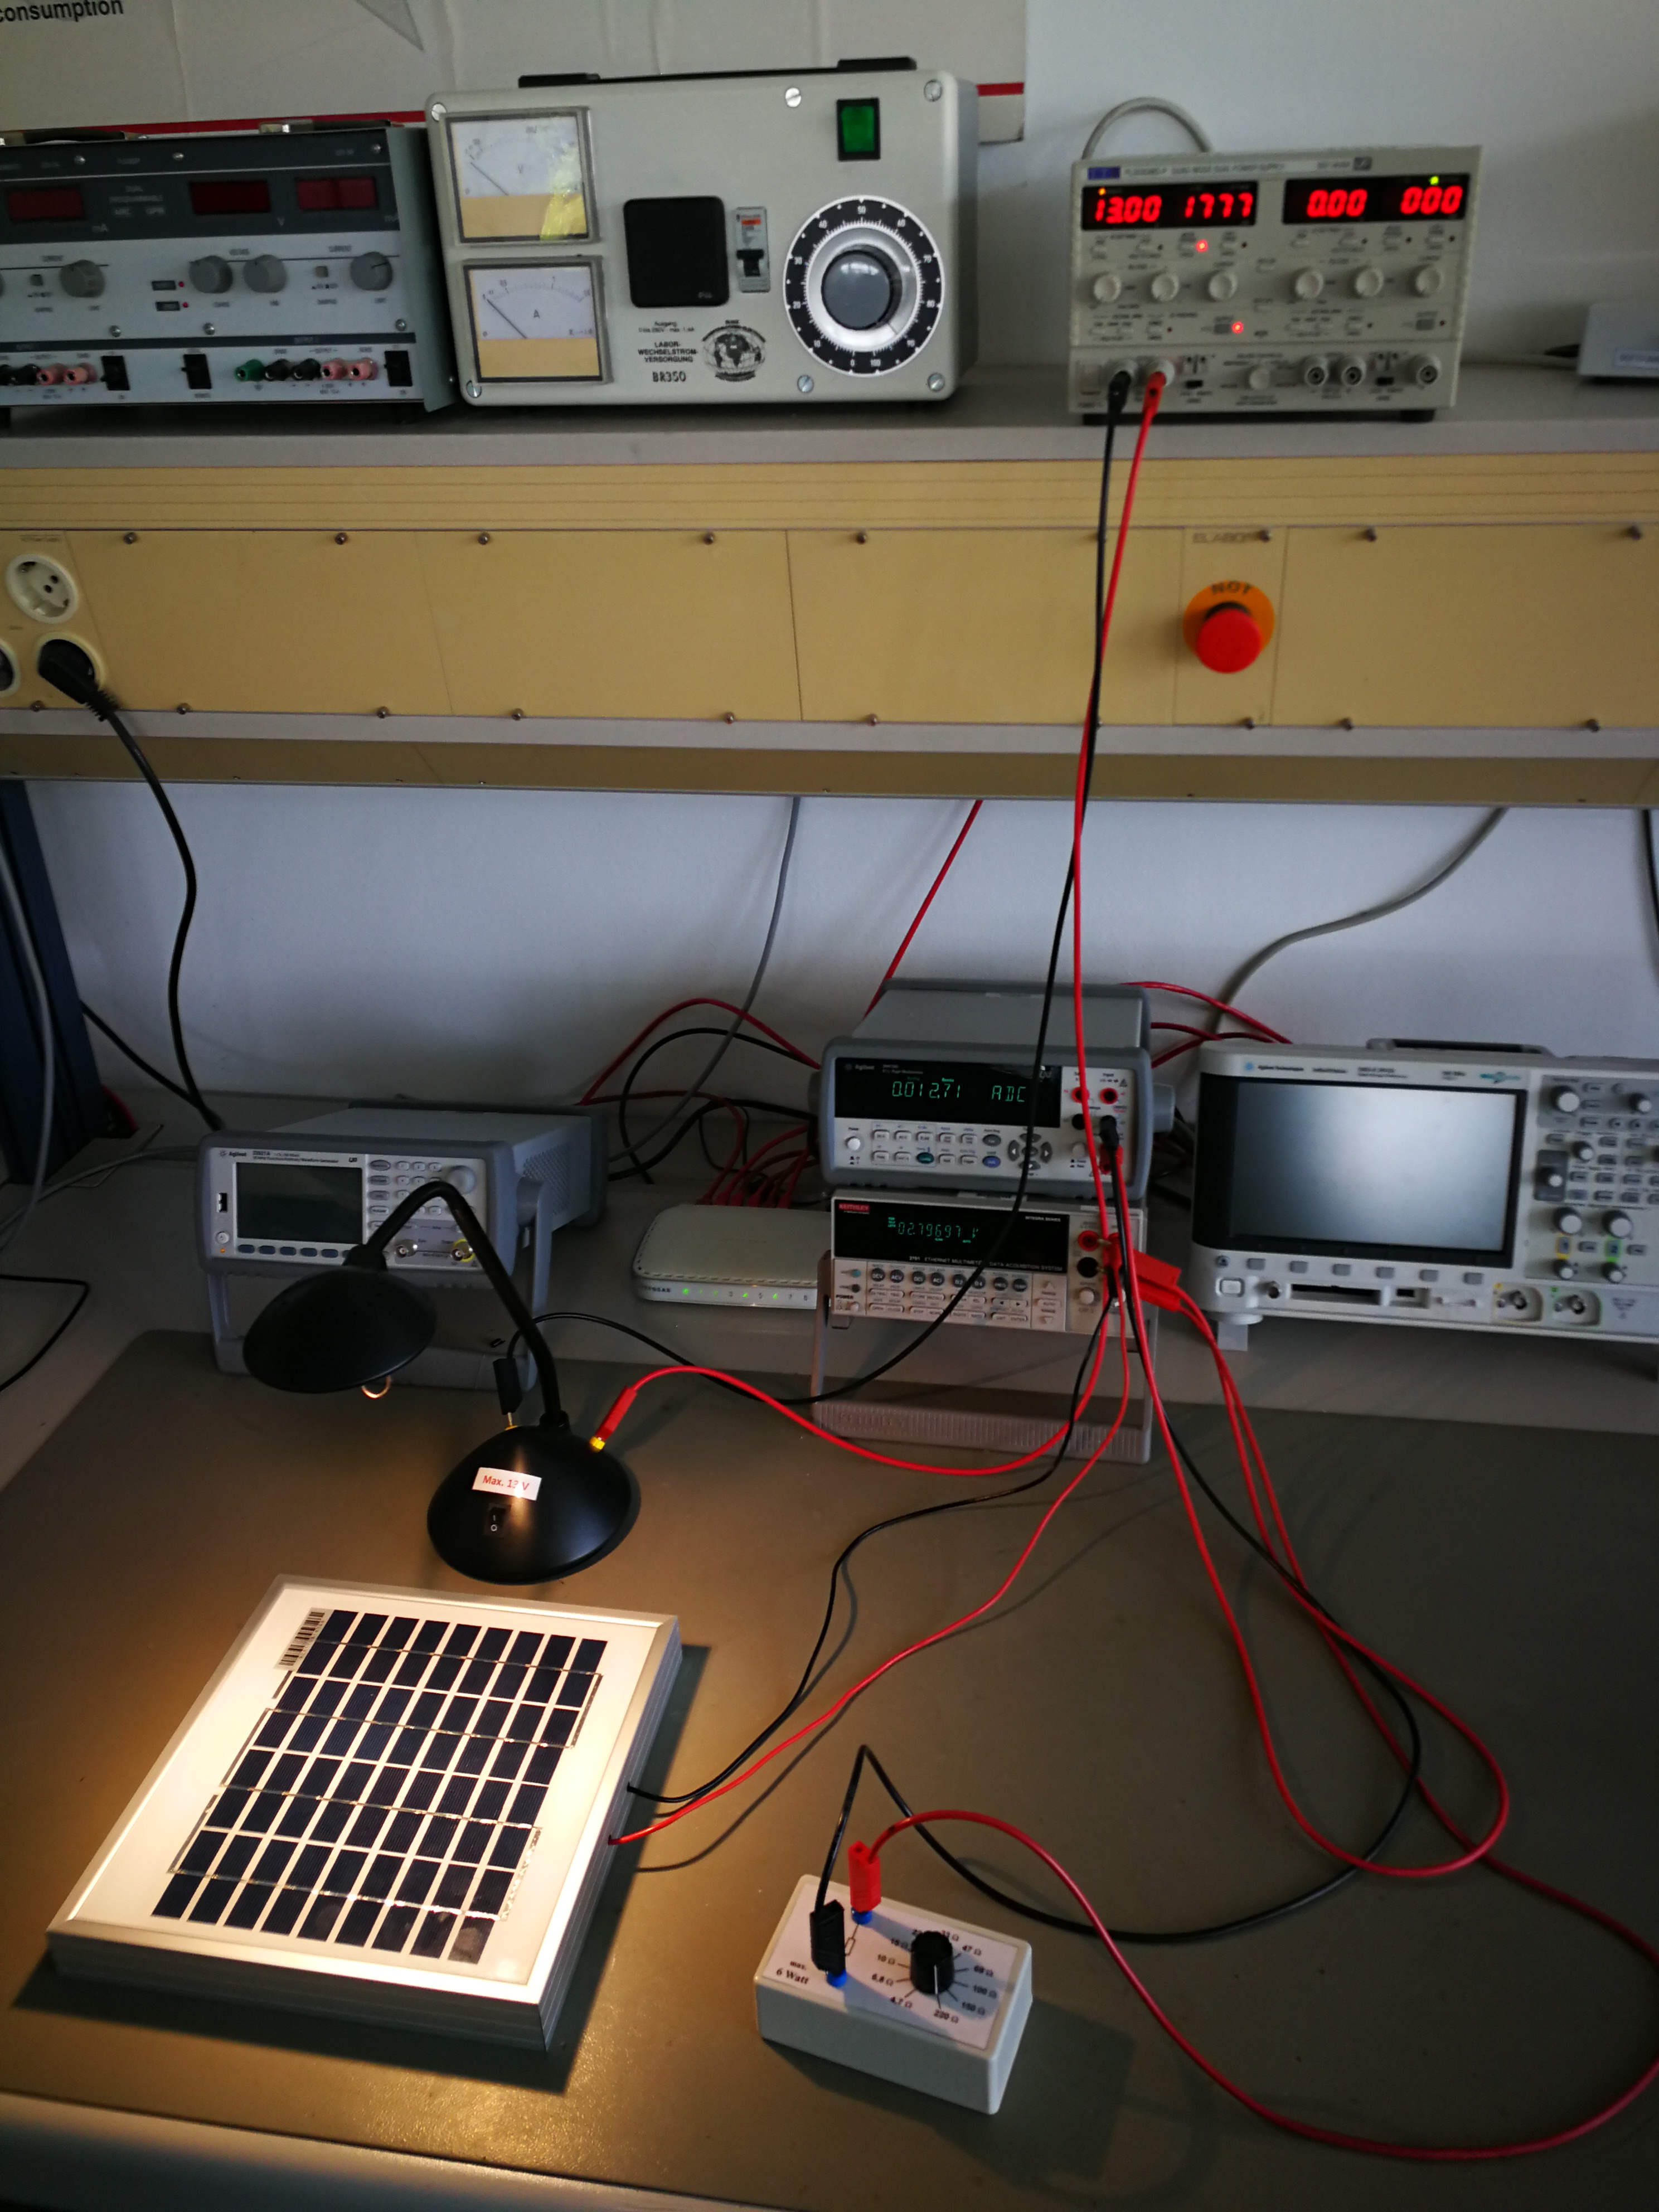 measurement setup
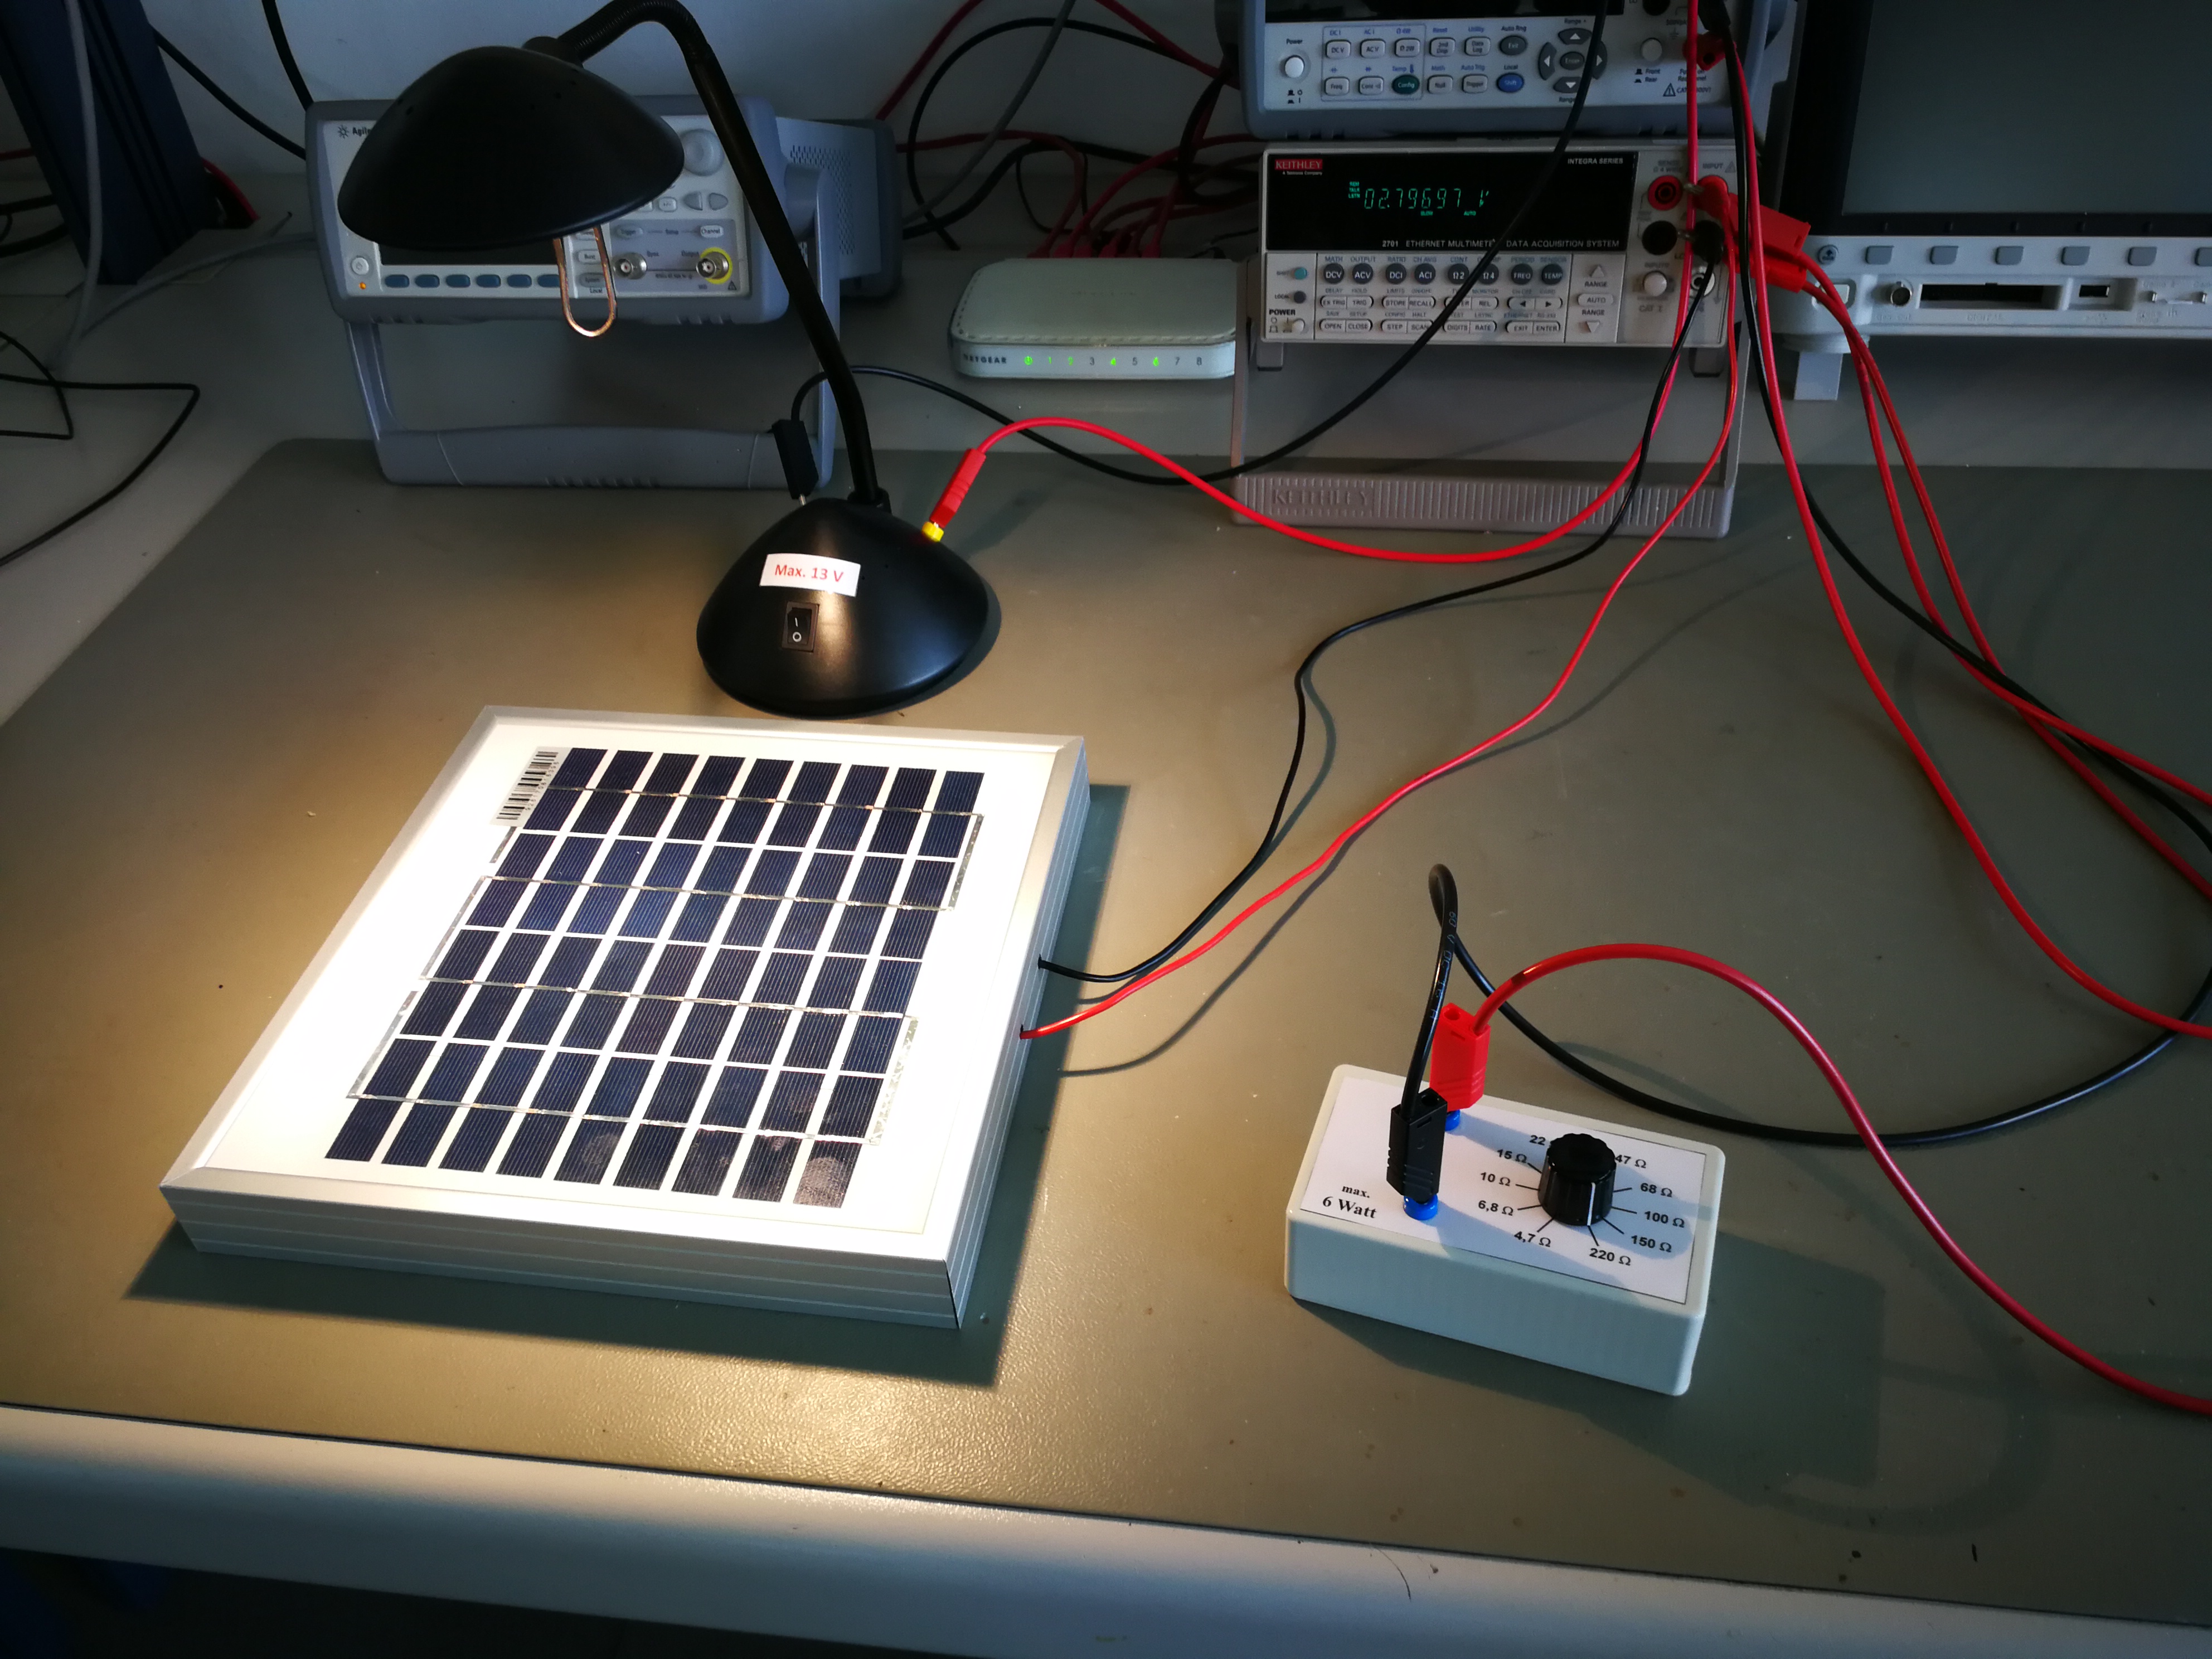 Switchable load resistors
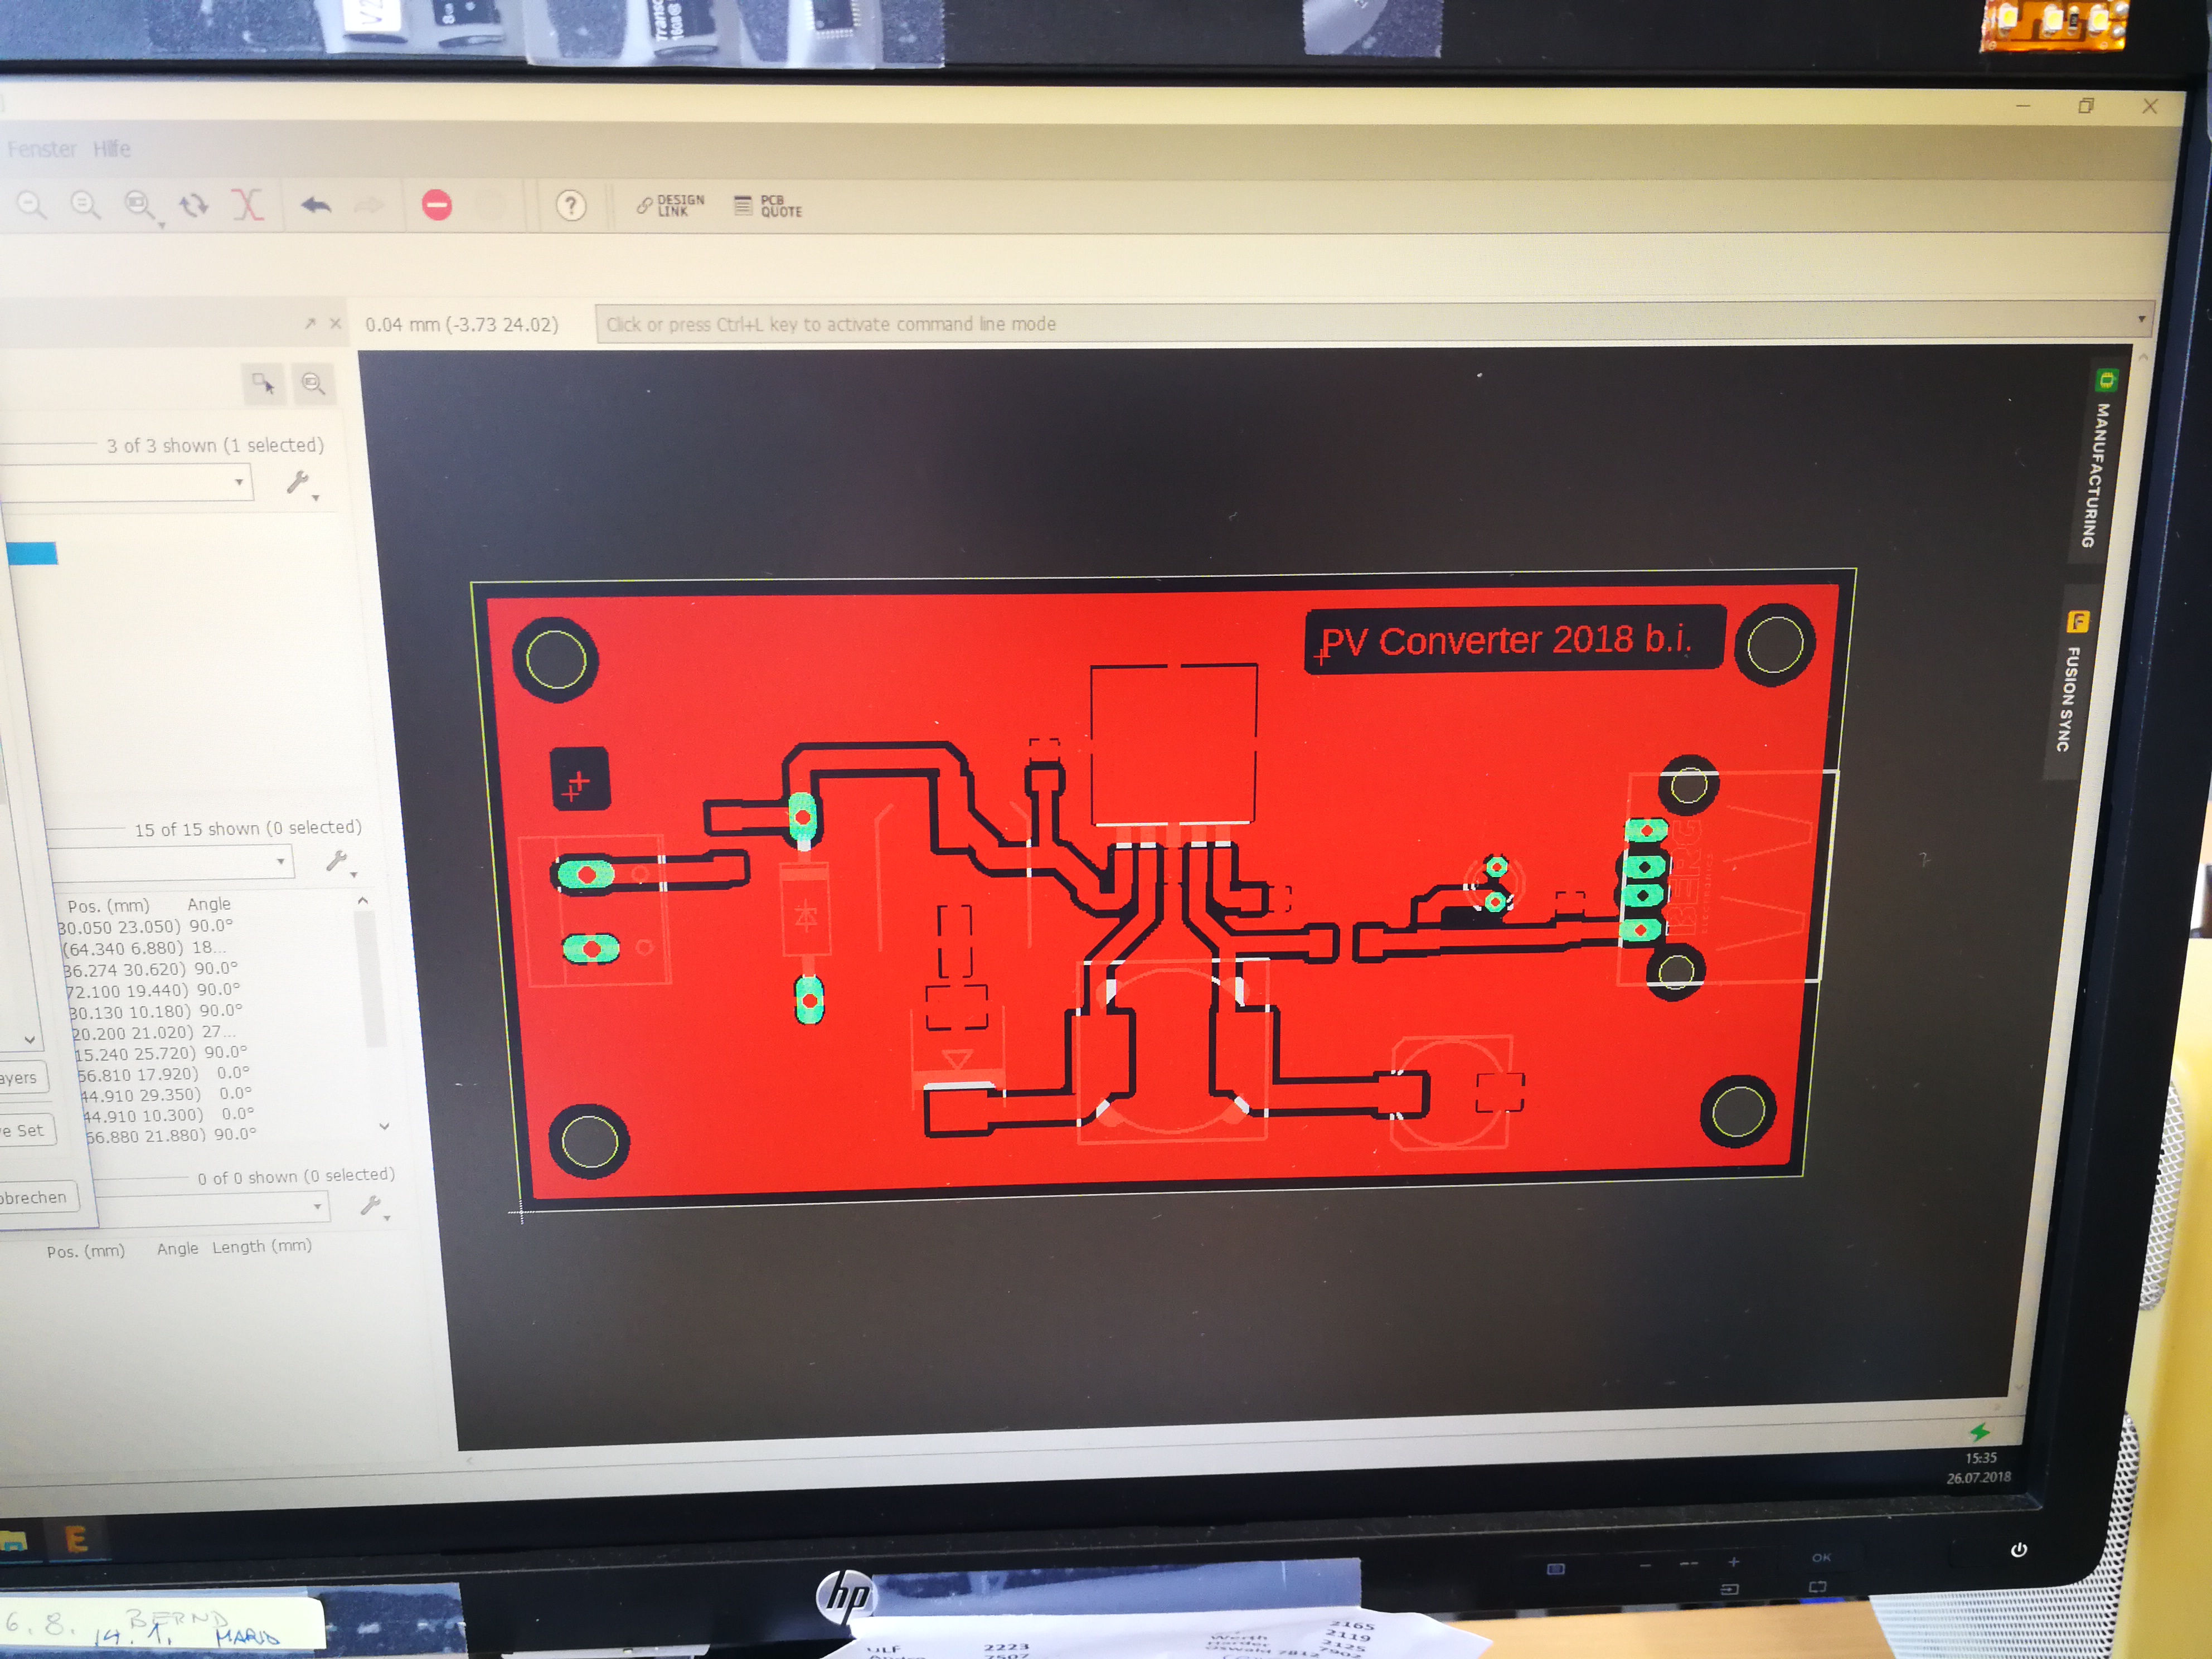 Layout on the computer
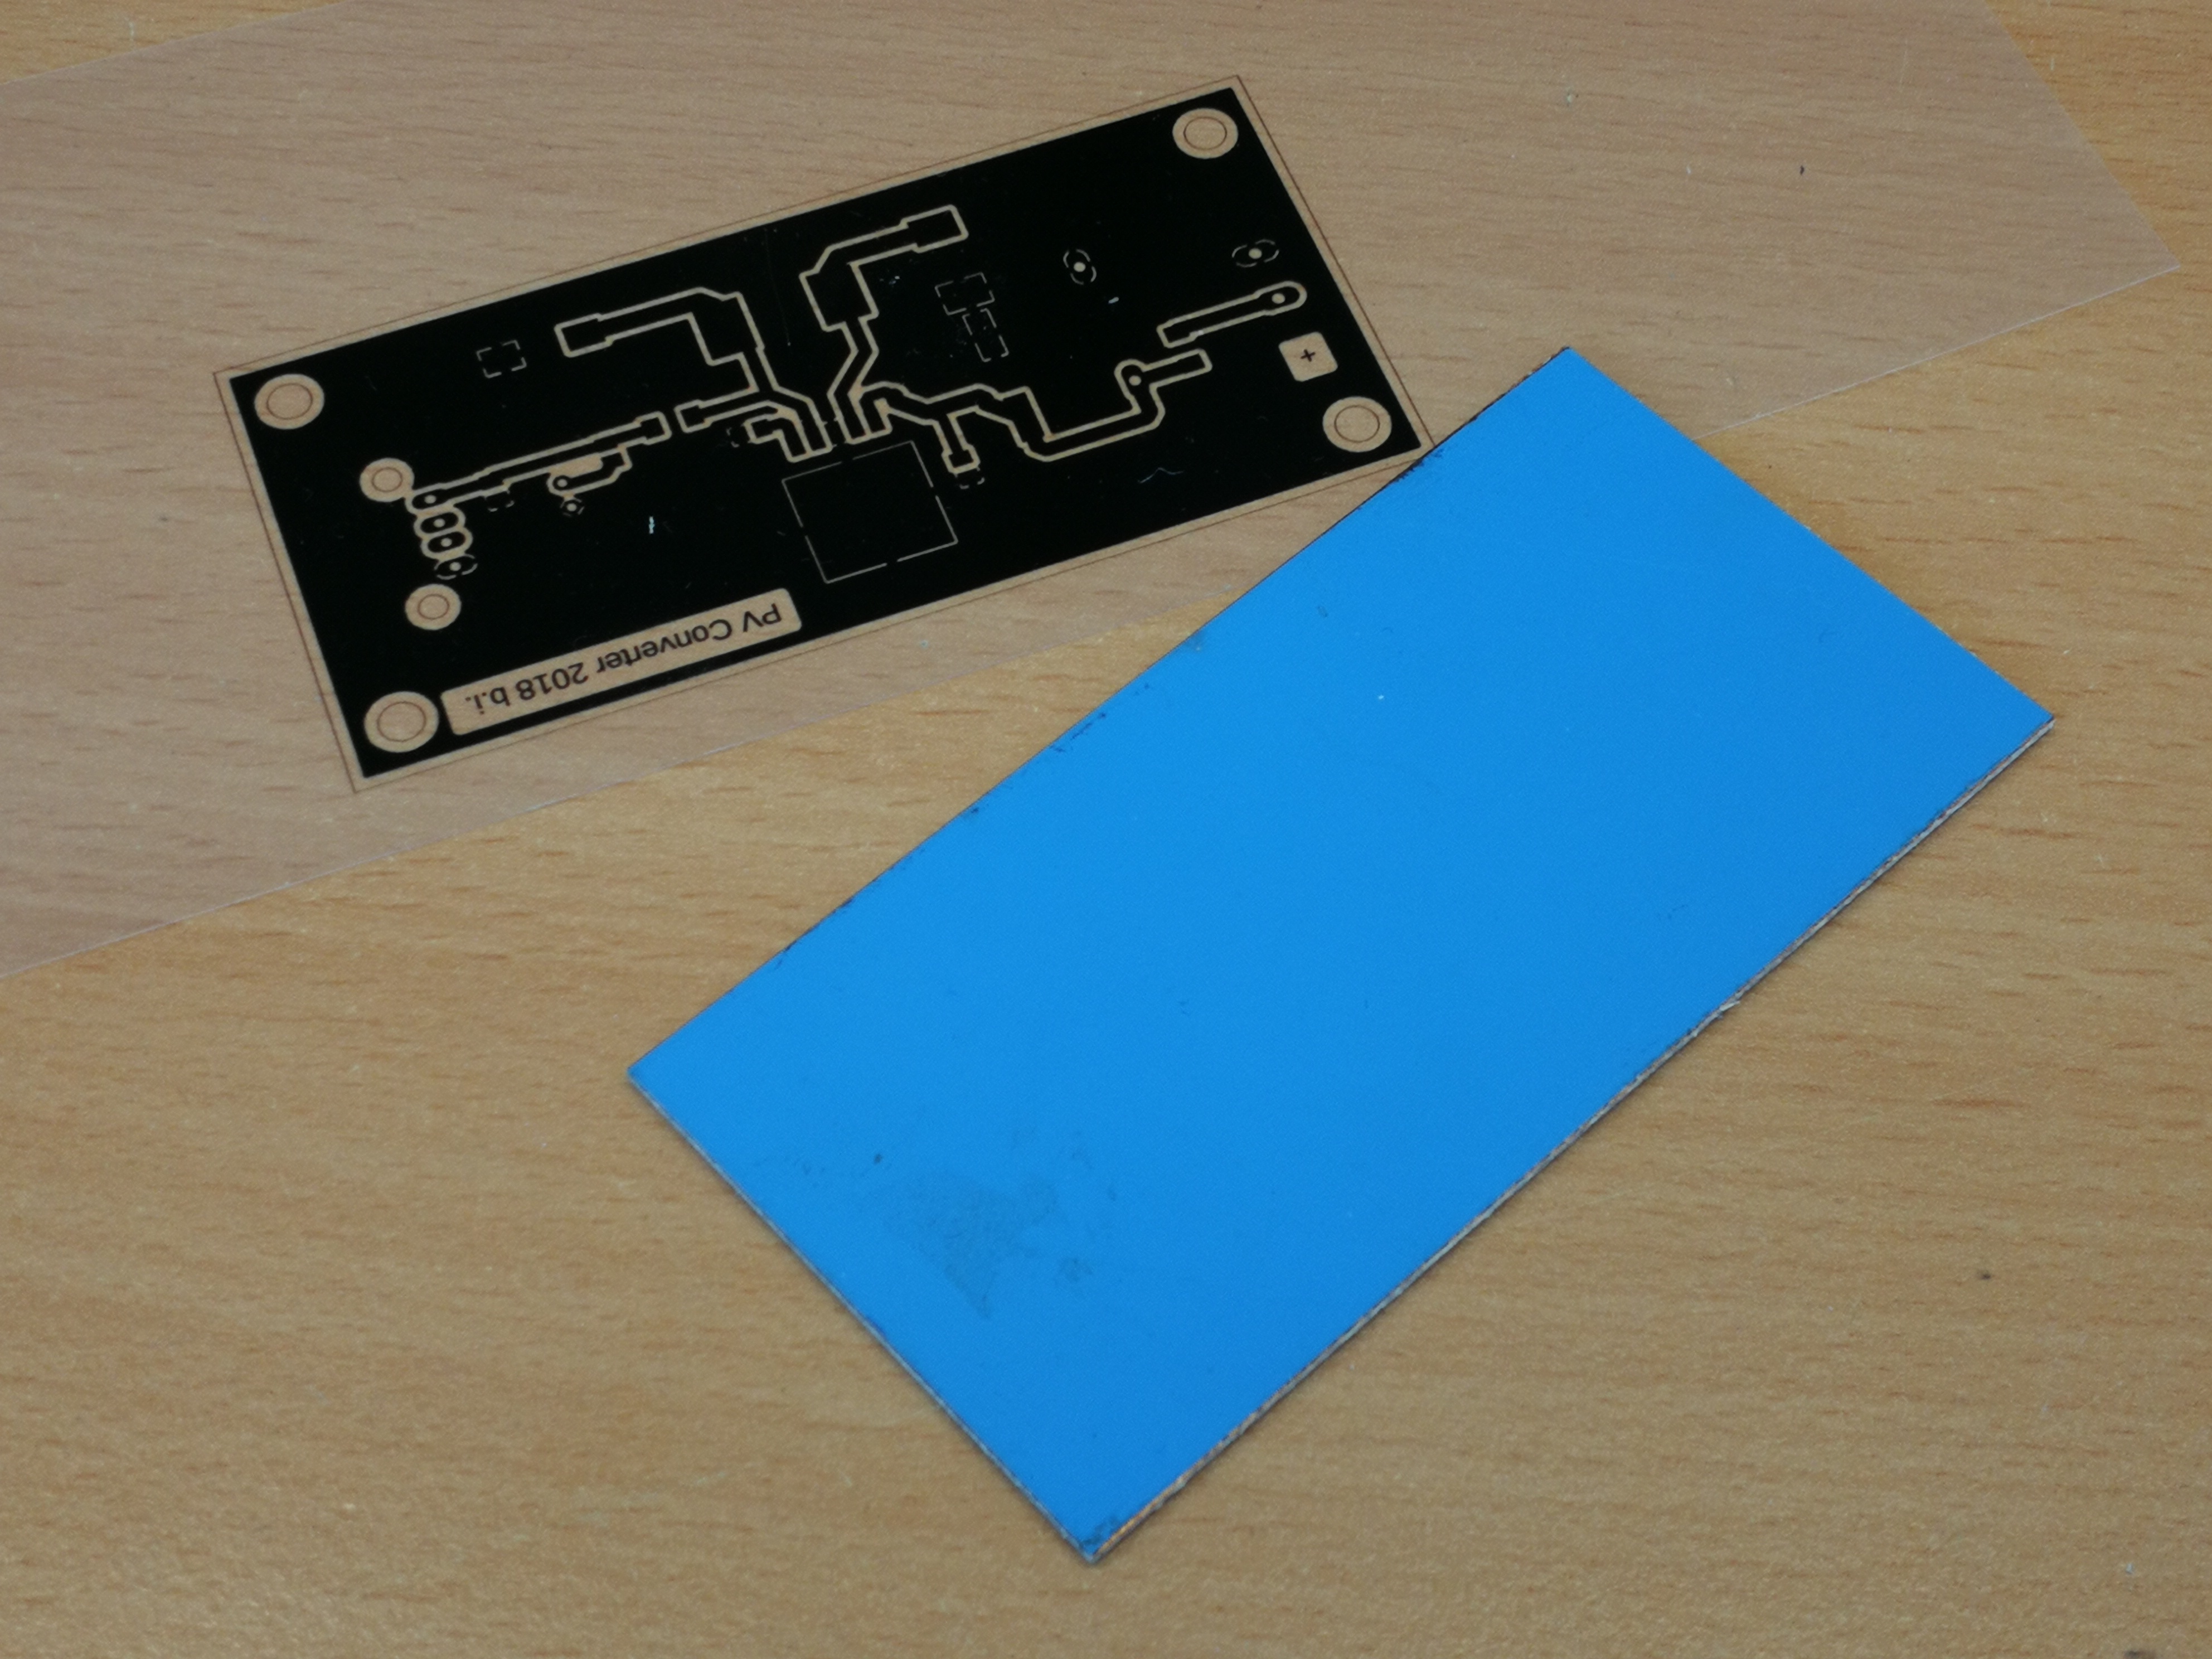 Foil for creating the printed circuit board
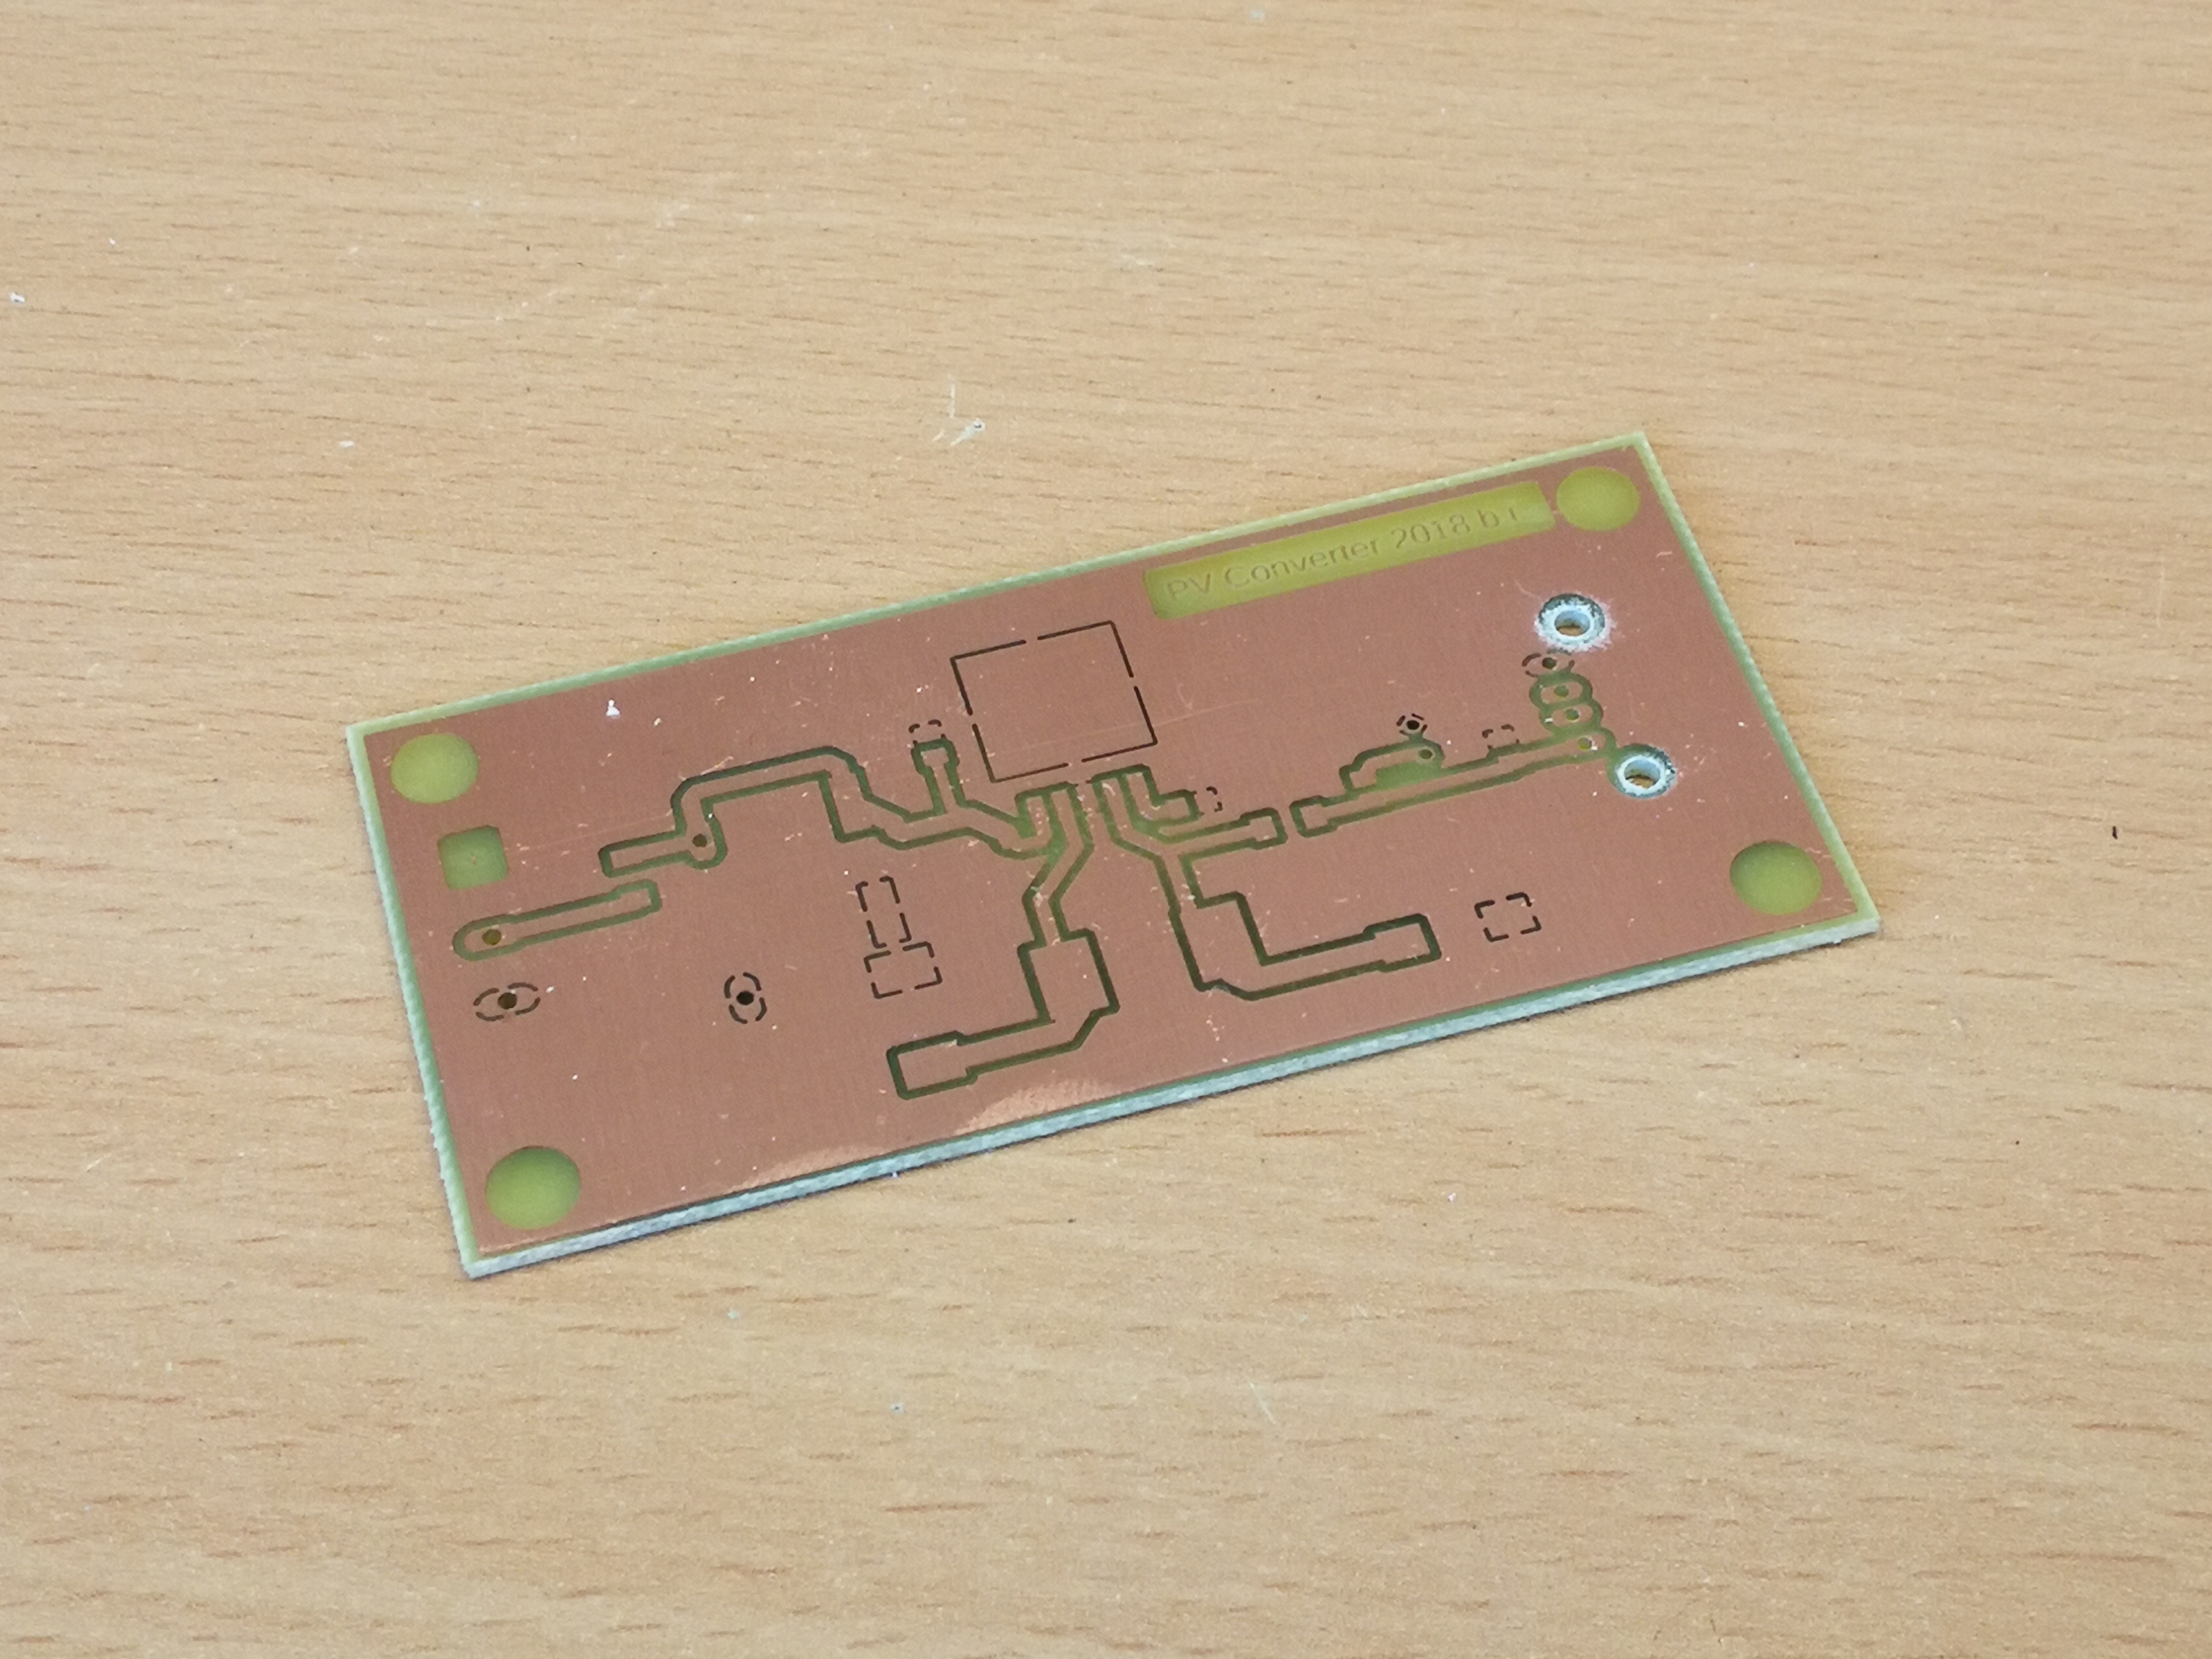 Etched PCB
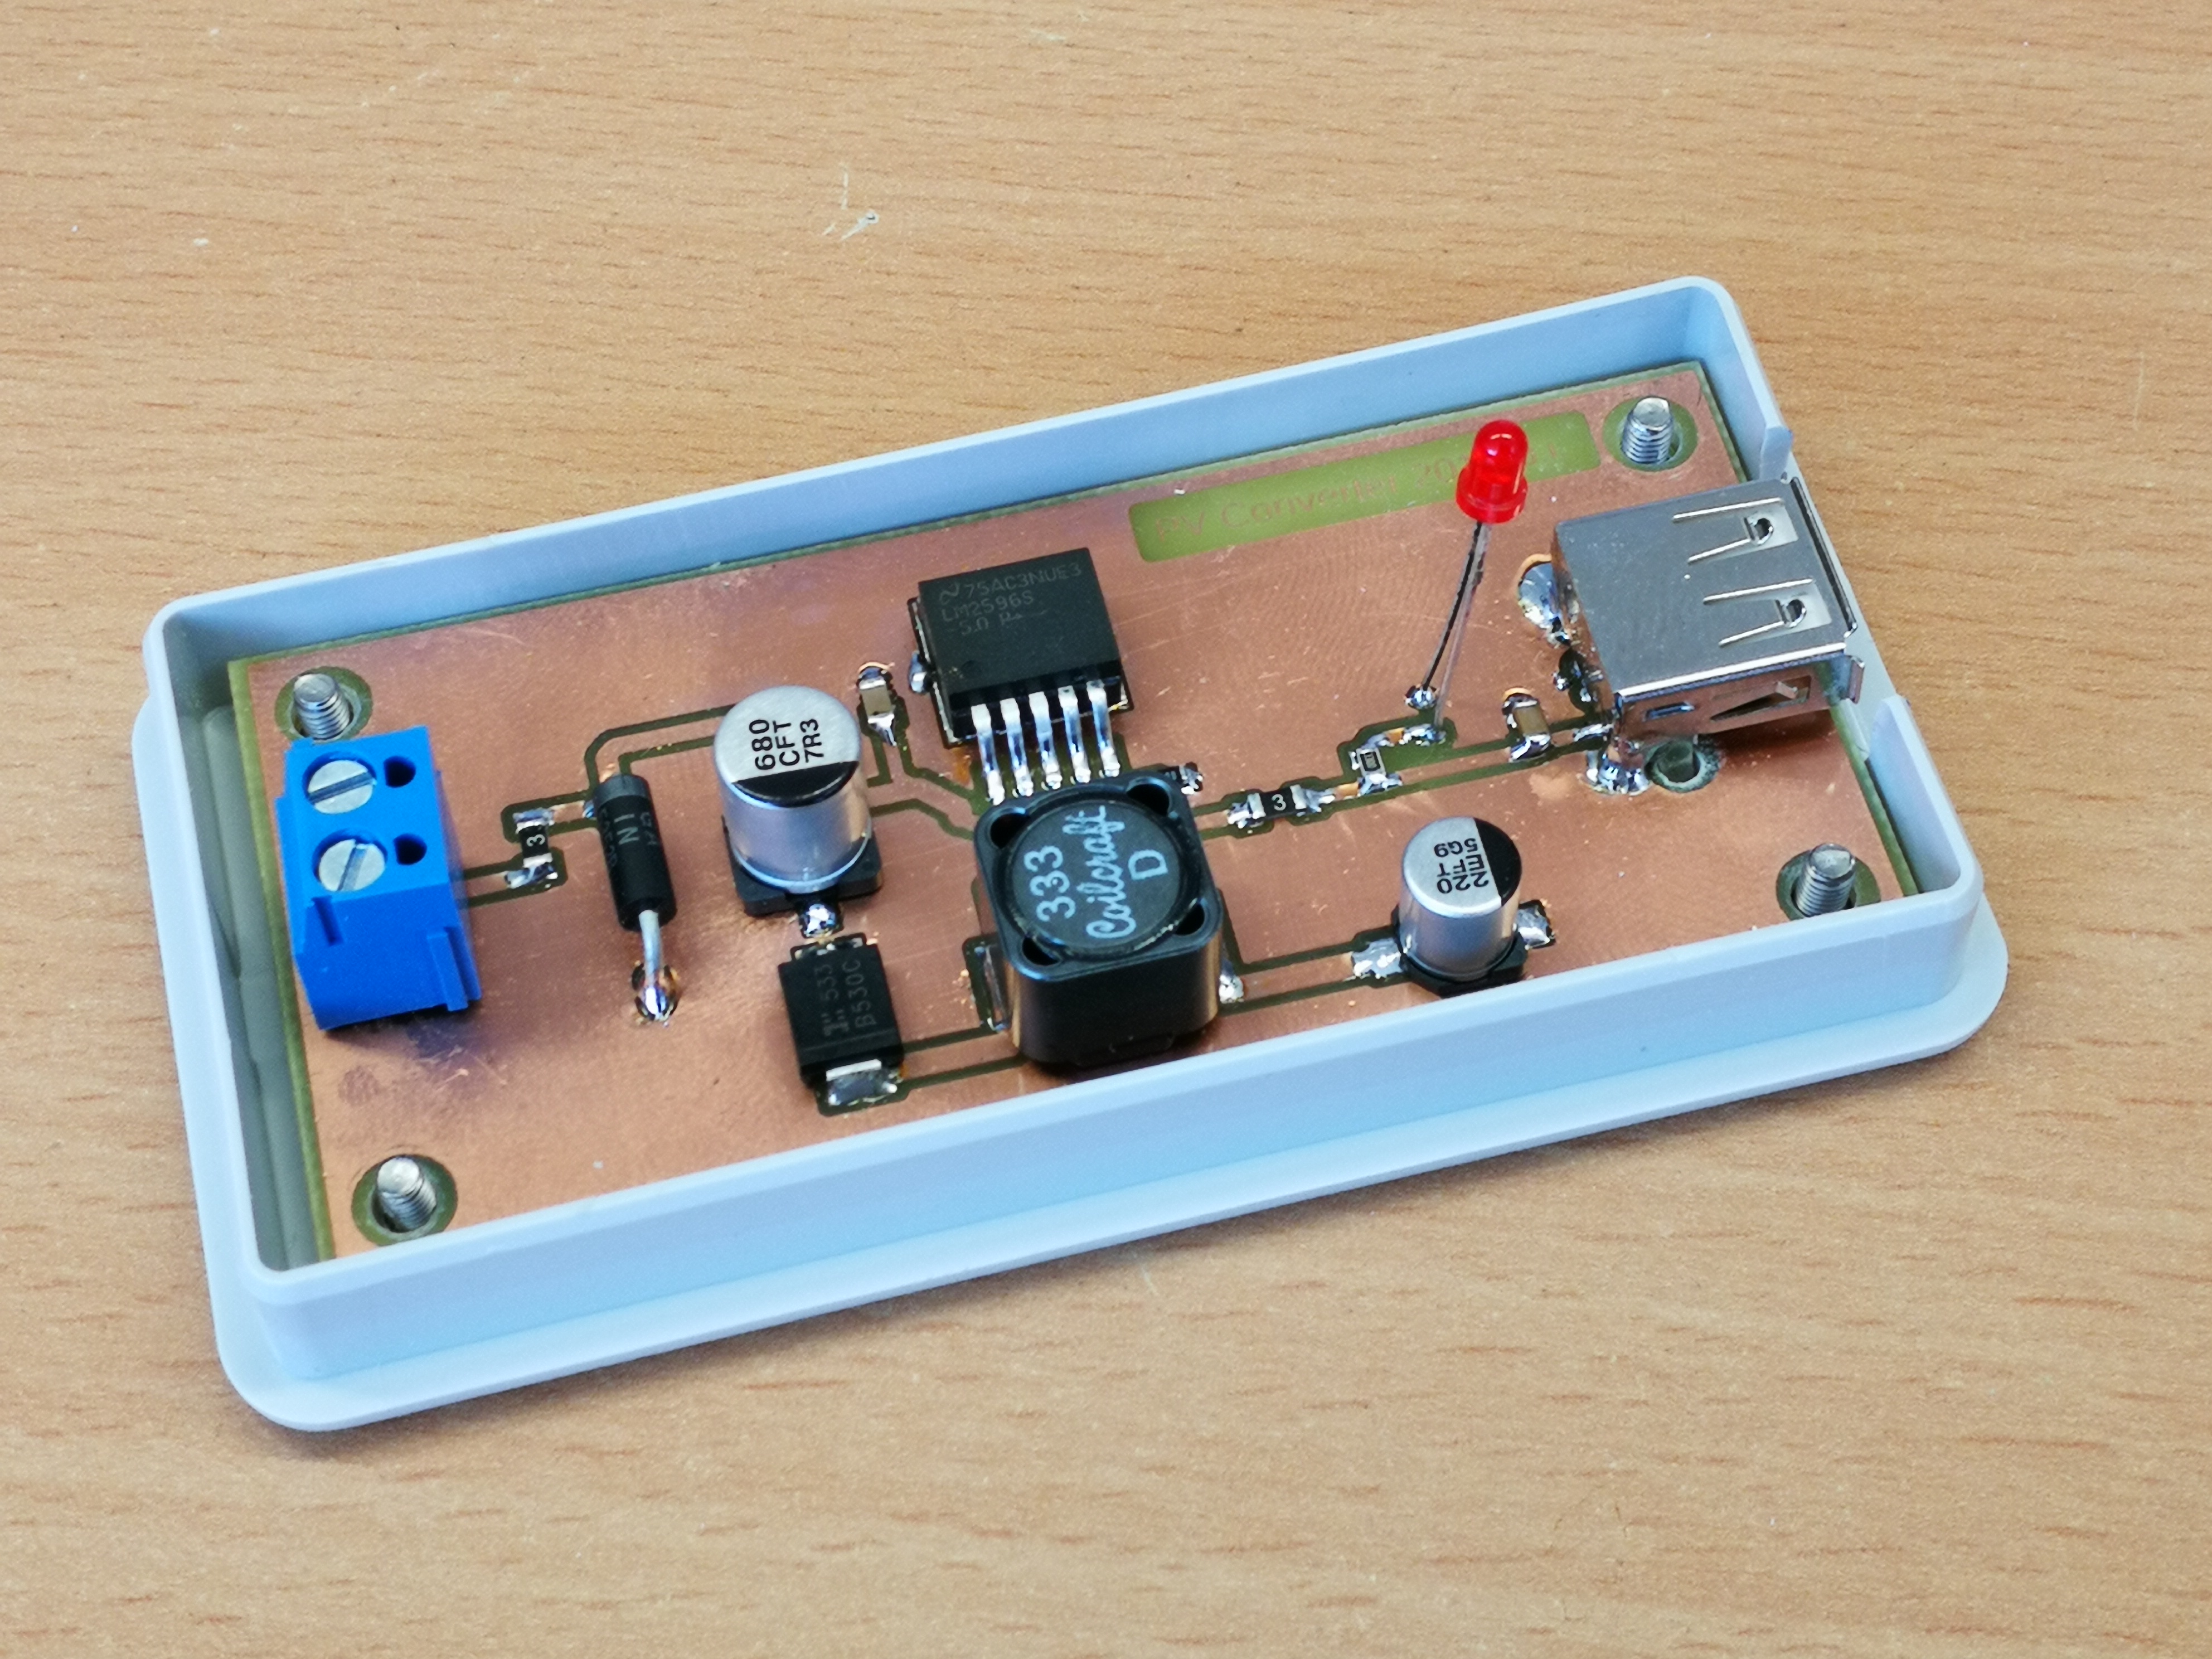 Etched PCB
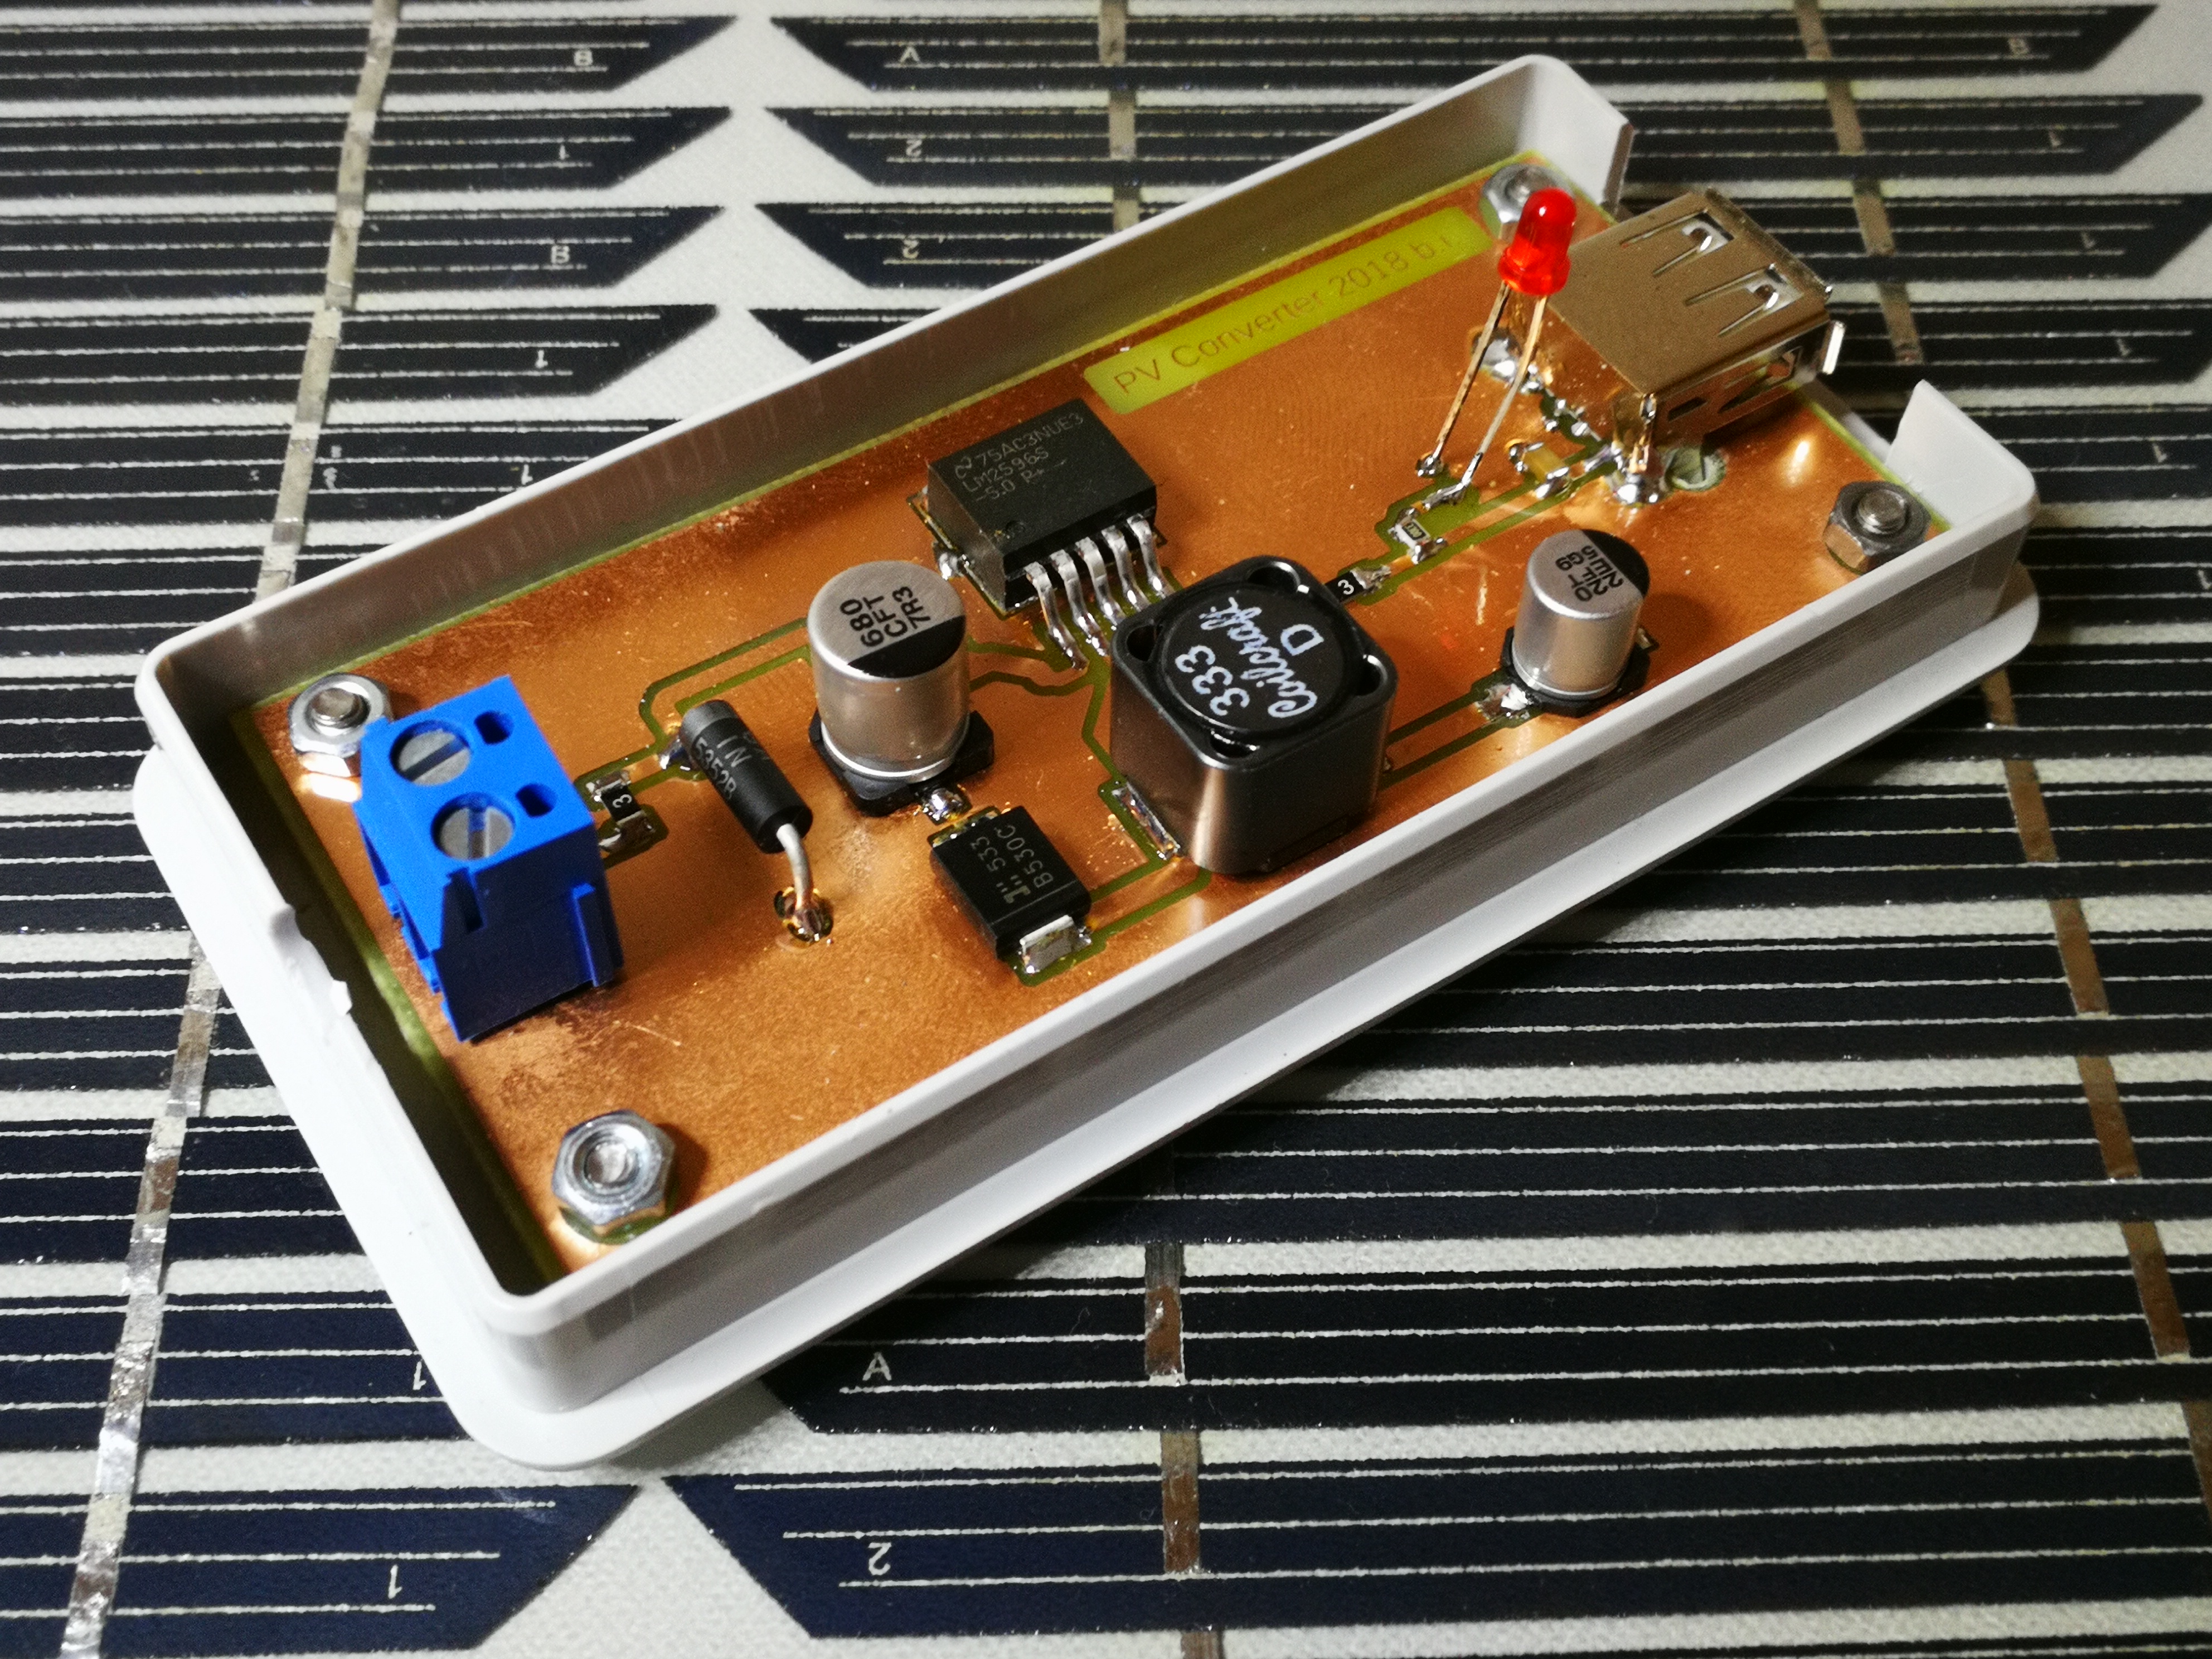 Finished circuit
A simple layout was then created from this circuit, a circuit board was etched and assembled. A USB socket at the output enables direct connection of USB devices. To make the whole thing look a little sensible, I donated a small plastic housing to the circuit board …
 Messung der Beleuchtungsstärke


