
MIDI DB50XG – an interface for the daughter board
![]()
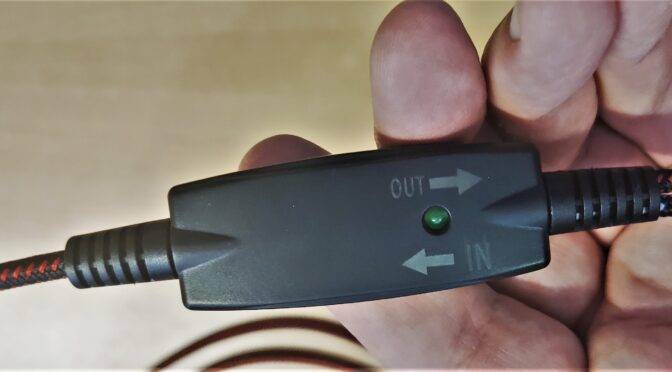
Update: April 2025 projectfiles shared on github: https://github.com/ingmarsretro/db50xg_supplyboard Rummaging through a box of my old crafts I found the box below. It dates from the time when I was still working with Amgia, but also with PCs – I guess around 1996. I labeled the box “DB50XG MIDI – Wavetable Processor”. Inside is a circuit…
Read more


Recent Comments