
Video streaming in the car – Android Auto – the cheap solution
![]()
Since my leisure activities are increasingly taking place outdoors in the currently somewhat warmer season, writing the weblogs suffers a little. But I’m still working on some projects, repairs and restorations. In this way, a lot of material comes together again in order to write articles from it – in the colder season of the year. This time I was just annoyed about the rip-offs and pricing in the automotive sector and looked for an alternative solution.
It’s about my five-year-old car, which is equipped with an on-board navigation system. The navigation data is saved on an SD card inserted in the vehicle. So far so good. However, the map data of the vehicle are now getting on in years and much is no longer up-to-date. Something like that is particularly annoying if you are on a vacation trip and the GPS does not know the destination or has not mapped the way there. No problem, I thought to myself, map data is on the SD card – there are sure to be updates. And yes there is – but the map updates cost upwards of 200 euros and more. In return, I get a complete navigation device including the latest maps with free online updates.
So I tried to make myself smart and find a current map on the network and save it on the SD card. But of course that doesn’t work. Some security mechanisms are used here. For example, the hardware ID of the memory card is stored (coded) in the navigation system. So my first attempt to copy the original navigation map as an image on a new SD card failed. It is recognized as an invalid card. And tinkering around with the VCP and VCDS diagnostic device in the navigation computer without instructions is too much effort for me. So another option had to be found. An online navigation system is installed on every smartphone – it’s called Google Maps. And there are also some offline navigation systems that can be downloaded free of charge from the web stores. So my idea was to add a phone mirror function to the car. (These things are called Android Car Play in the fruit department, etc.) Since my old box does not provide any of it in the entertainment system, there were the following alternatives for me:
Either I buy a China Navi to retrofit – and by that I mean the screens that are based on the original on-board monitors of the car, in which an Android computer is then installed. The corresponding apps for navigation and other gadgets can then be installed there. The data of the original image of the car infotainment system are of course still displayed. Such systems are available in the order of 400-600 euros. Then there are a few hours of installation (handicraft) work.
Another option is a retro fit conversion. This means that I install the higher-quality infotainment system with the corresponding range of functions in the vehicle. That in turn means: expanding the old system, buying a new system from the vehicle manufacturer including all necessary control units, cable harnesses, cover panels, etc., then installing it and then coding everything with a lot of effort, importing parameters, etc. The costs are immense and add up no case (> 2500, – if that’s enough) and then the work for the removal and installation. -> everything can be forgotten.
MiraScreen receiver
And here is the last option for all together just 50 euros and with an effort of 30 minutes installation consisting of the following points:
- Activate the Video In Motion (VIM) function of the display or the radio unit
- purchase an AMI cable with composite video in and audio in
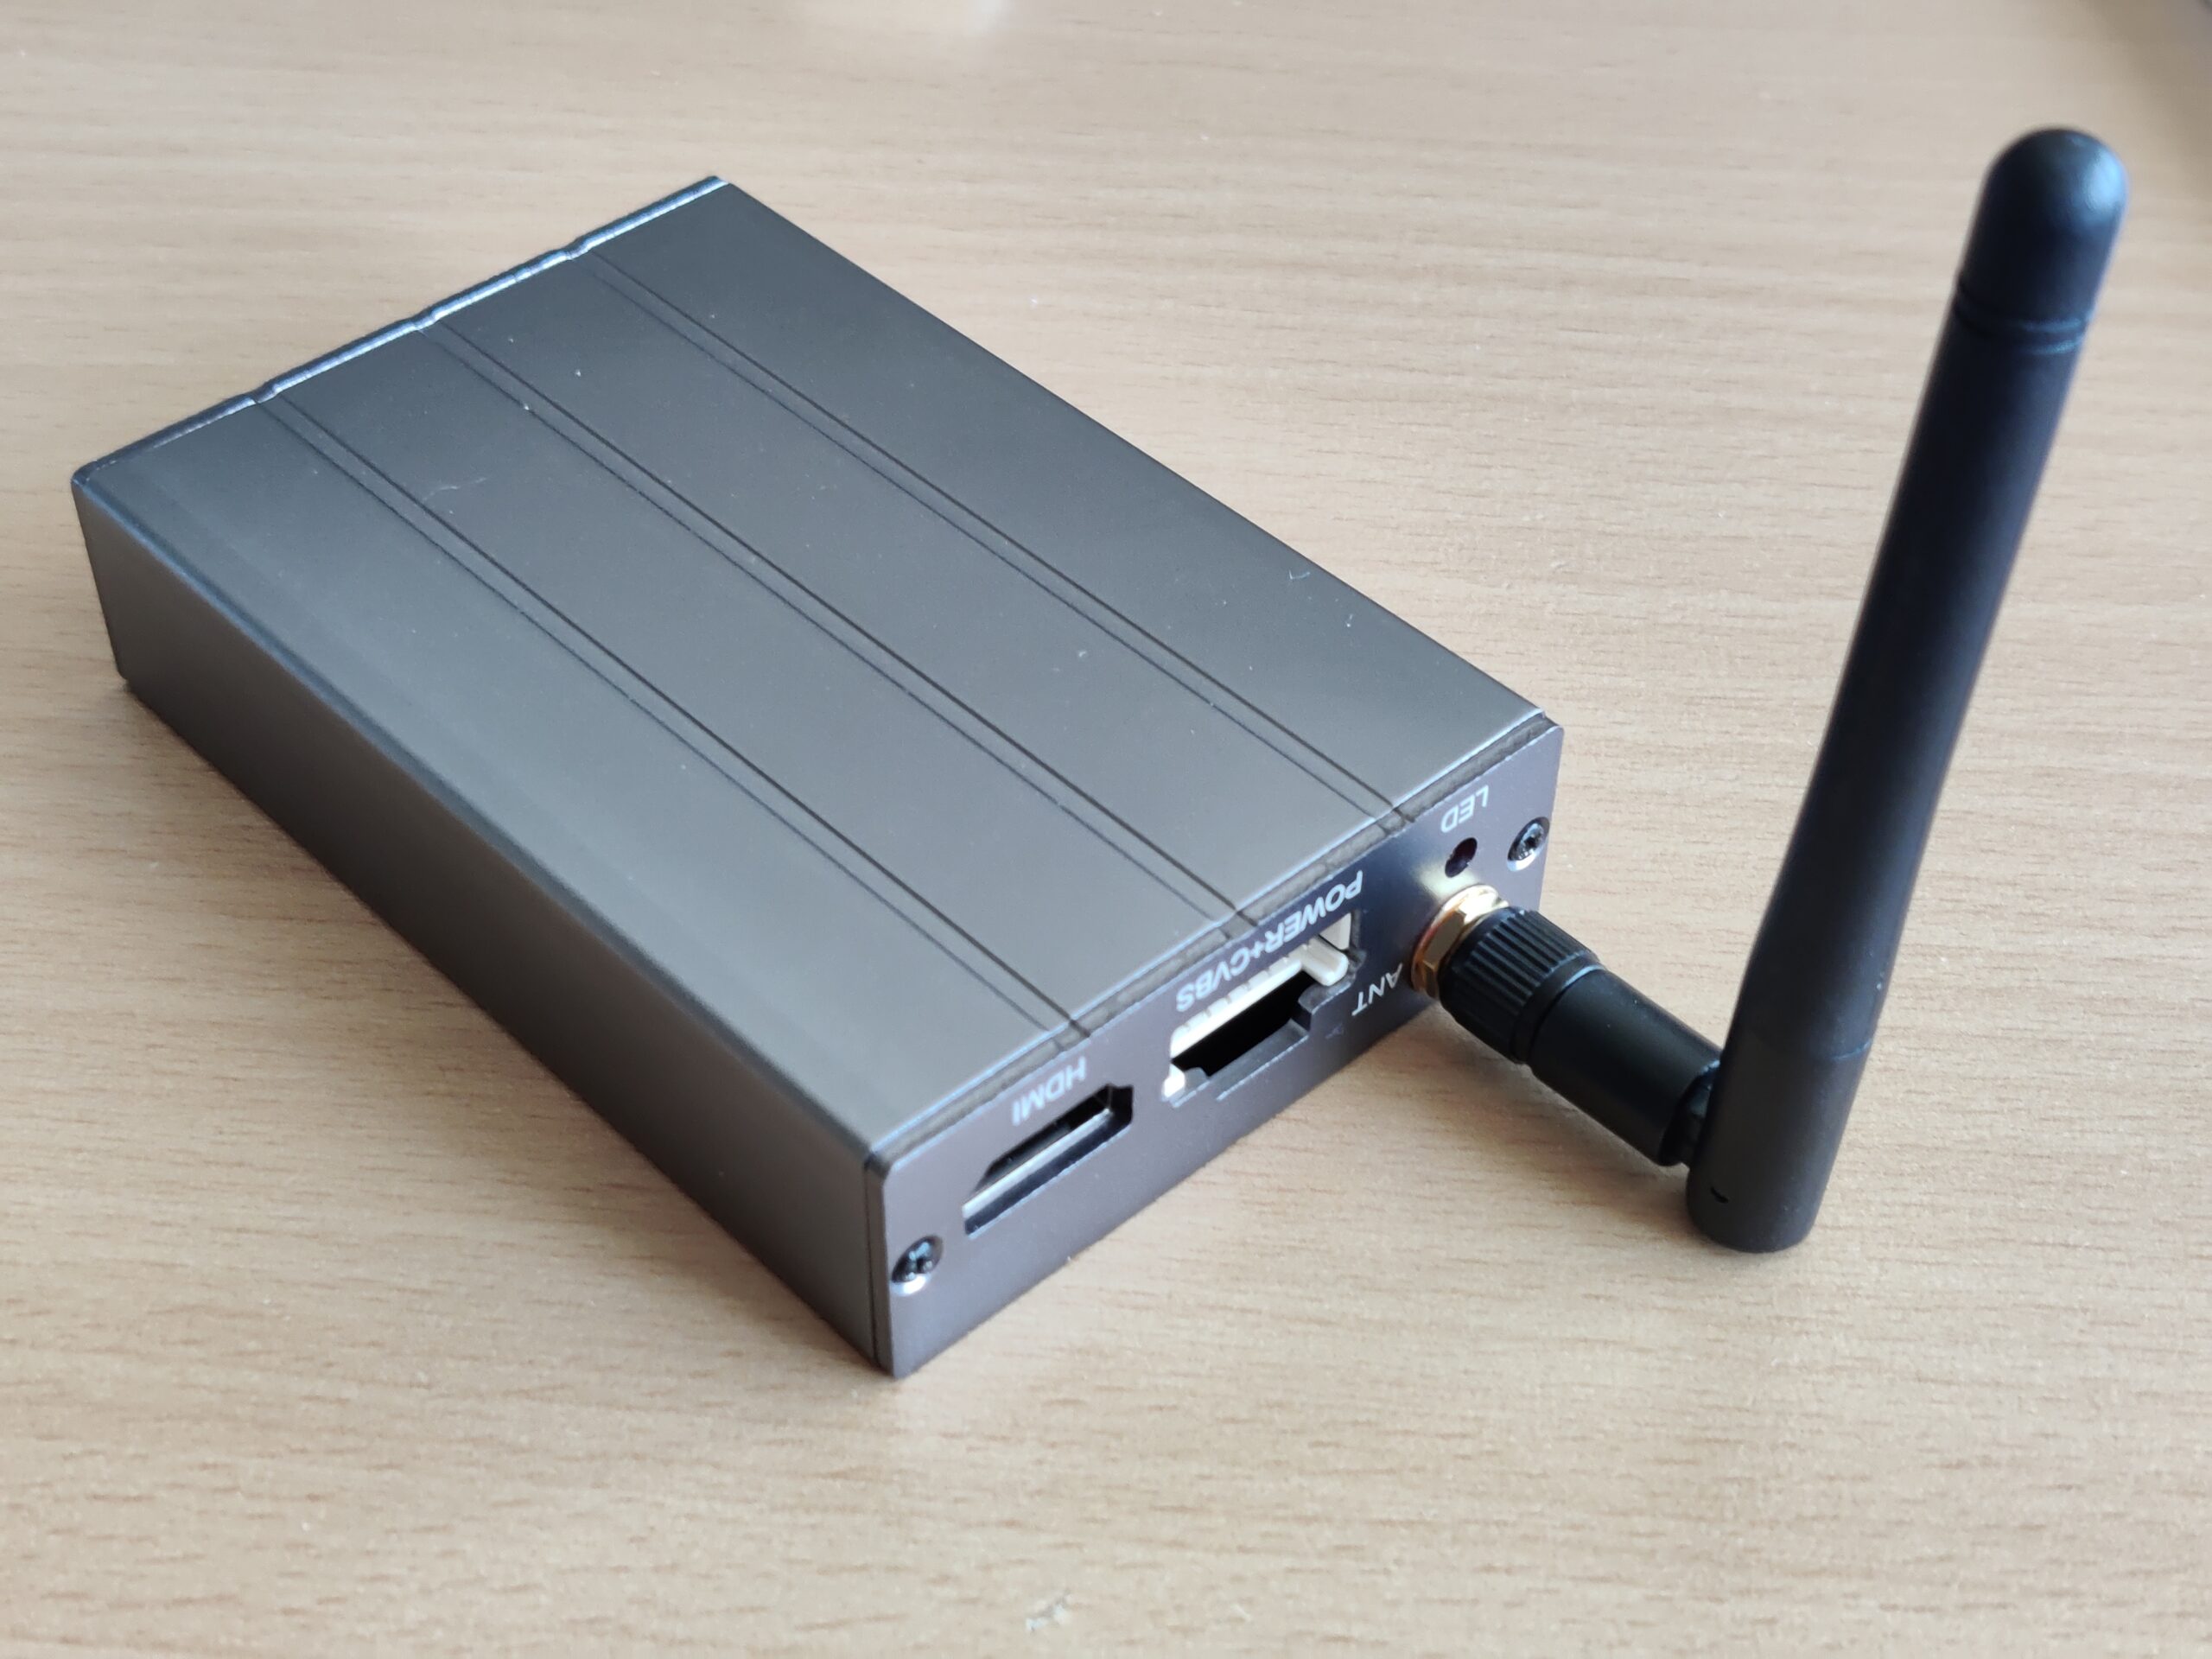
- purchase a MiraScreen WLAN receiver for just 40 euros, which is able to output the video signal via CVBS
- install the entire part (in this case) in the center console shelf
- Lay the cable for the power supply of the Mirabox through the shelf to the 12V socket and connect it.
This work is done quickly and the smartphone can be connected via “Stream” (in the Android smartphone under “Wireless transmission in Bluetooth & device connection”). Now the screen and the sound of the smartphone are also reproduced via the infotainment system of the vehicle.
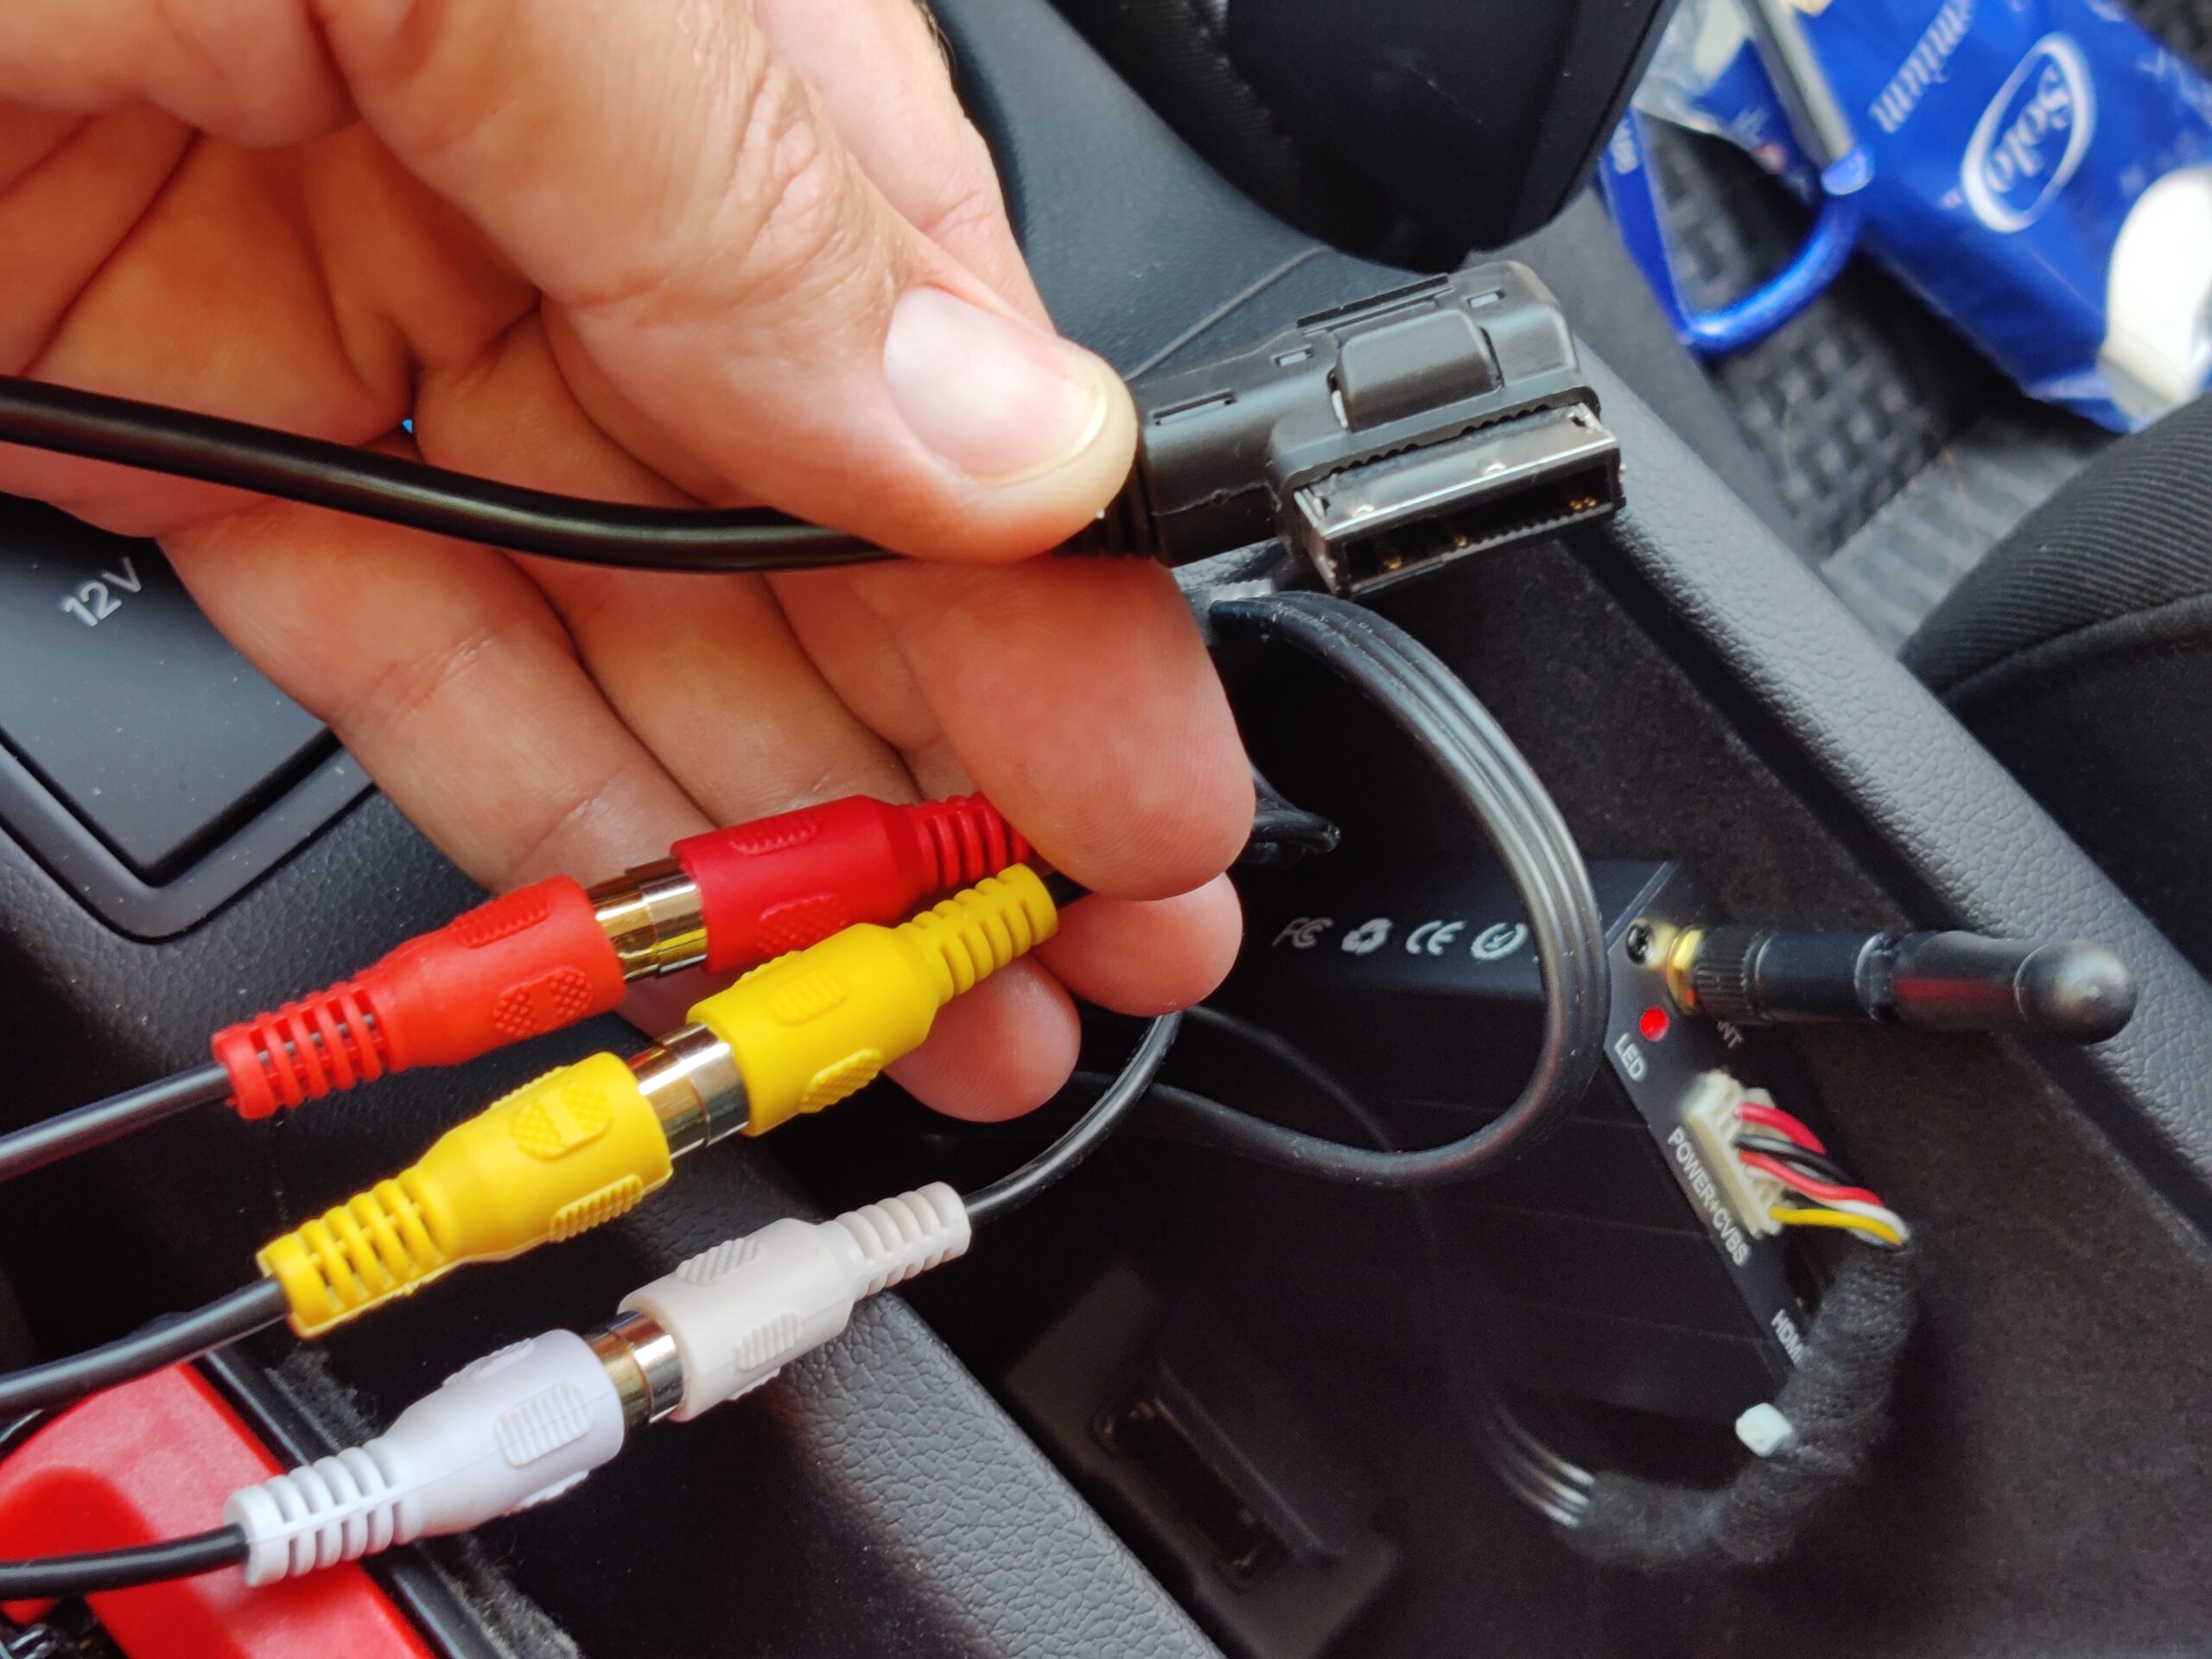
AMI videocable
The AMI video cable is plugged into the AMI socket of the vehicle and the analog video and audio lines are connected to the chinch plugs of the MiraScreen connection cable.
Connector for supply, video and audio to the MiraScreen
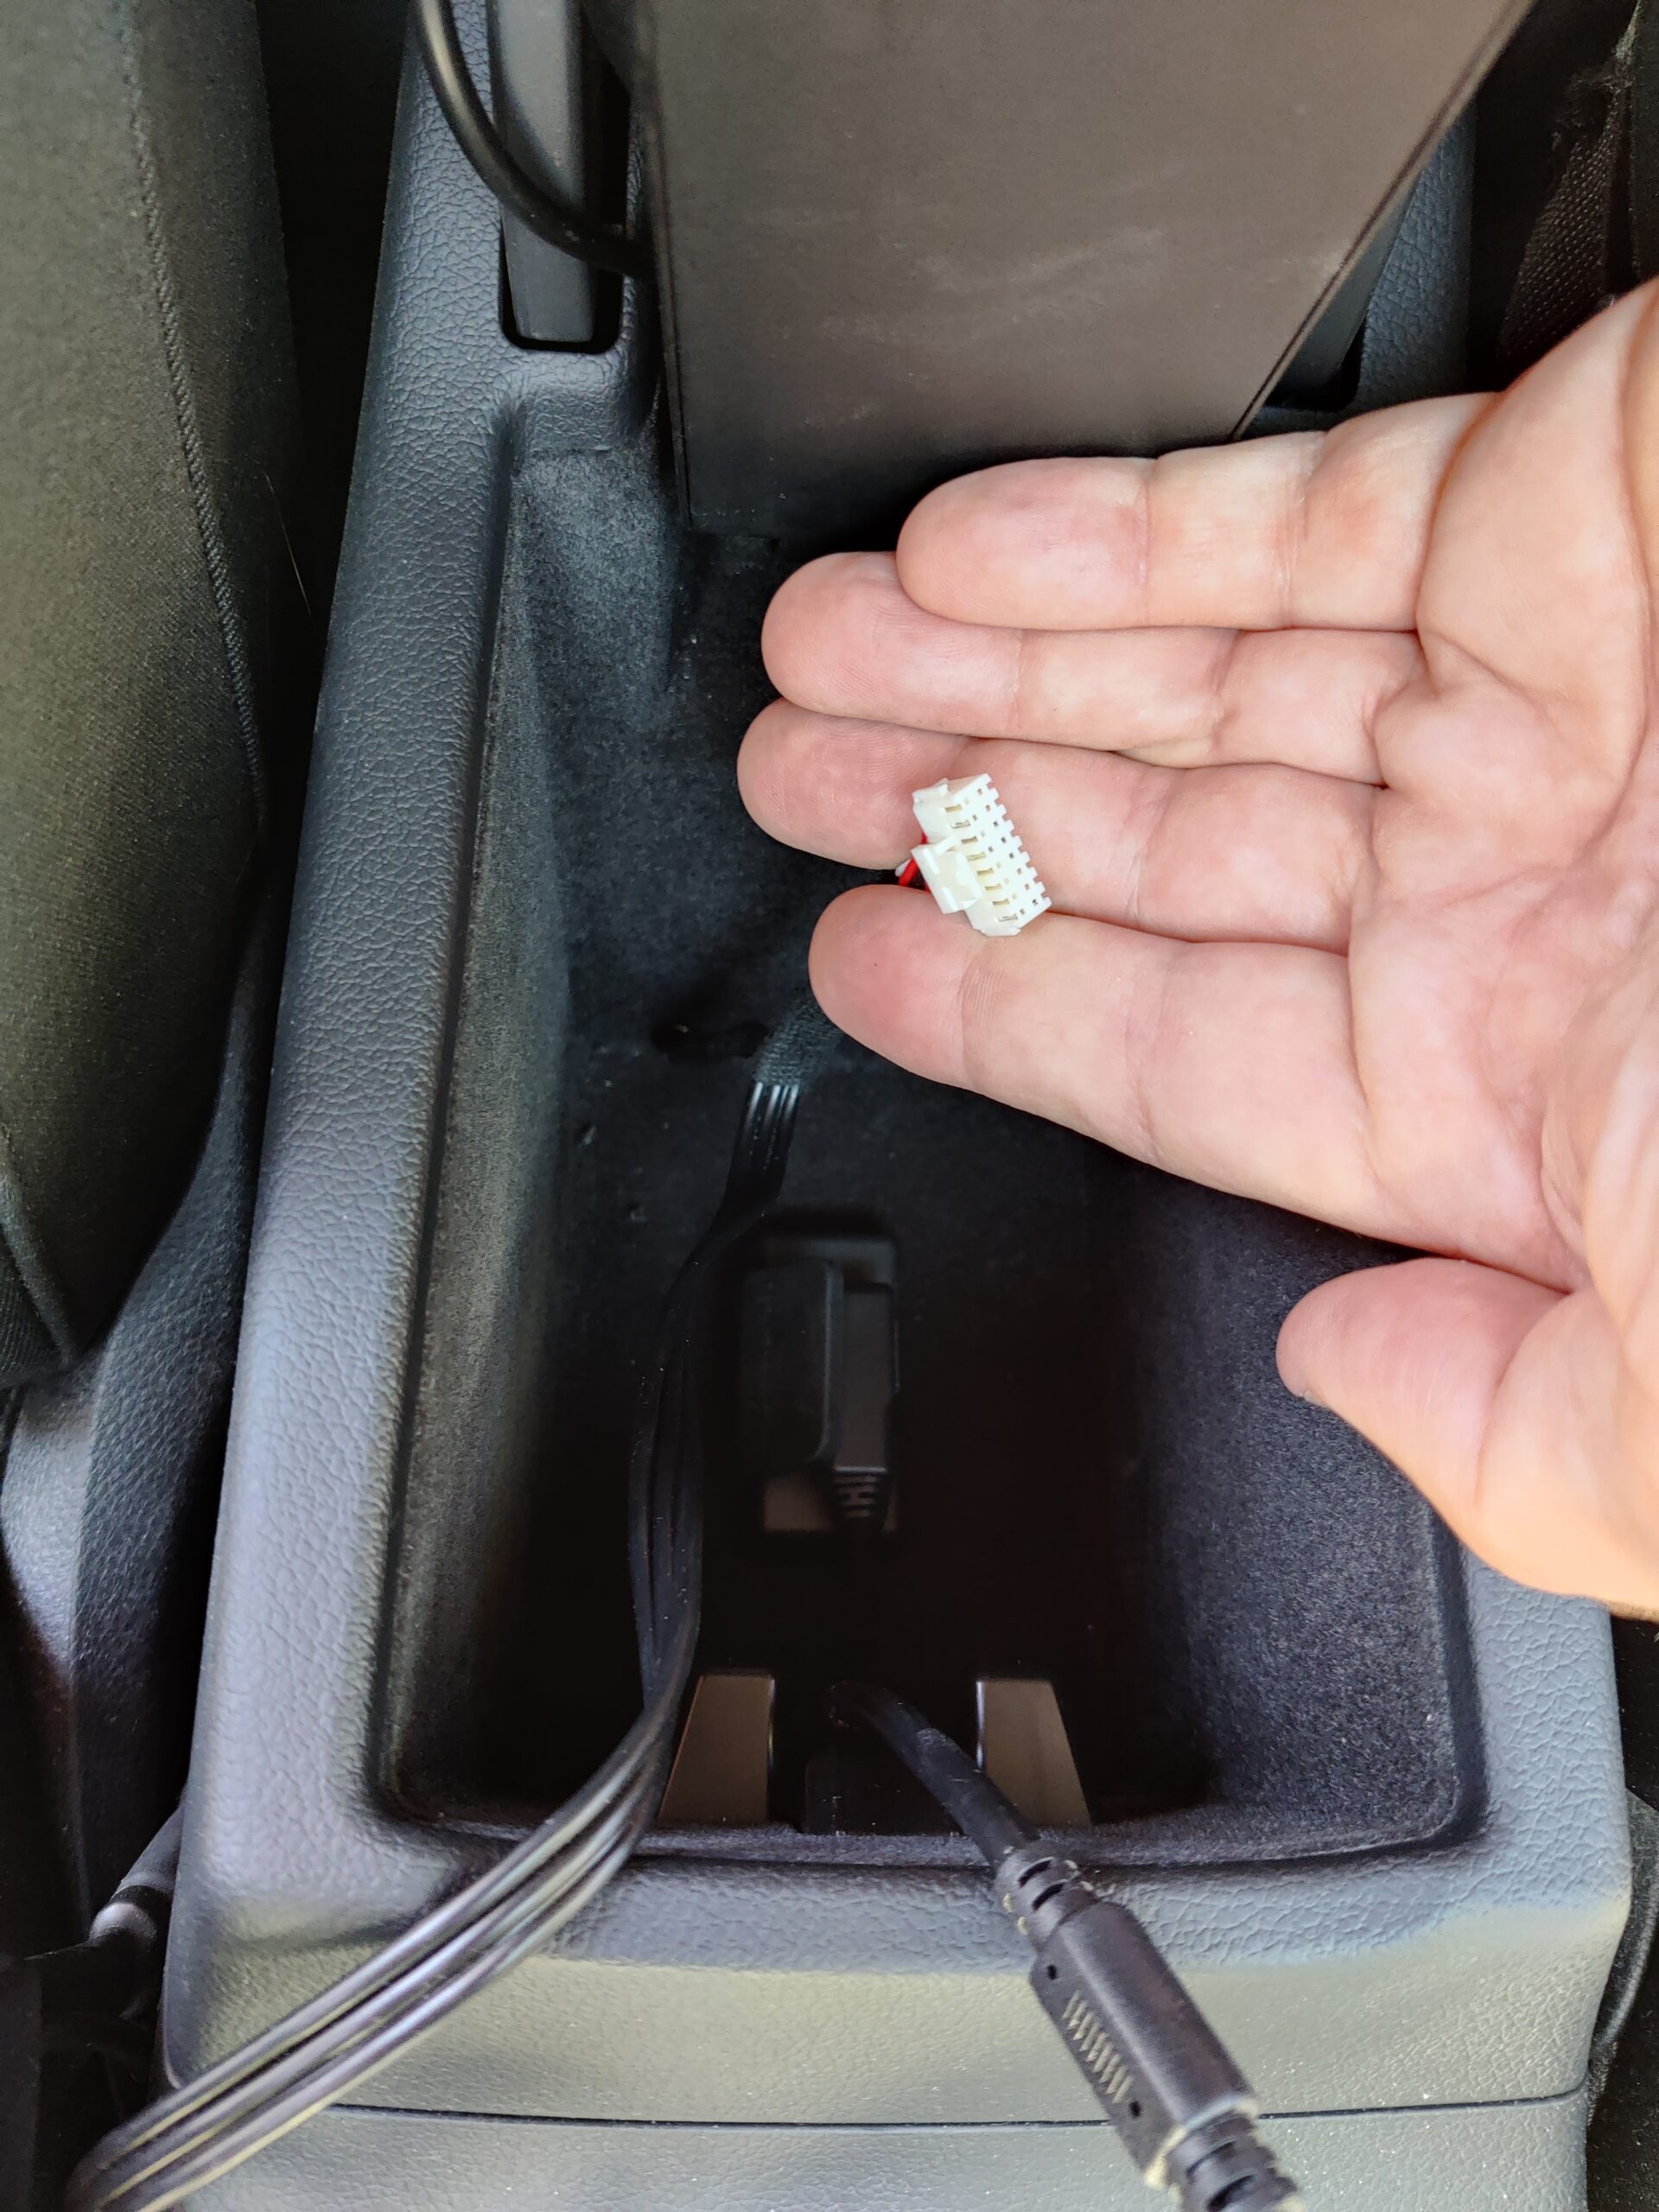
I took the power supply for the Mira Screen directly from the 12V socket behind the center armrest. To do this, I pinned the plug of the 12V socket, soldered a wire to 12V and GND and pinned it back in. At the other end of the two wires I crimped a 13.5mm Tamiya coupling. In addition, the 12V line has also received air traffic control. The Mira Screen connection cable, which is threaded through the shelf, is now threaded onto this Tamiya coupling and the corresponding Tamiya plug is crimped on. To get the cable through the shelf, I simply drilled a 7mm hole and put a rubber edge protector into the hole.
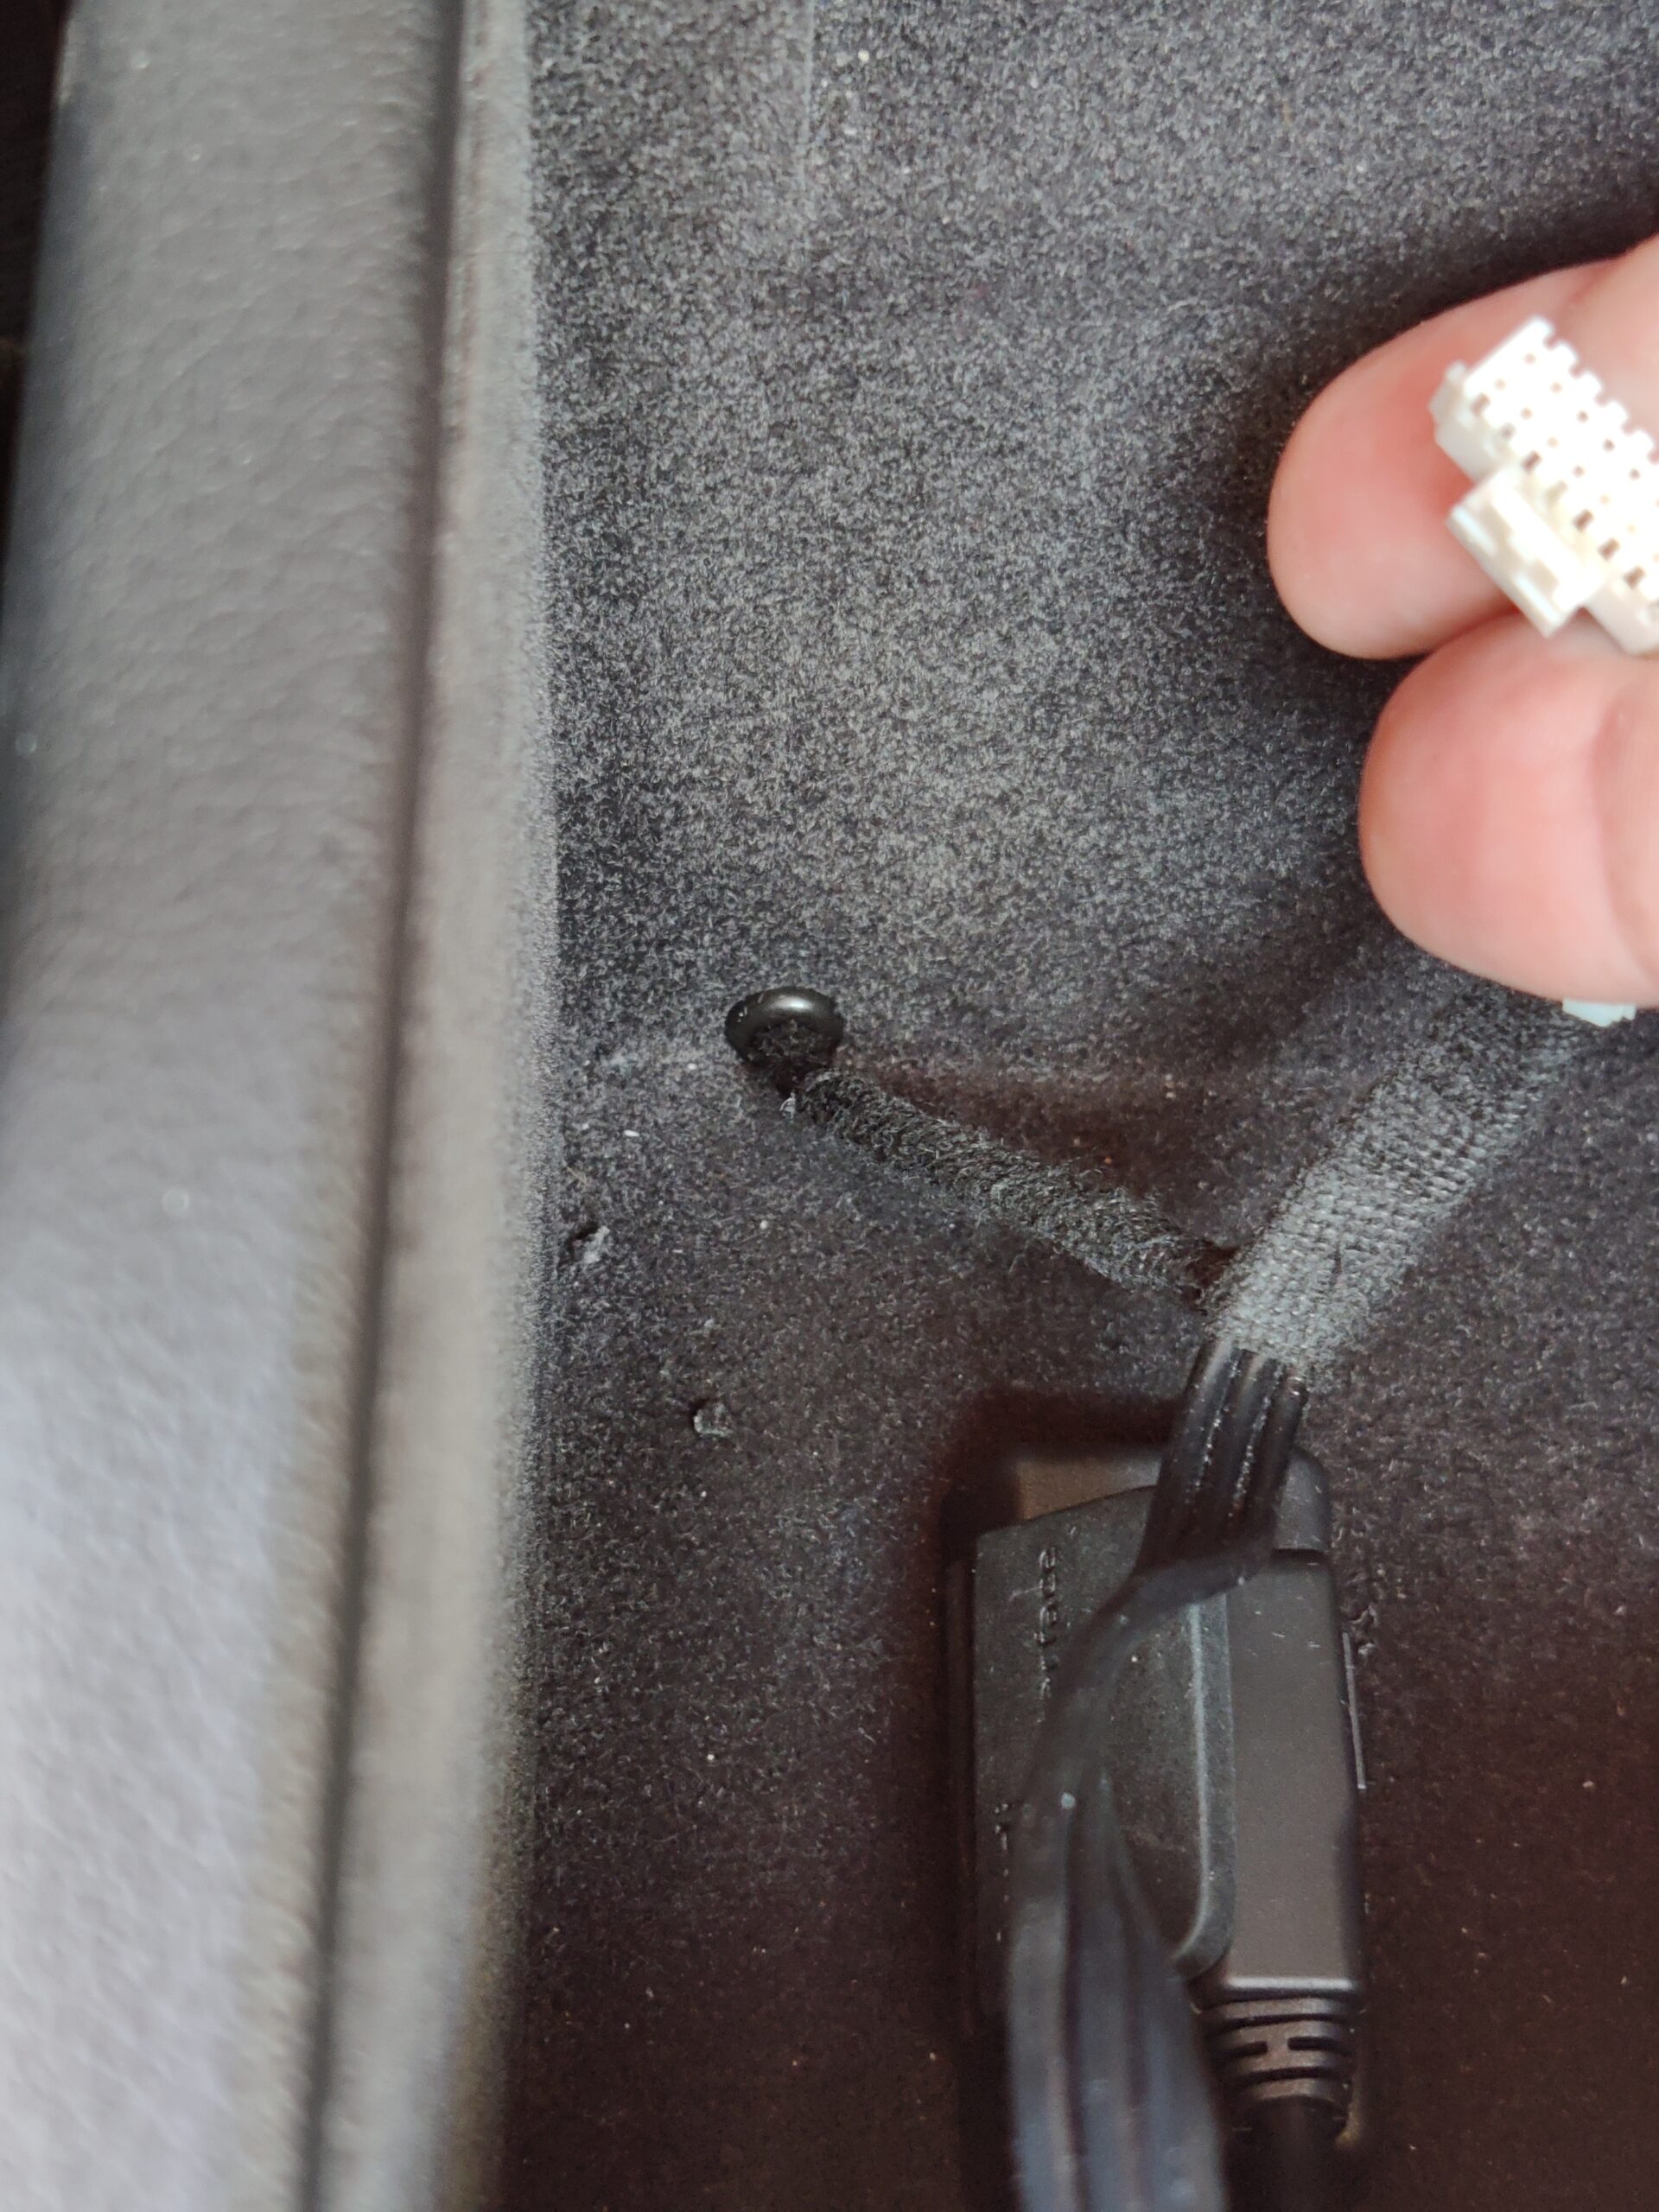
Cable entry
Once the cable is connected, the box can be plugged in and stowed in the shelf.
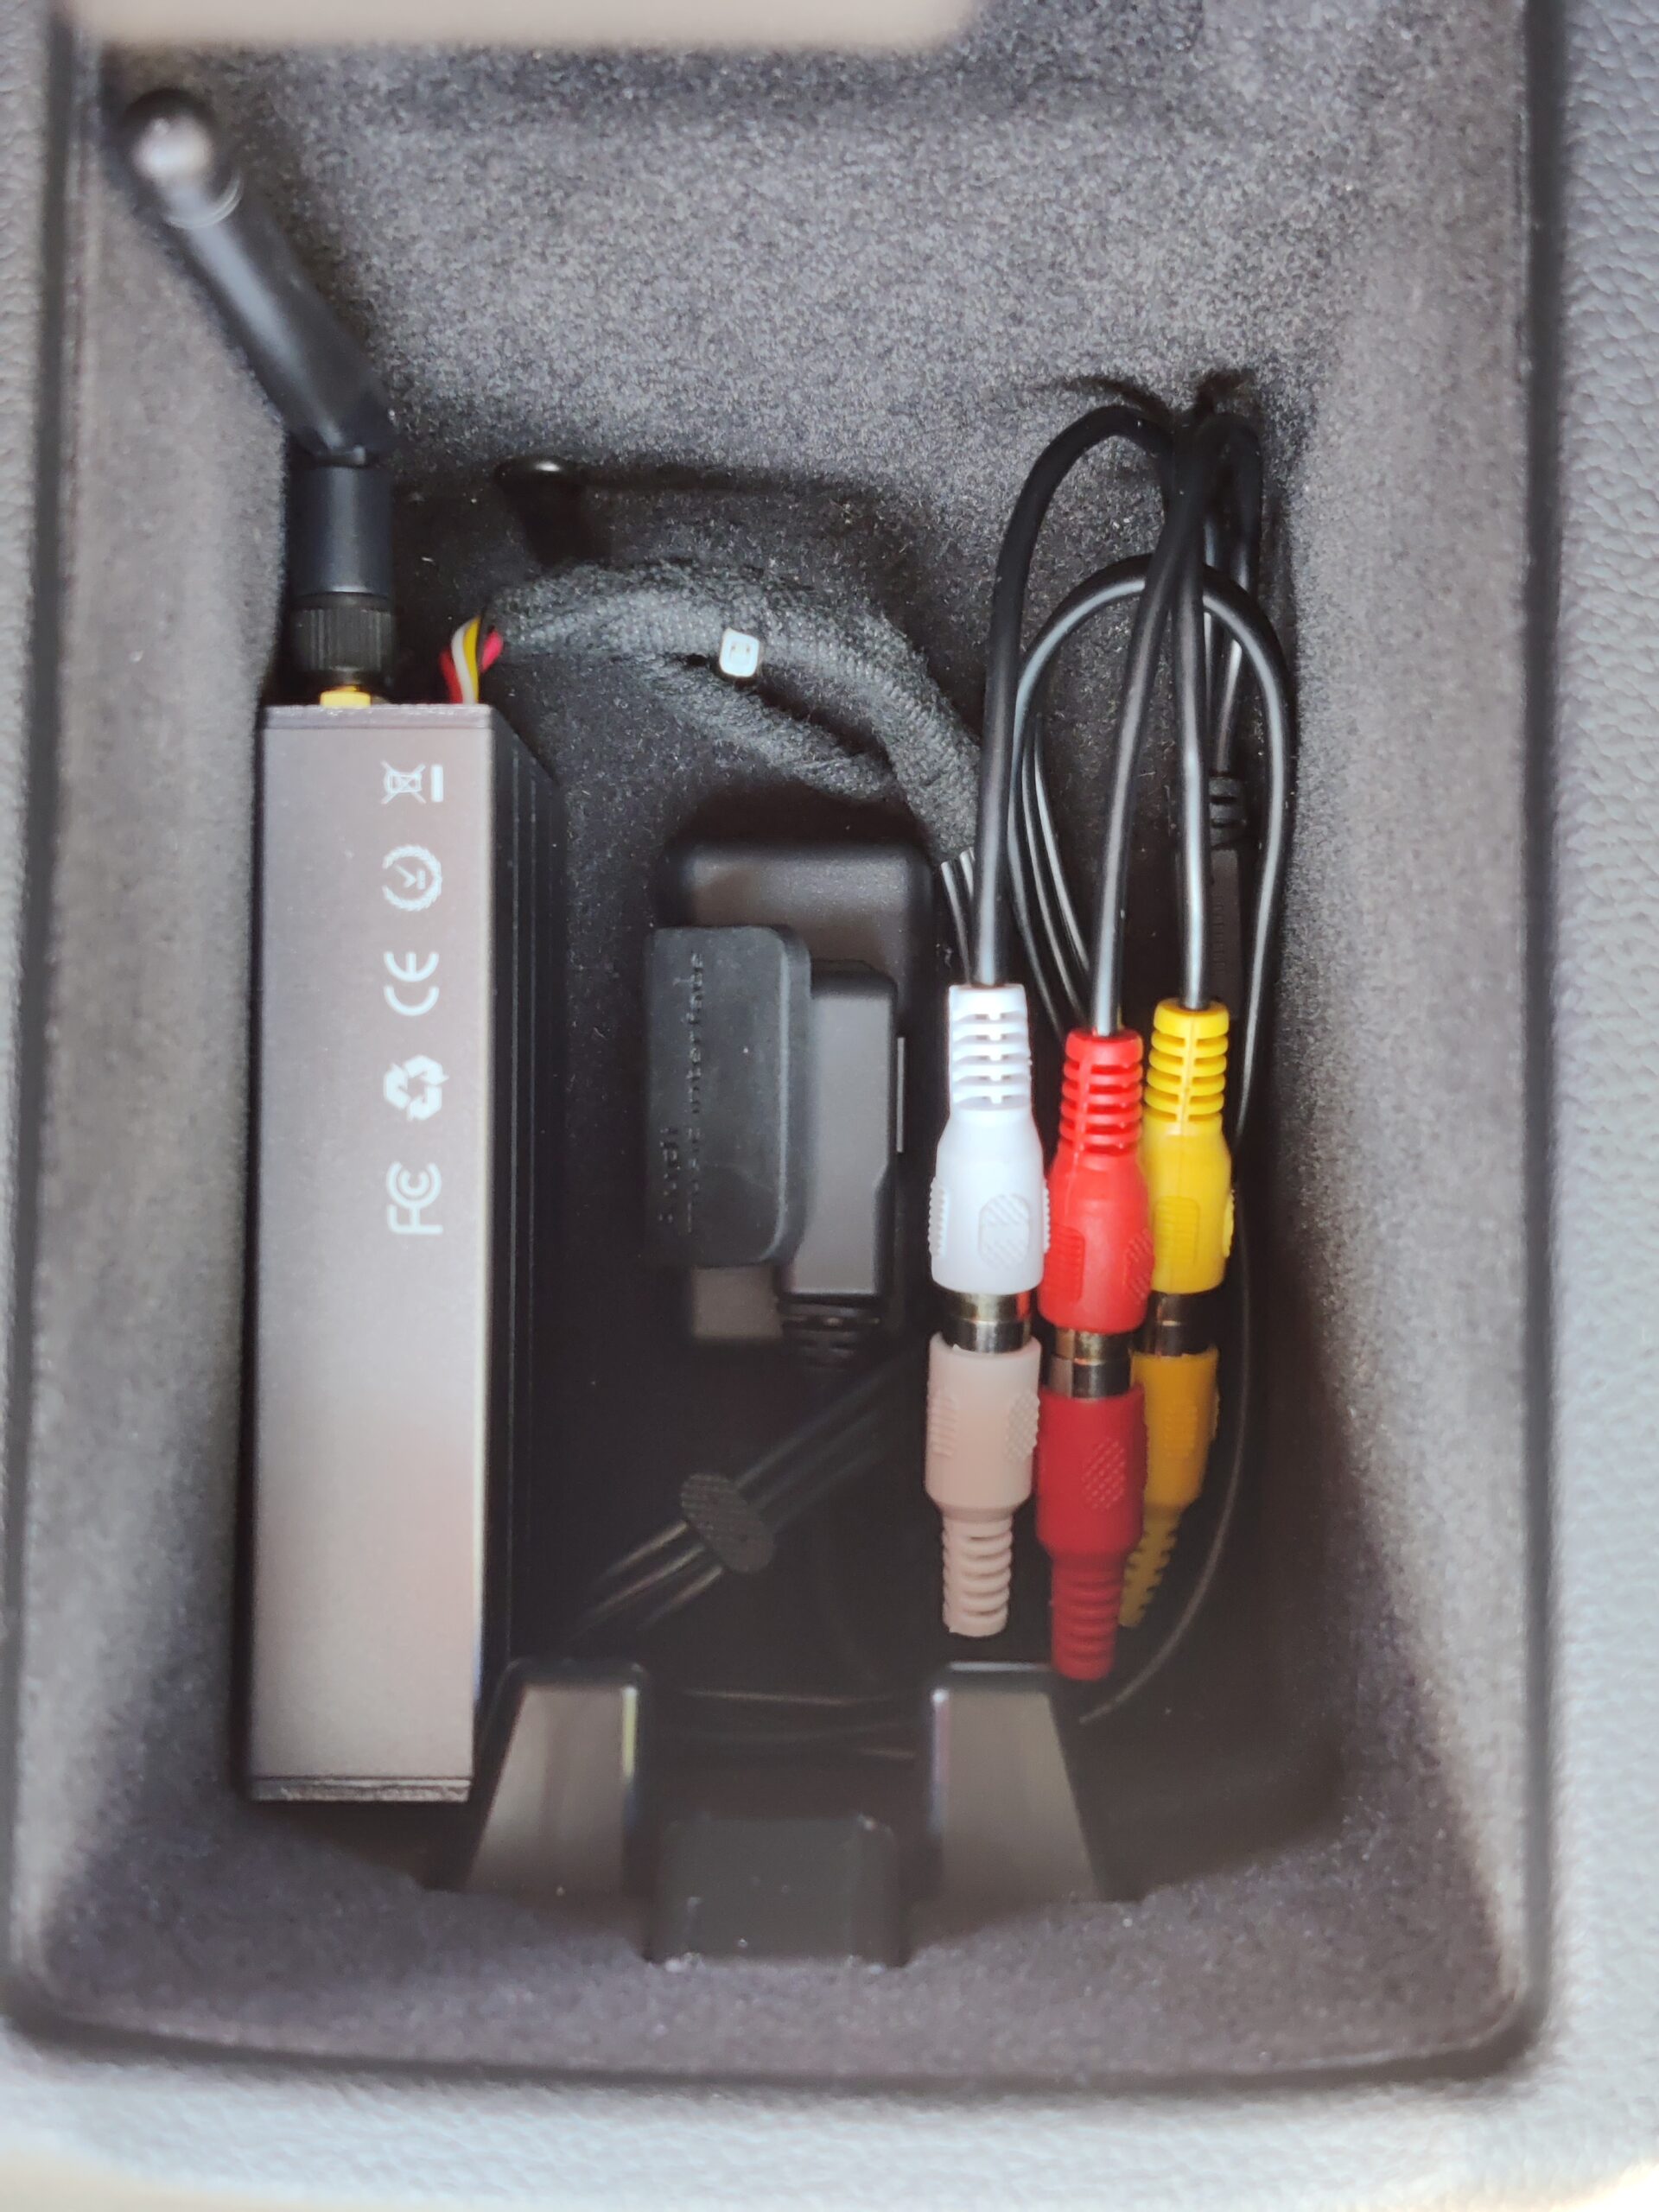 In the picture above, the box is fully connected and can be seen in the center armrest shelf.
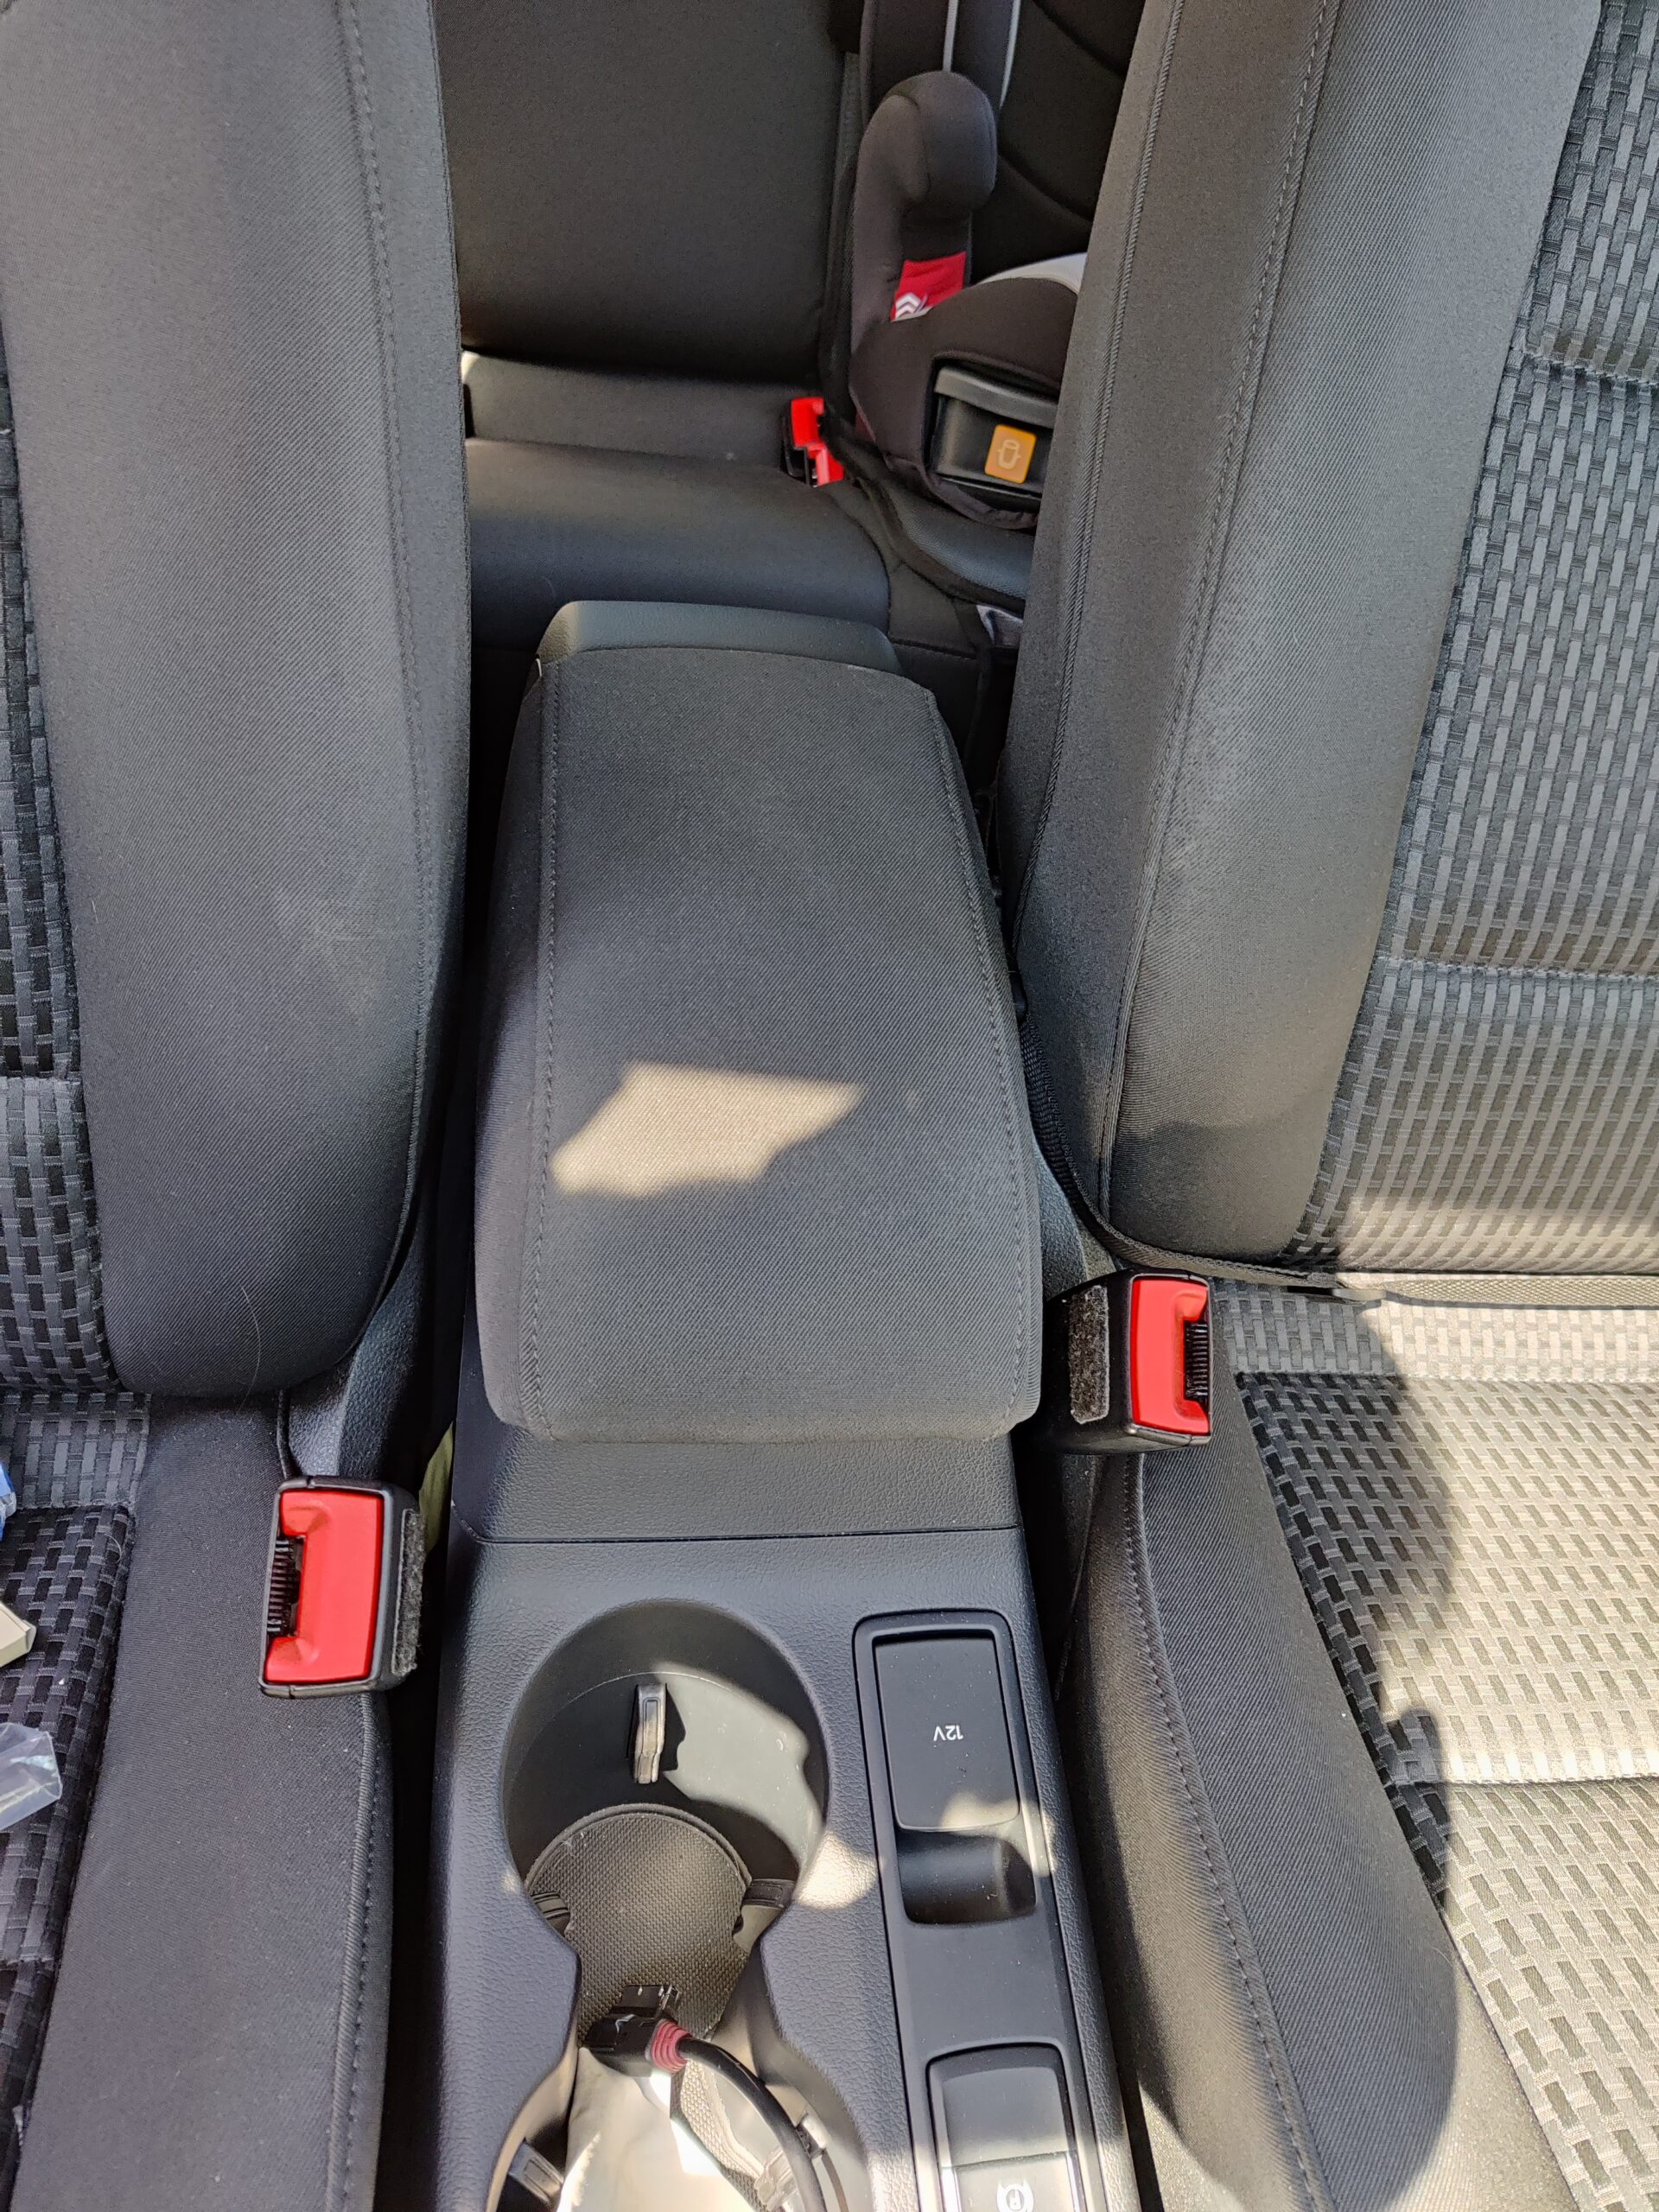 If the backrest is folded down, nothing can be seen of the box. They can also be removed quickly and easily after unplugging the connector.
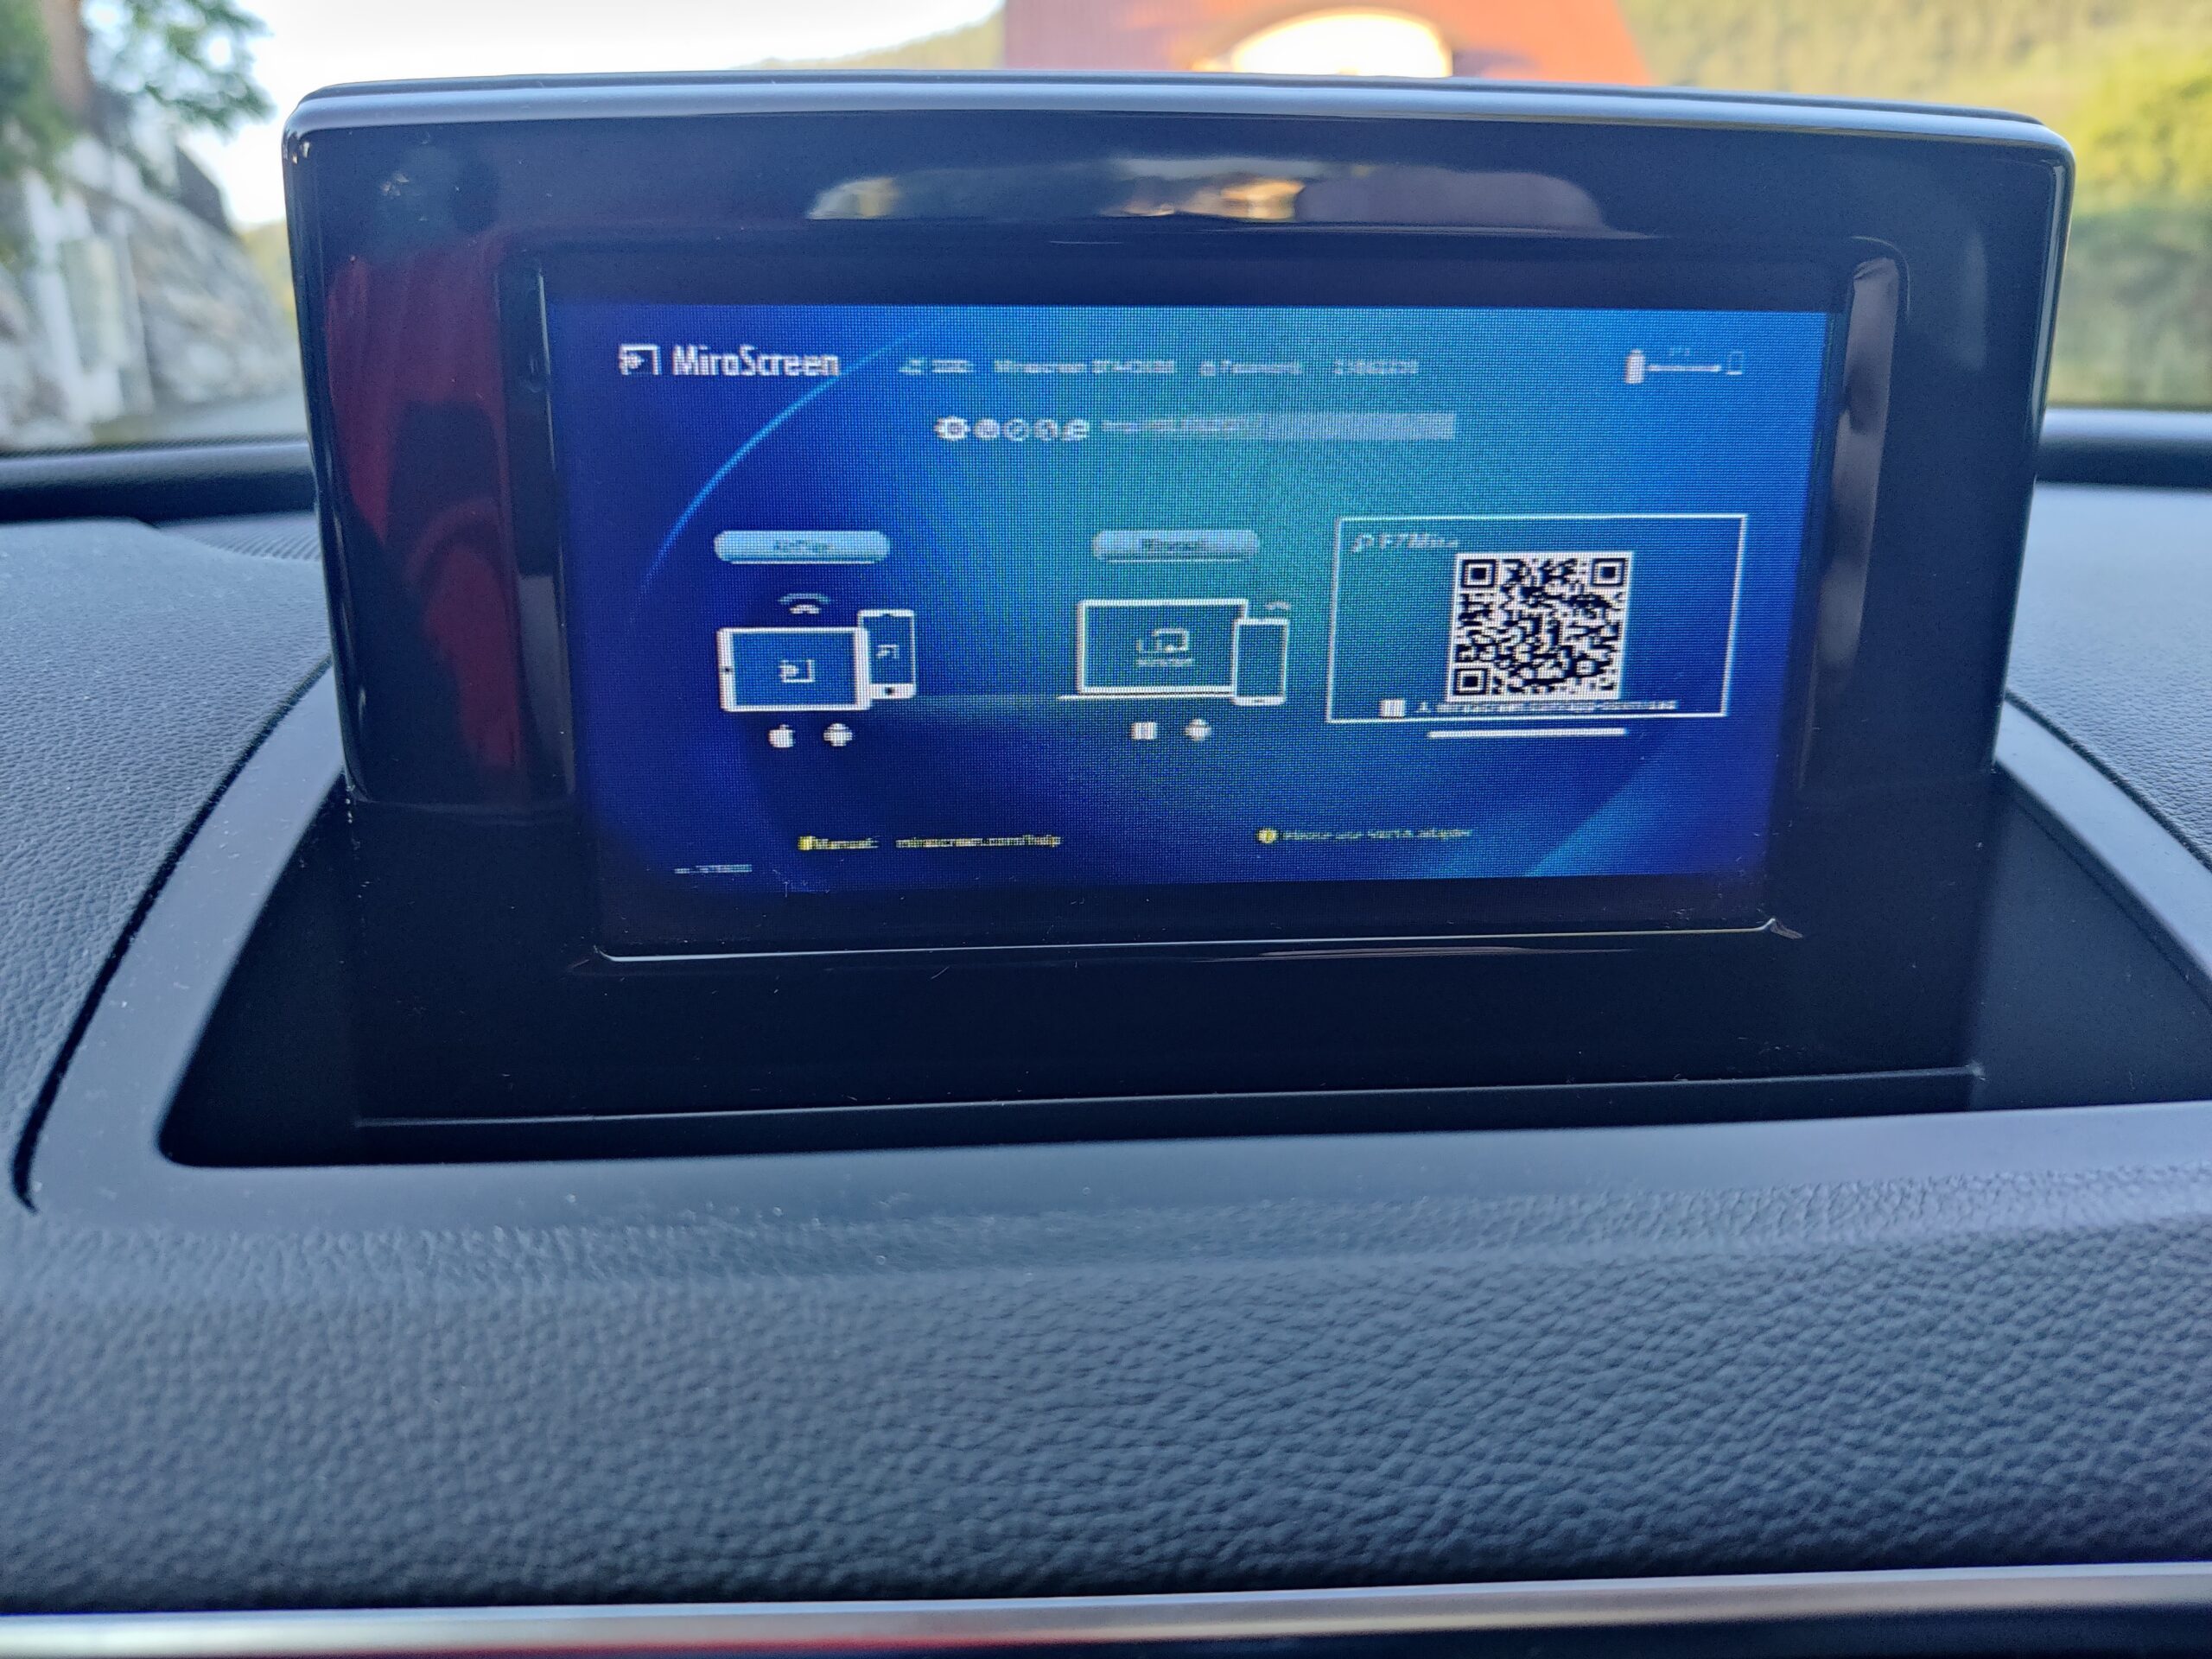
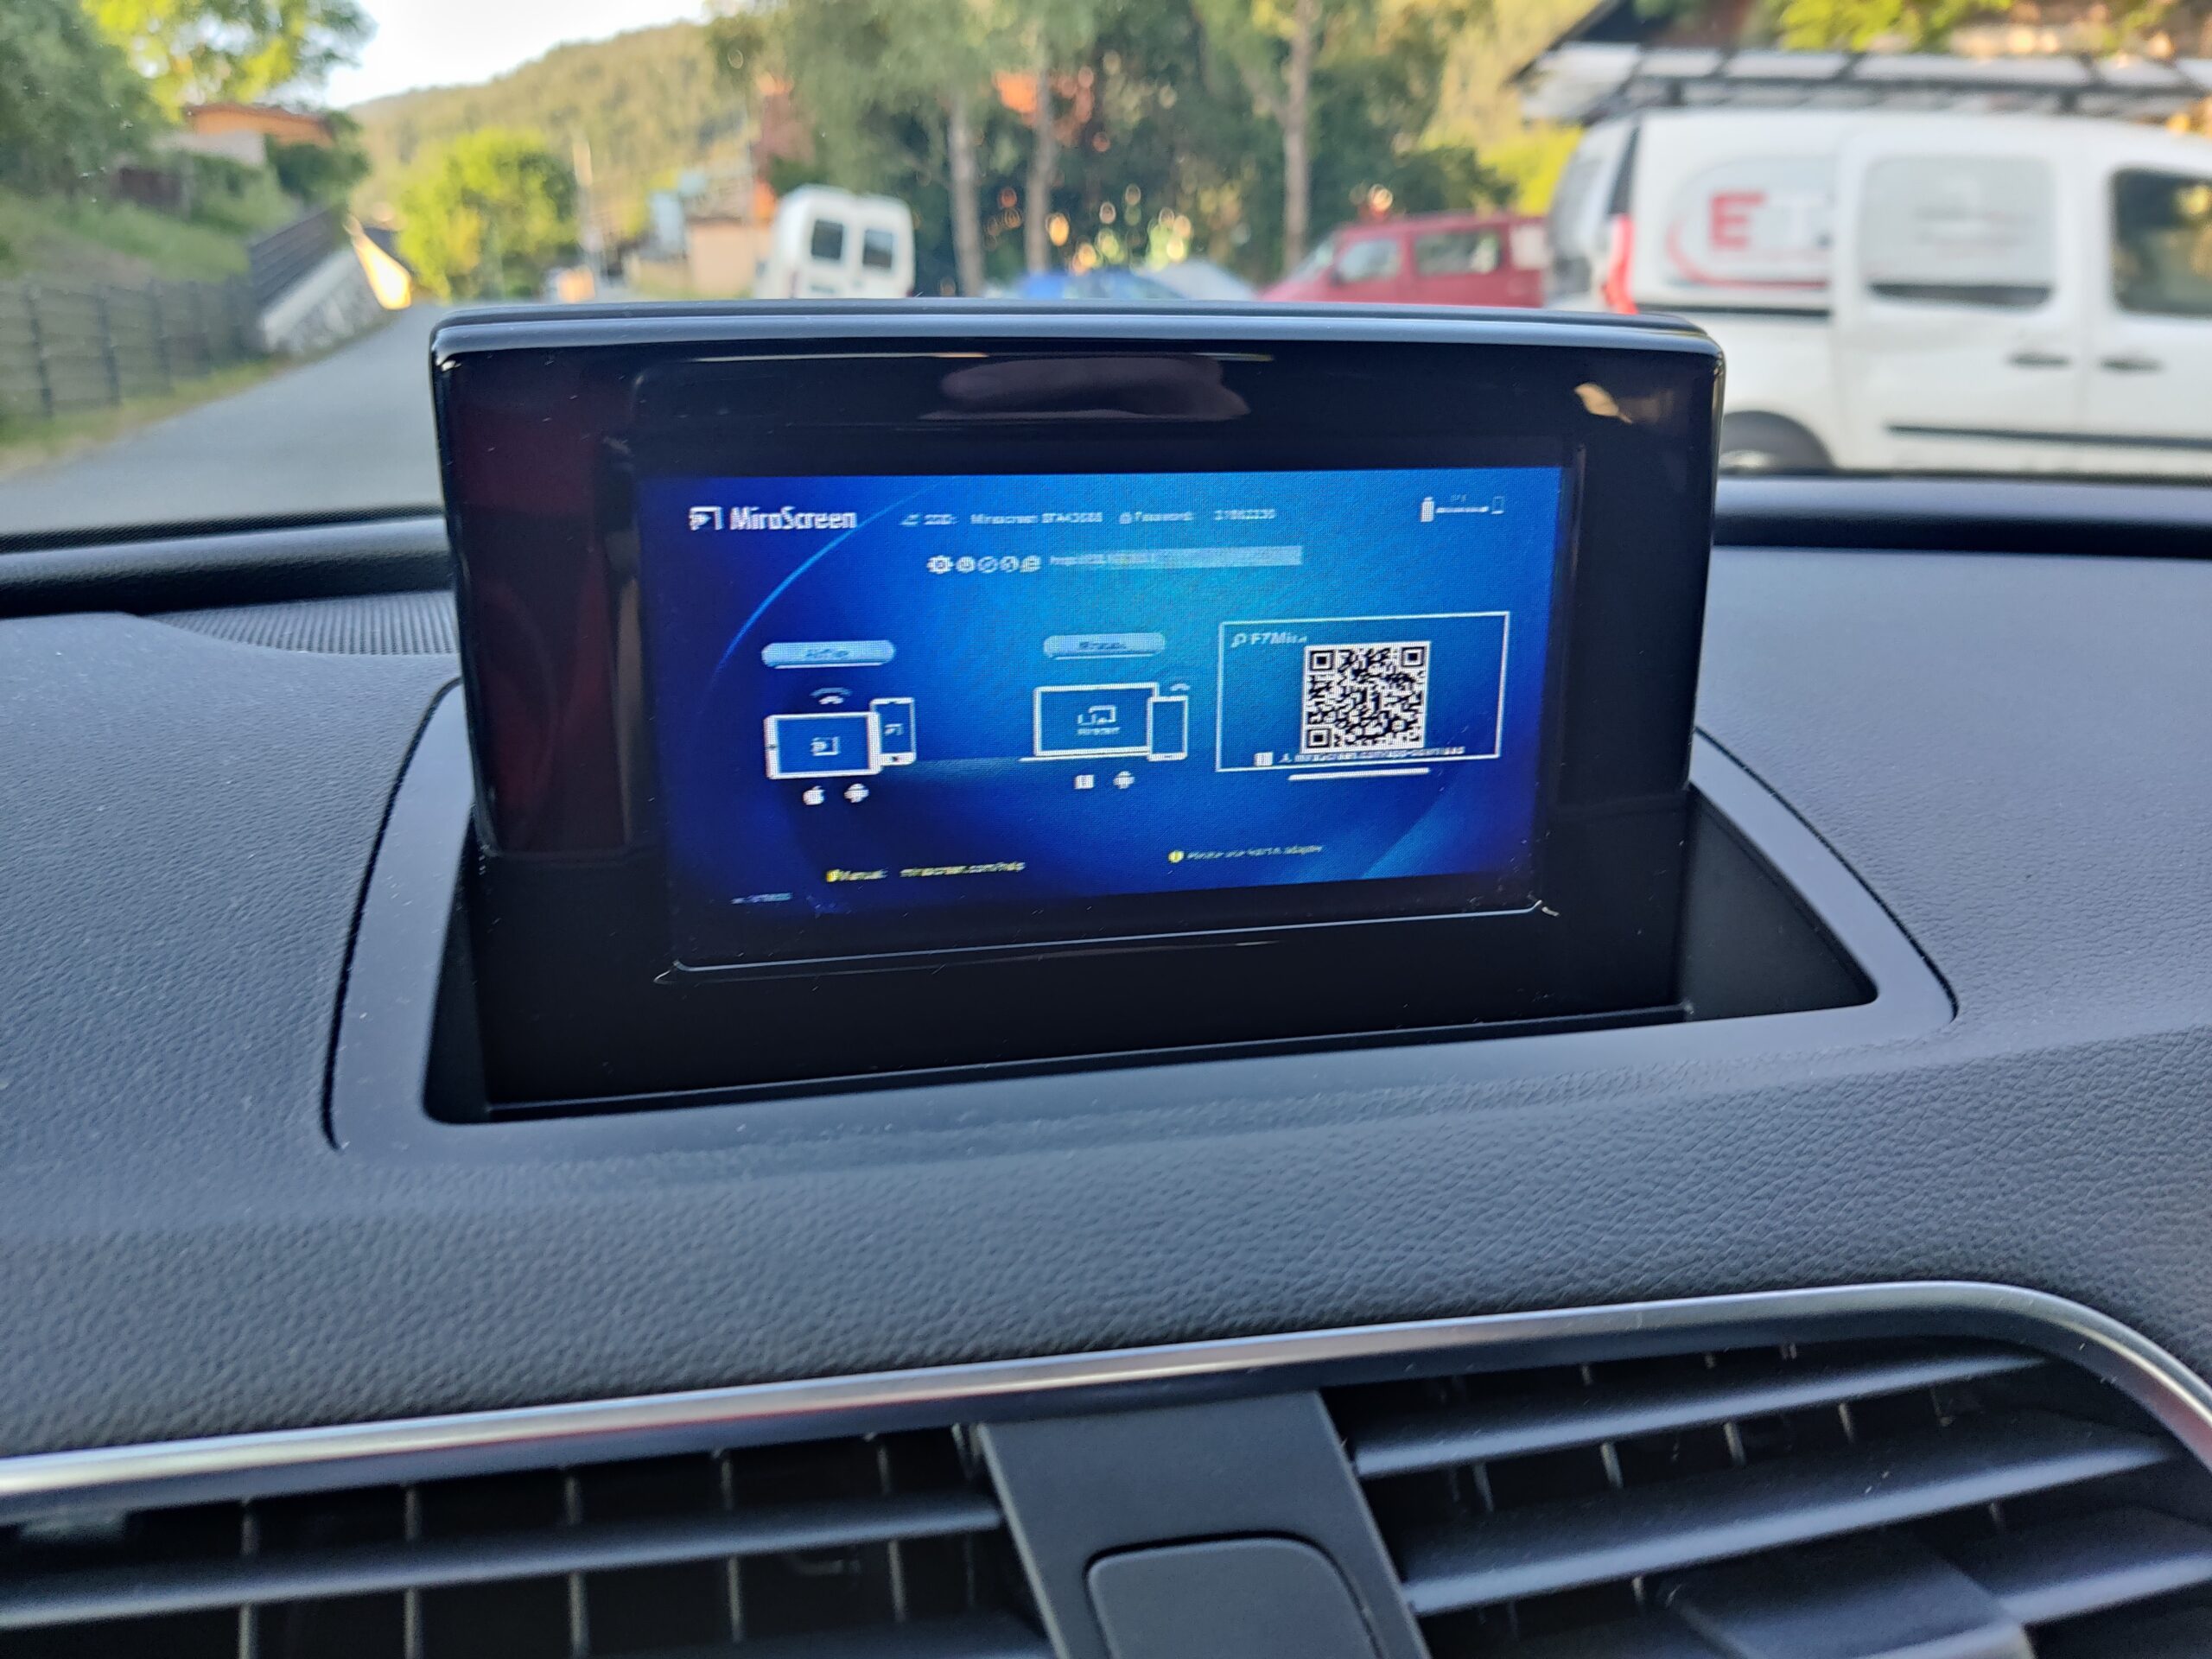
Now that the ignition is switched on, you can select “Media” in the multimedia system and then click on CVBS video input. The start screen of the Mira Screen Box should now be visible. The Mira Screen Box can also be configured by connecting the mobile phone via WLAN with the SSID “MIRAxxxx” and entering the IP address that is specified on the start screen in the smartphone’s browser. The SSID password is also on the start screen.
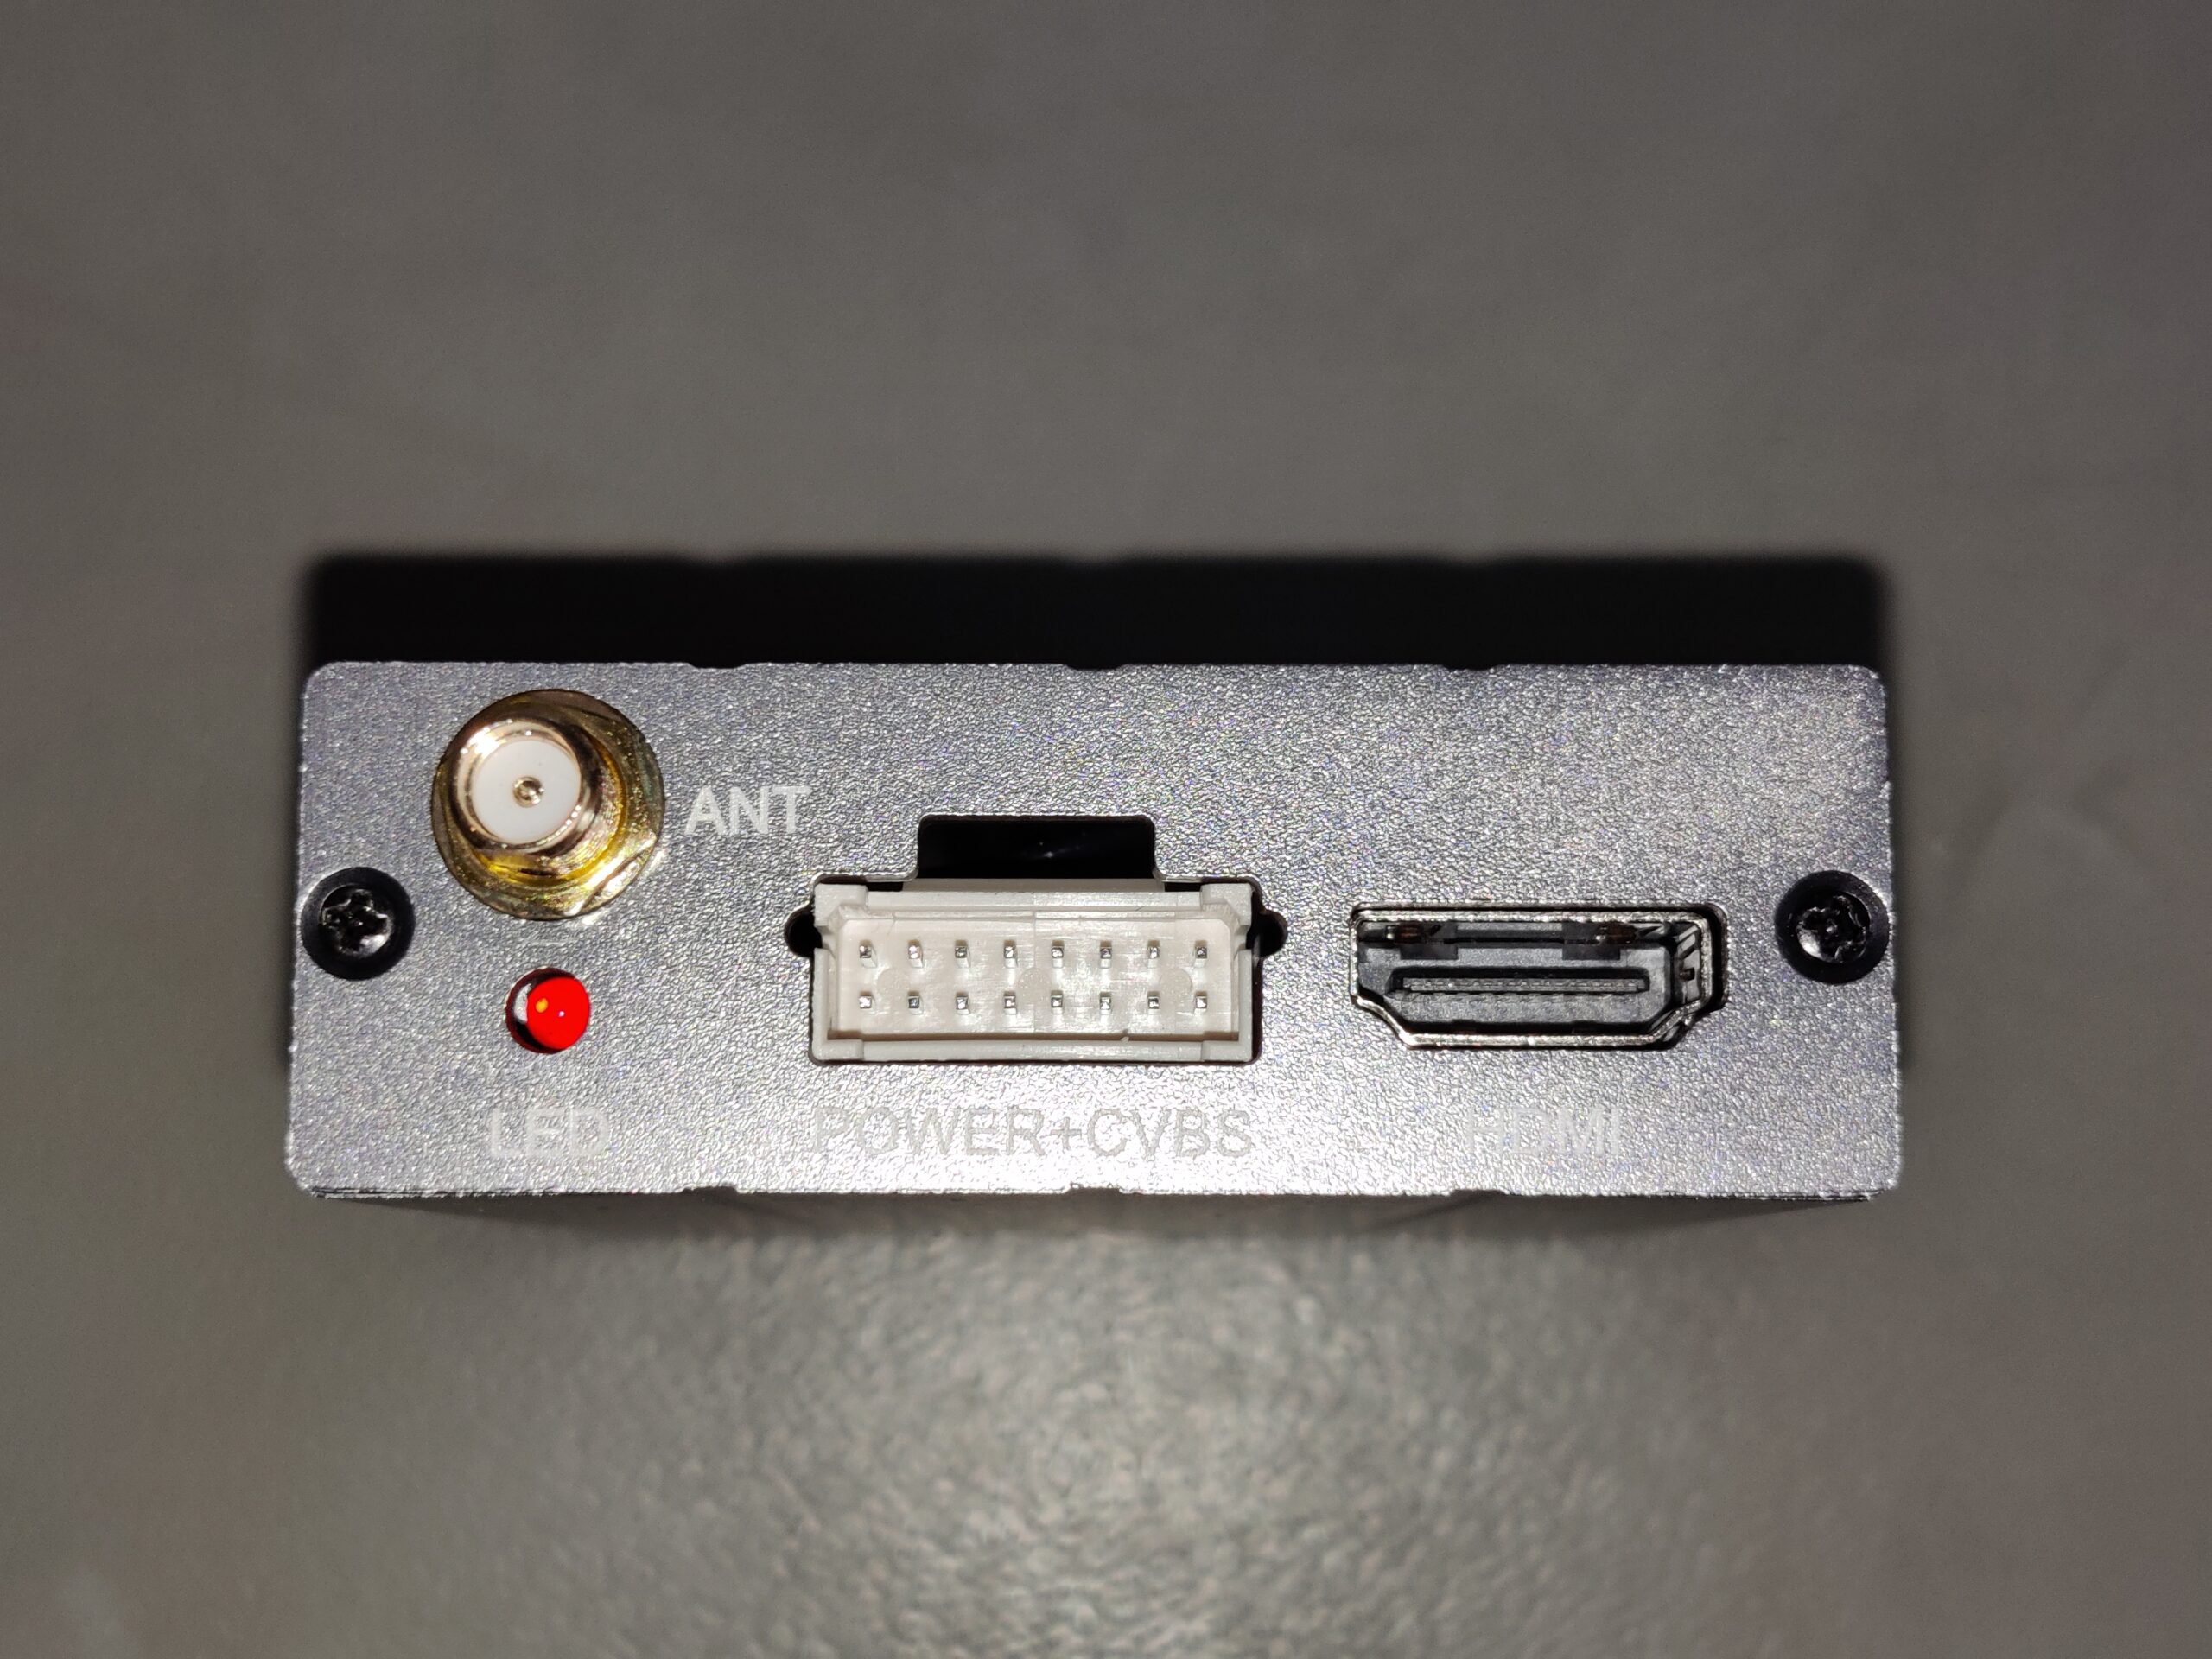
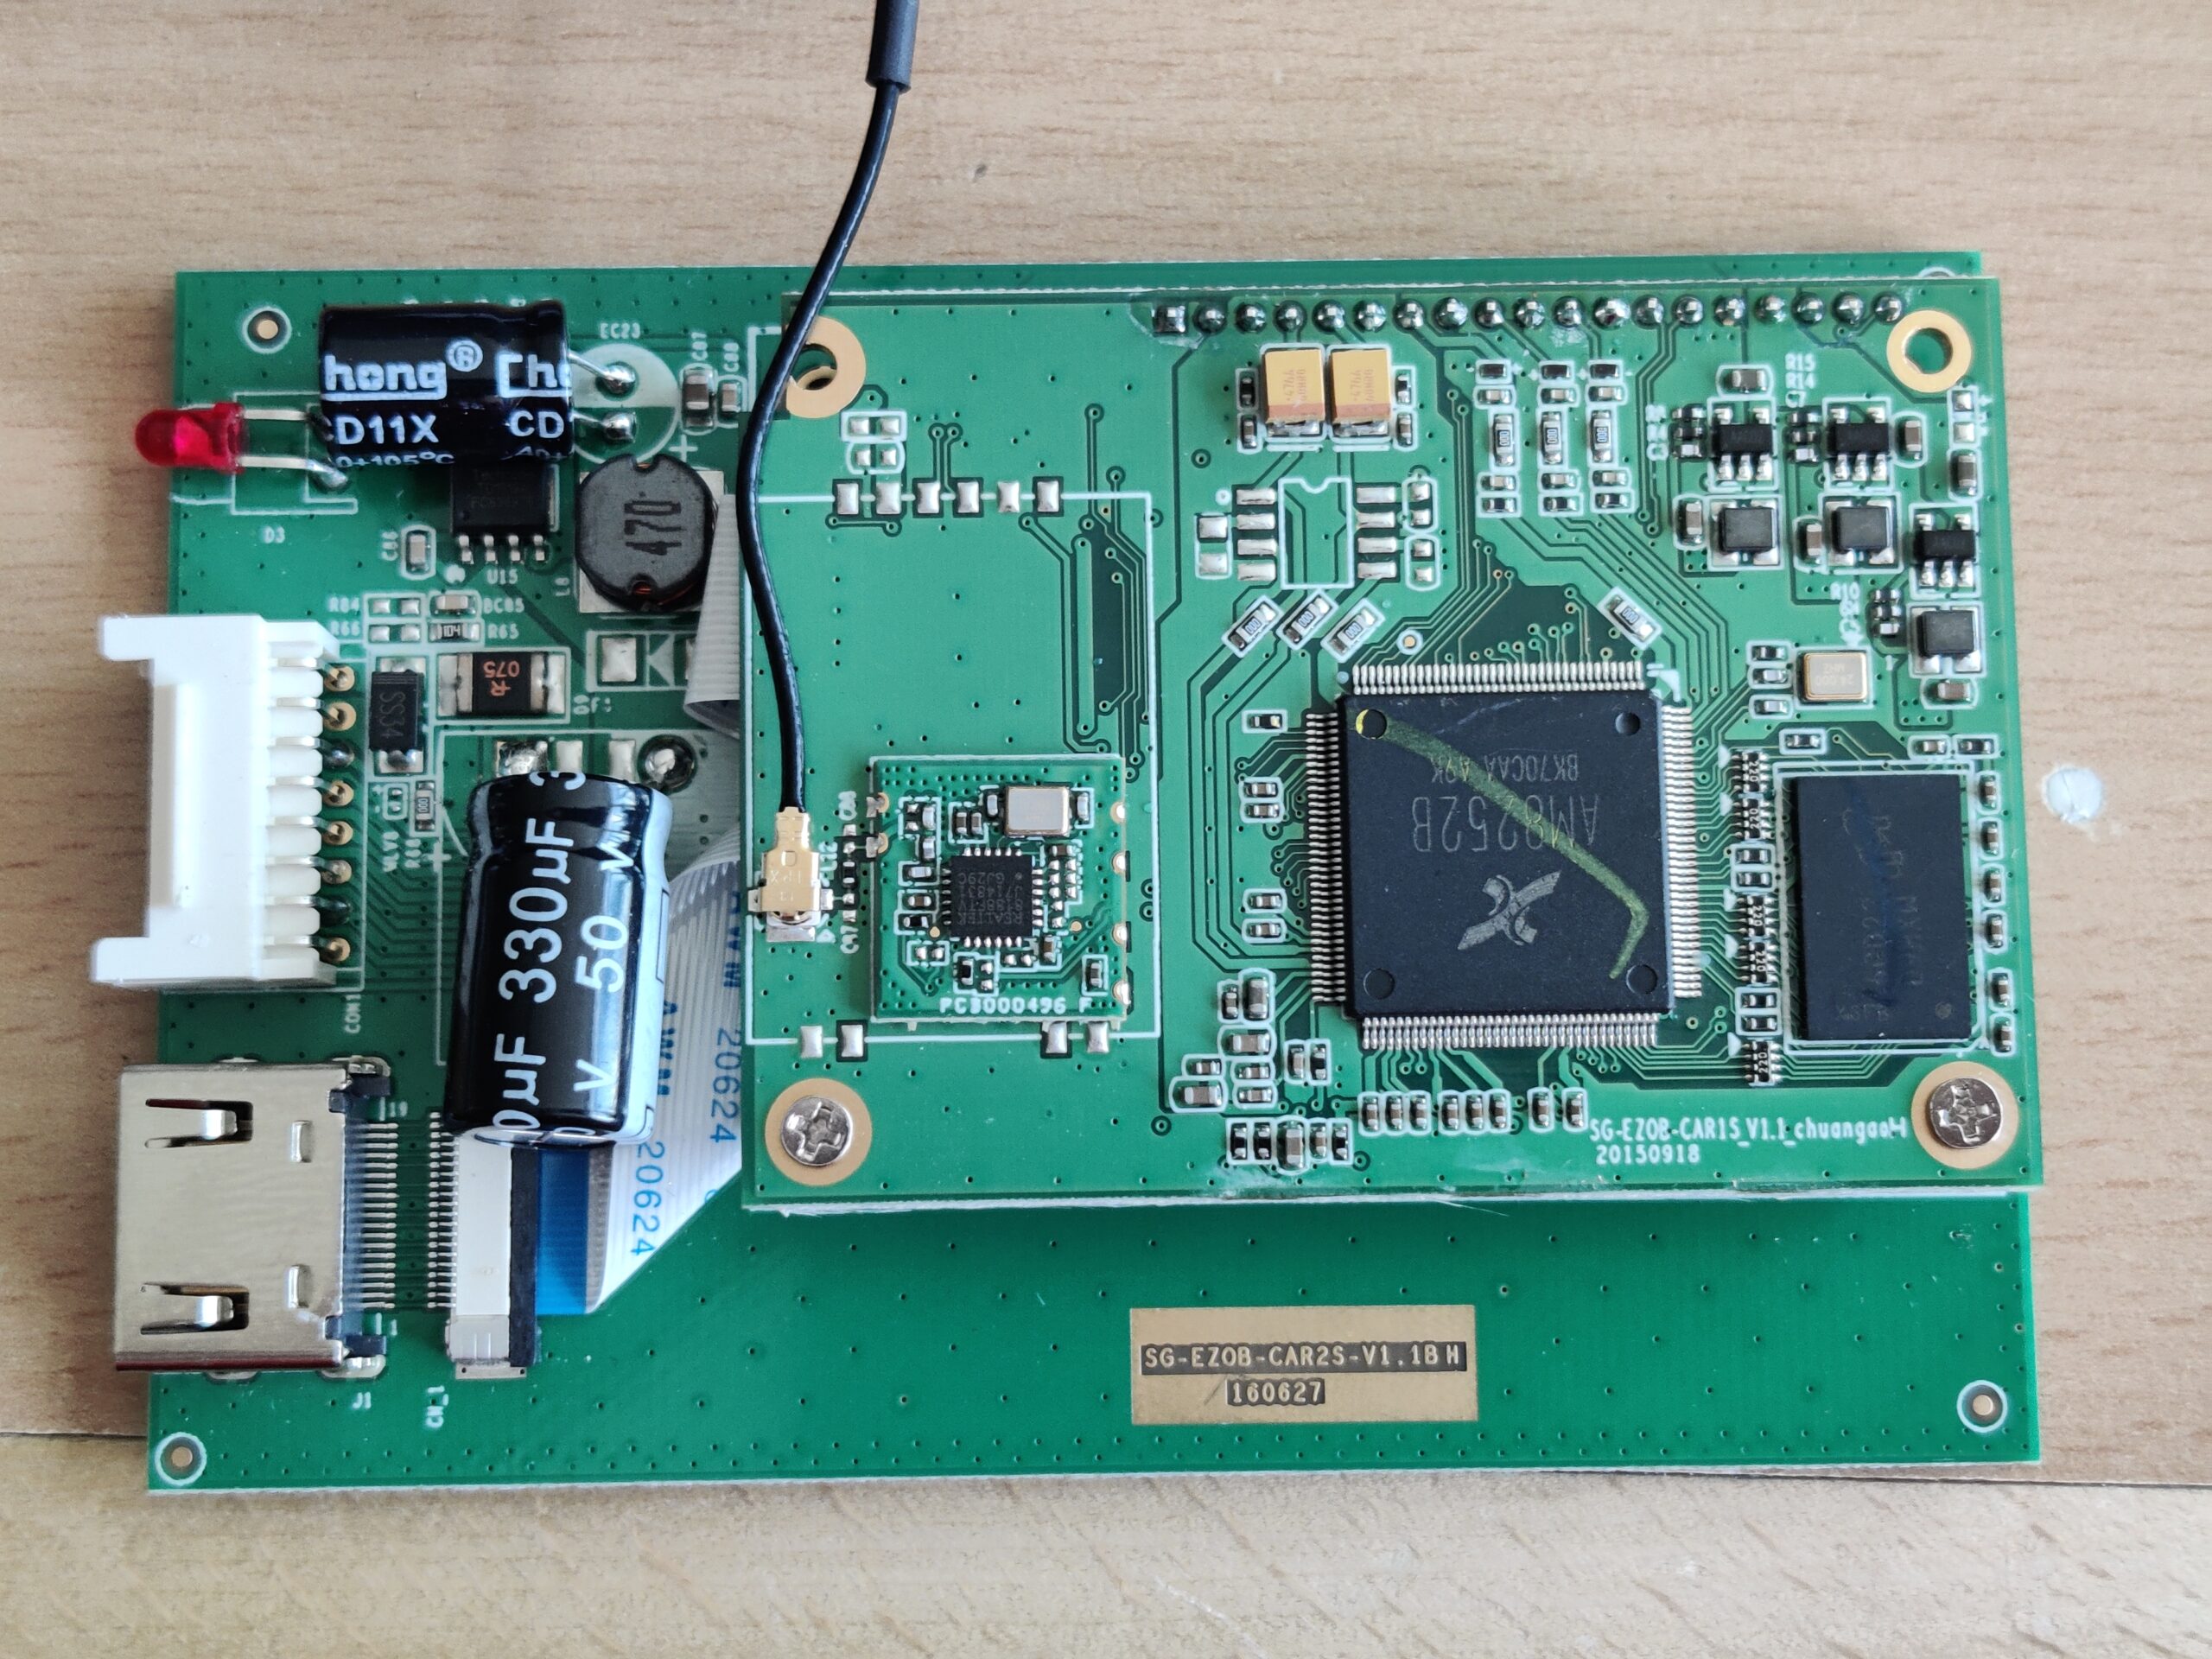
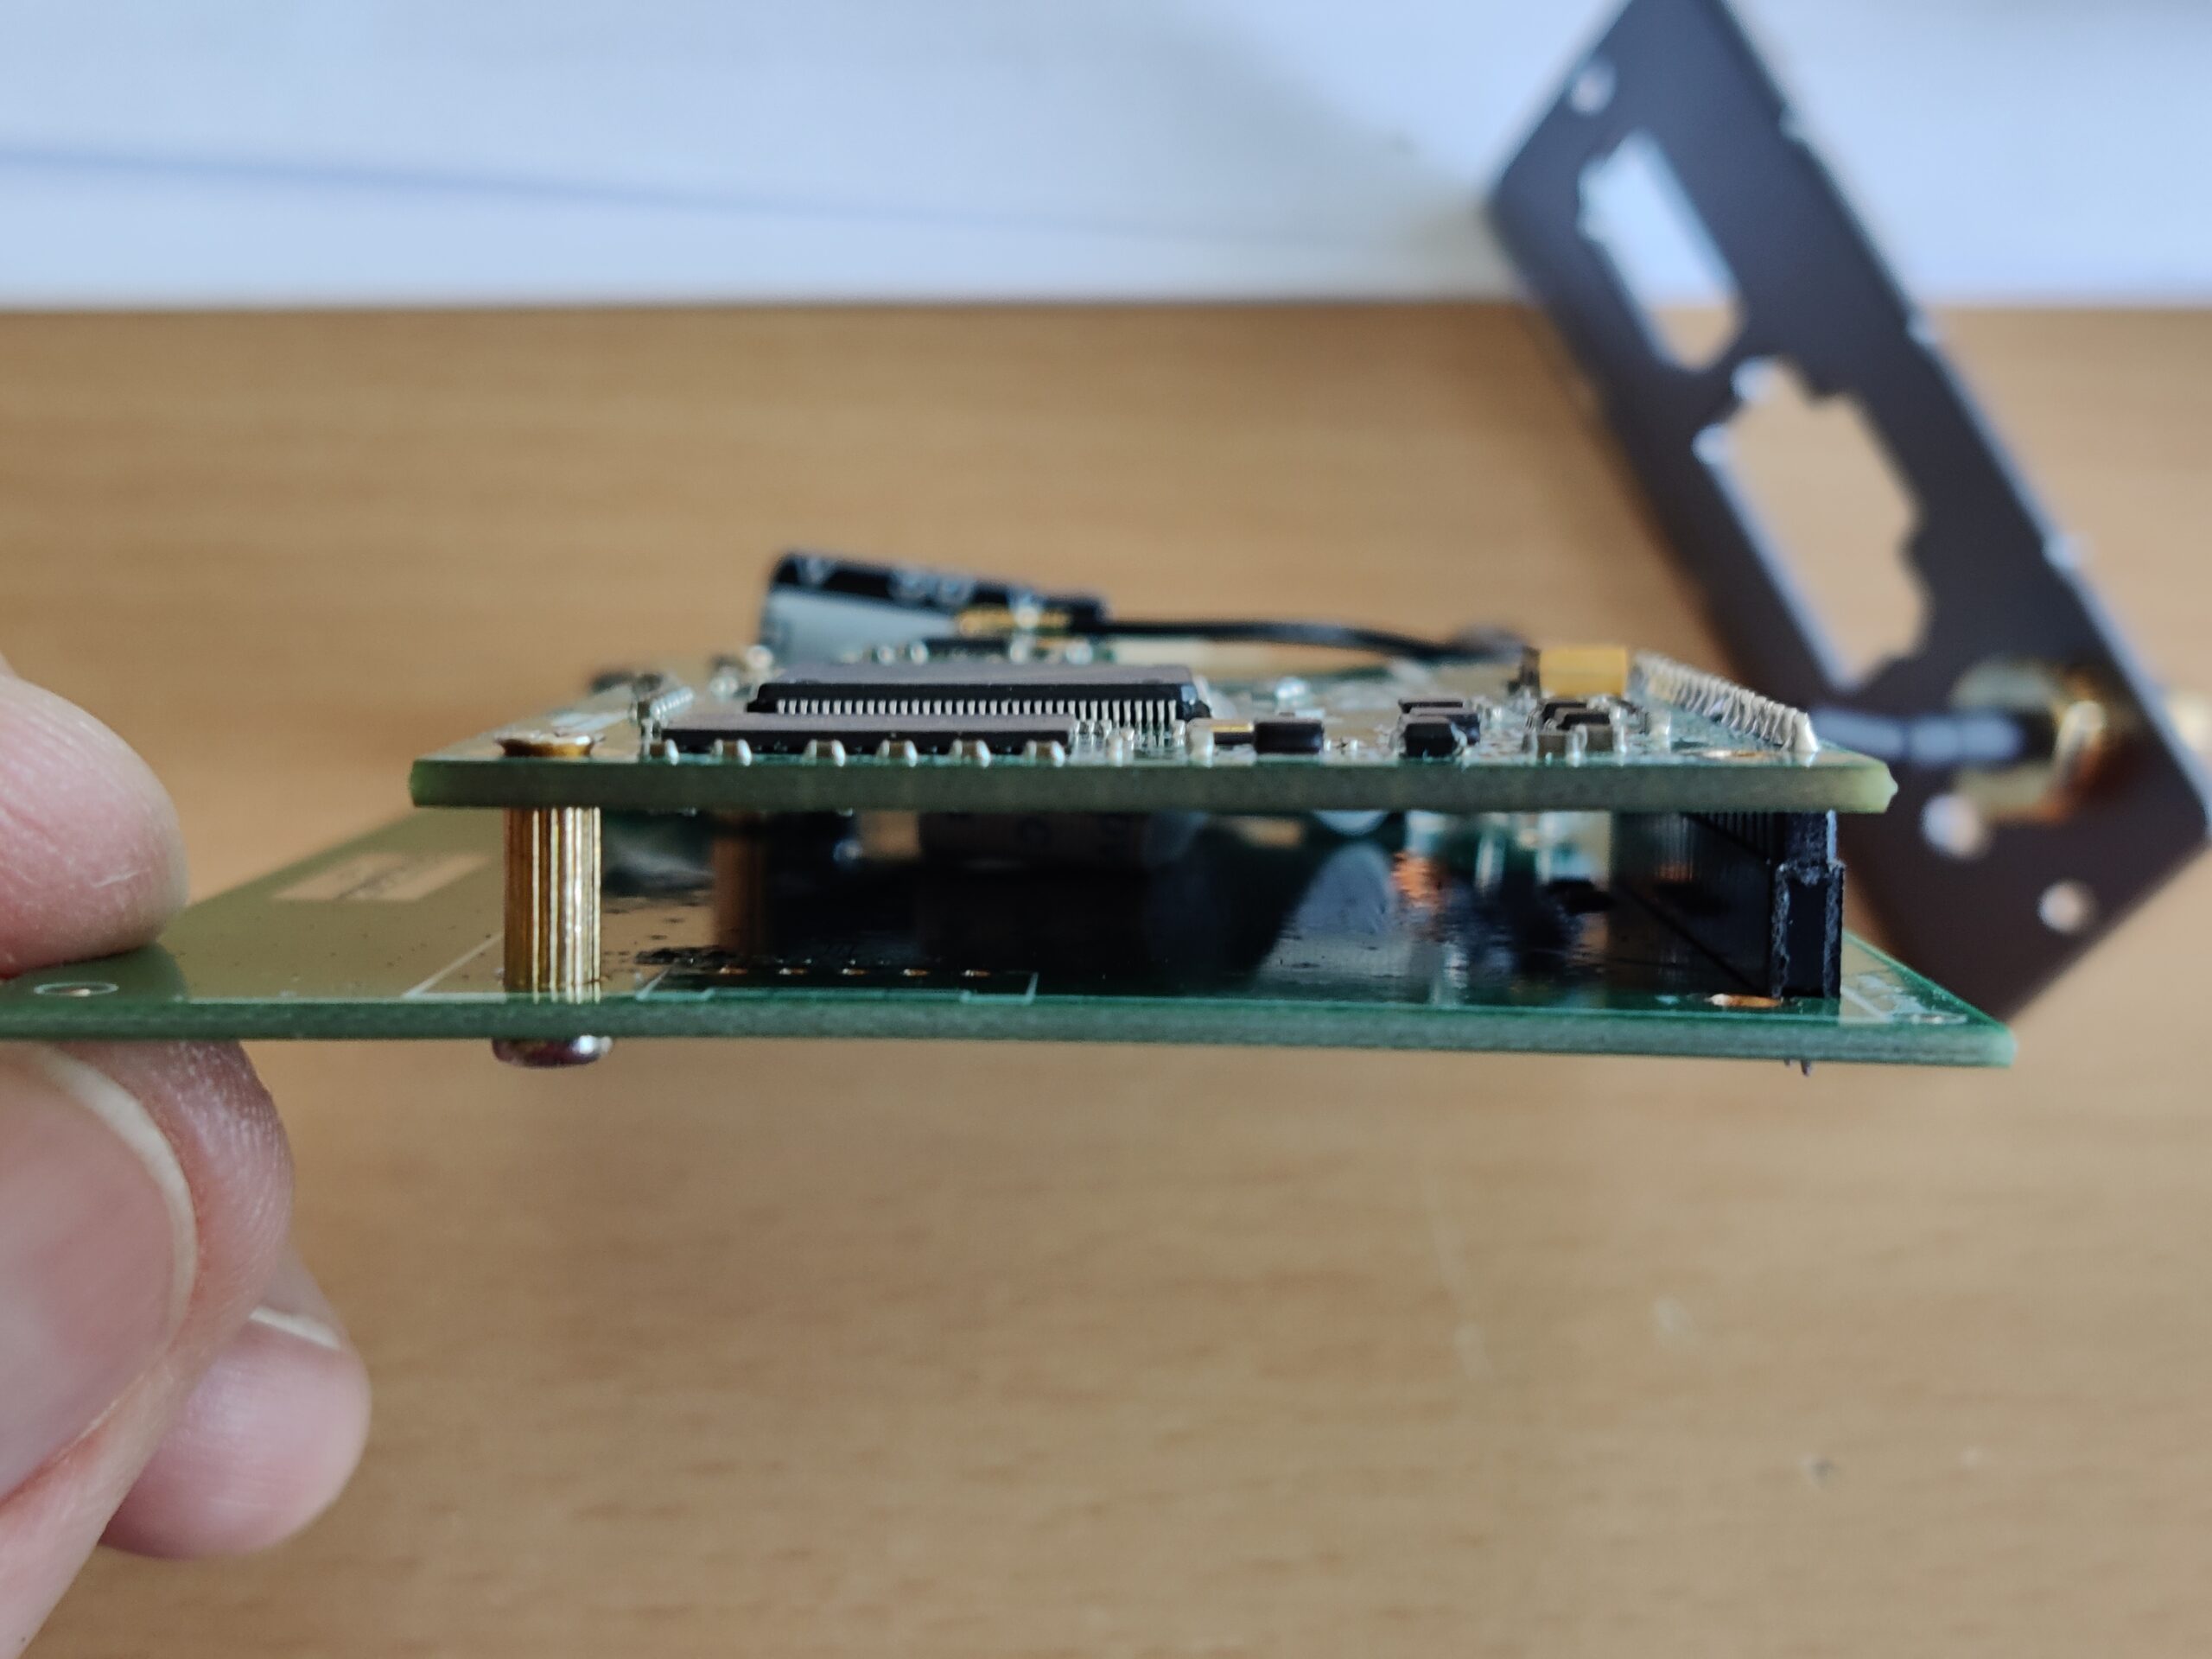
The photos above show the inside of the box. With this device, the pin header of the stack board had partially loosened from the socket strip and this had led to contact problems between the two boards. The brass spacer (can be seen in the last picture at the bottom left) is 2mm too long, so that the two boards do not stick together properly. As a remedy, I shortened the two spacers by these 2mm and screwed them back on. So I can use the Google Maps in the car without any problems.

