
HomeMatic smoke detector HM-SEC-SD quick repair
![]()
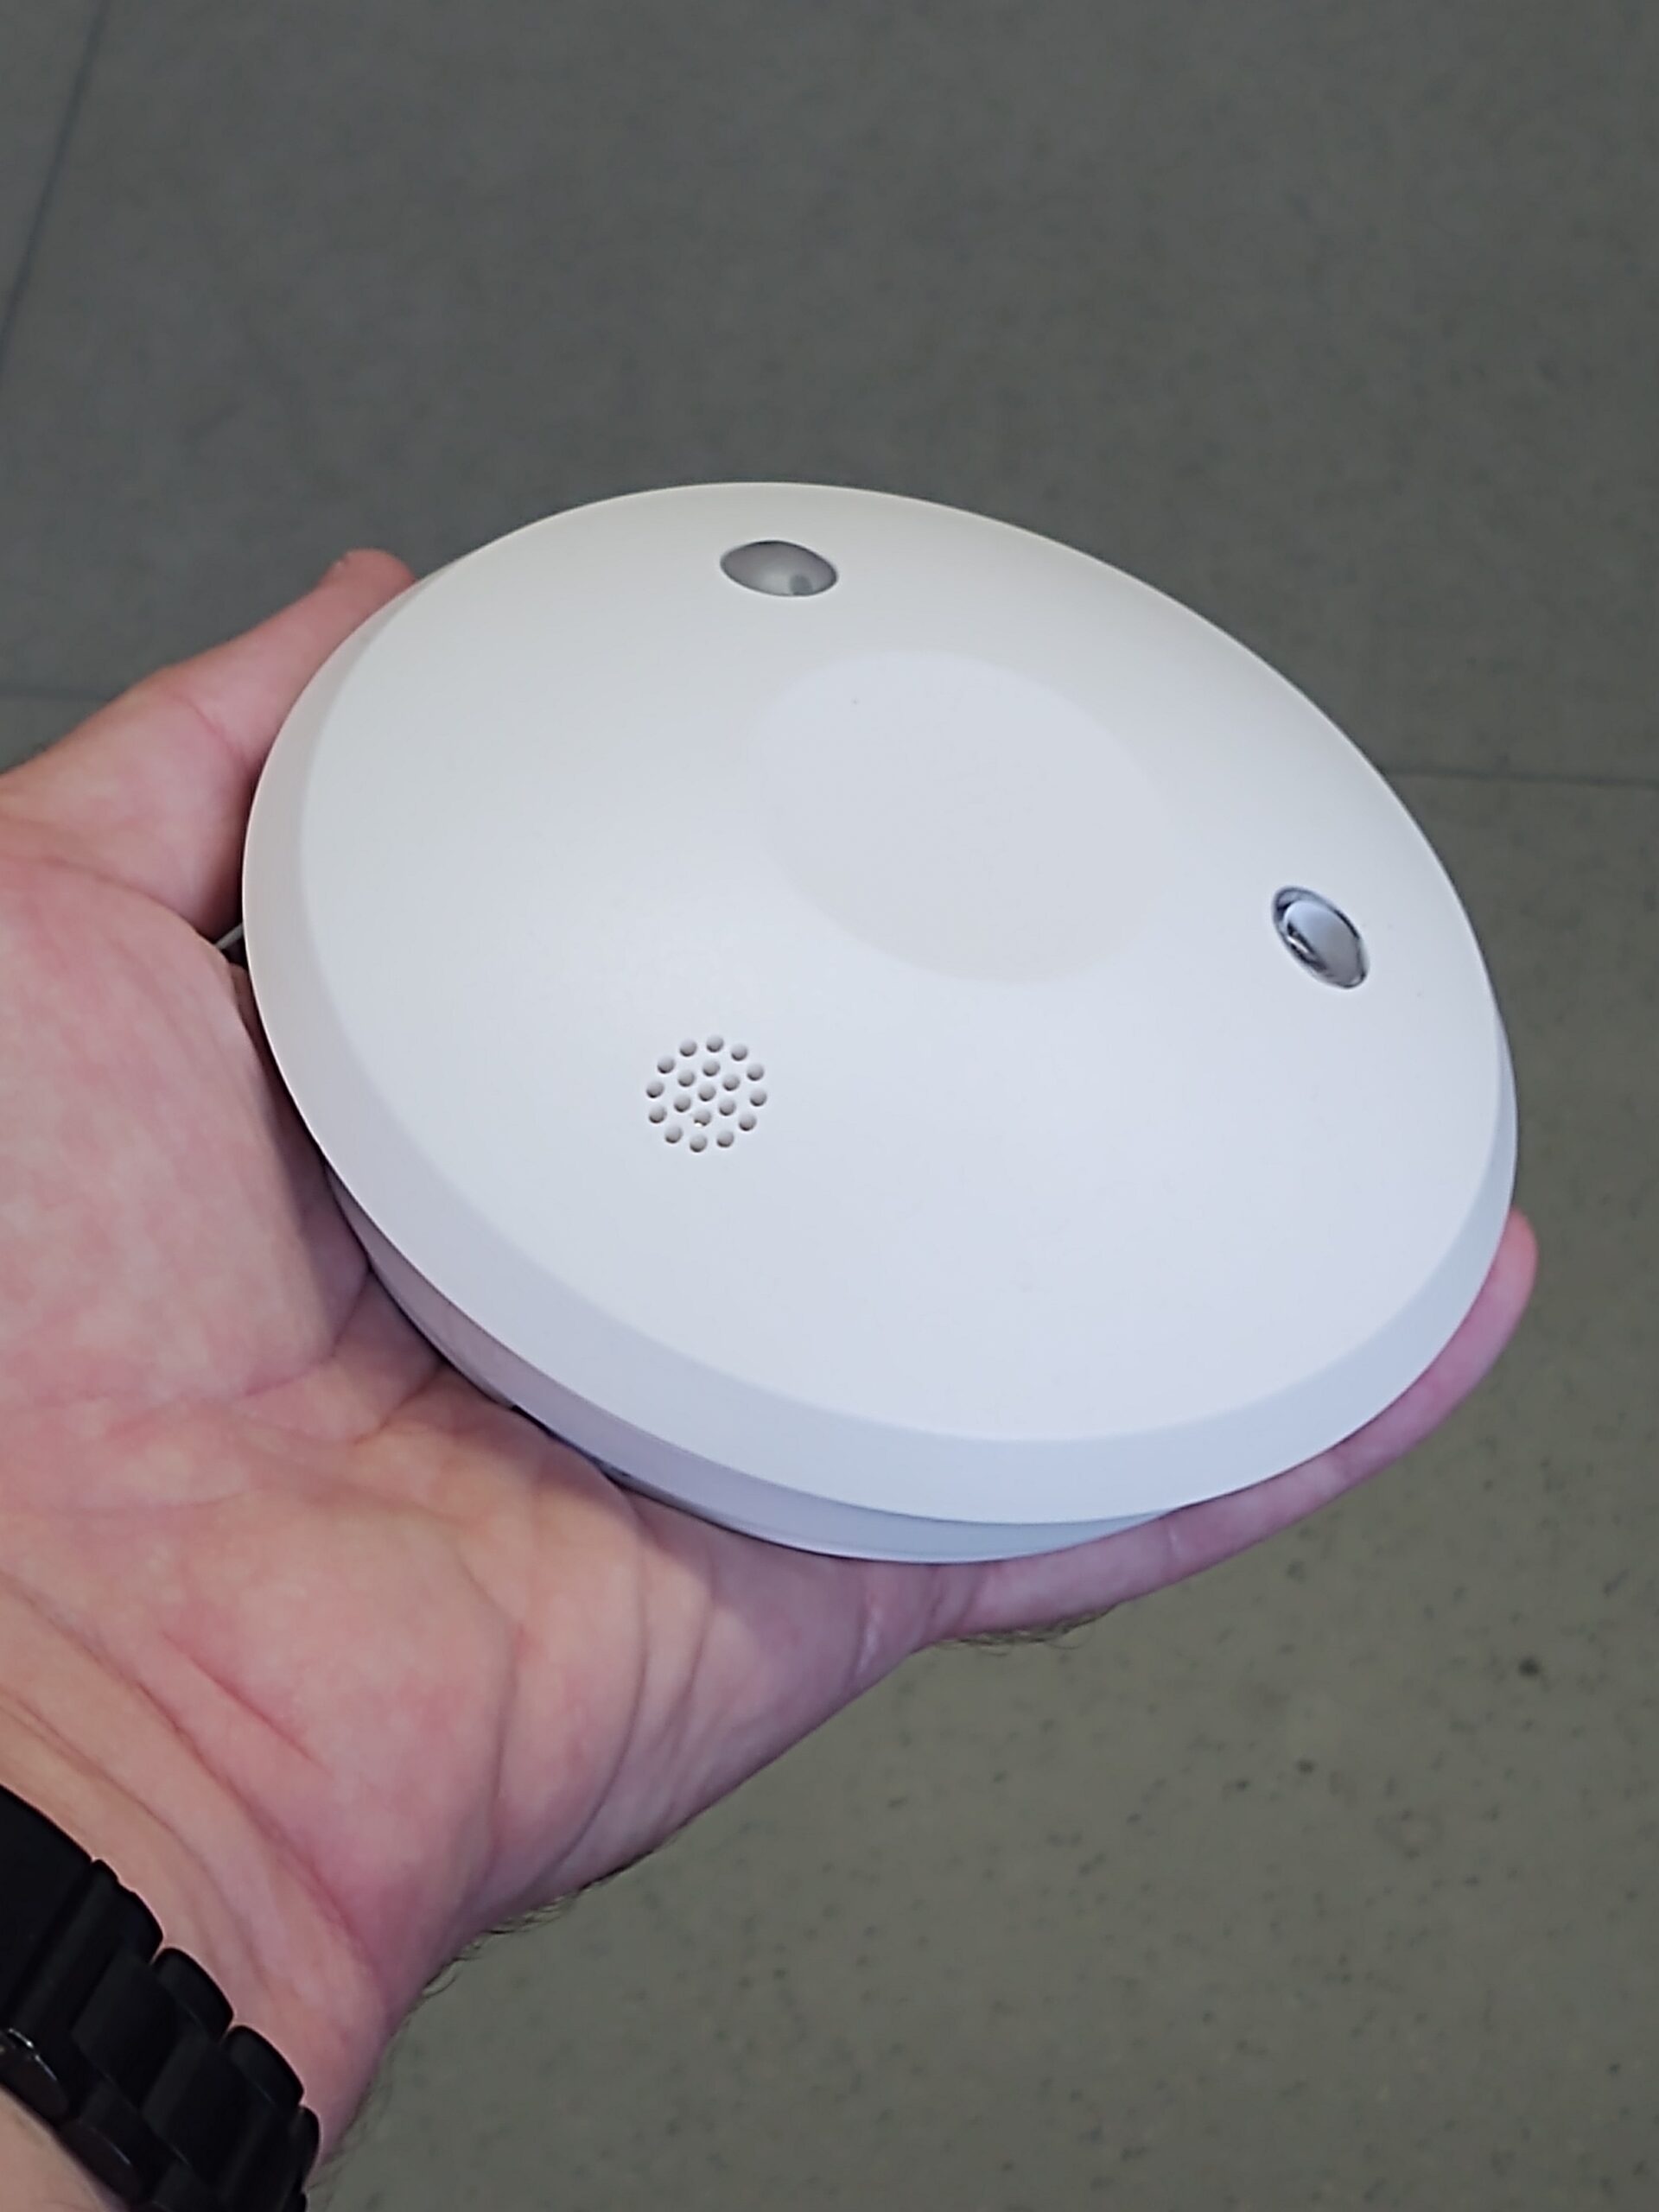 This time again a quick article on the subject of “Aging and Homematic Smart Home”. It’s about the following device: The Homematic smoke detector HM-SEC-SD, i.e. the older version of the smoke detector from eq3.
First of all: This article only shows how I put this device back into operation. Since it is a safety-relevant device, an acceptance test by a certified testing company would have to take place after the repair in order to be allowed to continue using it. So the contribution only provides what has become broken in the device.
So what is it about? The radio smoke detector HM-SEC-SD showed the following symptom during the monthly test (yes, you should press the test button once a month):
A short press on the button and there was no acoustic signal – instead the red signal LED flashes several times at approx. 0.5s intervals. Replacing the batteries does not change anything, the behavior remains the same. The radio module of the detector behaves normally. It can be reset and taught again. In this case, a look at the operating instructions (under point 9.2 on page 24)
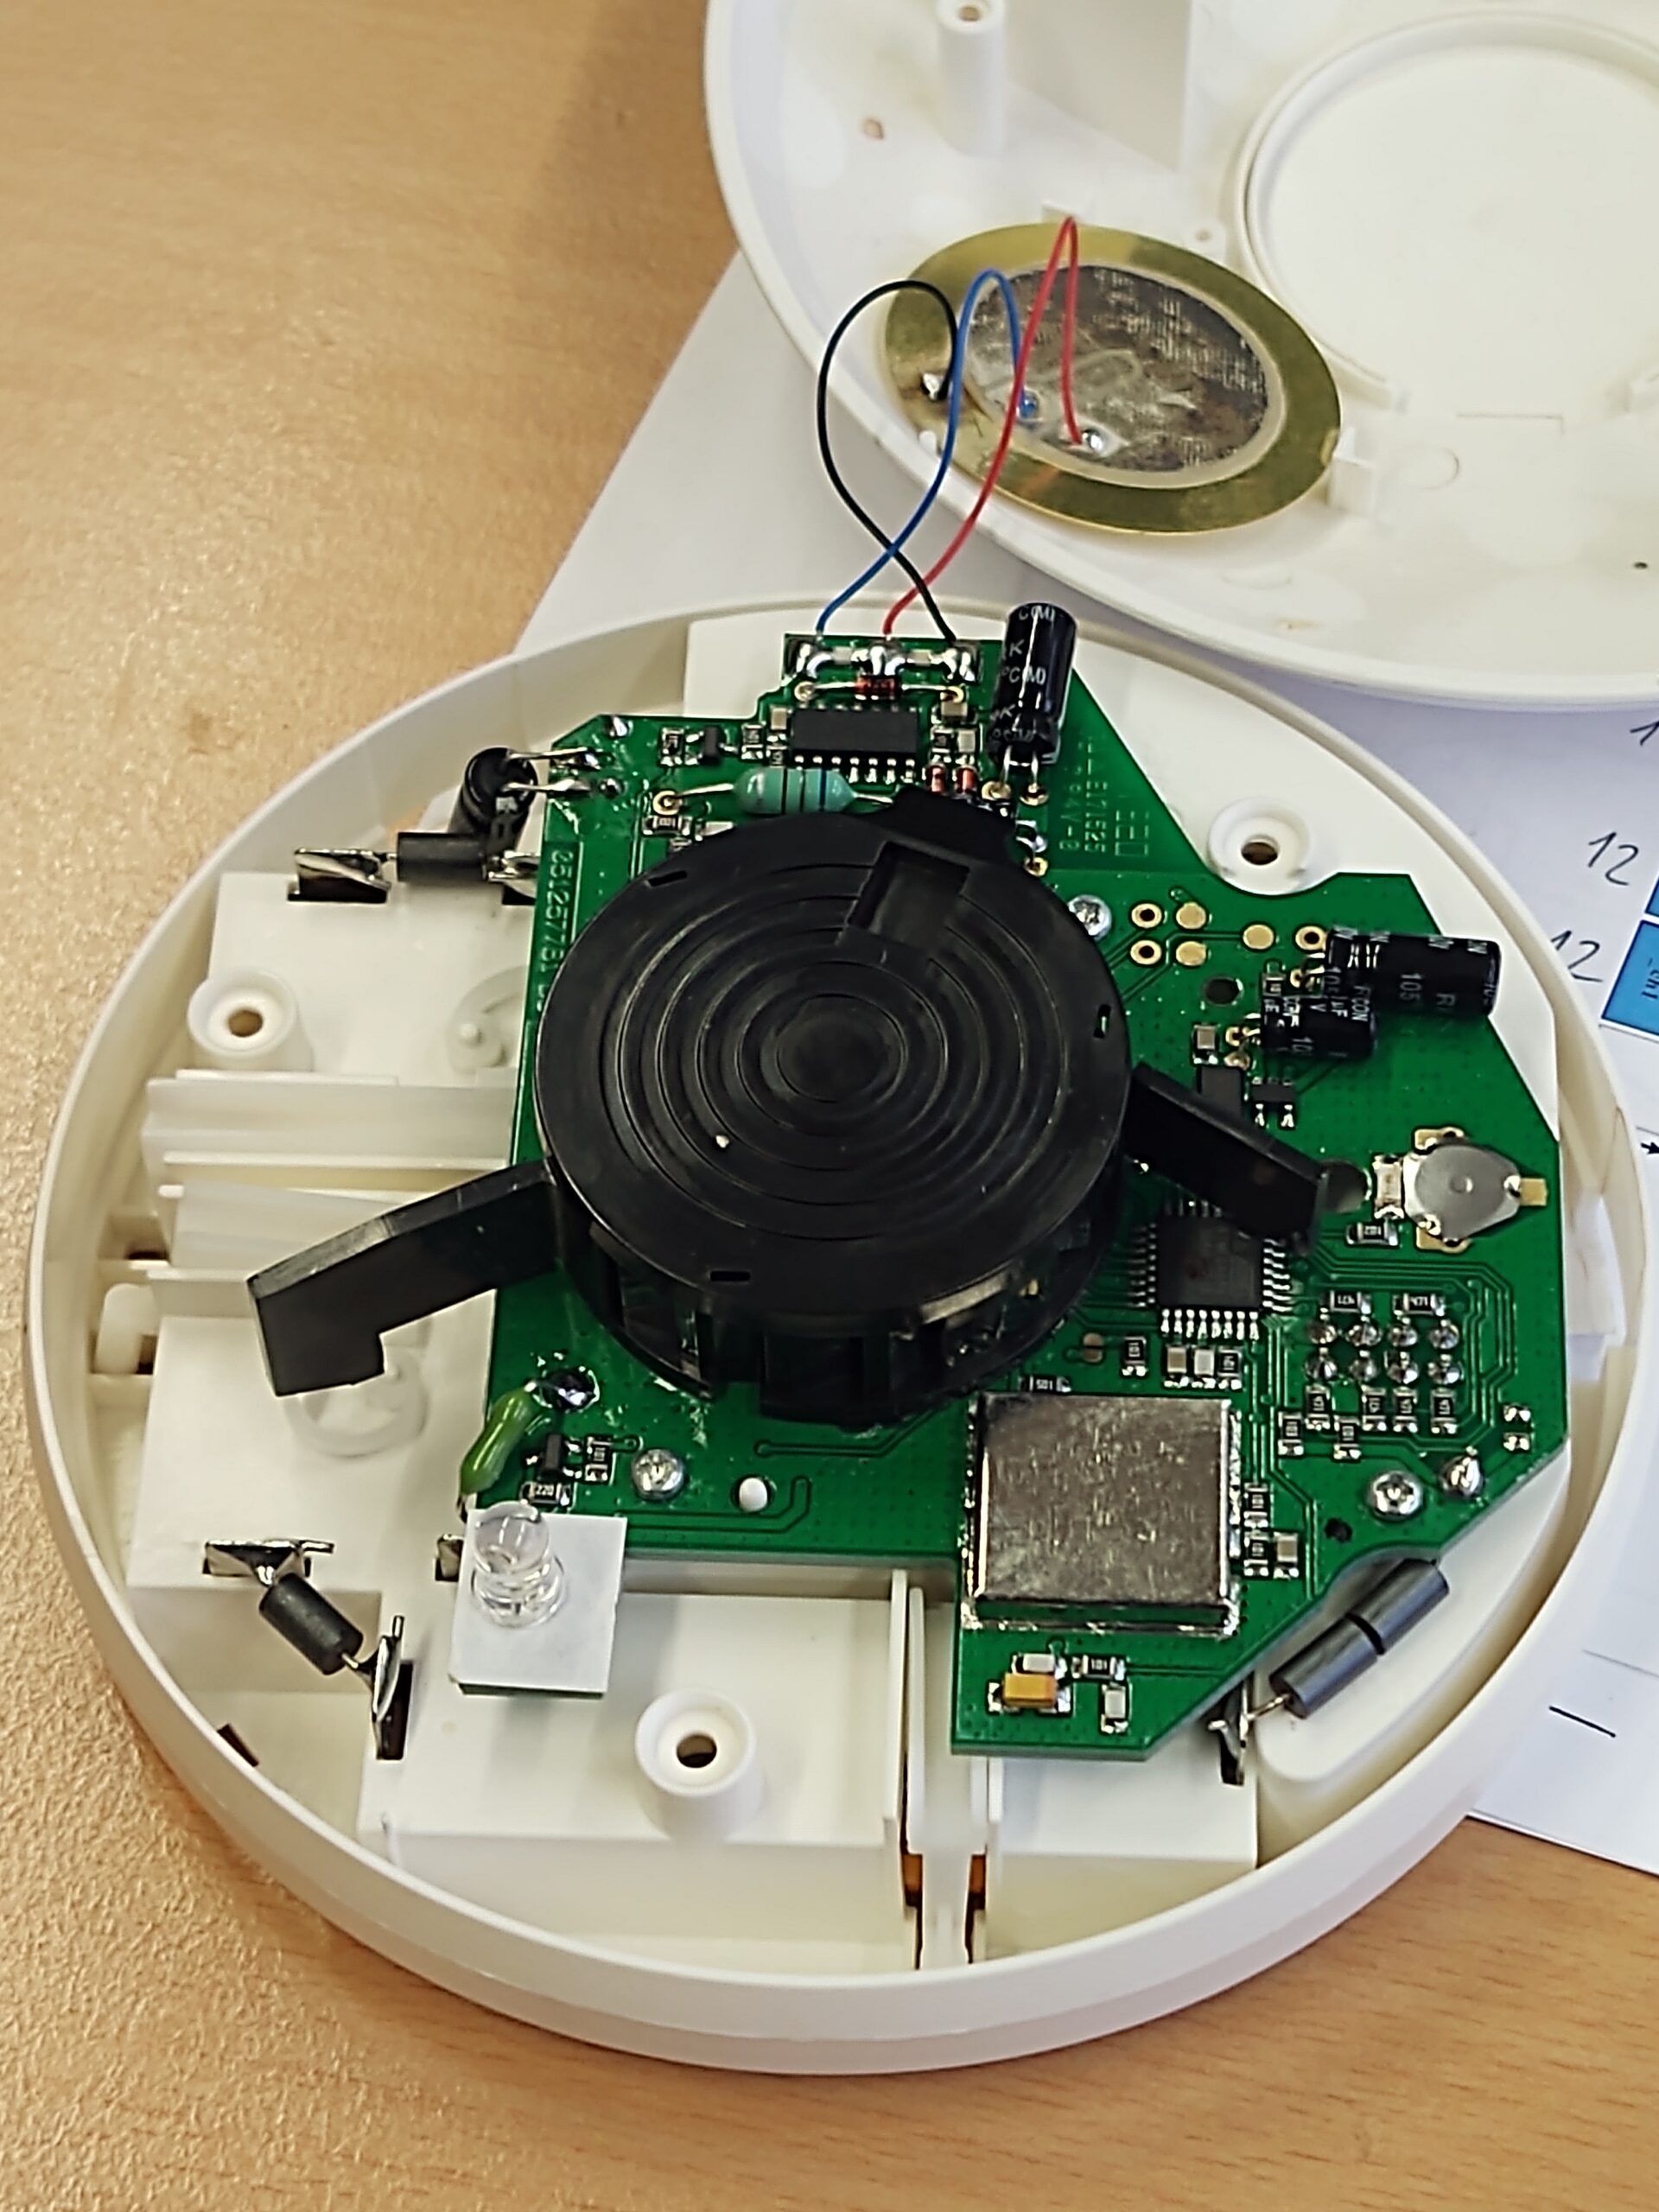
Smoke detector opened
But after removing the lid of the detector chamber, no animal intruders were to be found. However, a strange pattern could be seen on the inside of the lid:
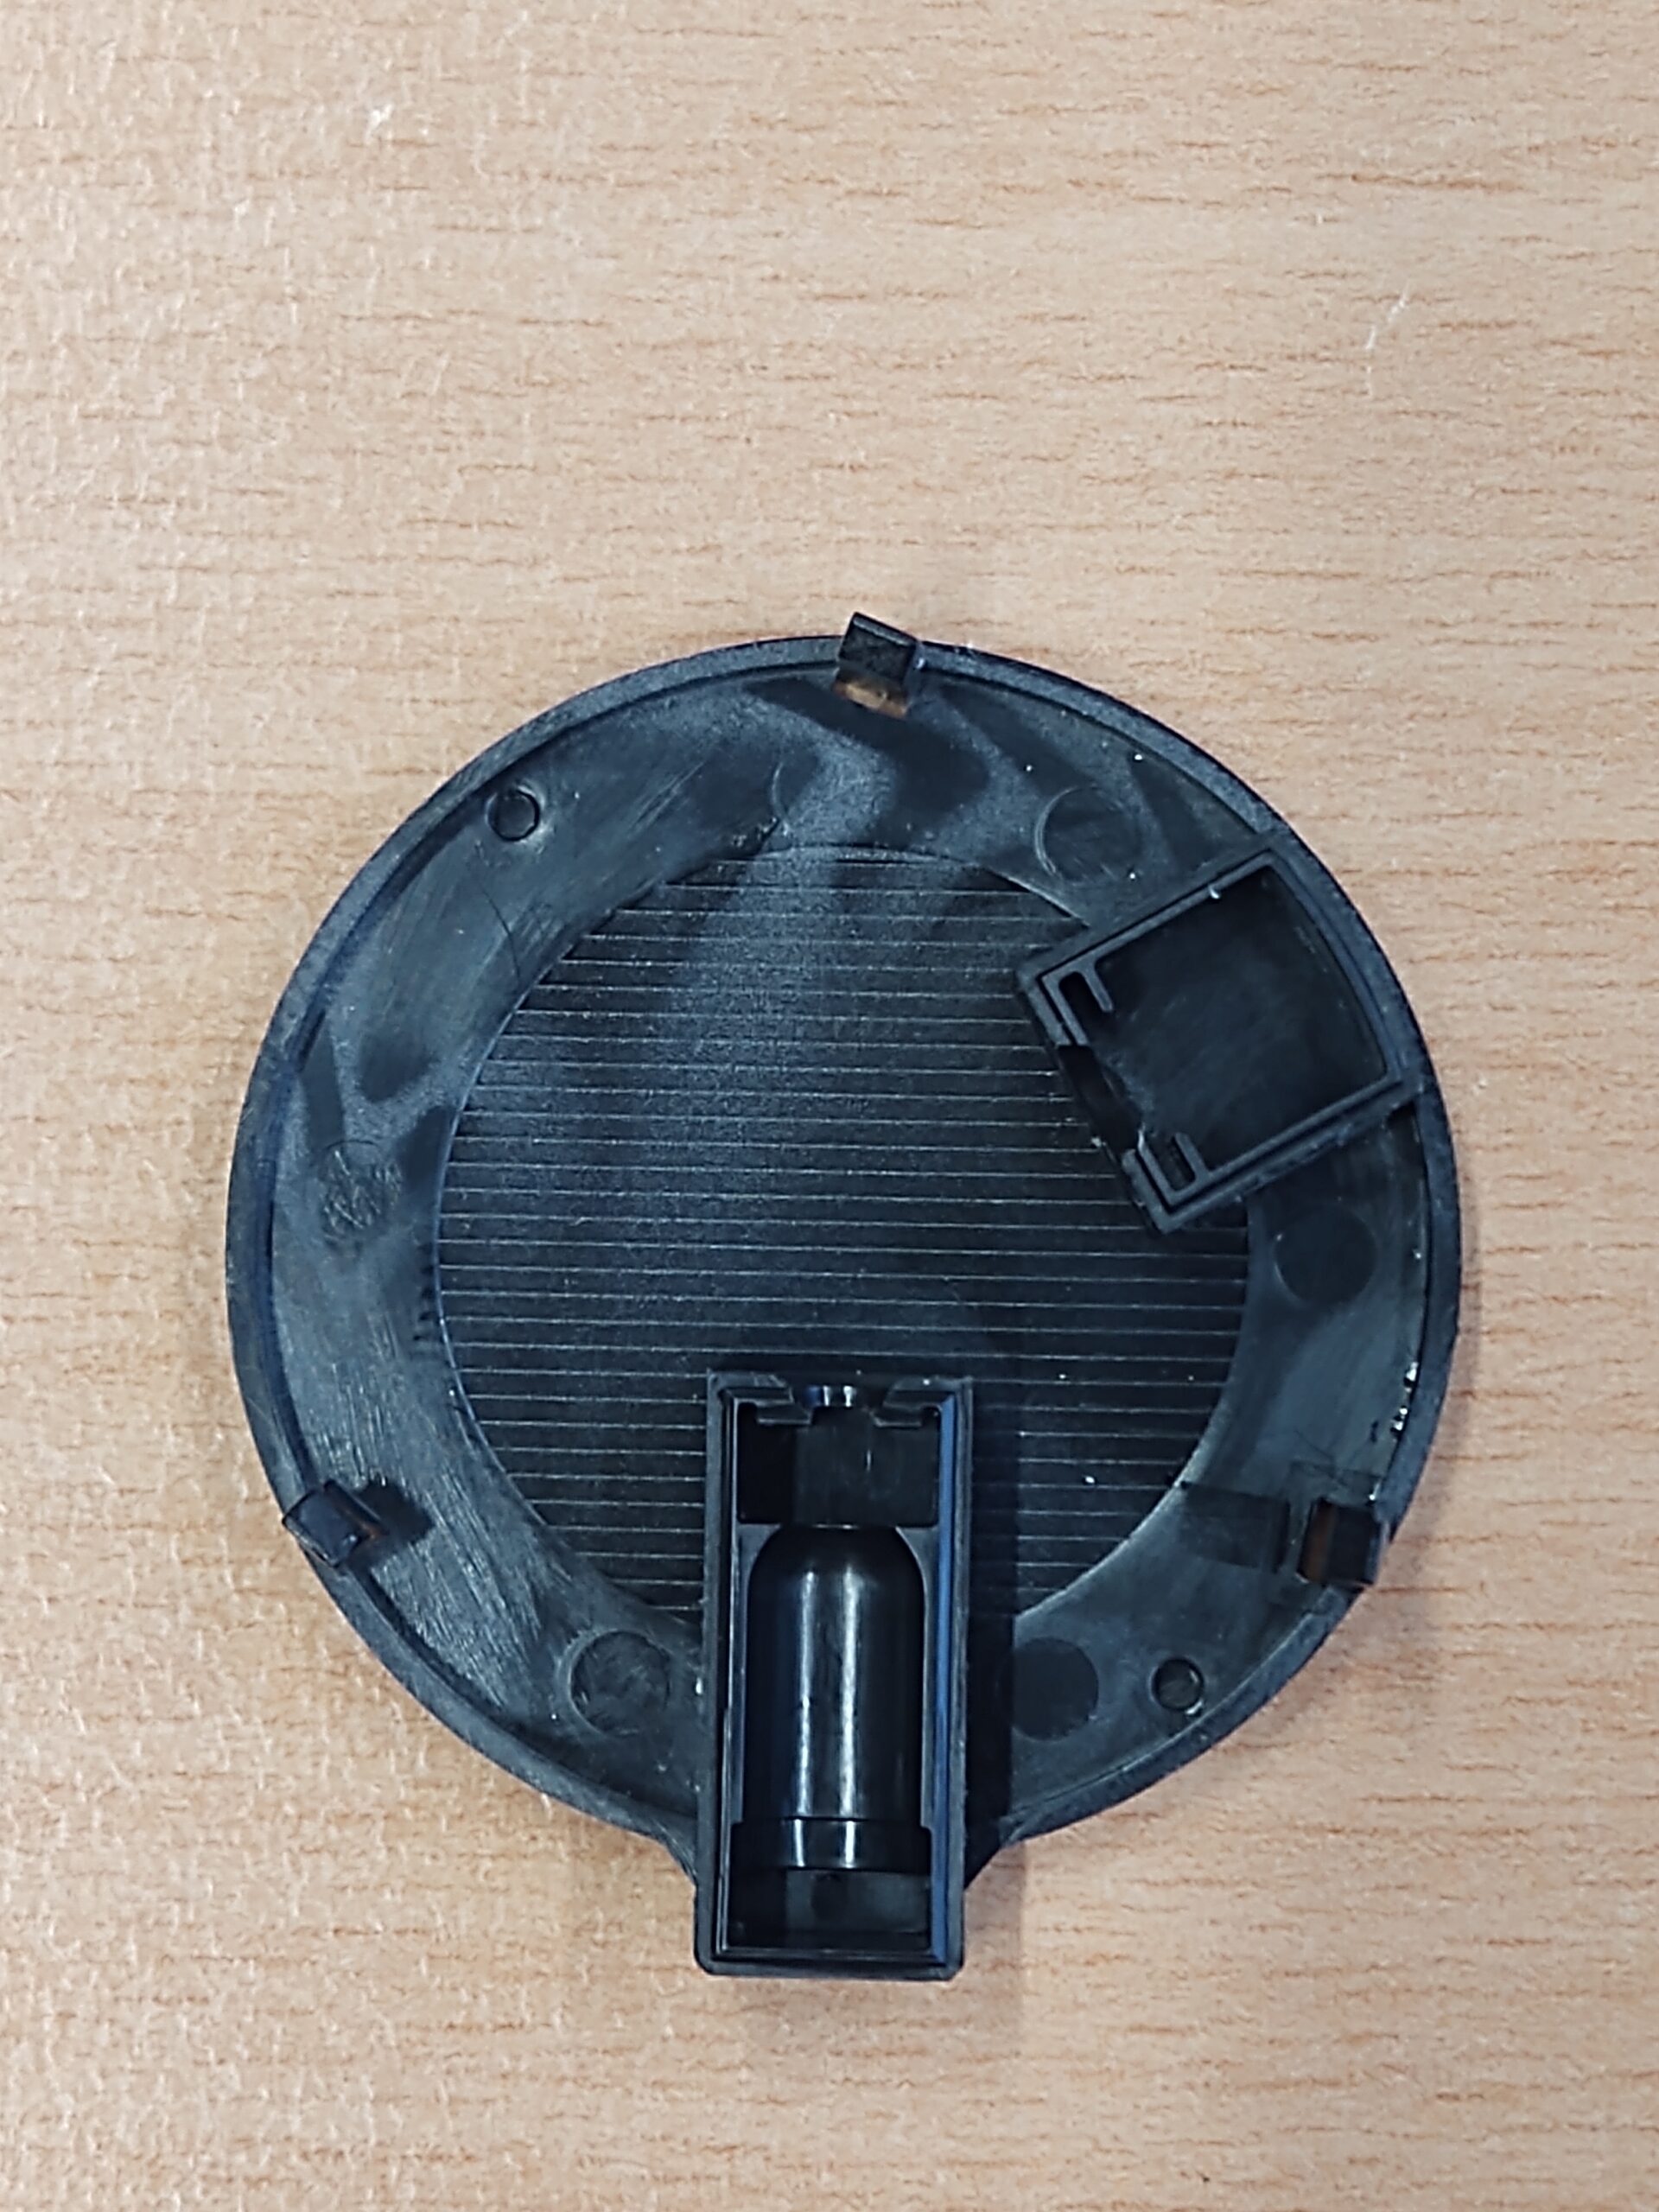
Streaks on the inside of the detector cover
These streaks, I thought at first, were created during the injection molding of the plastic component and must be like that. But on closer inspection and a “wipe” with your finger, they could be removed. In short, these streaks are dust particles. And when they are on the lid, then also in the entire measuring chamber. So blow it out with compressed air, put the cover back on and test it. -> same mistake as before. So again, put the lid down and take a closer look with a magnifying glass. The coarser dust, if you can speak of “rough”, was gone, but the surface of the photodiodes still had very fine and difficult to see streaks. So I cleaned the chamber and the diodes with a little alcohol on a cotton swab.
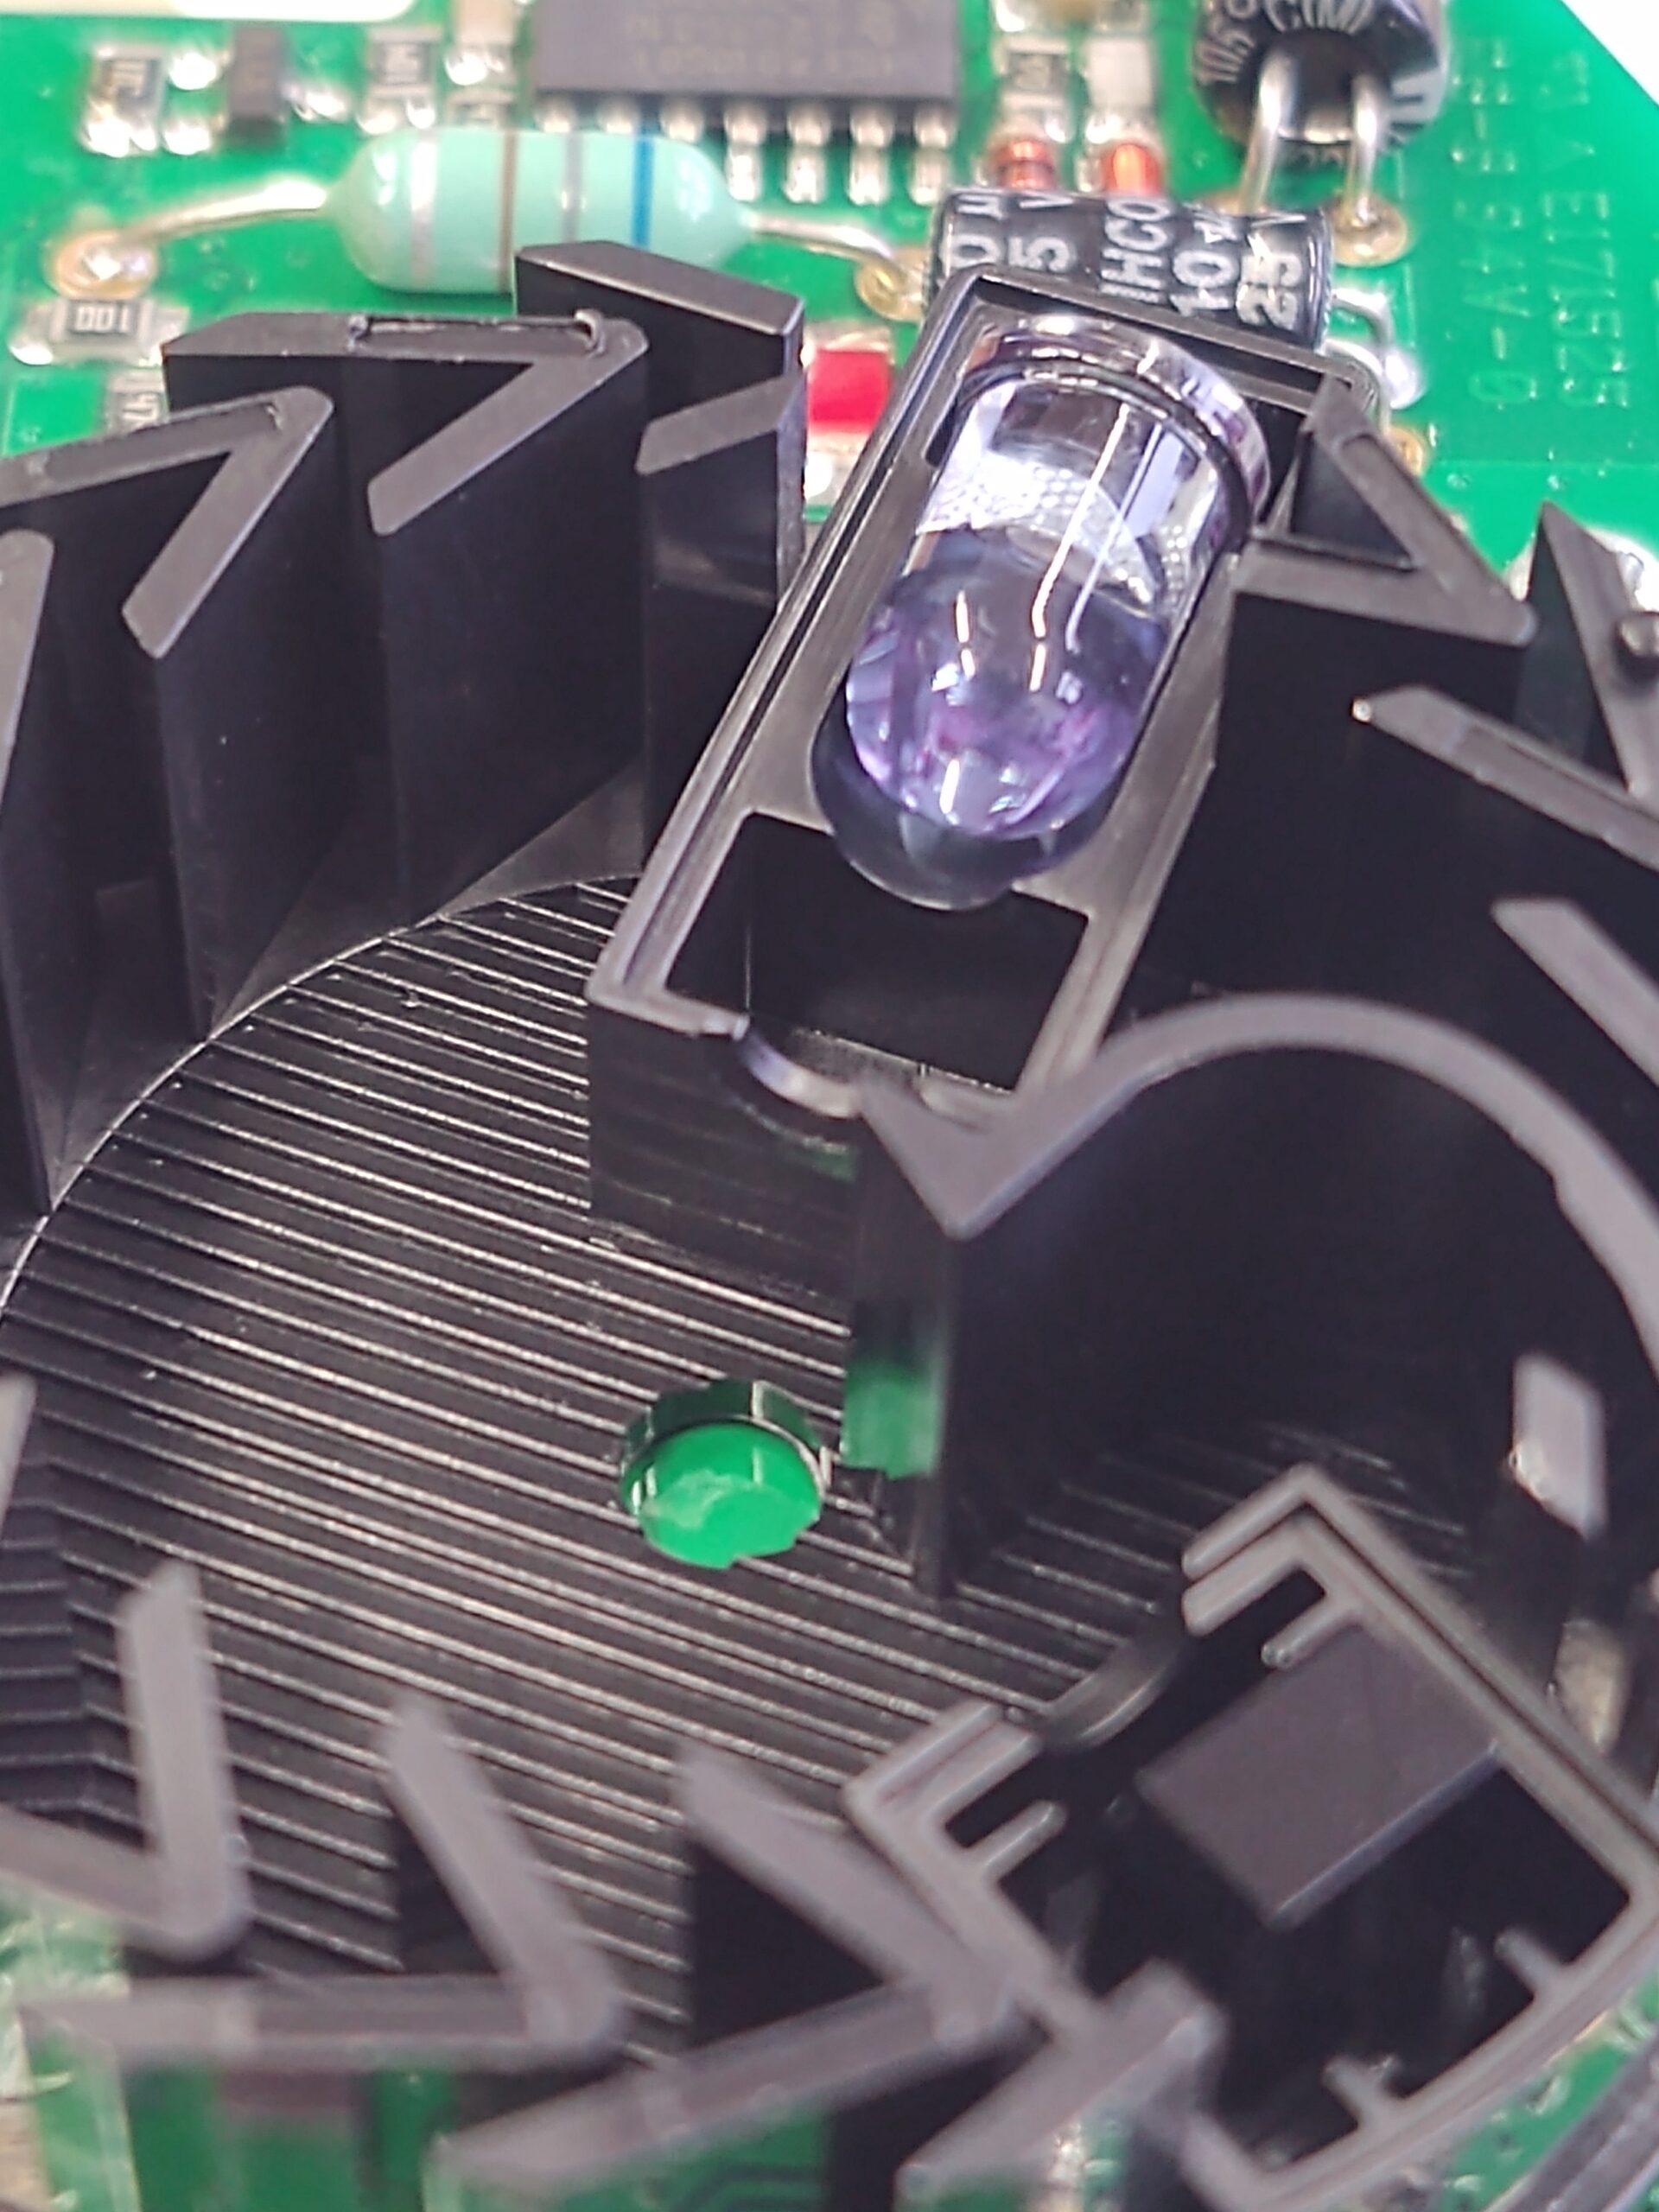
thorough cleaning required
Another function test showed success – better partial success. After pressing the test button, the piezo squeaked – but only very, very quietly – and by that I mean barely audible and the LED flashed nine times at an interval of one second. So actually the way it should be. Just way too quiet. So something had to be broken. So I examined the circuit starting with the piezo and quickly found what I was looking for. The piezo is controlled by a 40106, a 6-fold Schmitt trigger. In order to get enough electricity, three “Schmitts” are connected in parallel. The output was low-resistance, which is actually not allowed to be. So unsoldered the 40106 and measured it again. Between pin 1, 2 and 7 (input and output of the first Schmitt trigger and the VSS pin) there was a full short circuit. That means the IC is defective.
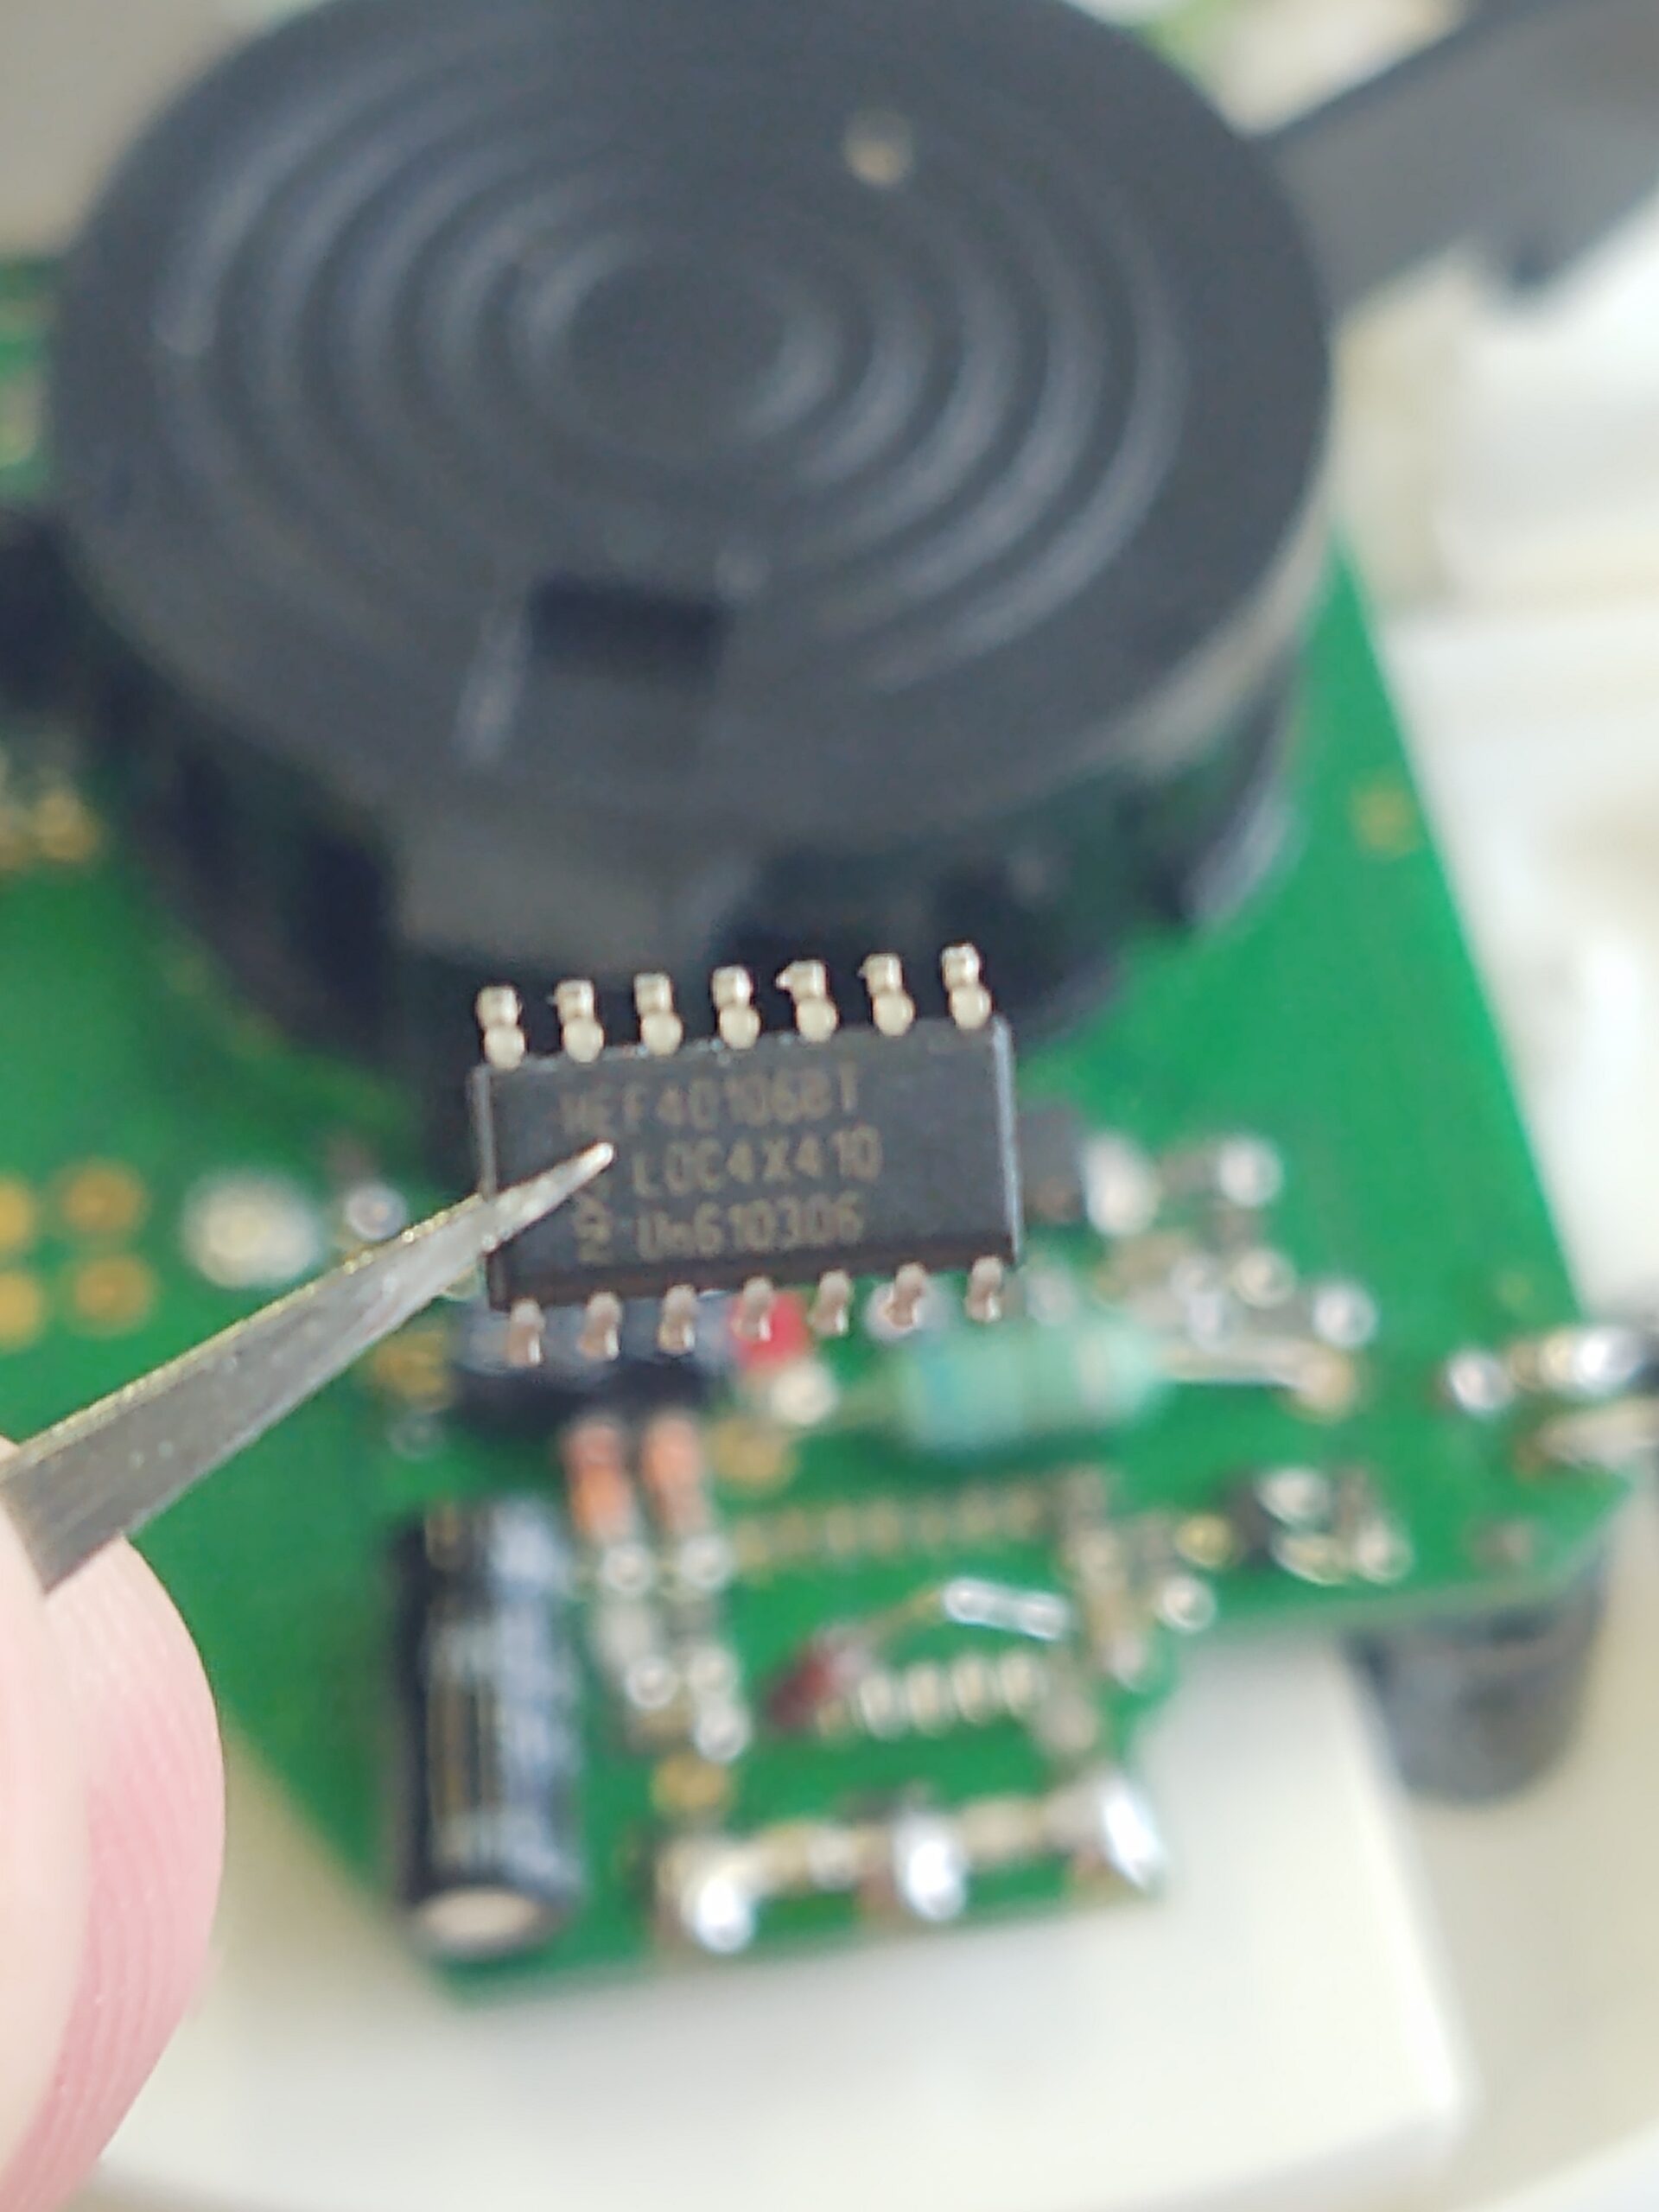
6times Schmitt trigger IC 40106
After the IC was exchanged, the smoke detector could finally “scream” again as usual.

