Mobile Apps iPhone/Android project Part I

A new Project raised behind the horizon. Since two months the student Daniel L. and myself are working on an iPhone App for our students.

The Name is secret (for now) so I call it” The APP.” 🙂

Currently we have more or less finished with the application design and now we have started with the implementation of  the first prototype. As the mobile part heavily depends on remote data we also needed a Backend for the core data distribution. Daniel is currently working on the implementation of the iPhone part, and I’m working on the server Backend.

We needed some kind of webservice infrastructure to get the data to/from the mobile application. I have chosen Tomcat for our Server infrastructure, maybe with Apache as first responder. The used framework for the stuff behind is Restlet. The Backend is designed to response with XML or JSON  plain/gzipped  data formats, depending on the received Accept Headers.

Representational State Transfer ( Rest )  is build around around the transfer of “representations” of “resources”. A resource is mostly an URI endpoint if we use HTTP.  Compared to SOAP RPC every developer has to design and implement his own set of functions which represent the interaction interface between the web. App. and the backend. Rest uses the existing HTTP “methods” GET, POST, PUT, DELETE as the command interface. Really cool 🙂 Rest responses are not limited to HTML one can use XML, JSON, binary…

more to come…

have fun

SCALA Final User Commission Metting

The last days my co-worker Marvin and myself went to Antwerp  to meet our Belgium project partners for the final user commission meeting. This meeting marks the end of the EraSME SCALA project.

CUAS SCALA MedIT Dream Team:

  • Matthias Haselberger, Project Leading 🙂
  • Marvin D. Hoffland, International Coordination
  • Mario Wehr, Hard&Software implementation

The SCALA (System Convergence in Applications of Location Awareness)  project was started 2 years ago and ended this month. Our part in the project was to bring a ZigBee based indoor location system into service and implement it into the SCALA  framework. The core framework was designed and implemented by our Belgium colleagues at the university college of Antwerp (Artesis). A major part of the work was done by one of the key researches  Jerry Bracke. (Jerry thx for your hard work 🙂 ).

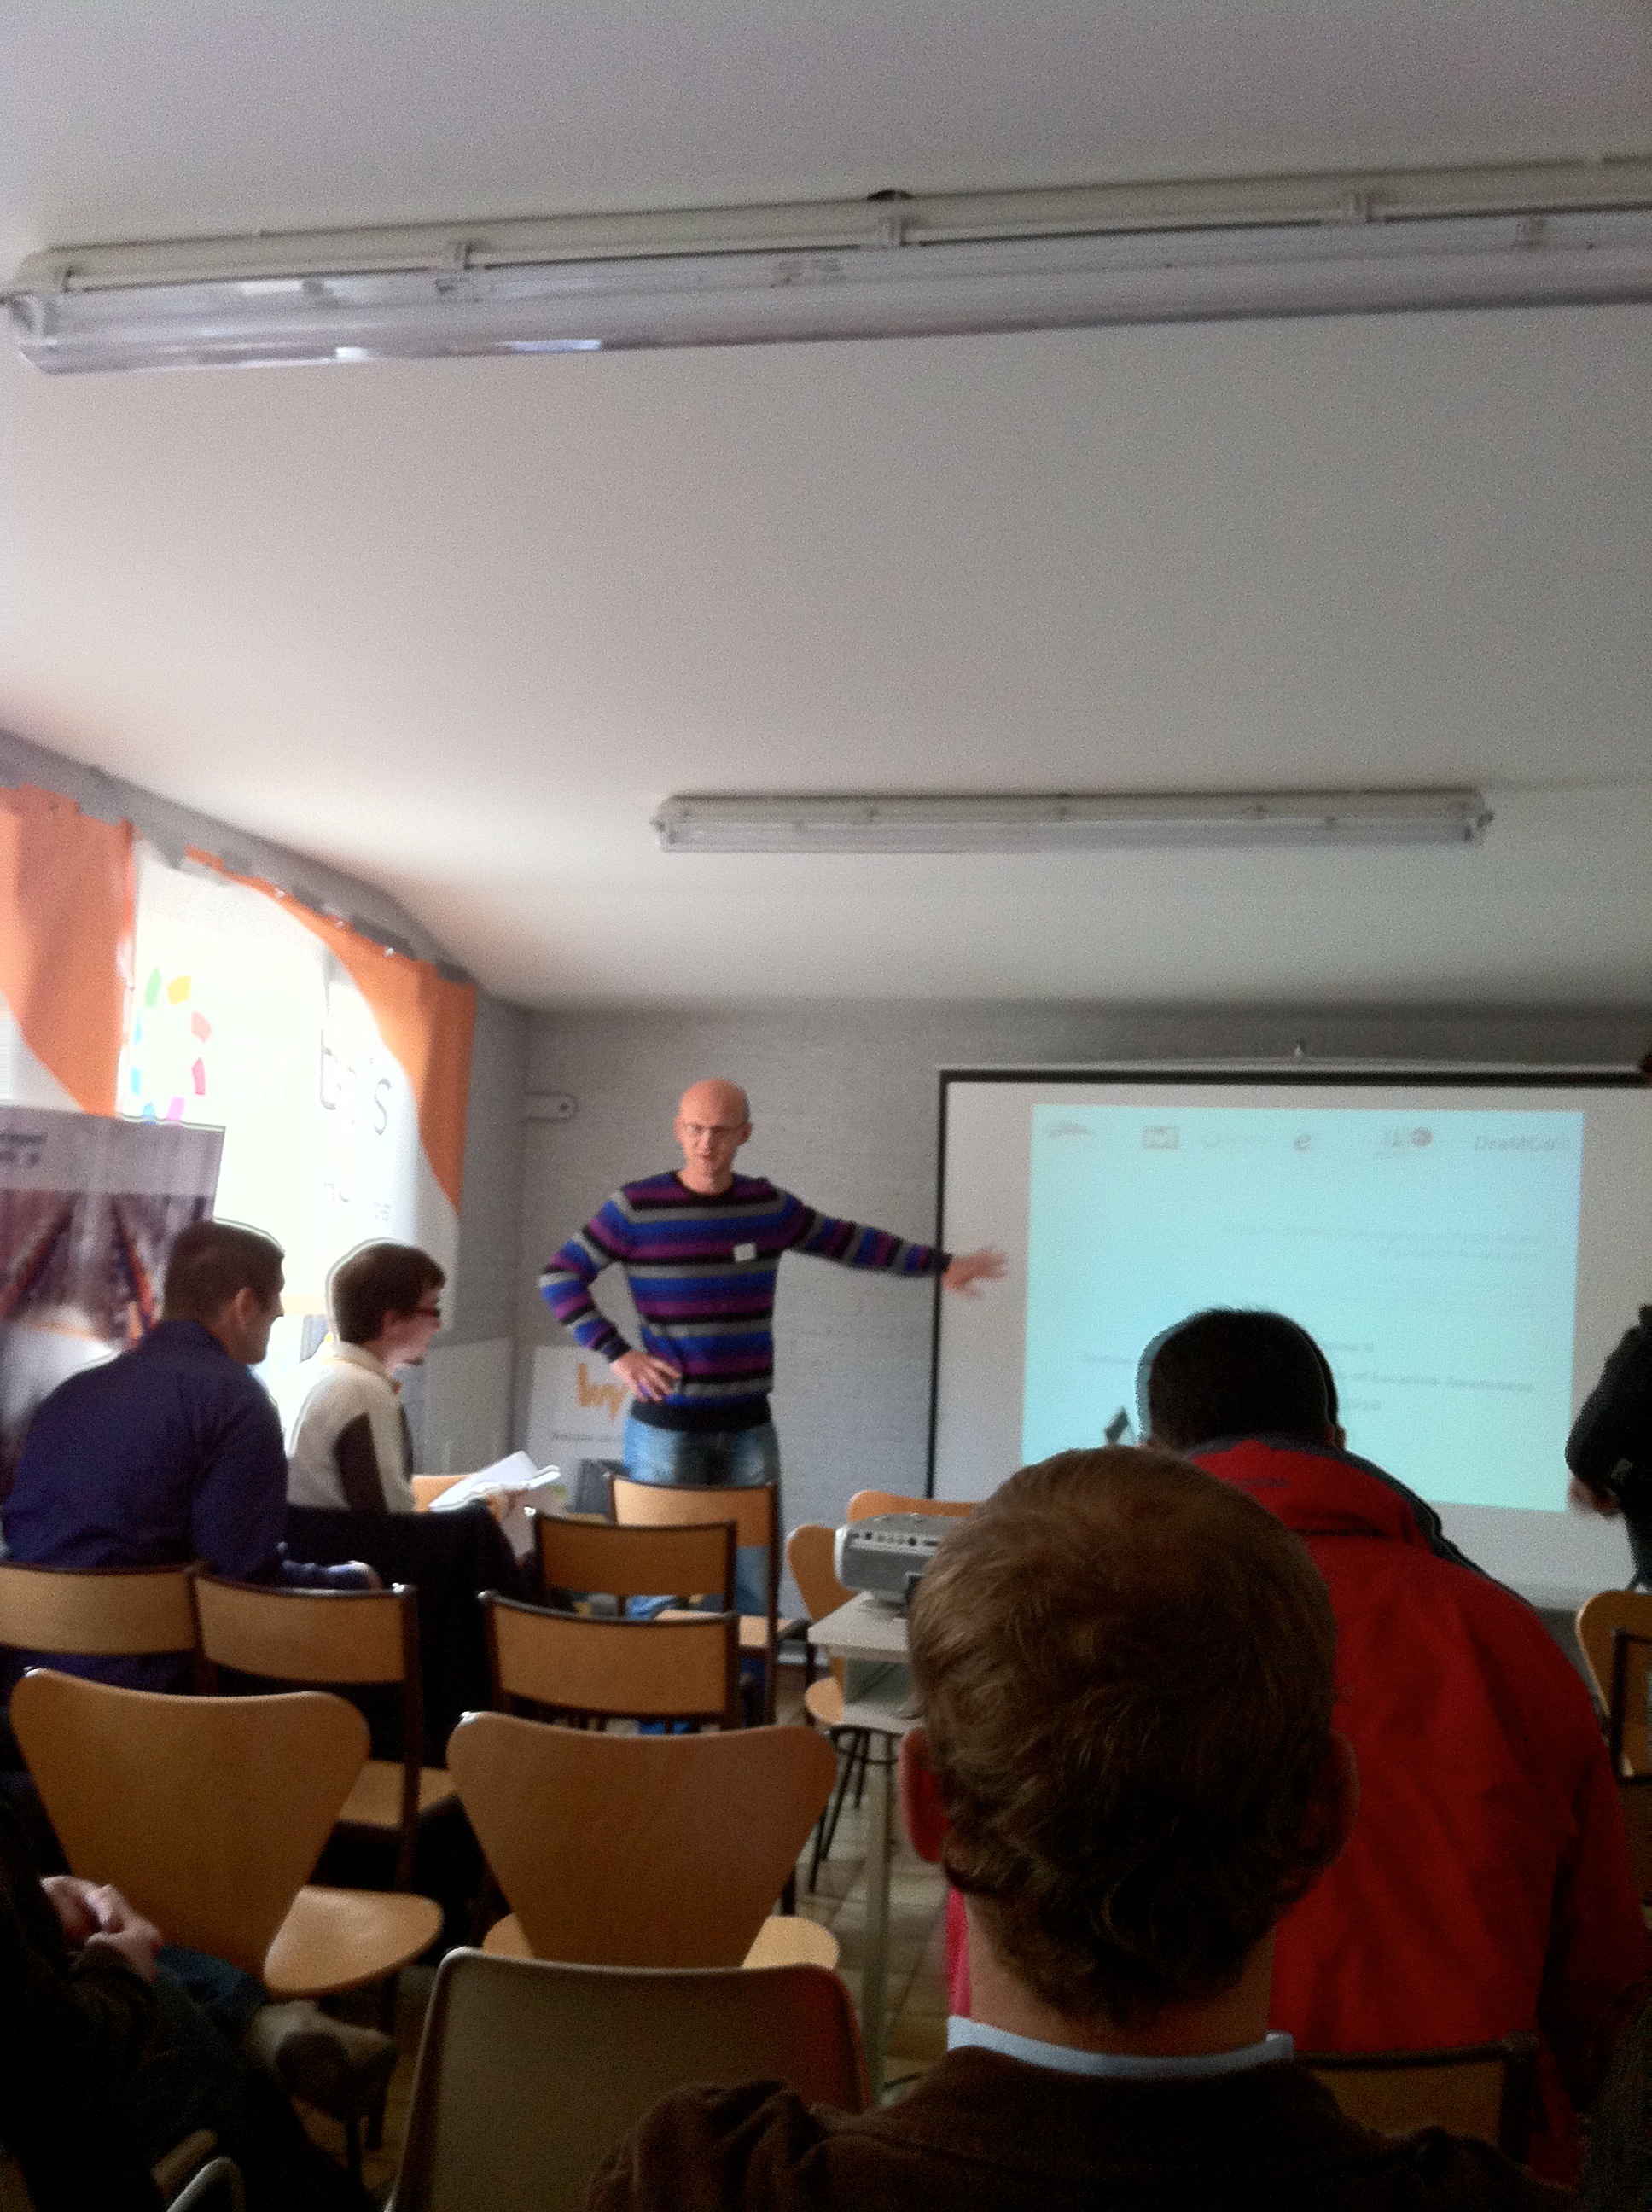
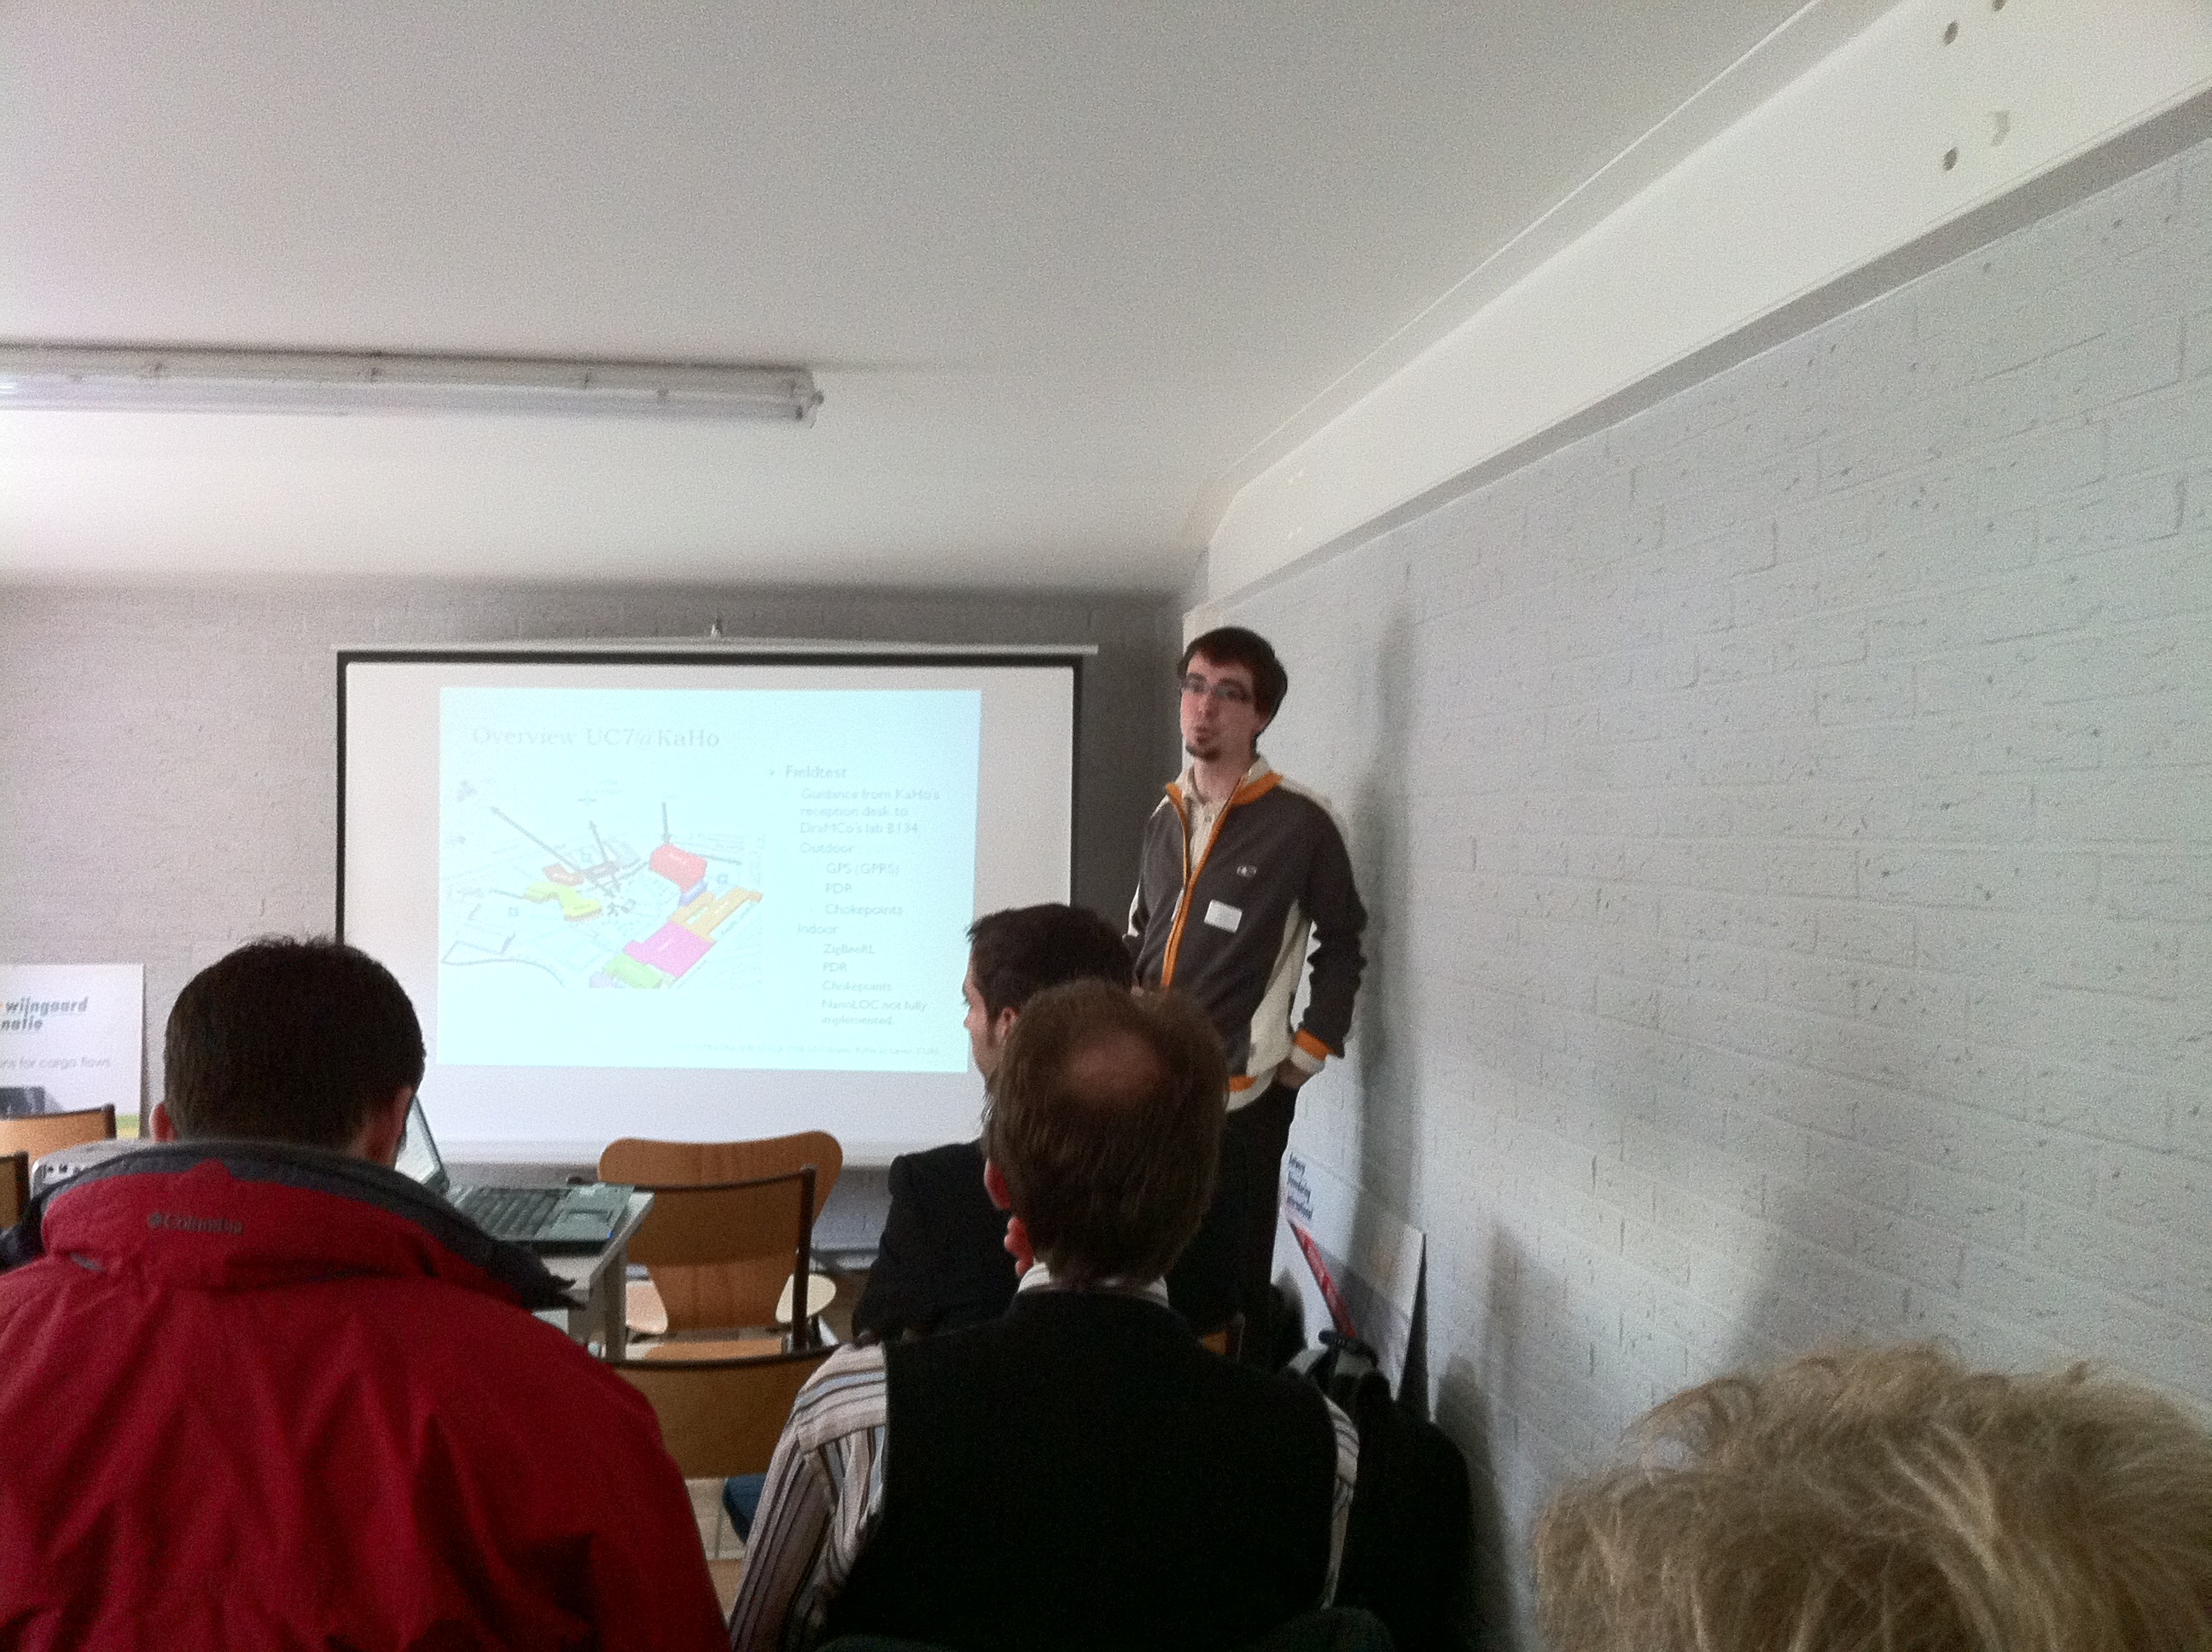
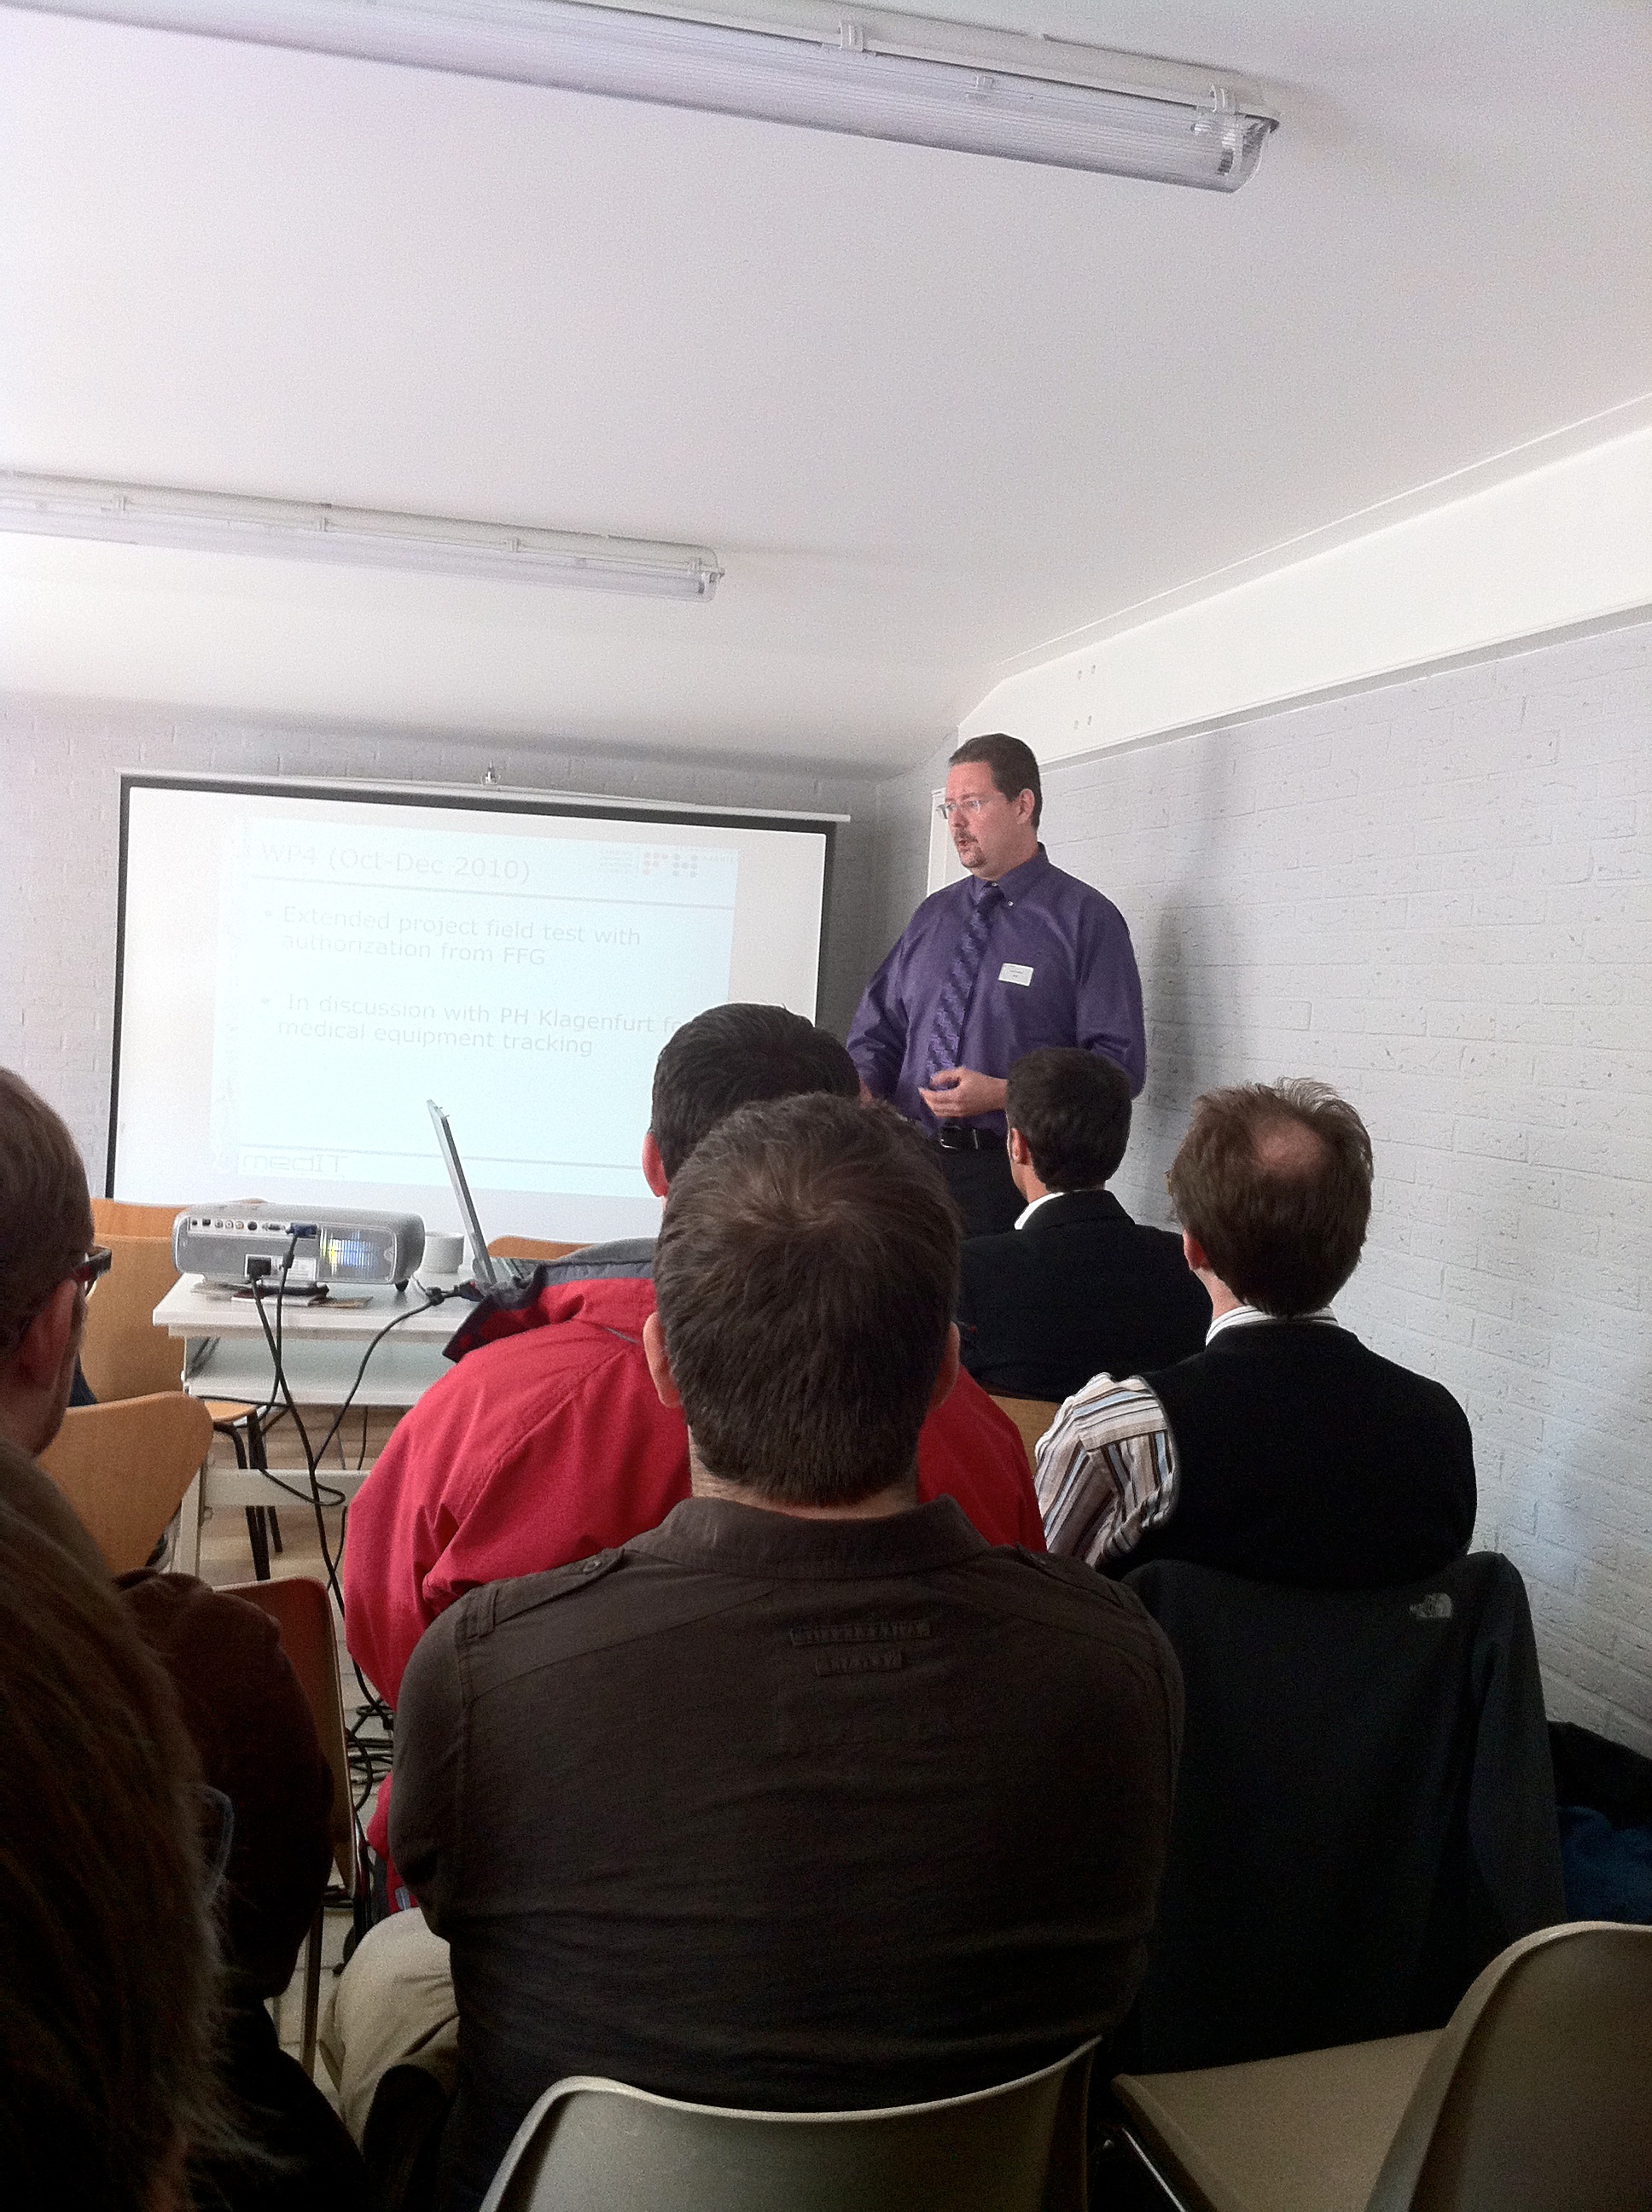
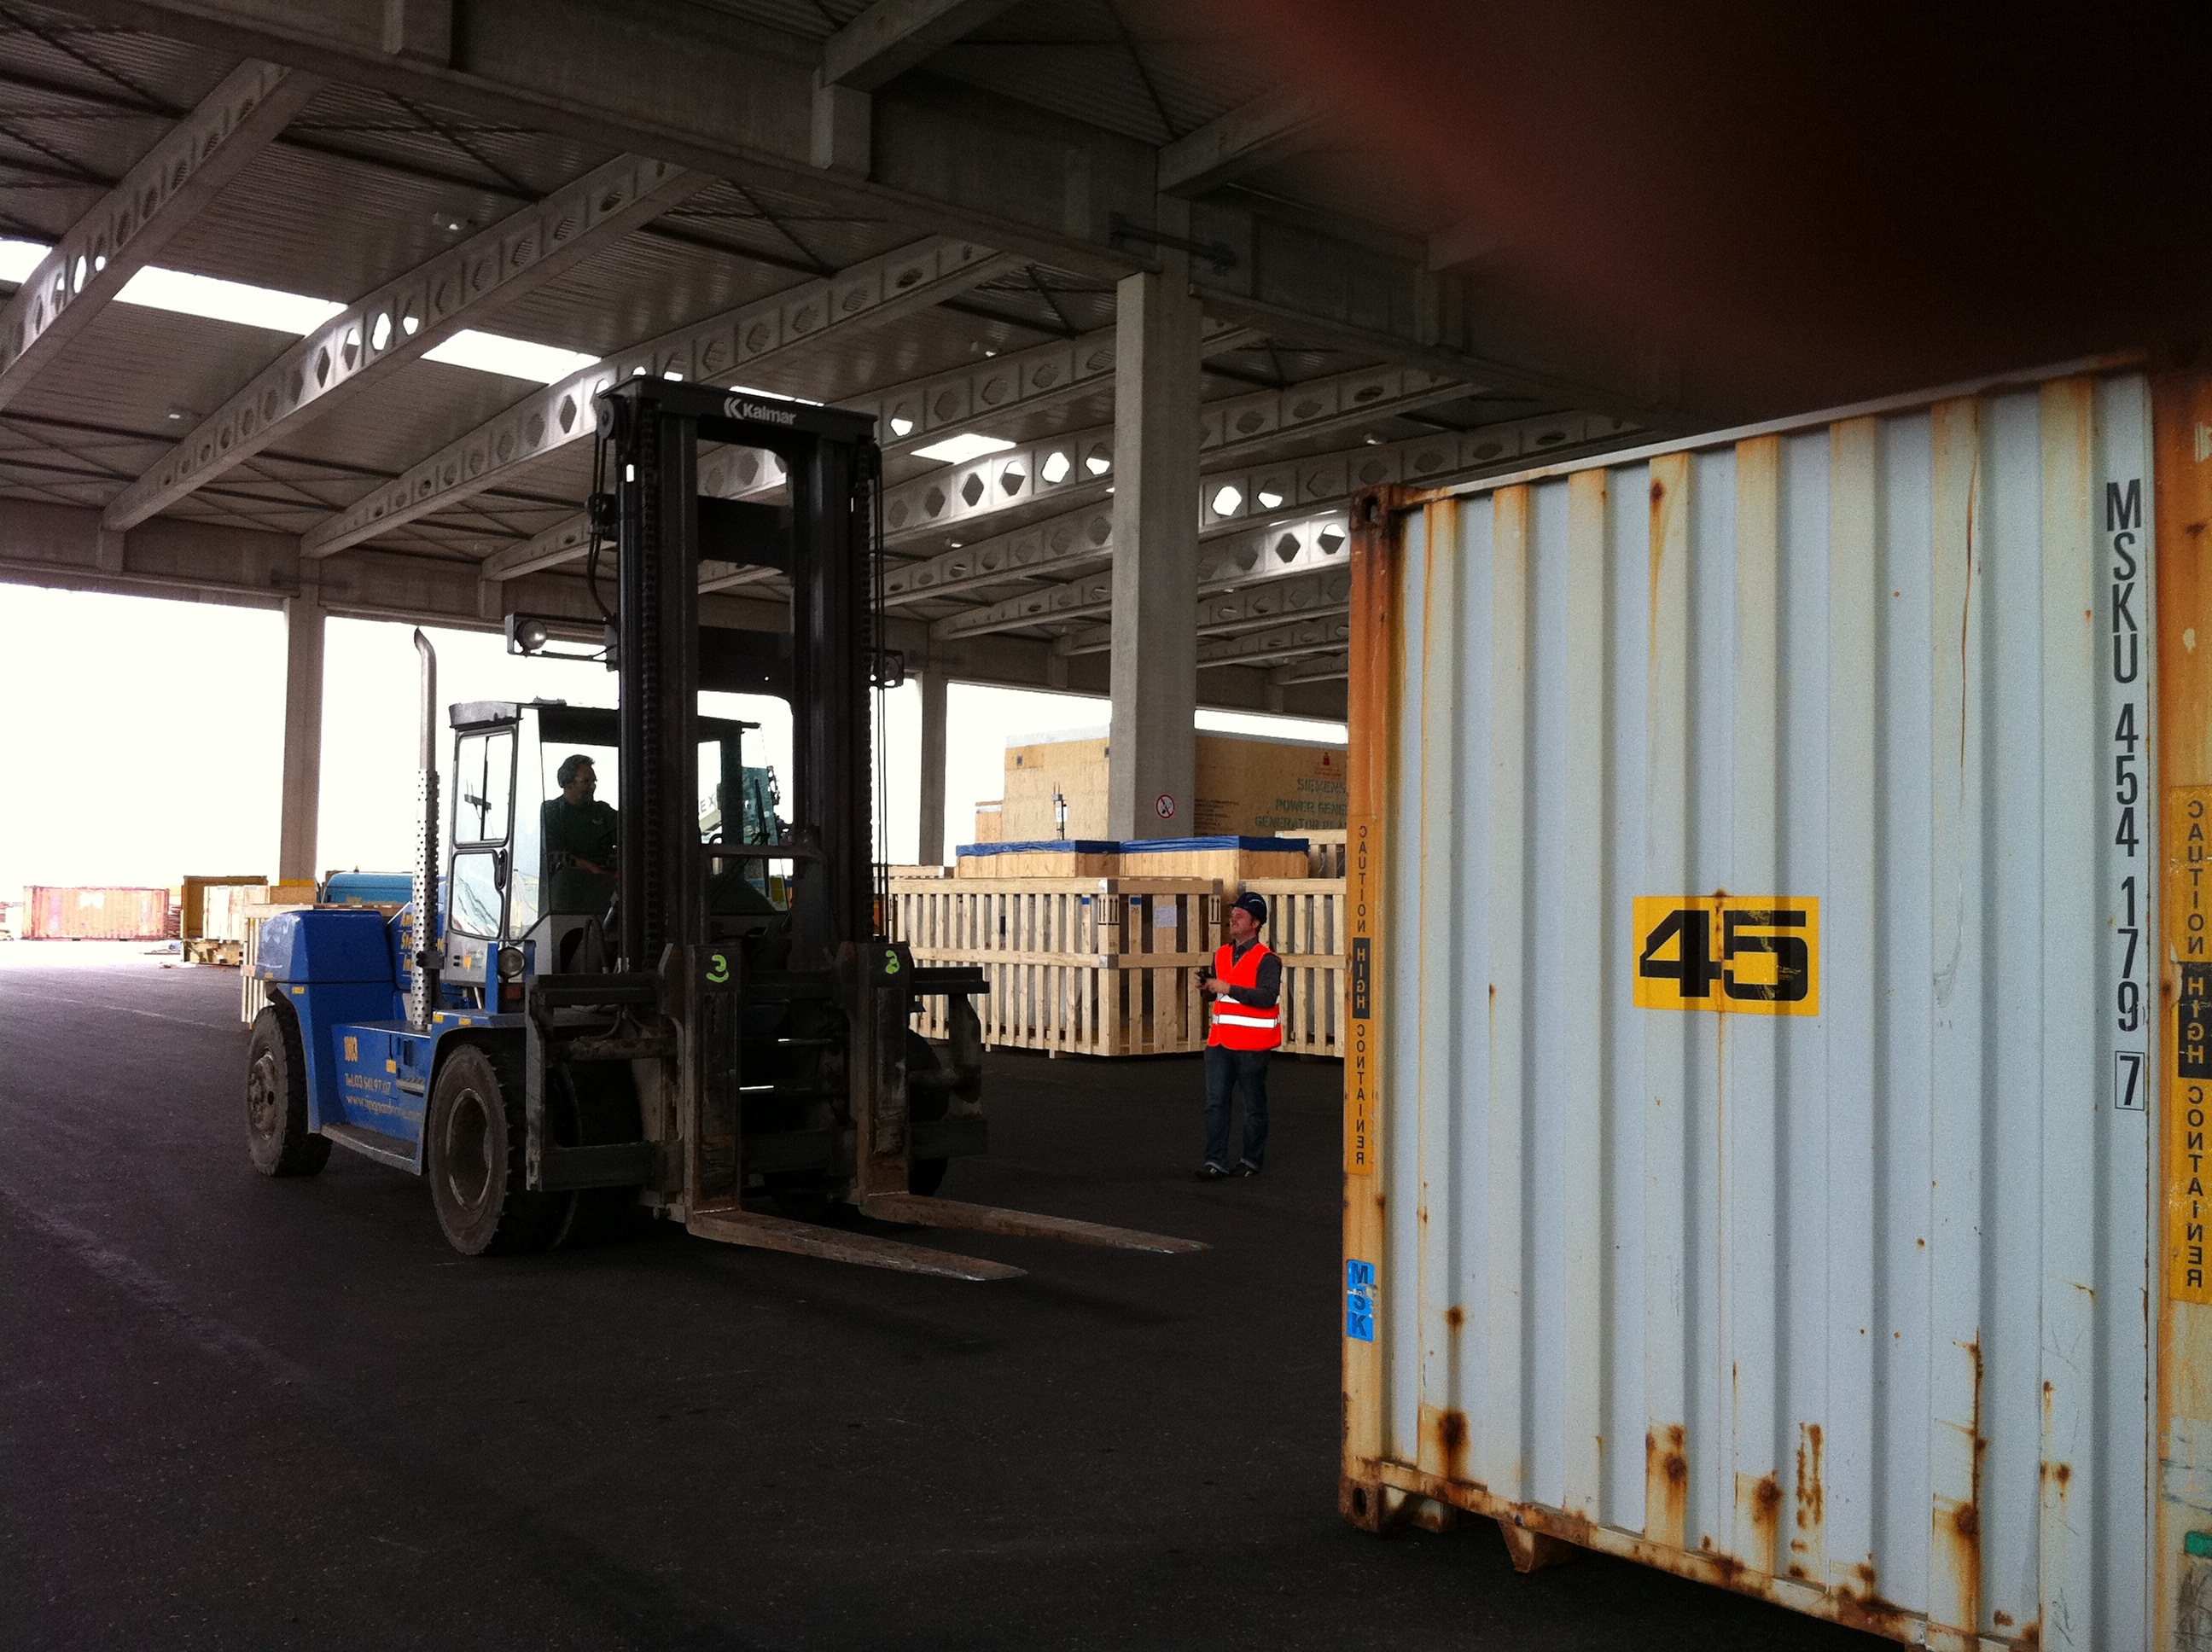
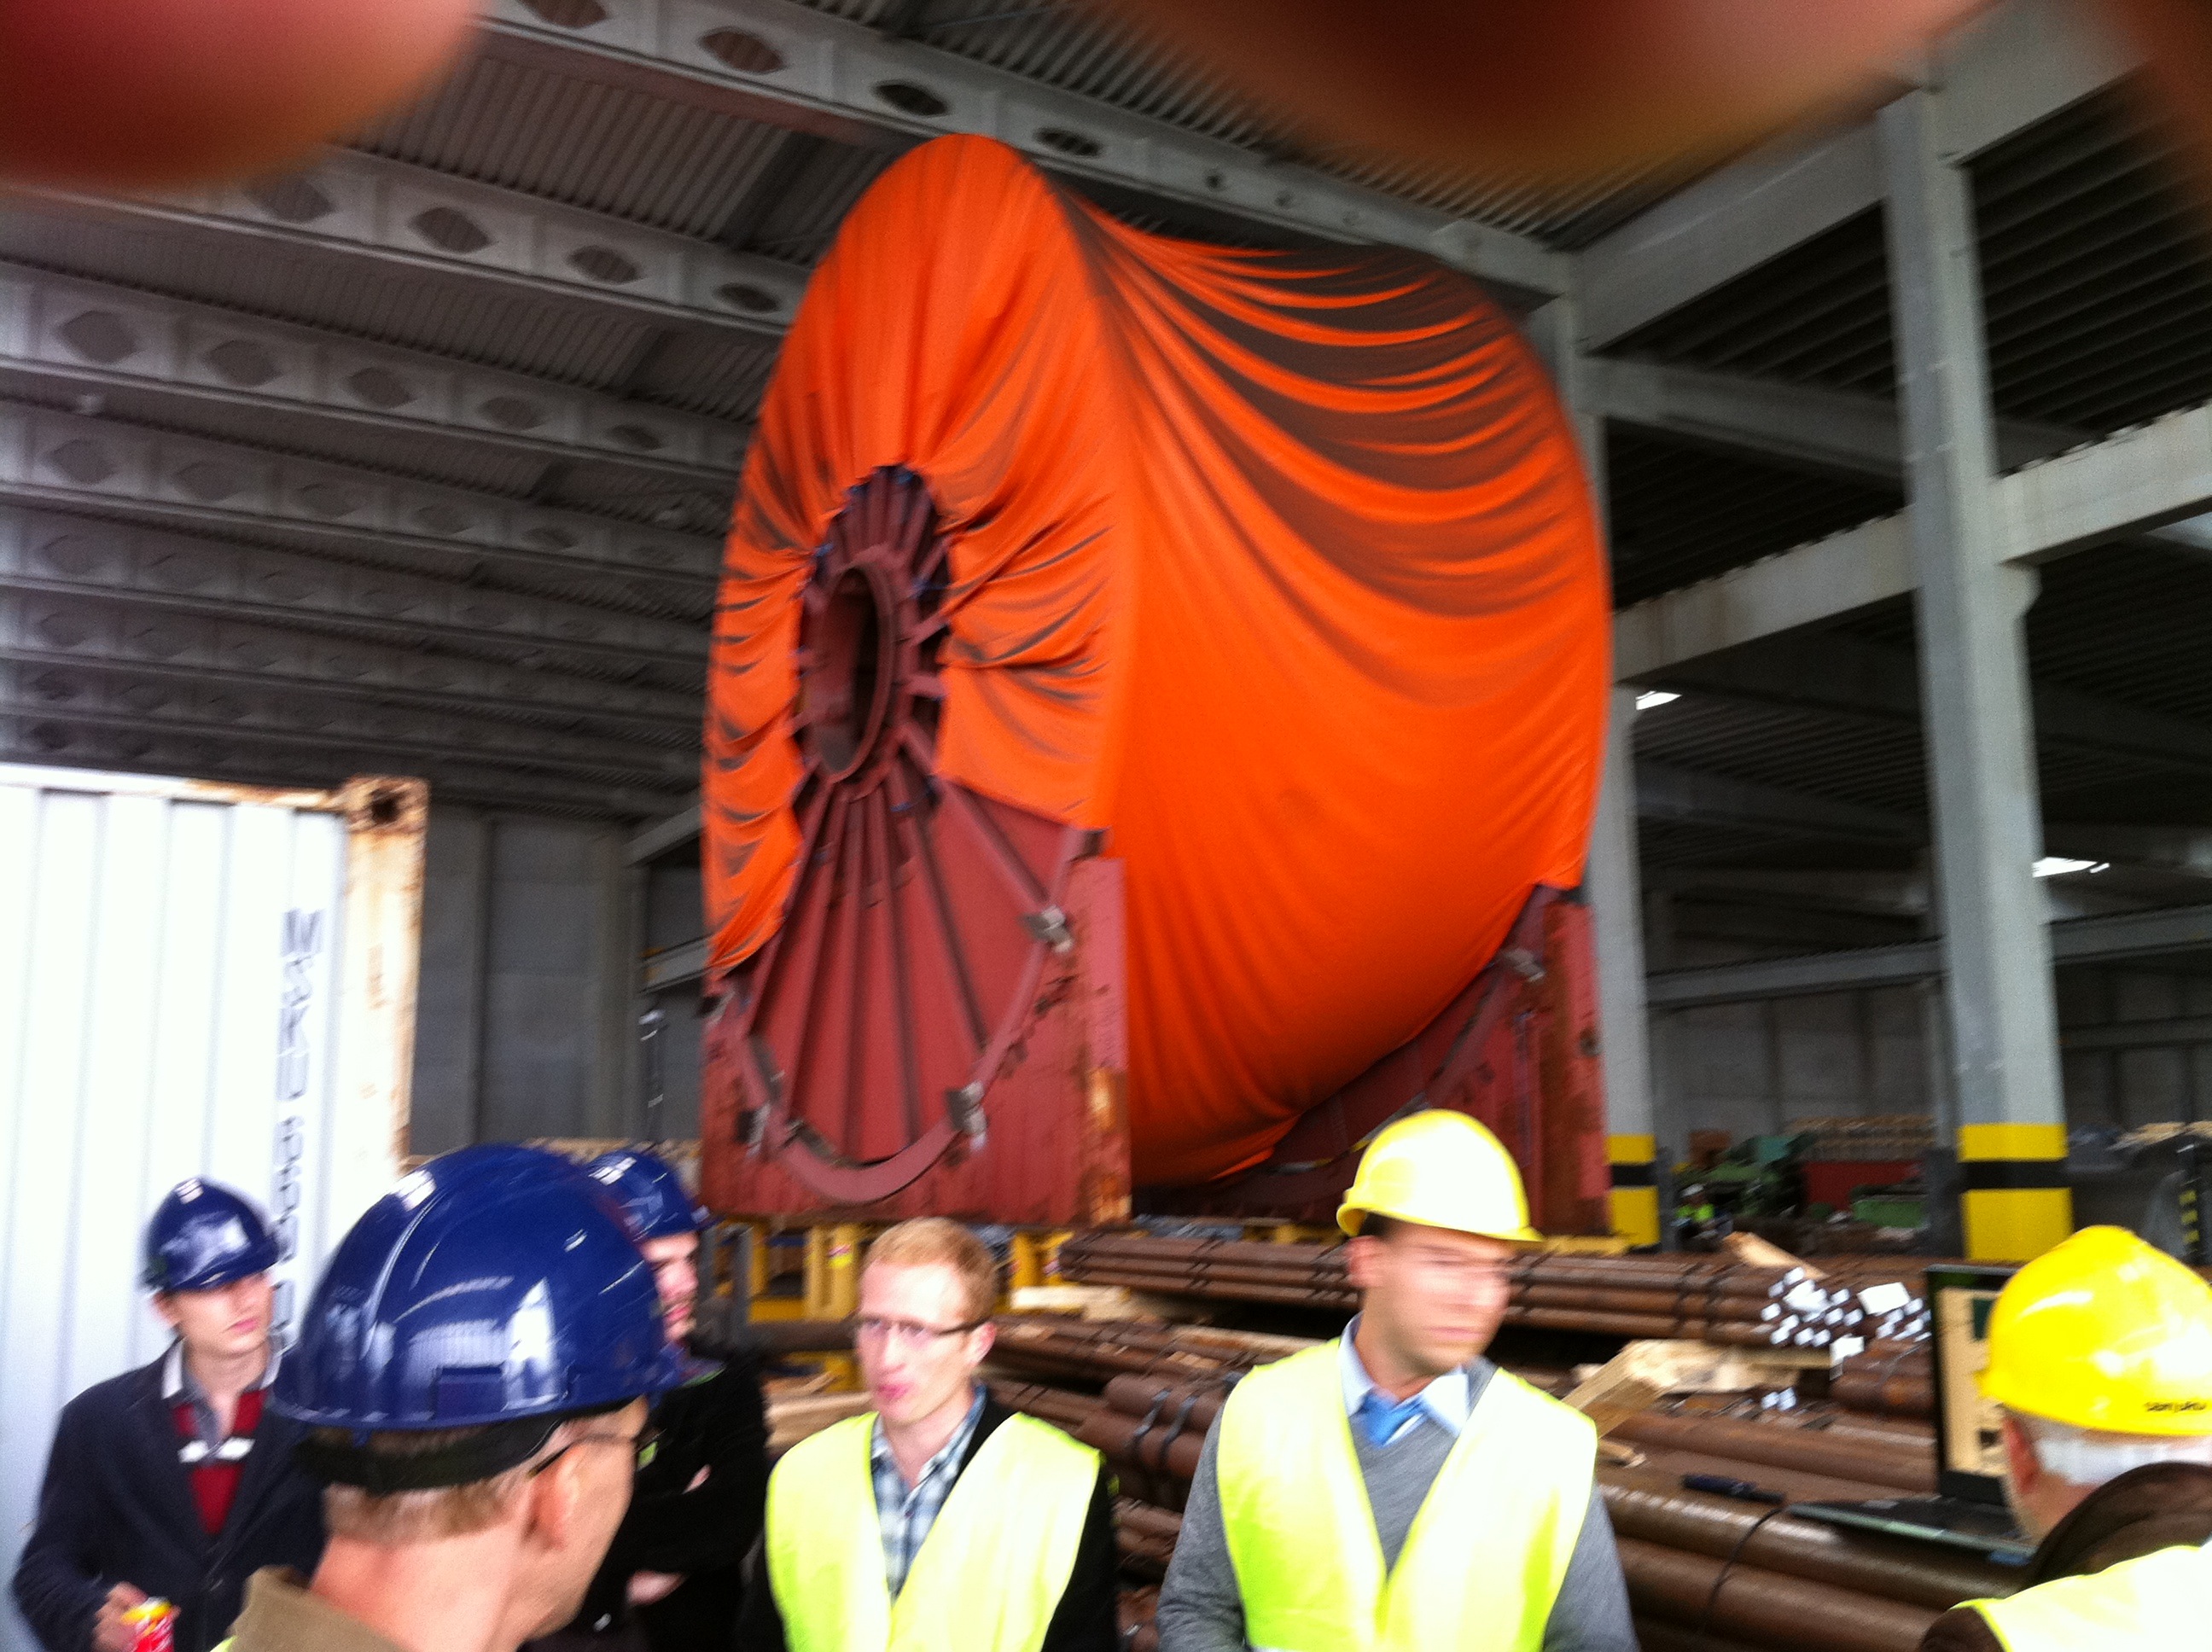
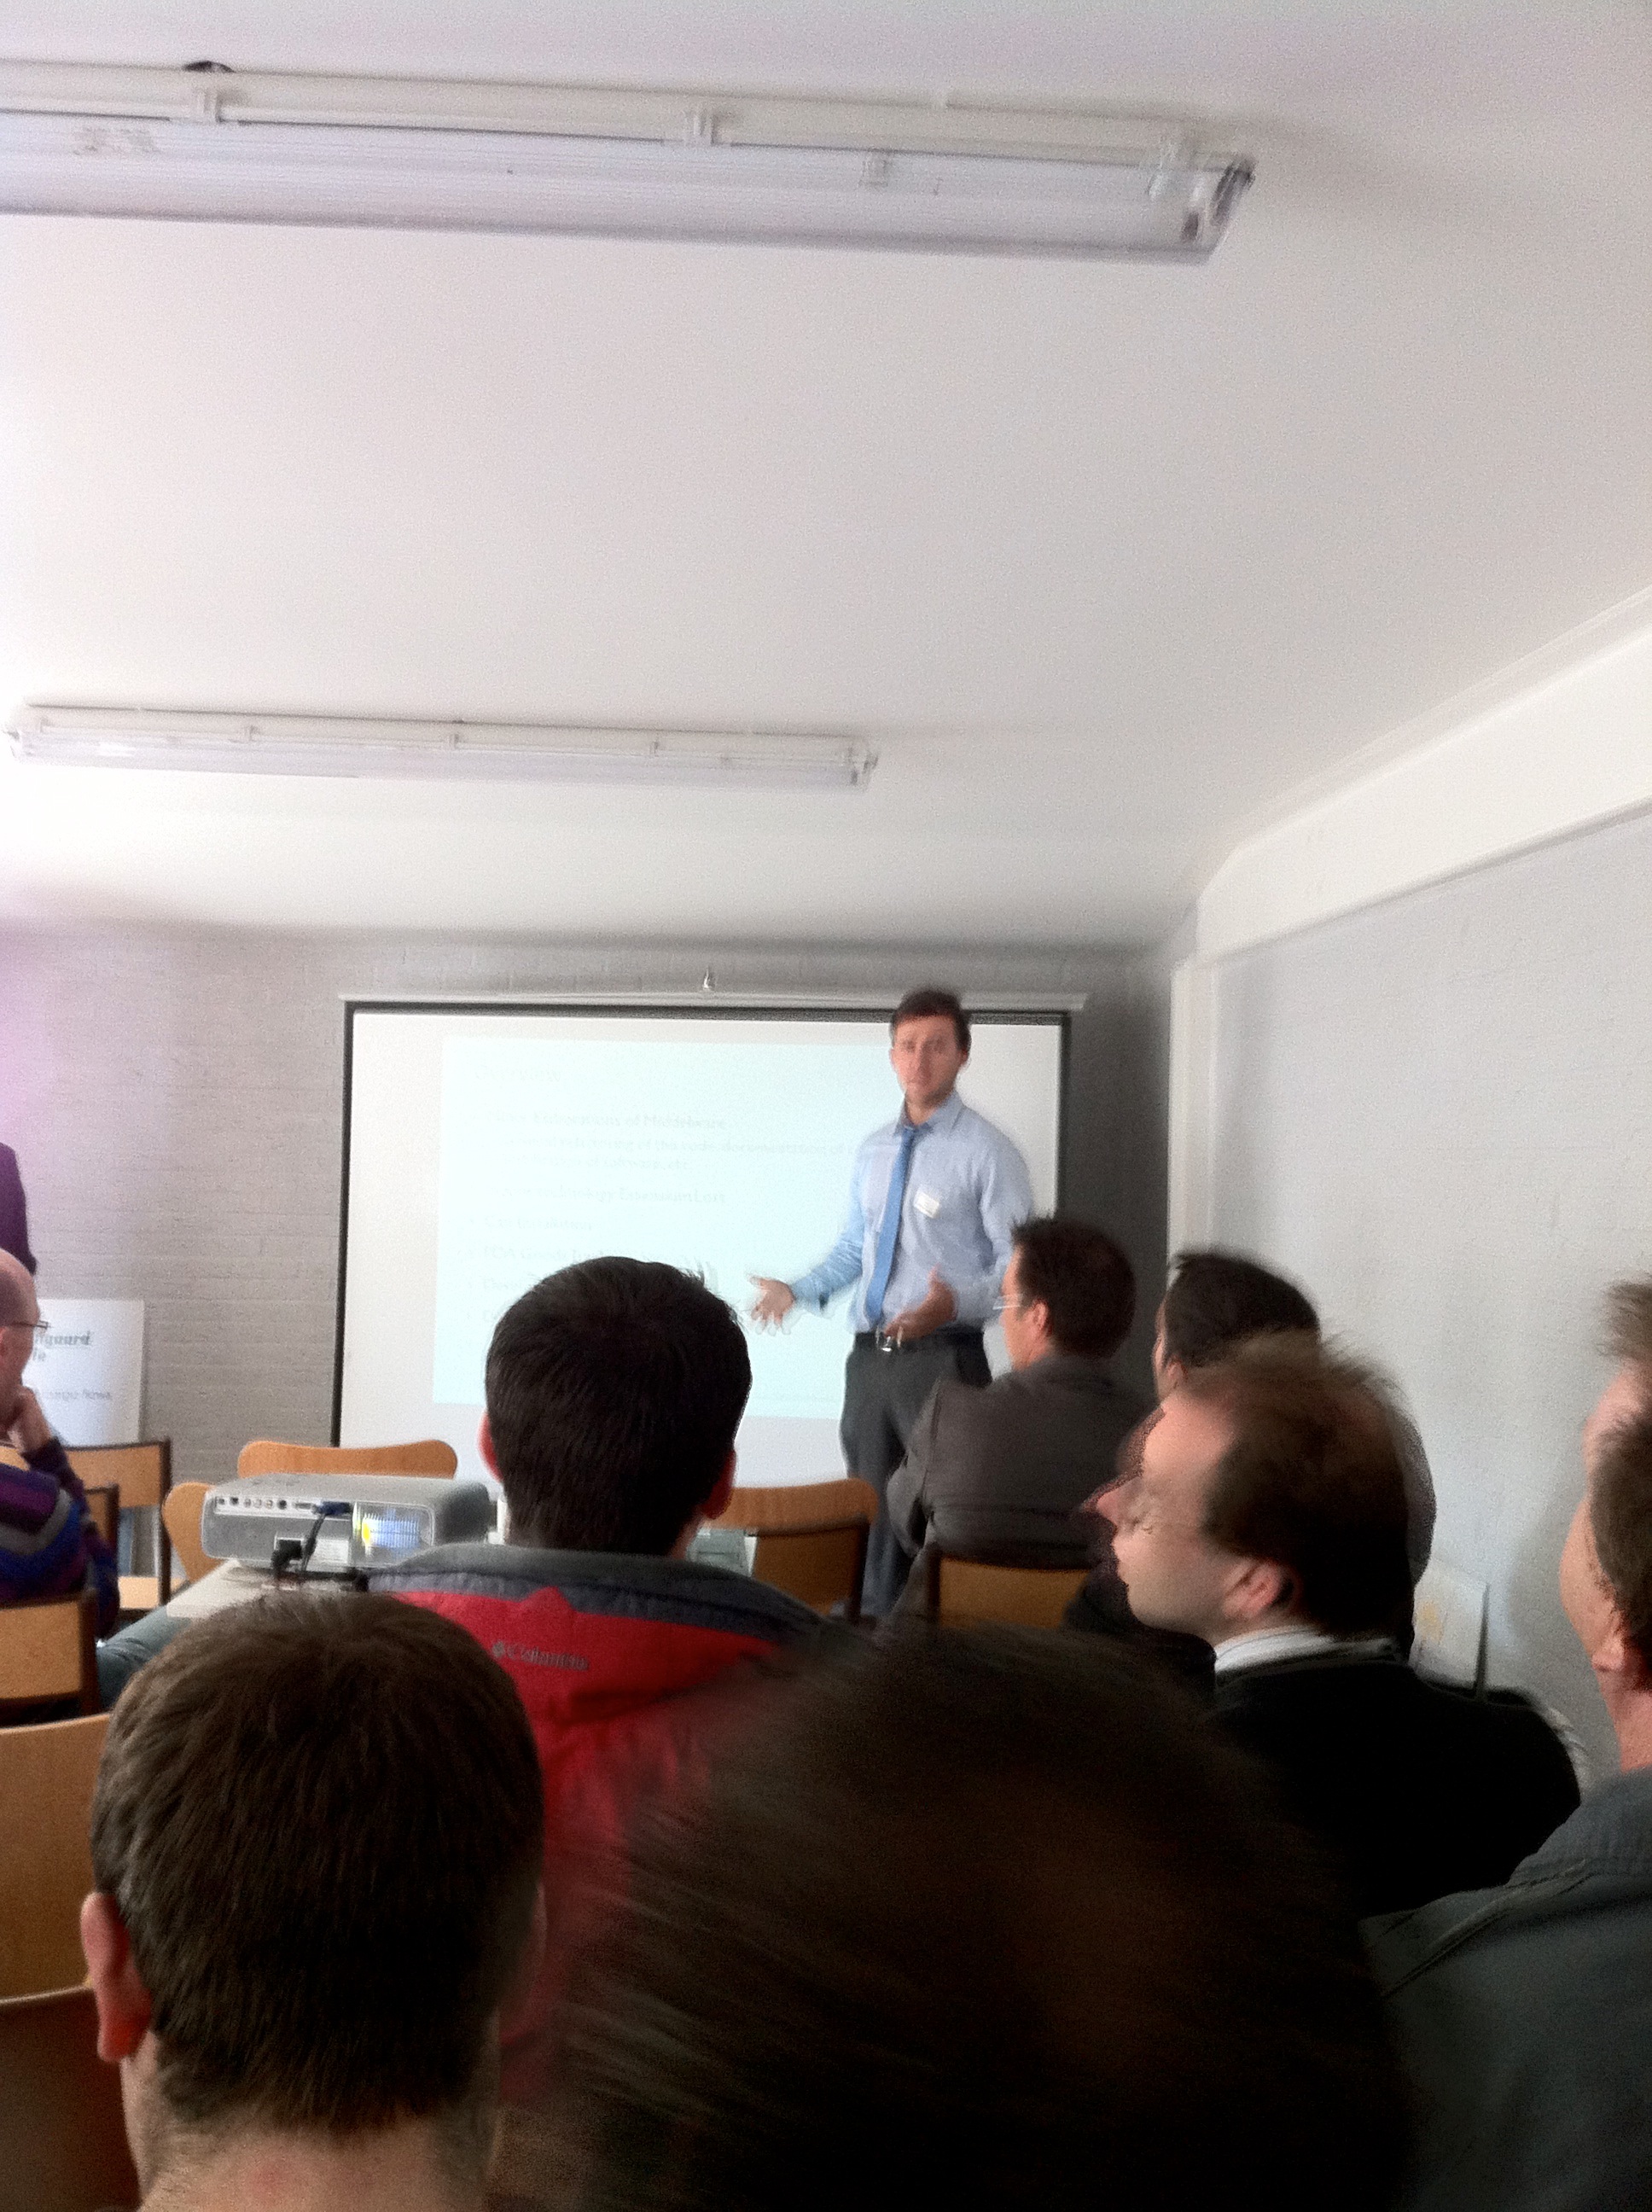
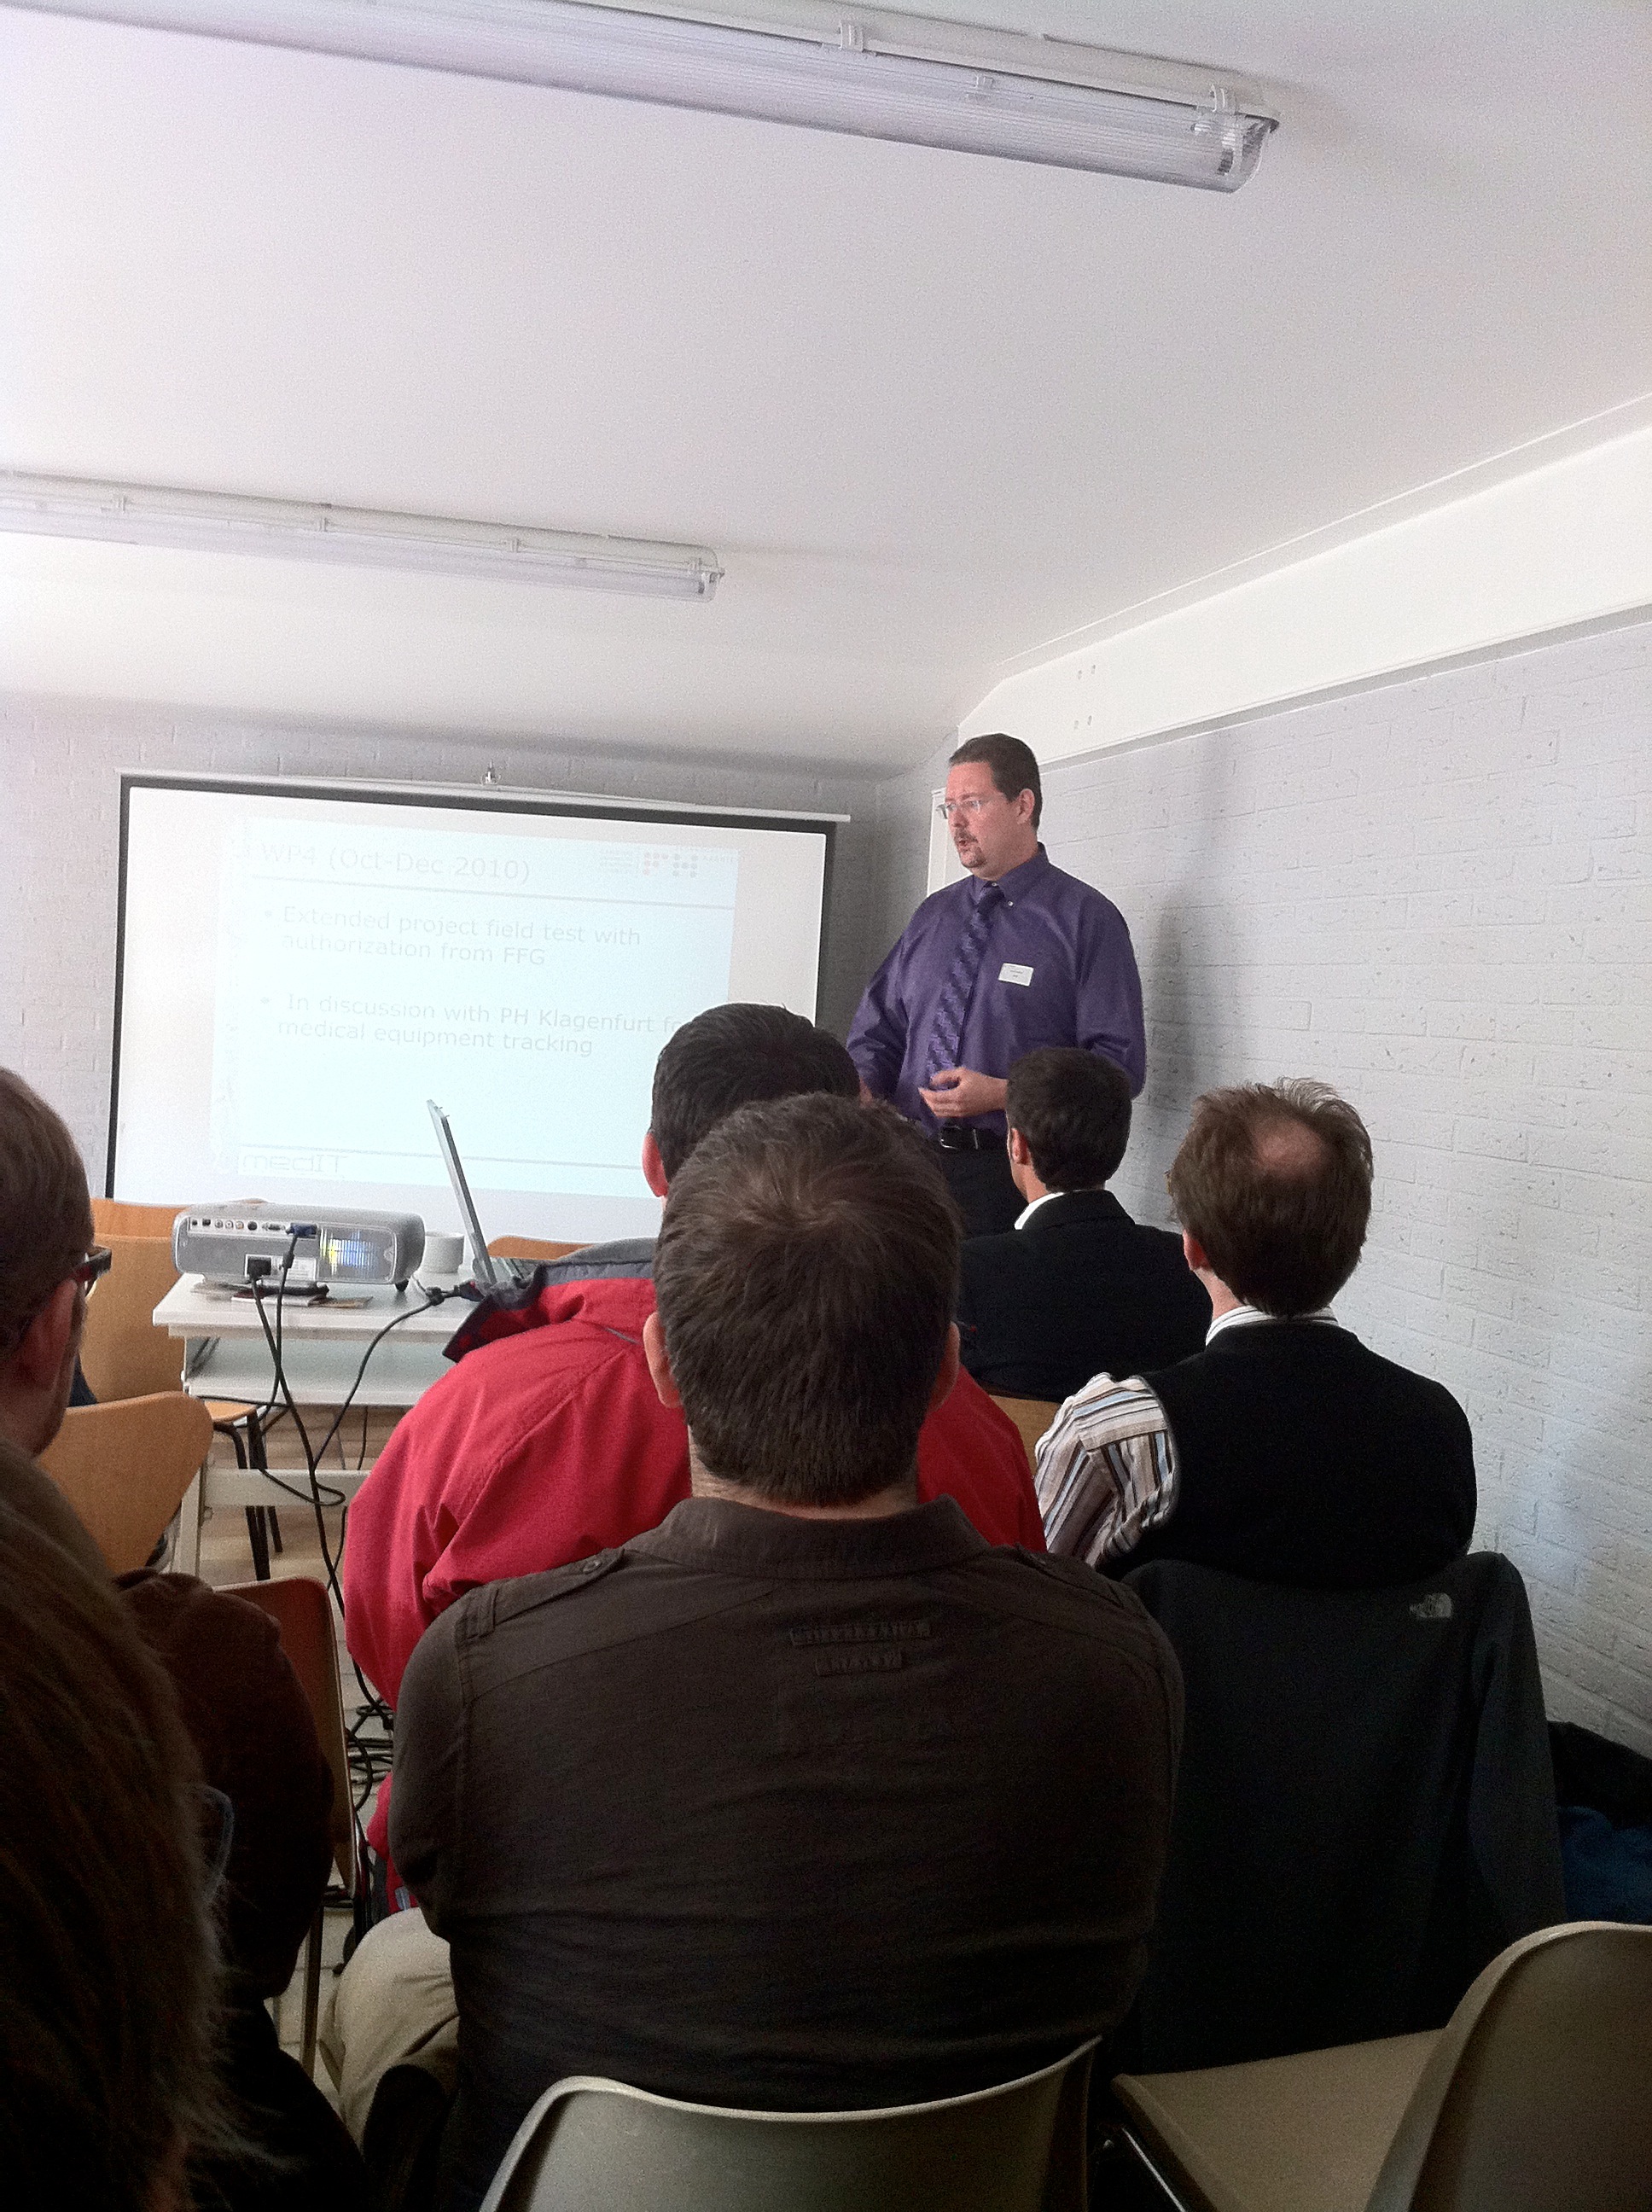
The user commission meeting was hold at the harbor of Antwerp and  involves several presentations of the participating universities and companies, also a live demonstration of the SCALA middleware layer was shown.

To get some impressions of the meeting check out the attached image album.

If you are interested into the SCALA project, or want to do some projects in context of Location awareness with ourselves or one of our partners please do not hesitate to contact me.

And the best,……The SCALA middleware layer is open source! 🙂

have fun

Campus Door System v3.1 – an access system for education facilities


Since 2013 CDS 3.1 became Open Source, all source code and pcb layouts are available under the Creative Commons (CC) license.
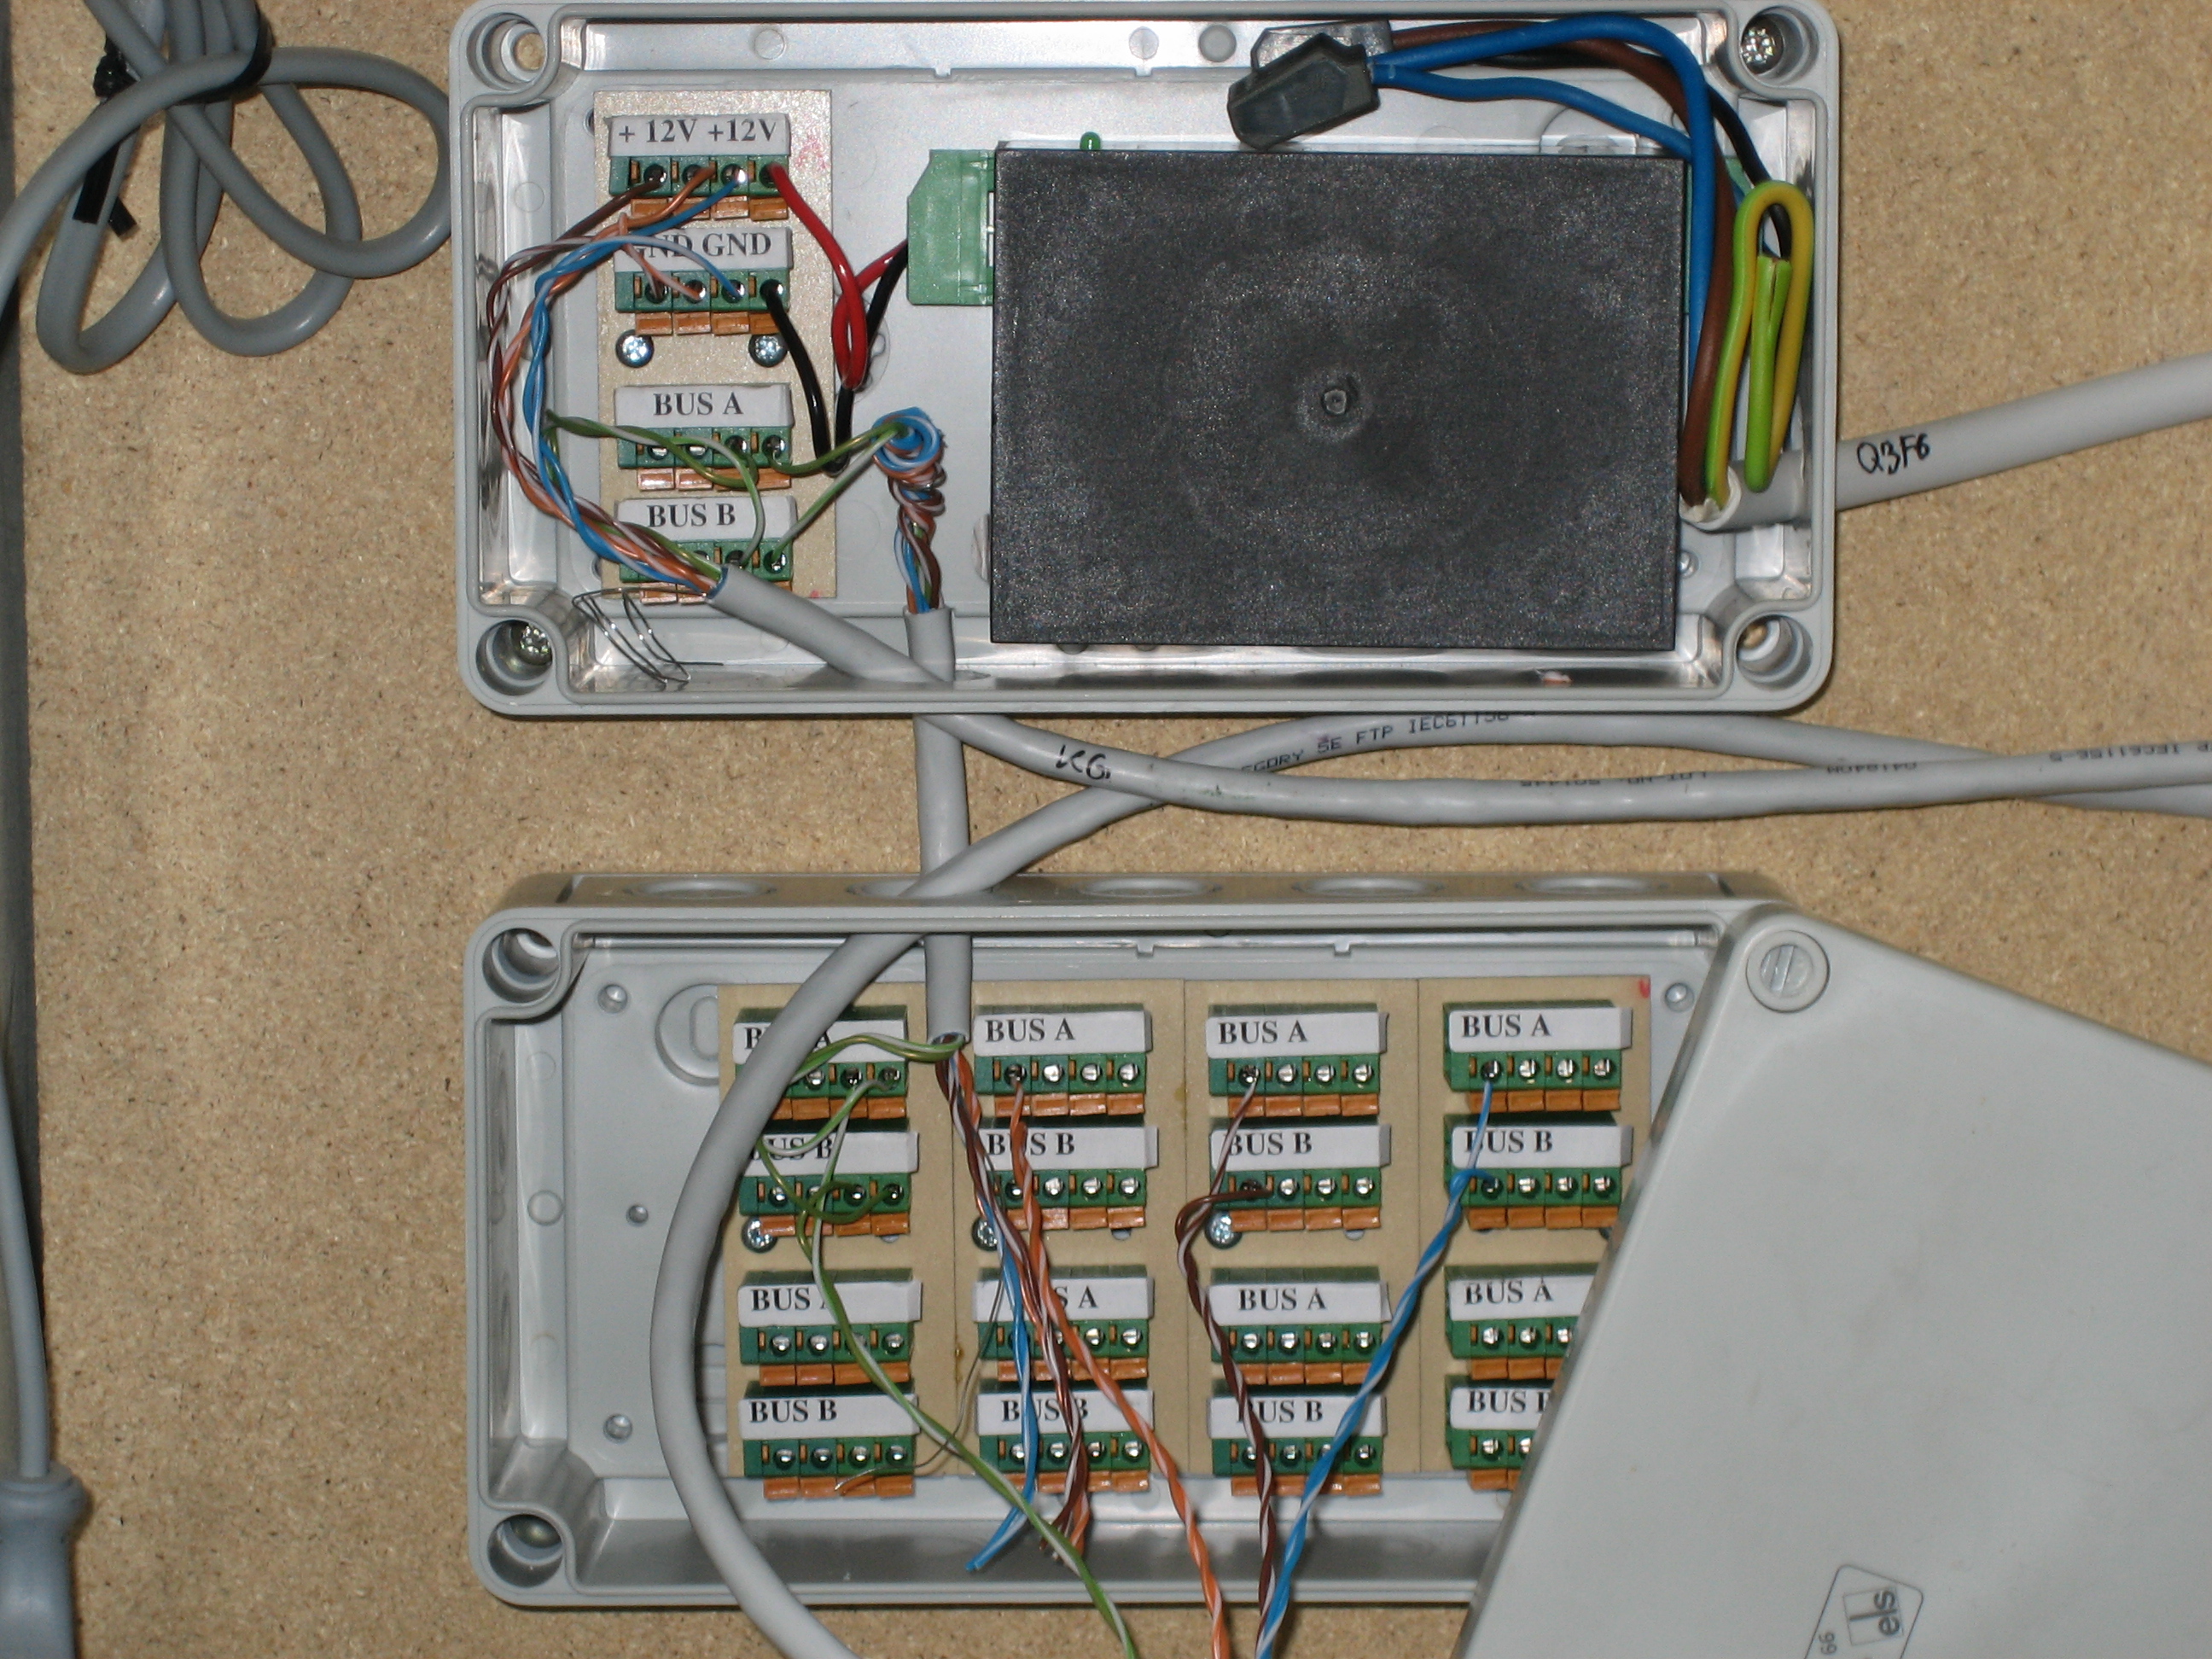
One of the bigger projects I did the last years (starting 2004) was the CDS (Campus Door System) project. The goal of the project was to build access system mainly focused to the needs of education facilities. The system is designed to work with every RFID reader which can be interfaced via serial protocols. Mostly RS-485 is used because it can be used effectively over long distances and in electrically noisy environments.

Strictly speaking the first prototype of the CDS with raw access control functionality was developed by a student (Christian E. with project lead Helmut W.) – he programmed the first core micro controller functionality.

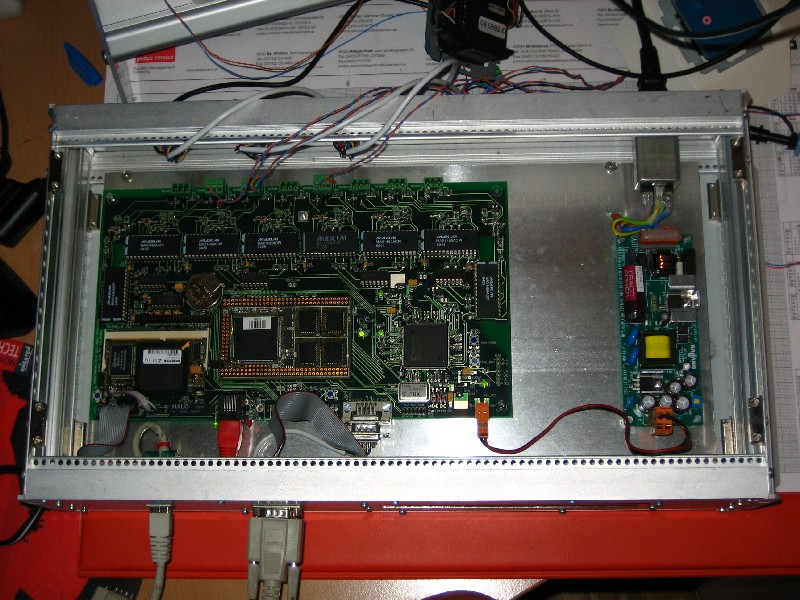
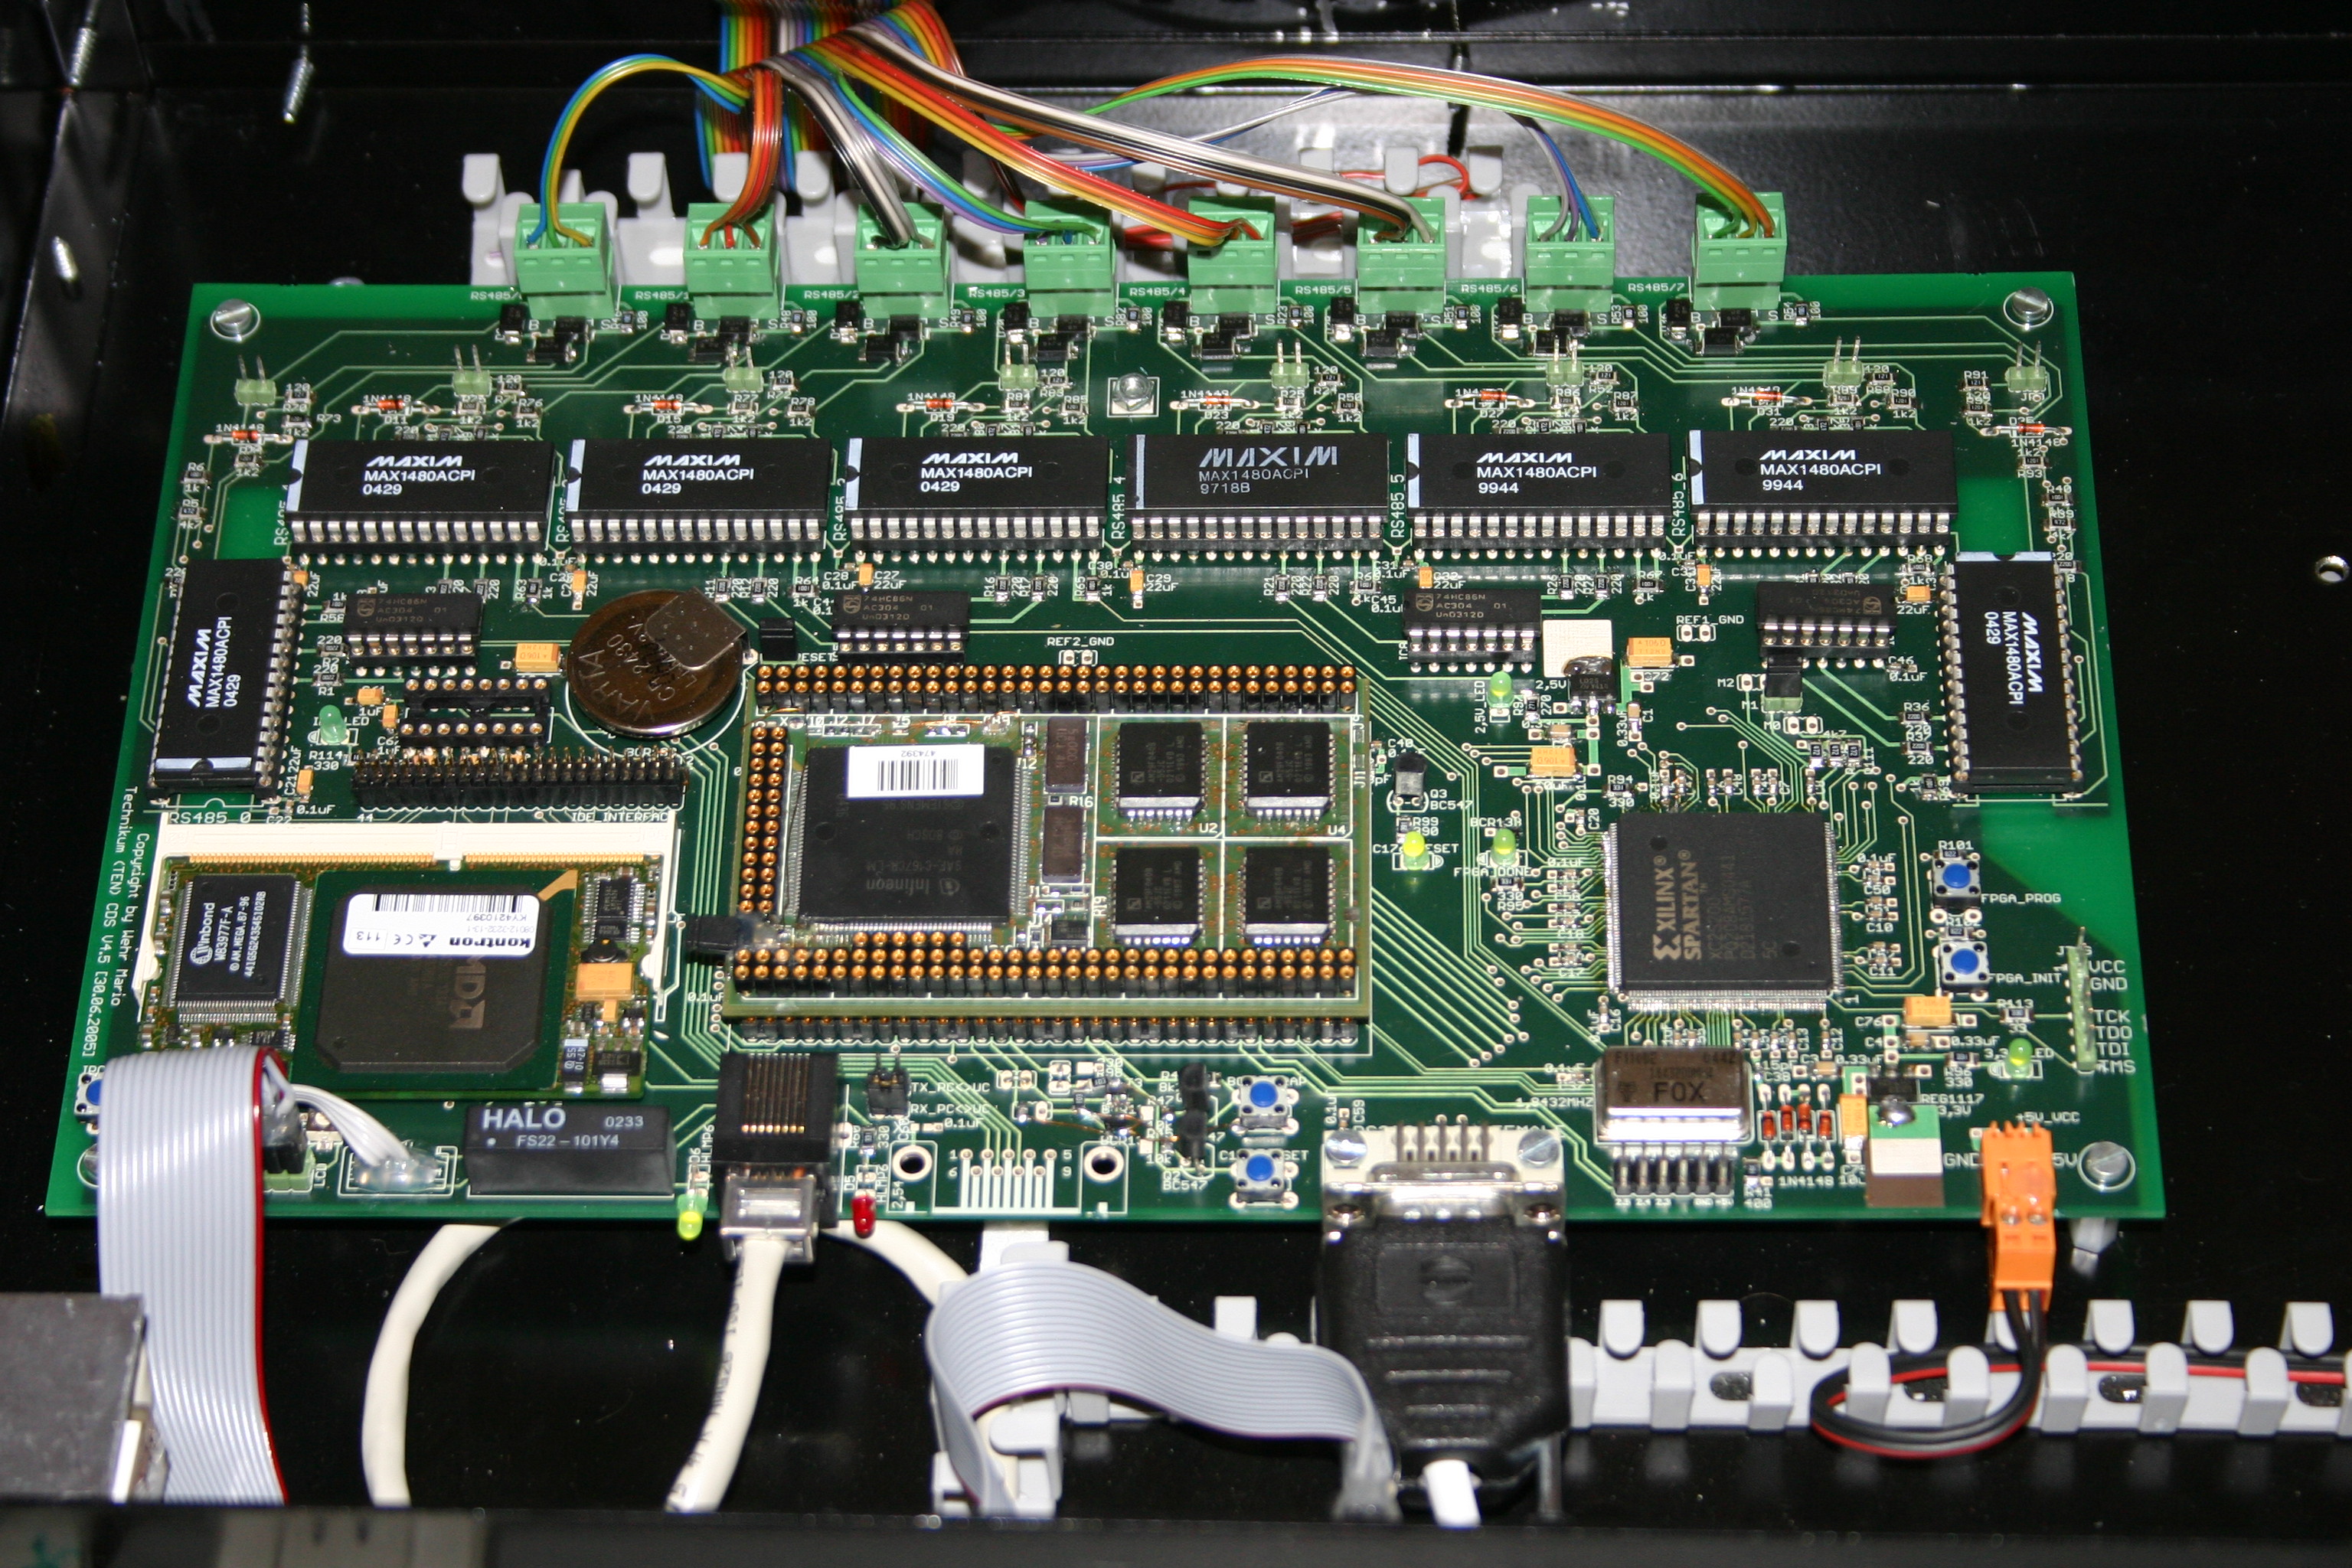
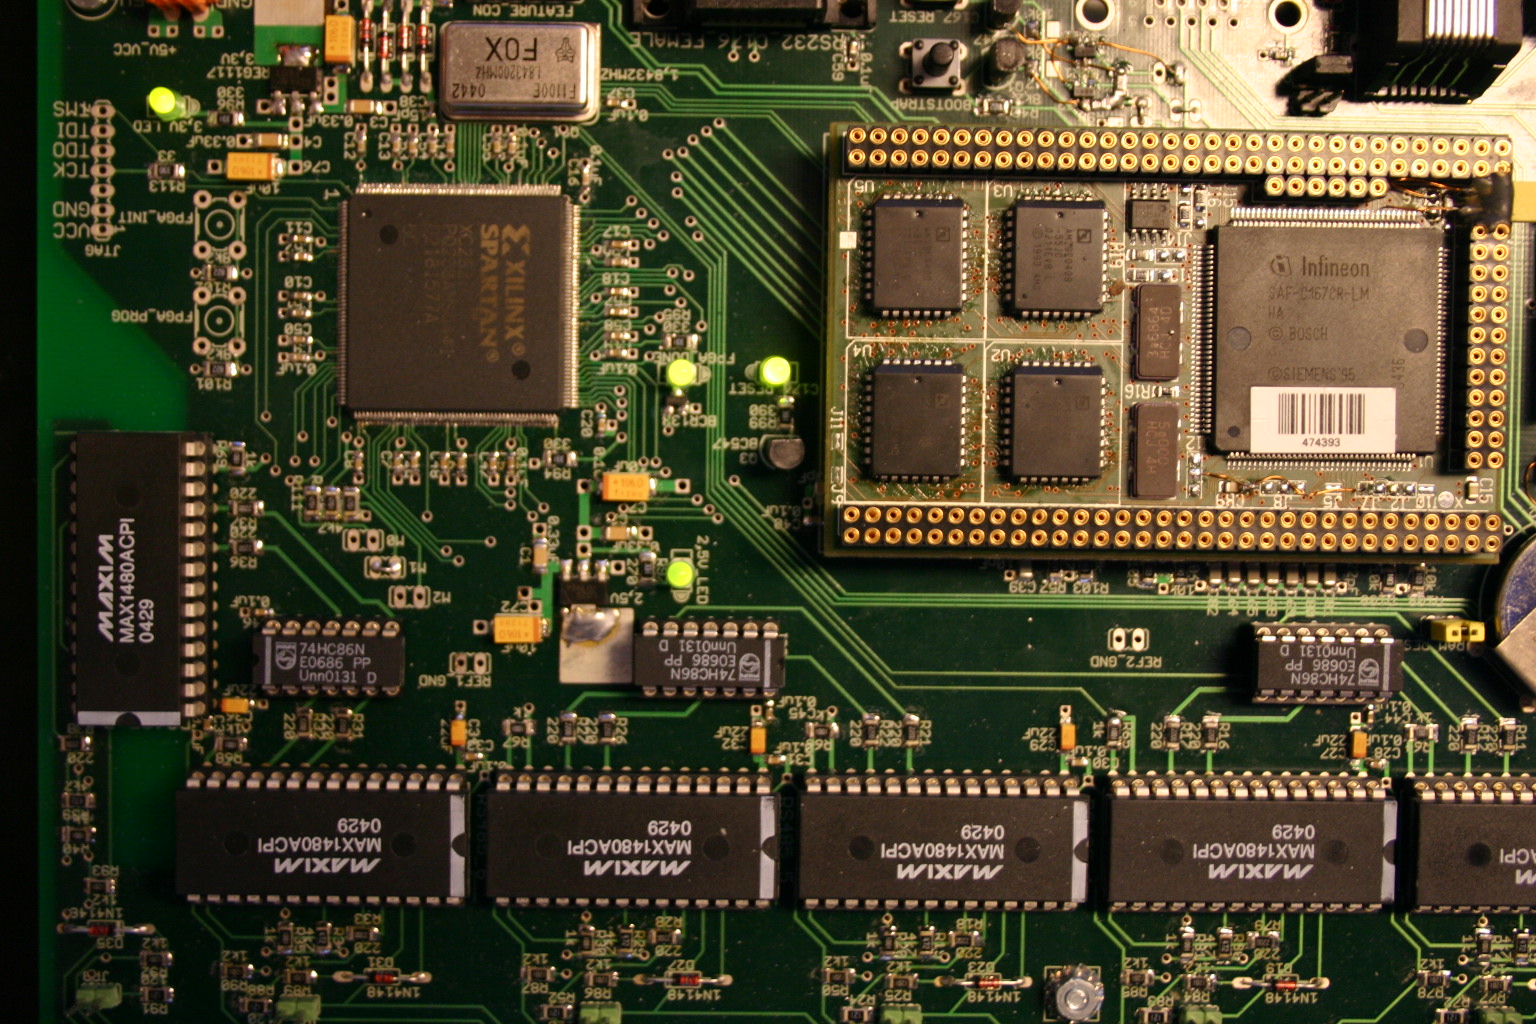
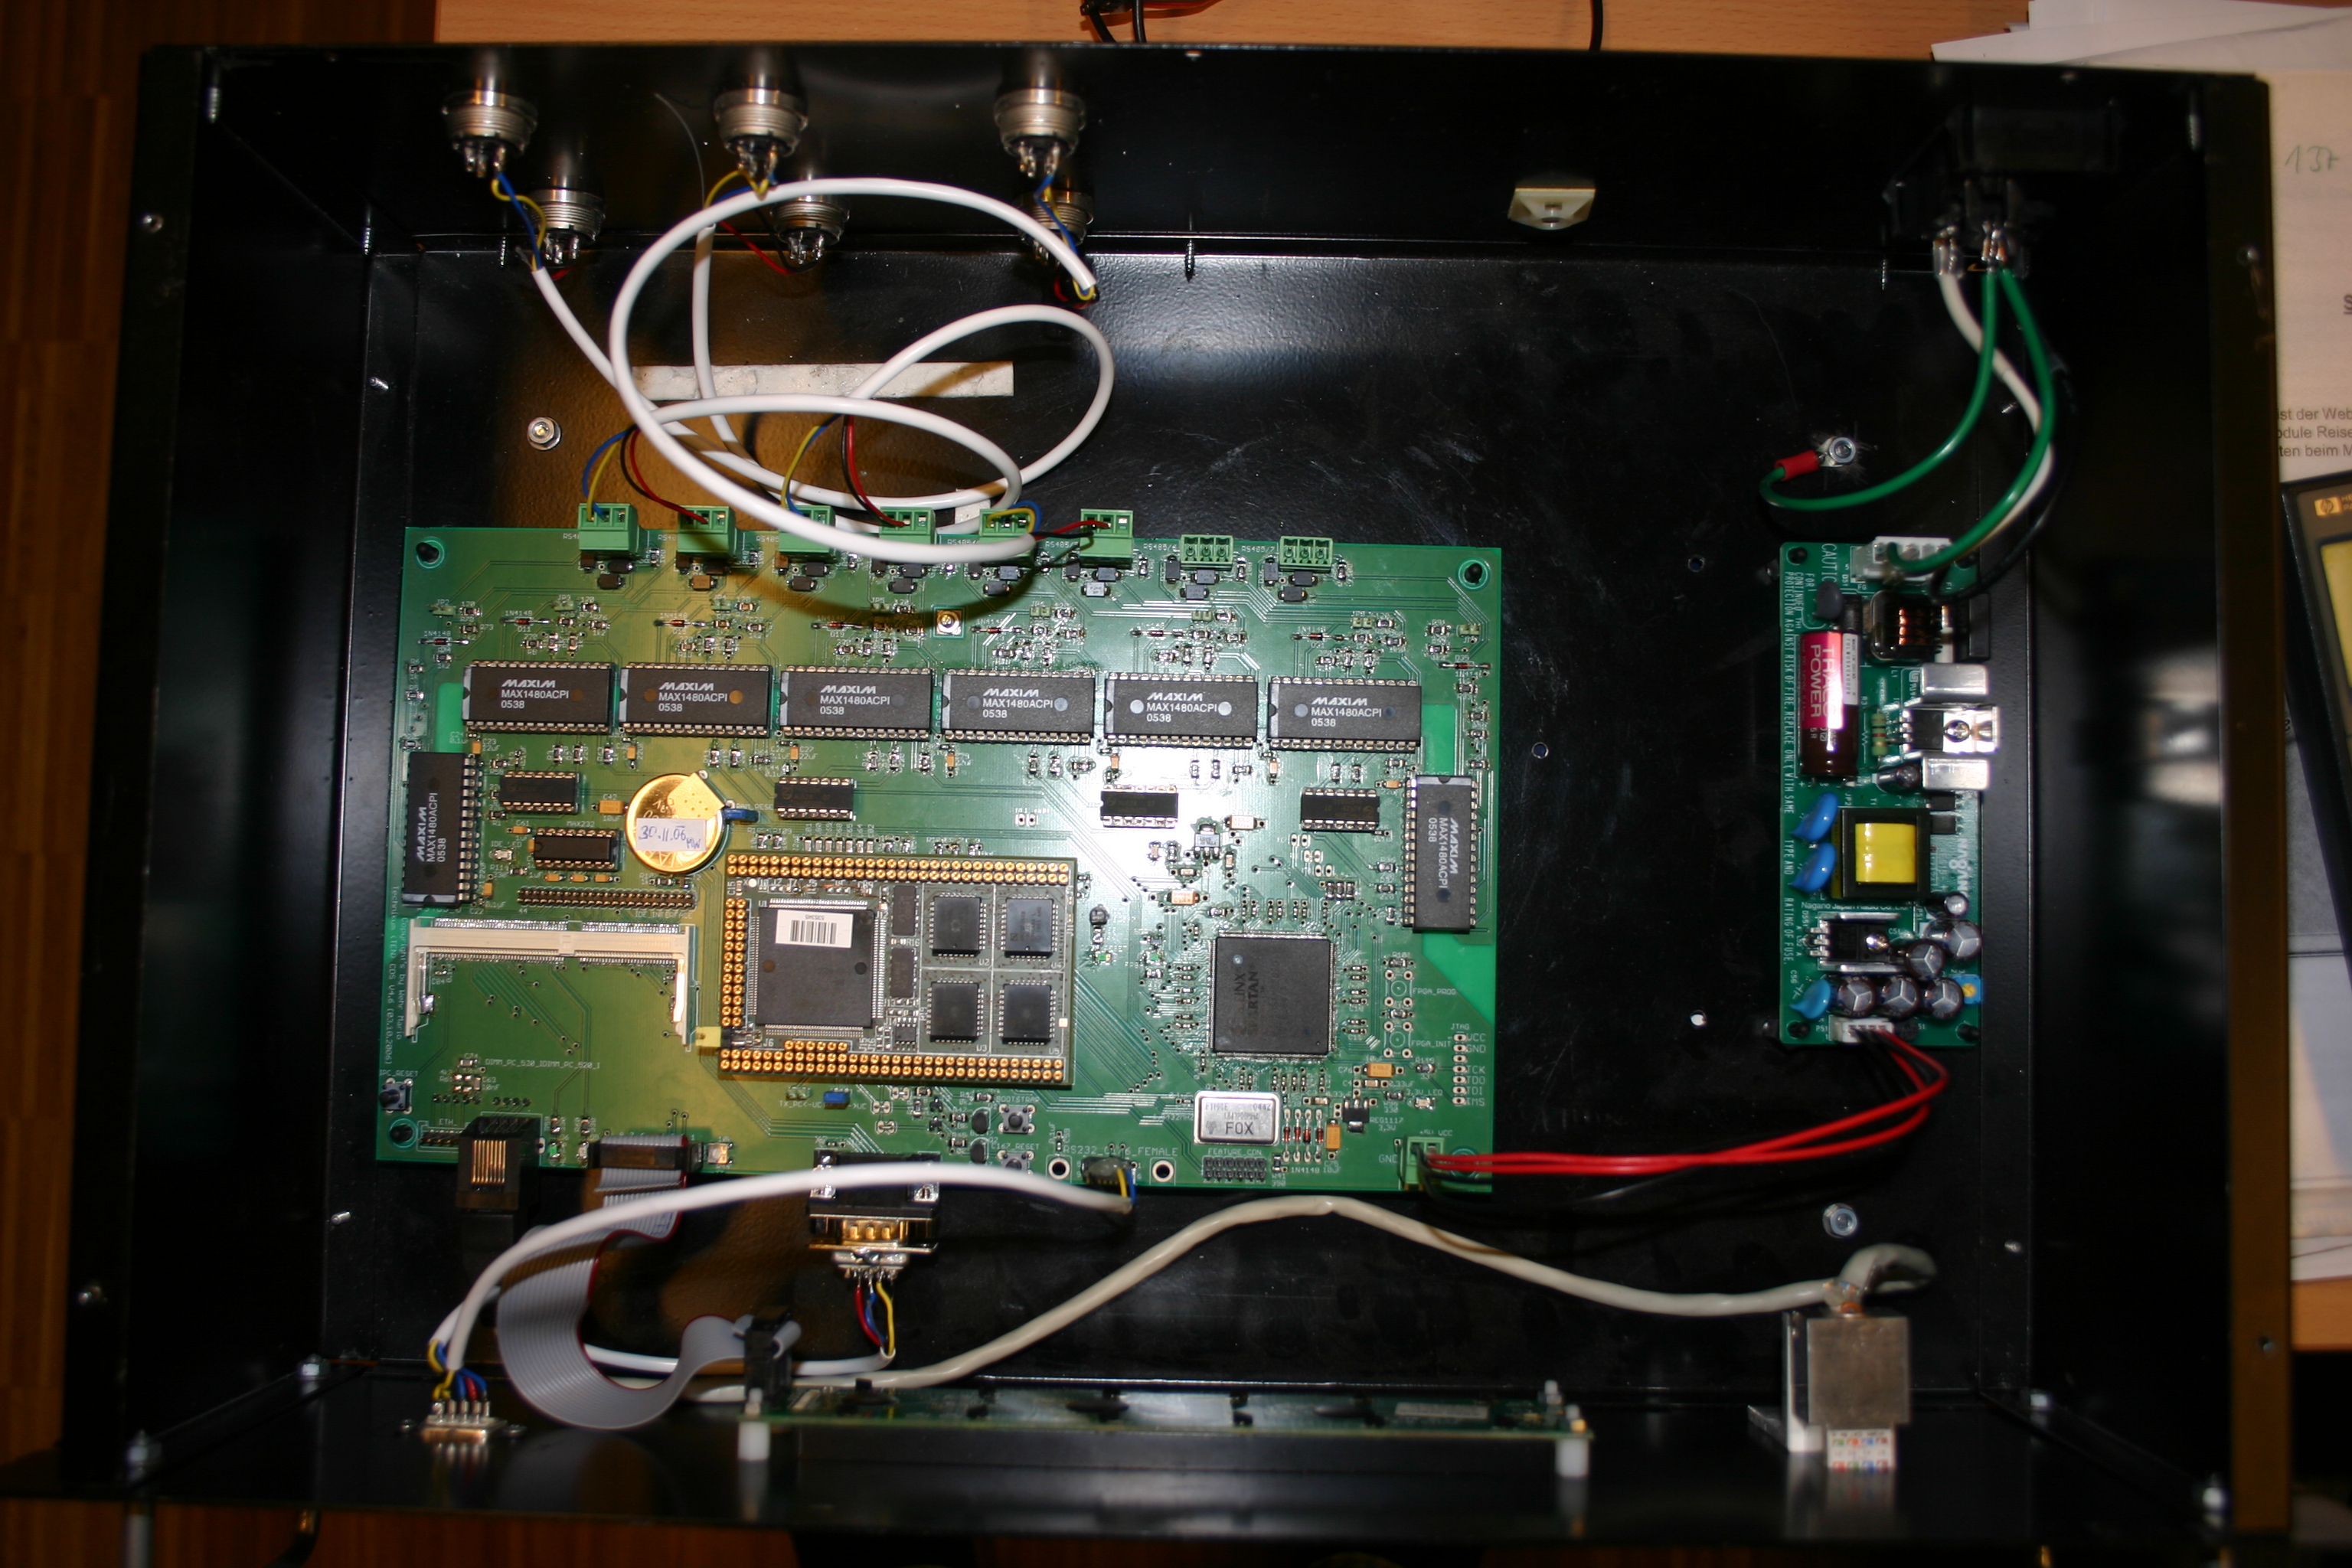
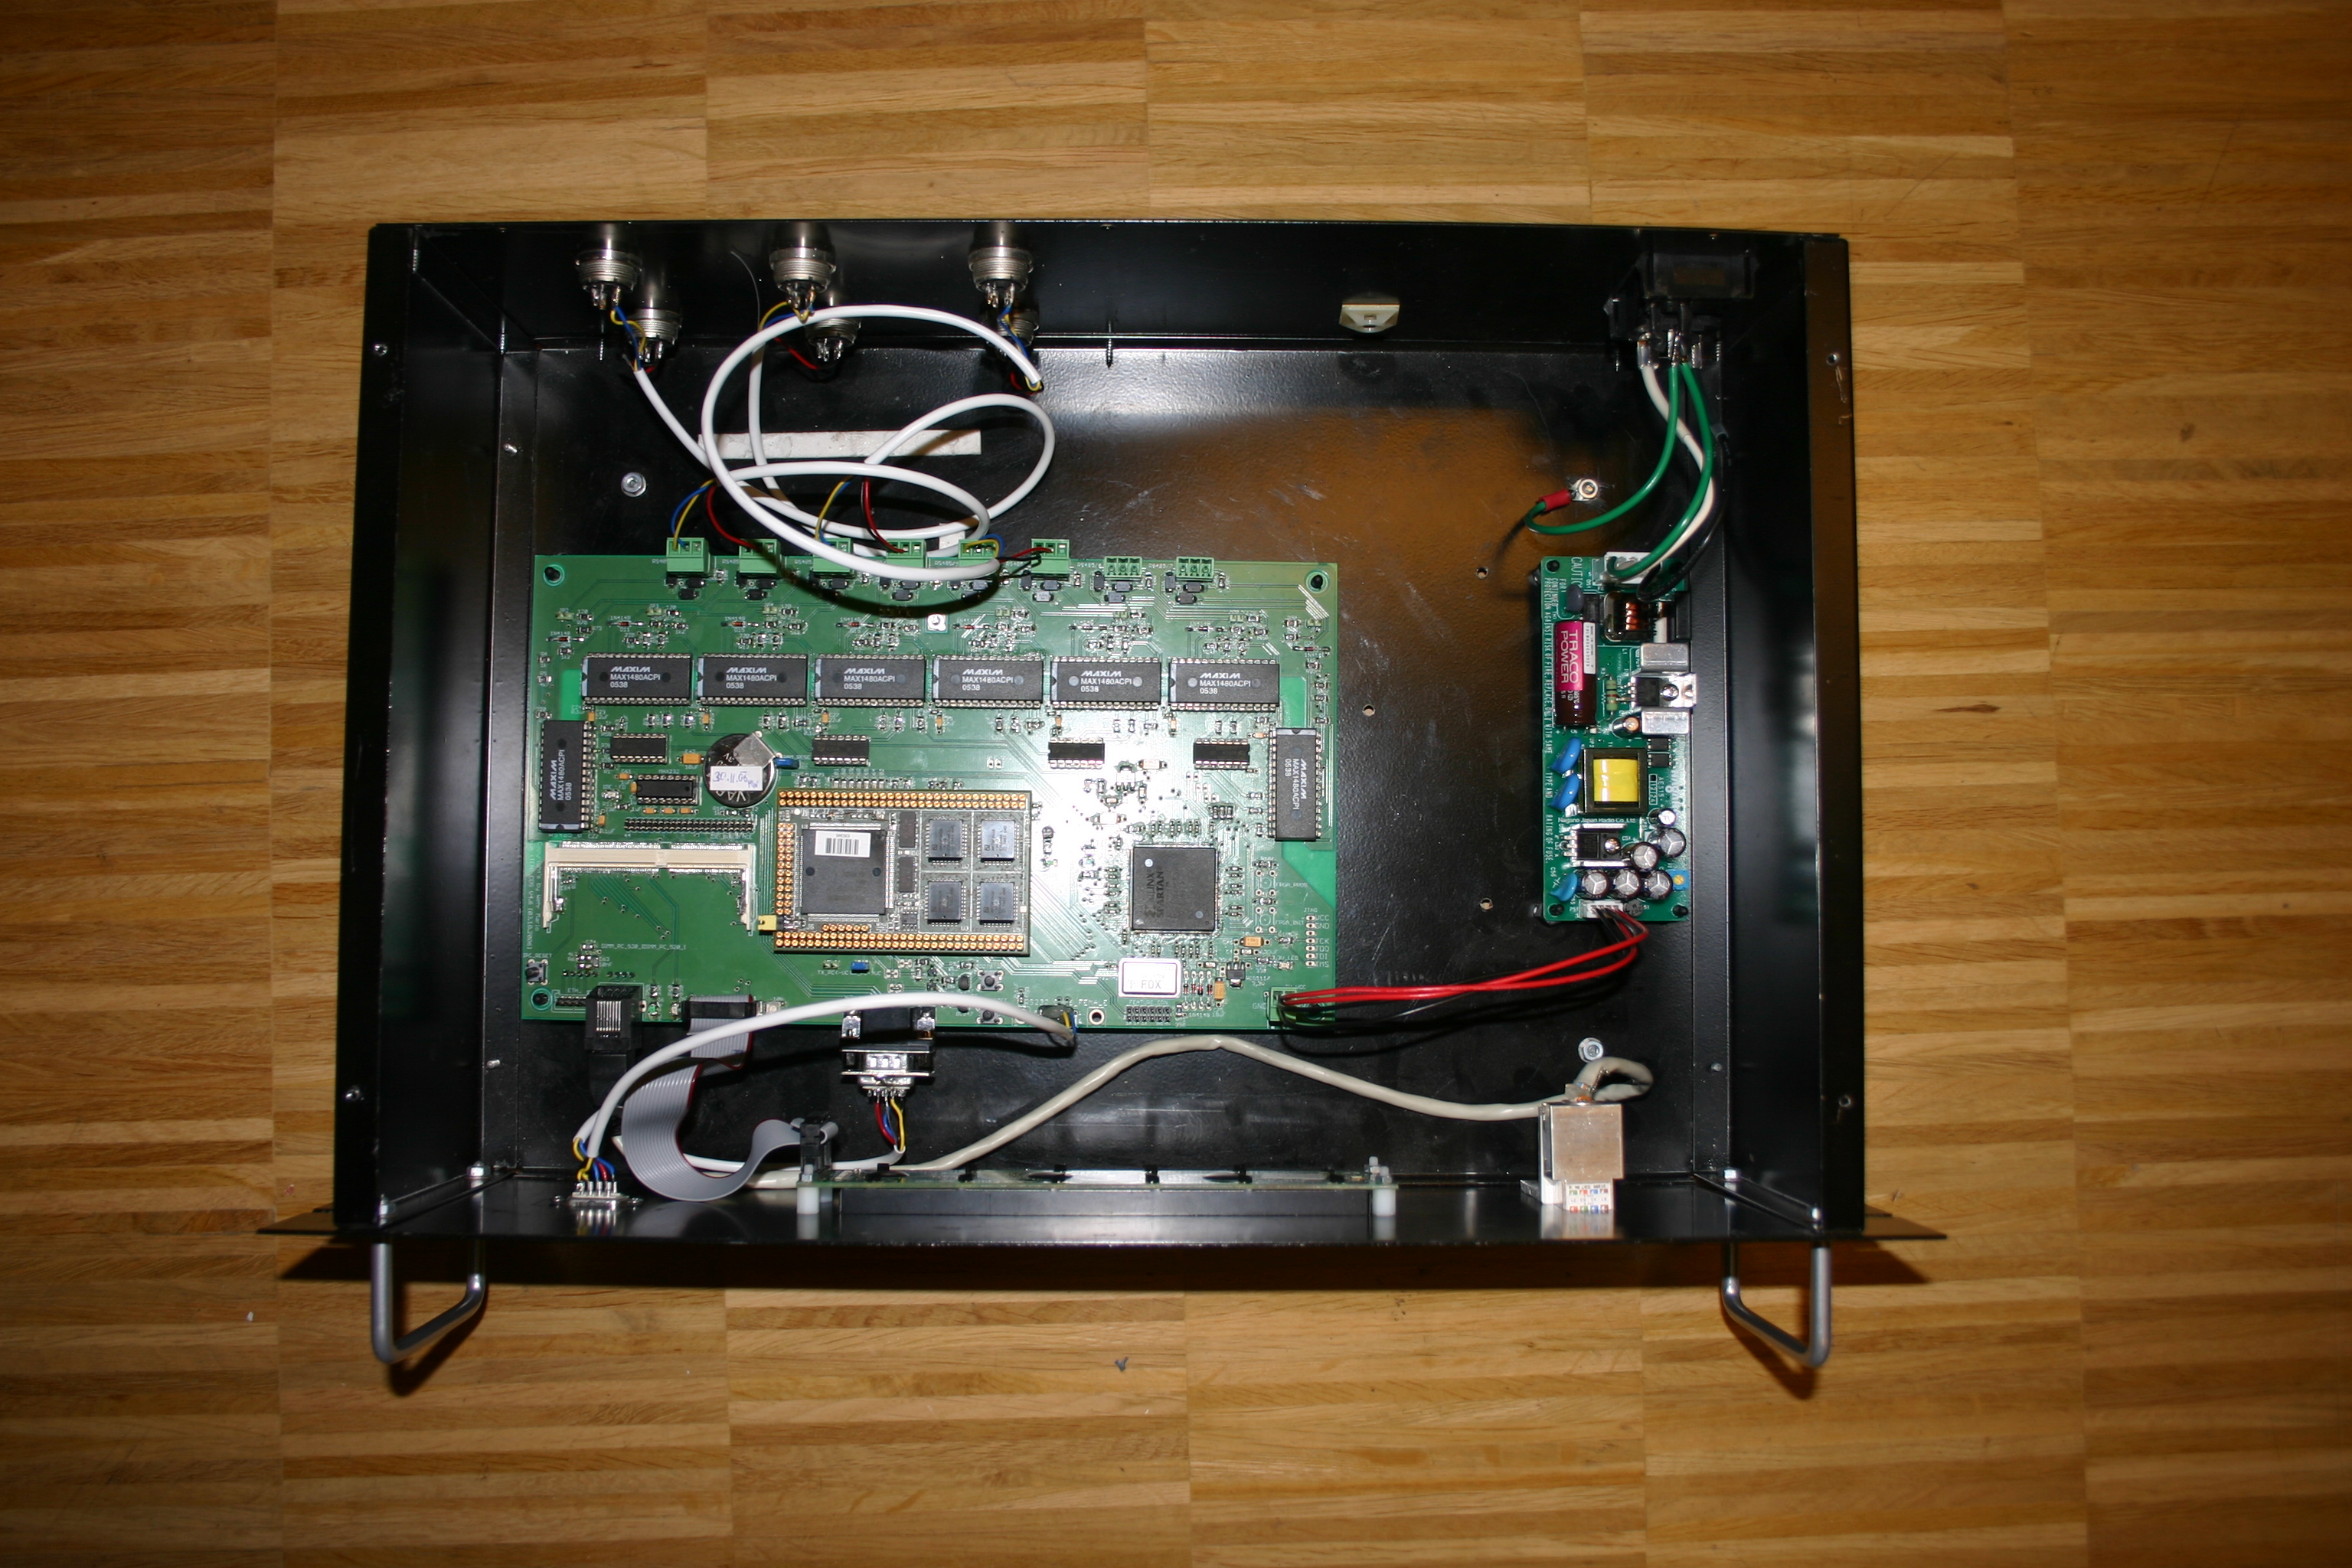
The new system should be build up from scratch with an new designed PCB (Printed circuit board) which hosts the four main parts of the access system:

  1. The Rs485 bus interface
  2. The MultiUART (FPGA)
  3. The C167CR (access control and RFID reader manager)
  4. The embedded system for managing the whole system

1. The Rs485 bus interface:

The newest version of the CDS  v3.x has 16 separate RS-485 bus interfaces and the number of RFID readers is only limited to the used baud rates and because of that the maximum allowed pooling intervals. Version 2.x which is mainly in service has only 8 interfaces.

The bus interface is galvanically isolated from the logic part of the PCB. The RS485 transceivers are  mounted through IC sockets.

2. The MultiUART:

Since I use devices with serial protocols I needed an UART (Universal asynchronous receiver/transmitter) and in that case I needed 8 respectively 16. The  MultiUART should be interfaced through the used micro controllers external data bus. In my case I took the Infineon C167  the battleship amongst the micro controller family.

I learned very fast that digital design for FPGA could be very challenging – even if you have some sort of asynchronous circuit design. Then you have to deal for example with metastability and other nice stuff concerning signal runtimes 🙂  At that time I was a completely rookie concerning FPGA stuff.  I was lucky enough to have a colleague who told me the common mistakes which you could make with FPGA designed. Thanks to Hermann Sterner – you saved me a couple of months 🙂

In the end I got a stable design with 16 UART designs, every UART could be configured independently. That means for every request to a serial slave the system could set the needed baud rate on the fly. Every UART has a 1024 Byte TX FIFO and a 128 BYTE RX FIFO.

Every UART internally communicates with an Interrupt Controller which notifies the micro controller of new RX events.

Every UART is mapped to an certain location in the higher address space.

3. The access controller (Infineon C167CR)

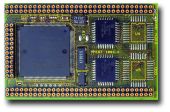
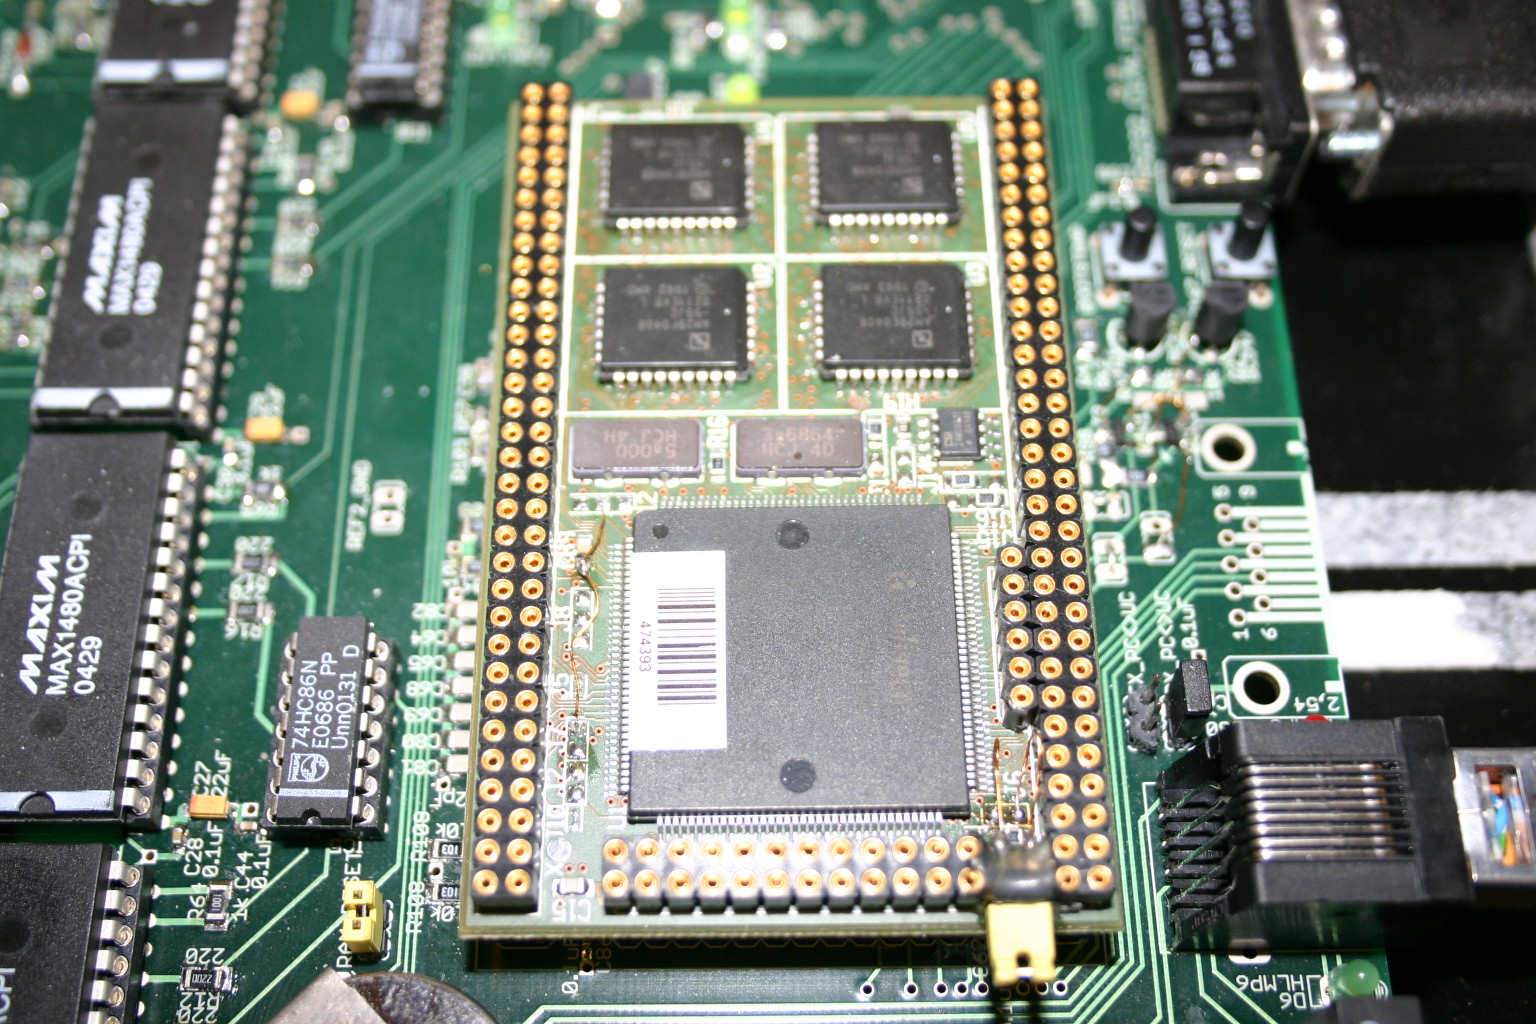
As I already mentioned before I used the C167 for the real-time part. The used C167CR module comes from pytec. With 2MB RAM and 2MB Flash this module has plenty of space for the access tables.

The code which runs on this micro controller is based on the preliminary work of Christian E., the student which developed the first system. In the process of developing I rewrote or adopted a huge part of the code but some parts are still unchanged from the old system and are still in productive use.

The newest version of the access controller is capable to communicate with devices via different protocols and different baud rates. Because of that the protocol stack  for the RFID readers is designed modular. The system can easily be adopted for new protocols.

Firmware updates are done through the embedded system (Web interface). At version 3.x the update process does not need a down time for the system. After successfully downloading the firmware to the flash the system switches seamless to the new program code (switch time >100ms).

4. The embedded system (Web interface, internal database, …)

The whole access system can be administered through a web interface. The used embedded system is the DIMM-PC®/520-IE. I wrote some details about  in one of my last posts. As this system only has 32MB RAM and 32MB FLASH I needed an OS which is highly customizable. -> GNU/Linux is the OS of choice 🙂 .


The core elements I used are:

  • Apache 1.3.x (build-in opcode cache) size < 900kB
  • PHP 3.5.x
  • openSSL (minimal cipher suit) size <1MB
  • Busybox
  • Linux Kernel 2.6.1x special patch set and configuration < 800kb
  • uclibc 0.9.x
  • sqlite 3.x
  • MySQL 5.1.x size <1MB (Community Edition)

BSP ptxdist powered, for DimmPC (AMD Elan) optimized, Build/Toolchain  ready to download.

This part was the most interesting one. Due to the fact that I could not find commercial tools for building embedded GNU/linux OS which suit my needs,  I began using open source tools (ptxdist) and build my own toolchains. I learned how to build optimized cross compile toolchains for the used CPUs  and in the end I got a highly flexible tool/buildchain for building  a whole GNU/Linux with bootloader and all the small things which make the system running 🙂

The embedded system is the core device for administration. Every aspect of the system can be configured through the WEB. All HTTP connections are secured via SSL. The embedded system is holding all persons with there tags, all access rights, all doors respective the RFID readers wired together with access rights in a database system.

The backend of the WEB-Frontend consists of a completely self-written tiny CMS system. Focused to have a very low  memory footprint and CPU resources. The initial design of the CDS Web frontend /backend was done by Georg Gut 🙂 thx – well done.

We are using a special patched PHP 3.5.x running one a patched (tuned) apache 1.3.x to get good performance results. with our CMS system.

On every change on the access data the system generates the access tables for the micro-controller system and updates the tables through the SPI interface.

The version before I used the parallel port for transmitting data between DimmPc and micro-controller. But it turns out that this interface was not stable enough, so I decided to change this interface to SPI with 1Mb/s transfer mode.

Feature List:

  • 16x RS485 bus interfaces, number of readers only limited to selected baudrates (poll times).
  • Multiple readers vendors on one bus segment.
  • Manage person rights
  • Manage person-groups
  • Manage doors
  • Manage door-groups
  • Manage access rights between person/person-groups and doors/door-groups
    • All rights can be time limited.
  • RealTime View of all door actions (door status, last action, last person), AJAX driven
    • Manually open/close door leafs through the WEB interface
  • Automatically door/groups open/close actions at a certain time.
  • Holidays
    • Temporally overrule of  access rights (student groups for example) on holidays.
  • Log Facility
    • Access log WEB frontend
    • System user action/access/view logging
    • Door log,  reader and separate door leaf actions
      • Detailed per person logging
      • Detailed per door/object logging
      • Person/object statistics
  • System Management
    • Select the use of an internal or external database
    • NTP server configuration
    • Log history length
    • Internal database backup/restore
    • Web interface user rights administration
    • LDAP /AD User Authentification
  • System Clustering
    • Up to 4 separate CDS can be administered from one master system.
  • XML-RPC
    • The Web interface exposes an API for third party application to hook into the CDS system.
  • FTP access table upload
    • The access table can also be uploaded through FTP from third party applications.
  • Notifications
    • Set Notification handlers on User/Door actions.
    • Get Emails on definable events. For example on door actions between a defined time period.
  • Smartphone ready GUI, special version for IPad/Android tablets

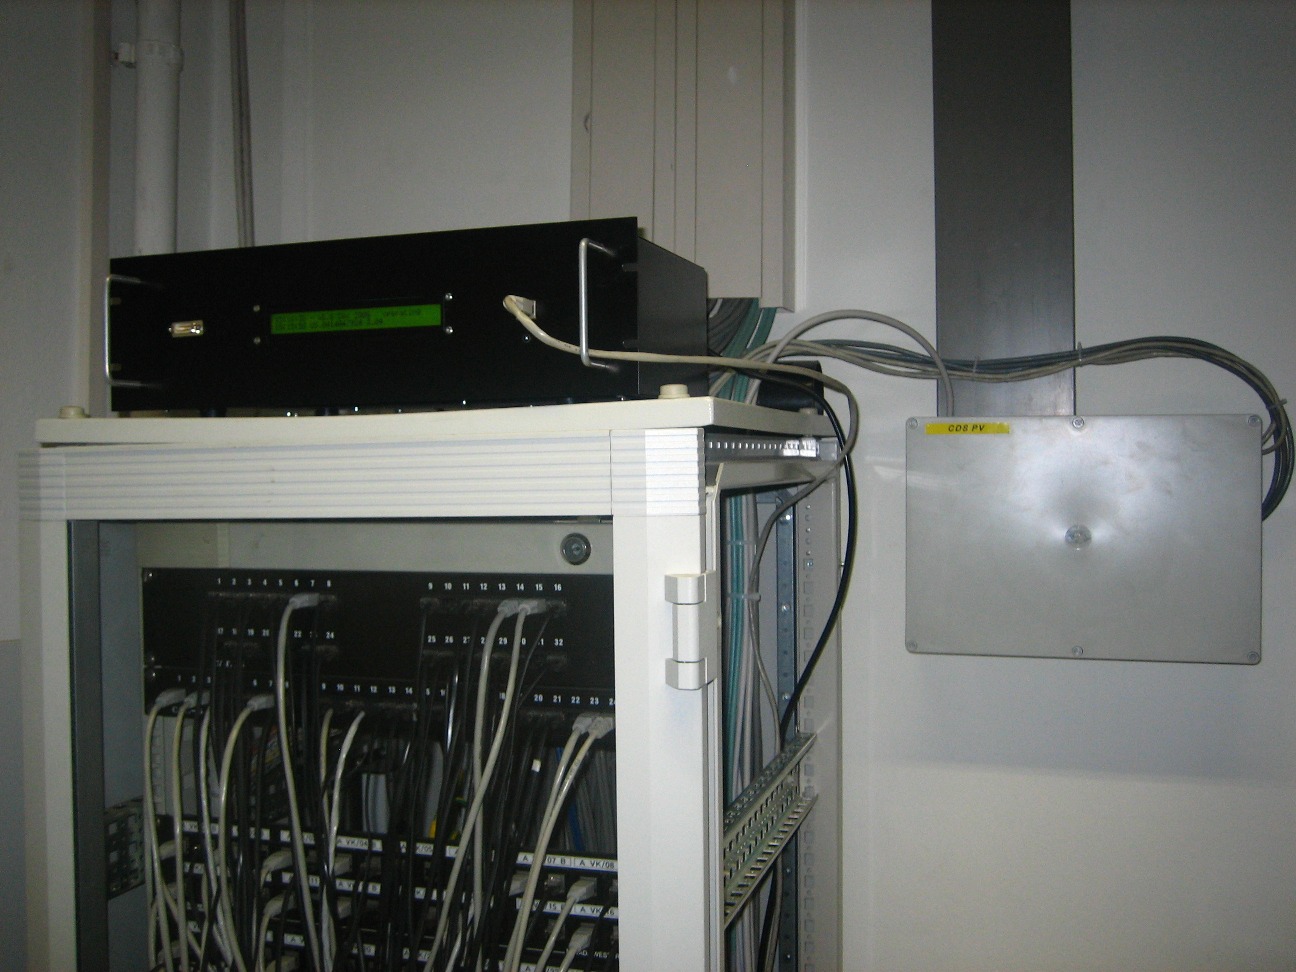
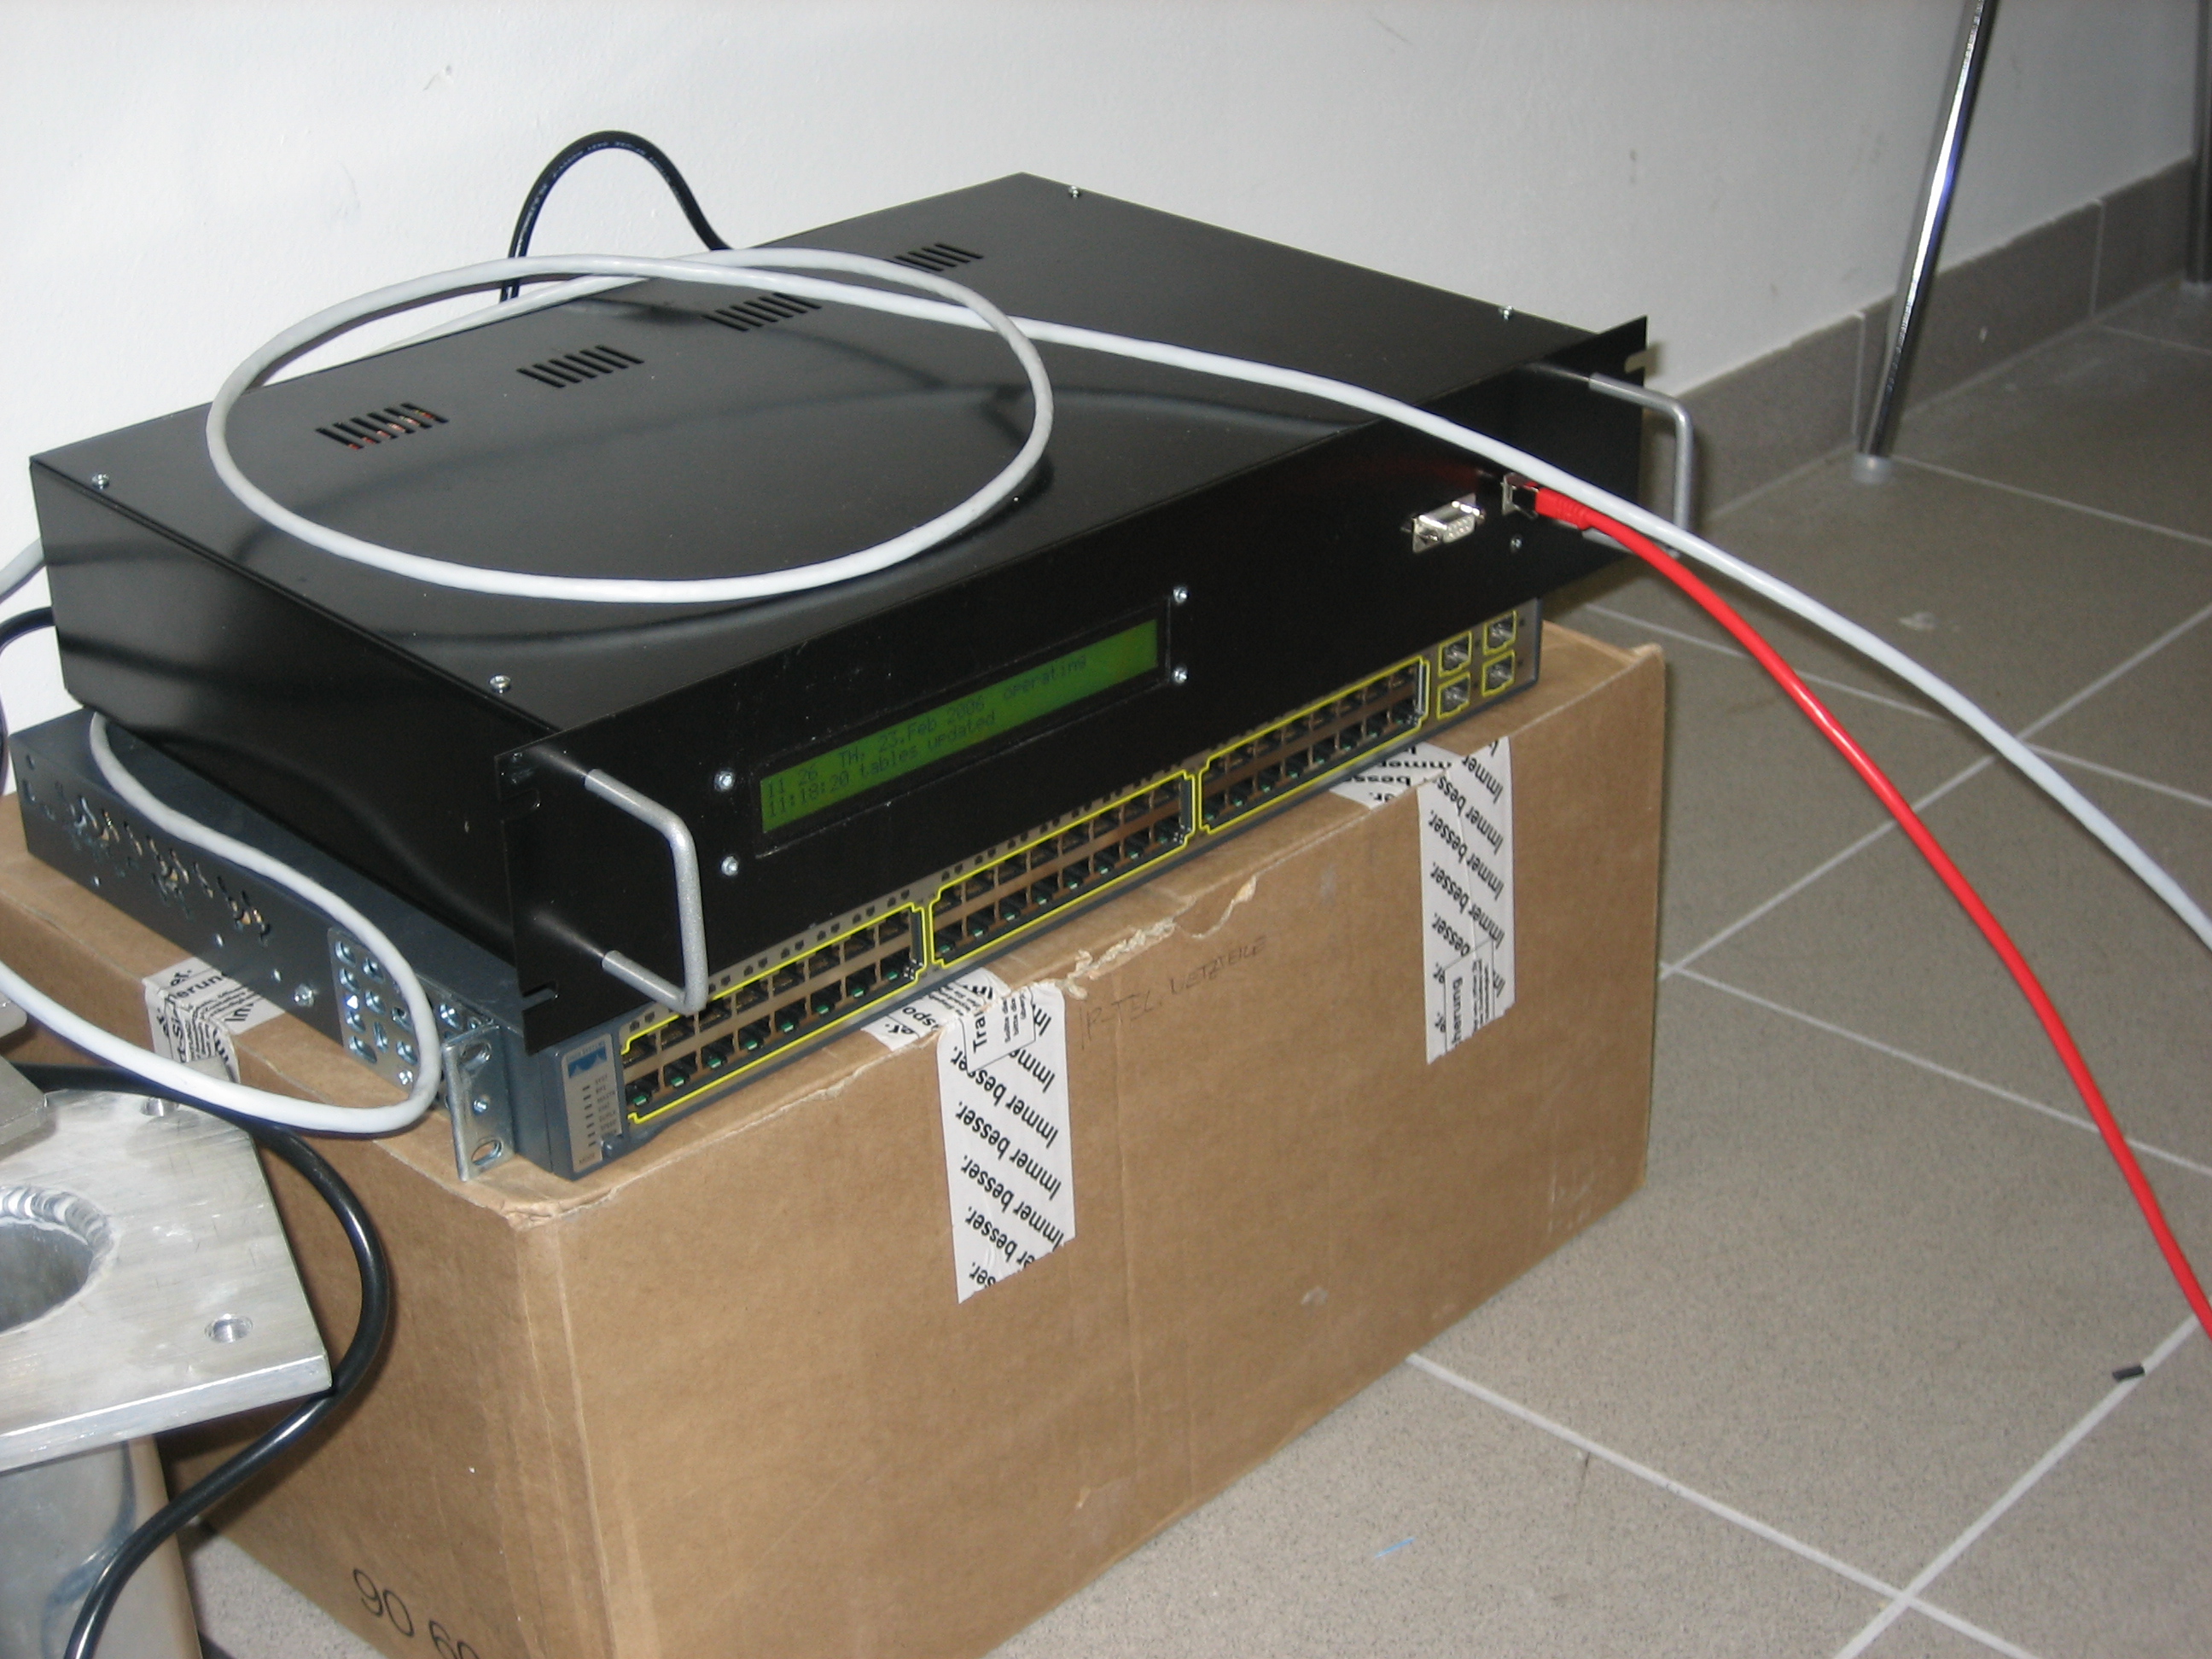
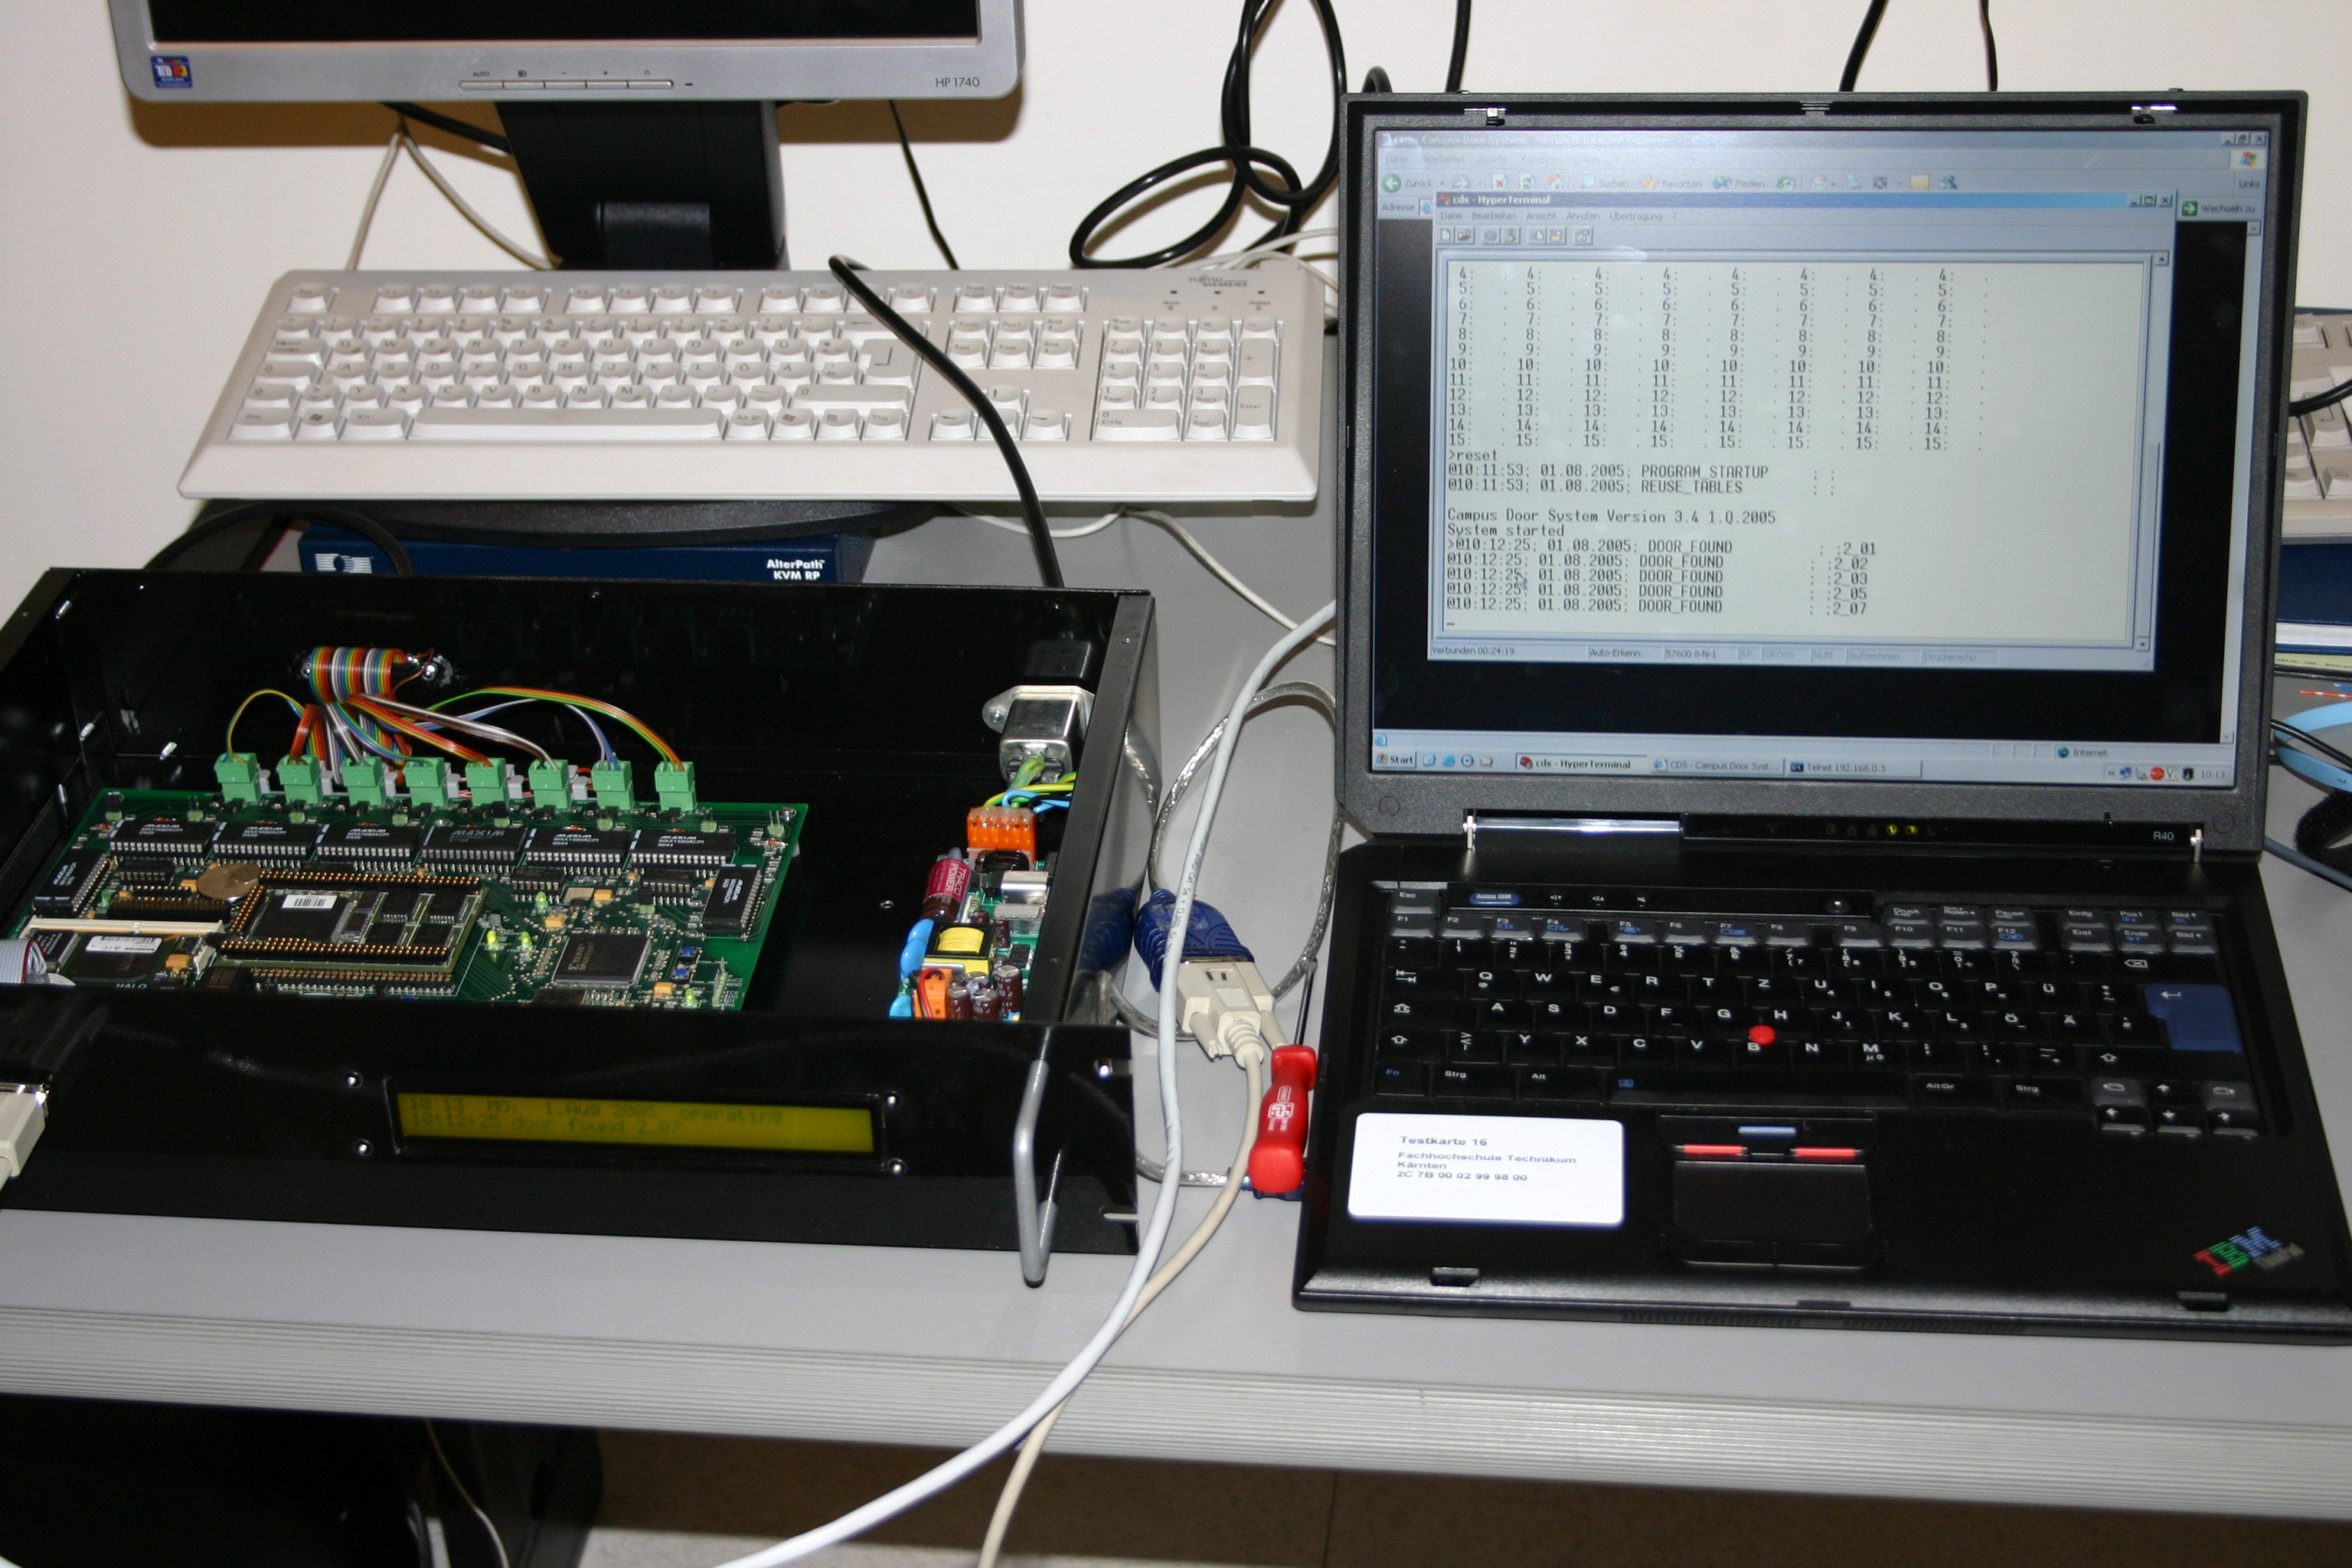
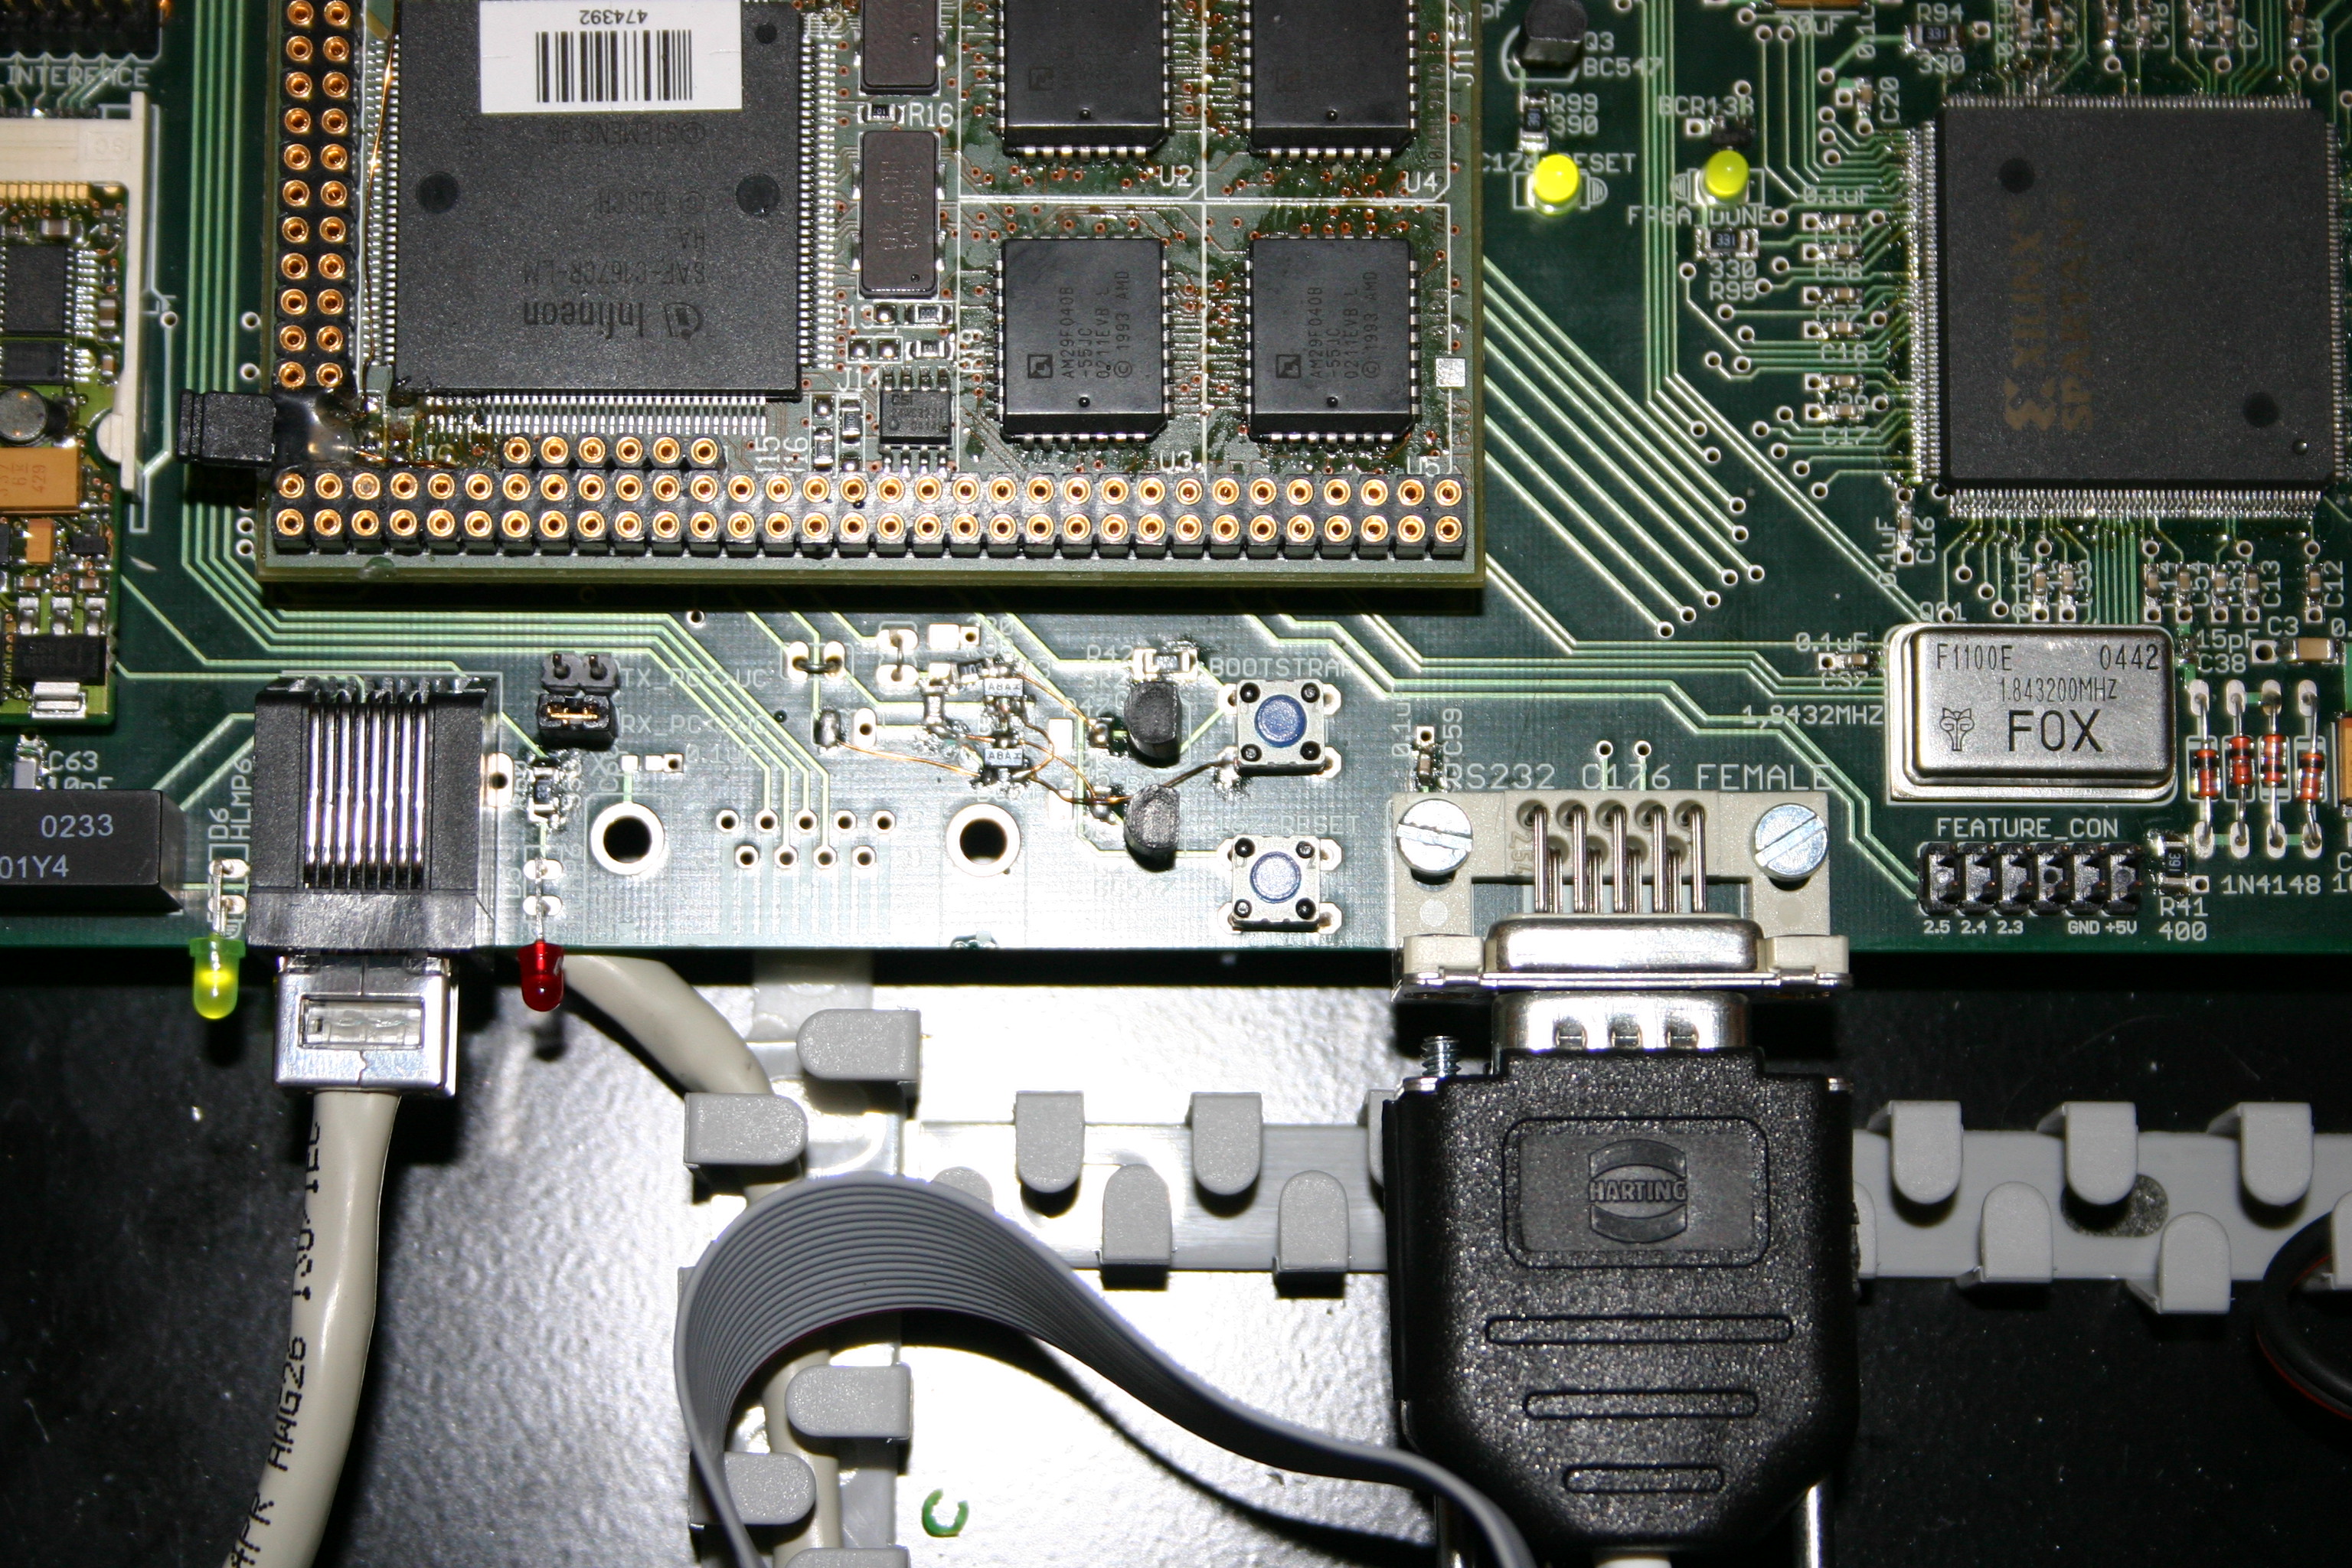
Check out the gallery for some impressions about the System.

Systems in service:

Apache module_webdav 0600 file mask problem (Ubuntu Lucid)

I’m using WebDAV as our central access point for the users web homes. The running apache is an MPM-ITK. This Version of the apche server uses a special Multi-Processing Module which allows to run each vhost under a separate uid and gid…, cool :-). So you can have quotas and all the other user related stuff in your vhosts.

I forgot the OS is a Ubuntu Lucid LTS, just for info.

A few days ago colleagues told me that the have problems to read/execute files via normal HTTP access which they have uploaded before. A quick look via SSH turned out that the newly created files had all 0600 rights. Because of that the access user/group schema is XYuser/www-data the web server couldn’t access the files anymore.

Hmm, shit, this shouldn’t happen here. So as a brave Linux user, i added umask 022 to the apache environment variable. But,.. what the hell, the files are always created with 0600. ….Oook this will not be a 5min job.

After an hour digging around with google it turns out that this is bug (link) in the recent WebSVN module used by the Lucid distro.

To fix this i downloaded from Debian testing the apache2.2-bin deflated it and copied the corresponding DAV modules to my server. … FIXED 🙂

Remember that taking packages from Debian or another Ubuntu distro is only a temporary solution! 🙂

Have fun

IPhone programming part I

Yes it happened, I have started to program the iStuff!

The initial burn came from one of my fellow workers who wants to have a mobile application based information system for our campus.

As of now iPhone/iPad programming will also become one of our course topics @Medical Information Technology 🙂

First Step, get the tools.

What do you need for developing:

First of all you need a  Mac OSX . (Snow Leopard preferably). The rumor says there is a chance to get it run under VMware, well, see for your self and read the apple OS license stuff 🙂

The next step is to get an IDE to program your applications. The IDE for programming iStuff is named XCode. XCode offers you all the needed tools to configure, manage, code, compile, debug, simulate and upload your applications to a device.

OK, but where do you get the goodies? Although XCode is free of charge you can not download it on the fly. Yes, you work with apple stuff and apple thinks different. Before you can download your development utils you have to register a developer account at apple. Go ahead -> iPhone Deveoper Center.

You can choose between 5 developer programs -> developer programs comparison link.

As you can see from the comparison chart you have to pay if you want to deploy your application to a physical device.

But we are lucky, for our first steps on iPhone developing we do not really need a hardware. XCode comes with an iPhone simulator. To write and run apps on the simulator you only have to be registered as developer! A registered developer can download the IDE but he cannot create certificates nor provisioning profiles. – But who wants that, … yet 🙂

OK, now we are a registered iPhone Dev., have installed our Xcode IDE + SDK, what next?… Next we have to learn Objective-C (ObjC). what…… C … no problem.

How to write your first application with ObjC and what are the essential parts in the iPhone SDK will be discussed in Part II. stay tuned,…

Have fun!

AVR Linux Toolchain gcc 4.4.4

Over the weekend I had time to build a new AVR toolchain with the latest 4.4.x gcc.

Linux AVR Toolchain:

  • C,C++ support added (22.08.2010)
  • gcc 4.4.4 (xmega support)
    • gmp 5.0.1
    • mpfr 3.0.0
      • latest cumulative patchset see
  • binutils 2.20.1
    • avr patchset: size, new devices, xmega and new sections
  • AVR Libc 1.7.0
  • gdb 7.1

Toolchain download size 93M.

Have fun!

Please give me some feedback if you use this chain. 🙂

umulative

Little Linux server tuning, blacklist not needed modules

For my VM Linux Severs I’m using following kernel module blacklist:

 blacklist mii
 blacklist serio_raw
 blacklist pcspkr
 blacklist psmouse
 blacklist lp
 blacklist parport
 blacklist snd
 blacklist soundcore
 blacklist snd_via82xx
 blacklist gameport
 blacklist snd_ac97_codec
 blacklist parport_pc

Don’t forget to call update-initramfs -u after altering the blacklist.conf !

Do only blacklist the mii module if you have the vmxnet module up and running !!

have fun 🙂

VMware – force the load of the vmxnet module

I noticed that on our virtual environments (VMware ESX) based on  GNU/Linux (mostly Debian or Ubuntu distros ) the vmxnet modul is not used or not correctly loaded. Because of  lsmod shows also a loaded pcnet32 module which uses mii.

I added follwing script snippet to the /etc/init.d/open-vm-tools

 log_progress_msg "vmhgfs"; modprobe vmhgfs
 log_progress_msg "vmsync"; modprobe vmsync
 log_progress_msg "vmxnet - stoping network"; /etc/init.d/networking stop
 log_end_msg 0
 log_progress_msg "vmxnet - removing pcnet32"; rmmod pcnet32
 log_end_msg 0
 log_progress_msg "vmxnet - removing vmxnet"; rmmod vmxnet
 log_end_msg 0
 log_progress_msg "vmxnet - loading vmxnet "; modprobe vmxnet
 log_end_msg 0
 log_progress_msg "vmxnet - starting network";/etc/init.d/networking start
 log_end_msg 0

Check the dmesg out for:

[ 42.273810] vmxnet 0000:00:11.0: PCI INT A disabled
[ 51.808321] VMware vmxnet virtual NIC driver
[ 51.808422] vmxnet 0000:00:11.0: PCI INT A -> GSI 18 (level, low) -> IRQ 18
[ 51.815601] Found vmxnet/PCI at 0x1424, irq 18.
[ 51.816793] features: ipCsum zeroCopy partialHeaderCopy
[ 51.820787] numRxBuffers = 100, numRxBuffers2 = 1
[ 62.762575] eth0: no IPv6 routers present

This addon to the startup script removes the pcnet32 and vmxnet32 modules and loads explicit vmxnet. 🙂
Take care if you get an symbol not found error while loading the vmghfs module. If so you have to uncomment the loading of this module.

Have fun.

Waterstorm, Crimson Tide@home

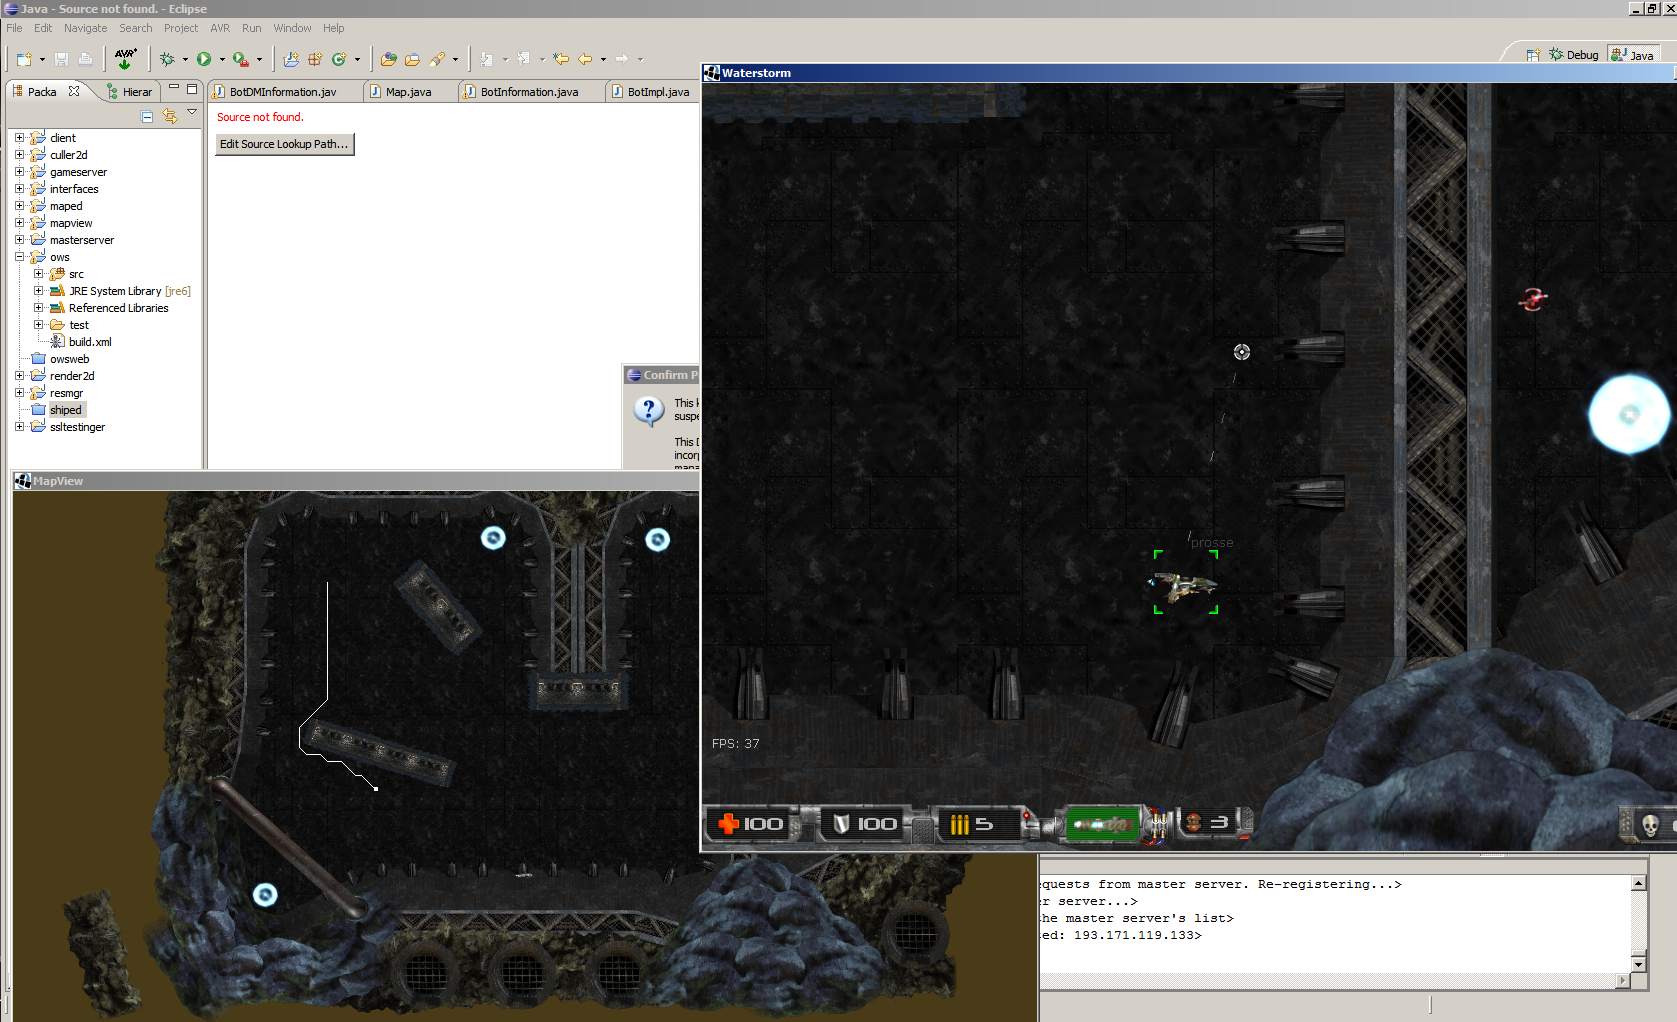
A few years ago my friend and fellow worker Markus Prossegger and myself had the chance to contribute to an innovative computer game called waterstorm. Waterstorm was forged by a young innovative company named Rarebyte which was founded some years ago by a young team of Telematic/Network Engineering graduates.

The game belongs to the 2D multiplayer shooter genre. It is entirely written in java, They decided to use lwjgl for the game engine and FengGUI for the Graphic User Interfaces.

Our part was to implement the Bot System considering the intelligent bahavior of the bots as well as an automatic path finding, which is Markus’ hobbyhorse. To make it short – if you ever want to know how a navigation system finds the right route, ask Markus, he will explain it to you in detail 🙂

Markus will shoot me 🙂 but in the next few sentences i will try to describe what kind of algorithm we decided to use.

Little change of the master plan, Markus misplaced his gun, so he will explain it to you 🙂 ….

Markus its your turn.

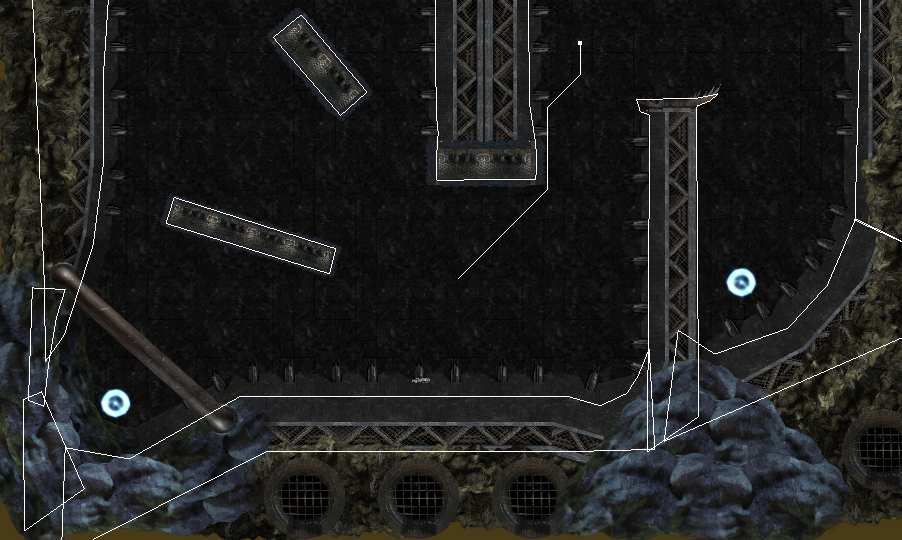
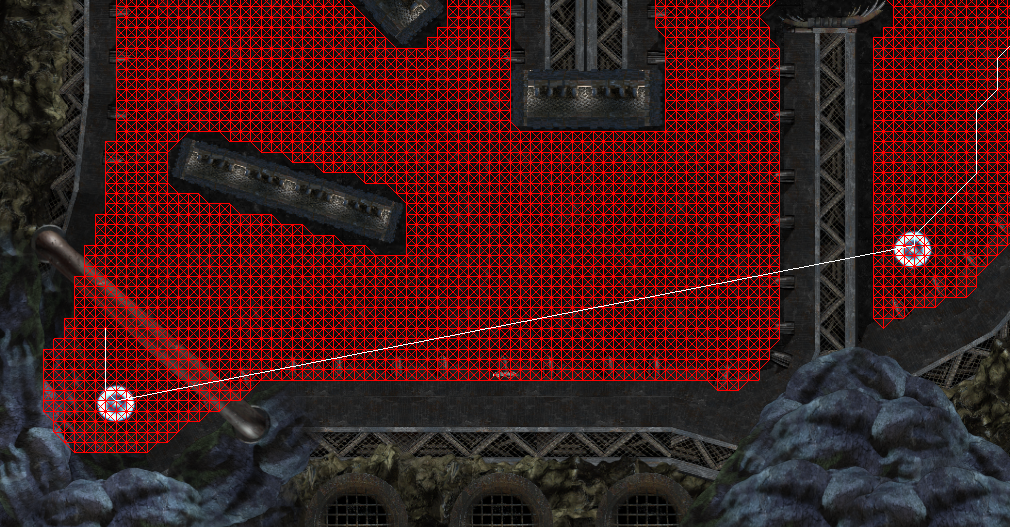
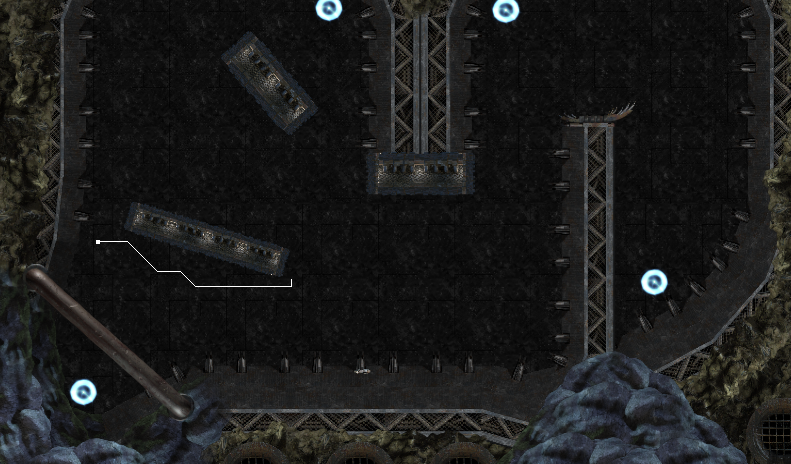
First of all we had to decide, what the overall game behavior of the bots should be. We wanted them to act like a human player: (a) select a target, (b) find the best way to the target, (c) attack it or (d) flee to some power ups in case of low ammo or low health. The task of (a), (c) and (d) is simple: if the bot has enough ammo, than attack the closest enemy (could be another bot as well). If the ammo or the health is low, than select one of the power ups as the target. The task (b) is the more sophisticated part of the Bot System – the bot has to find a shortest path towards the target (the enemy or the power up). There are a lot of well-known shortest path algorithms out there, that will handle the task.

But there are some points that have to be considered: the path must not be predictable by a human player (so simple „follow-the-shortest-path“ won’t work) and the server has a limited capacity (there are a number of bots in the game, so the algorithm has to be designed very resource-conserving).

So we decided to use one of the shortest path algorithms, that uses a heuristics to search the space to efficiently reduce the time needed and to „manipulate“ the outcome of the algorithm: the path. We have picked the IDA* (IDAstar), which is a variant of the A* algorithm and allows to perform a series of independent depth-first searches, each with the cost bound increased by a minimal amount. This leads to two ways, to manipulate the resulting path between the bot and its target. First the estimation value (used in the heuristic search) can be blurred by a random value and second the number of iterations can be limited. Both together leads to an unpredictable path as well as speeding up the time needed for the path calculation.

It’s fun to play against the bots – just try it for free at www.waterstorm-game.com

There is always another one who did the job

A few months ago me and my colleagues wrote a project proposal for an internal project call/funding. Our goal was to evaluate the possibility of using small drones, in our case we want to use Quadrocopters, for catastrophe management. Our drones should be used as communication relays, disaster reconnaissance, air gas analysis…

Since a few of us are active members in certain Quadrocopter OpenSource community projects, we have also a basic knowledge about this type of drones.

But sadly we didn’t got the fundings 🙁  just a matter of politics,…….

But as I wrote in my caption There is always another one who did the job in our case the guys from the TU Ilmenau.

[youtube whogQY0h8Sc]

If you would like to read the whole article refer to spiegeltv.de link. (German only)

OpenKM our new Document Management System, nice…..

For months I was searching for a system capable to track and store out internal documents. I tested several systems like alfresco, opendocman,…..

In the end I decided to give OpenKM a try.

OpenKM runs on a JBoss application server, so you are bound to Java.  They use Jackrabbit for their hierarchical content storage.  The frontend is realized with GWT (Google Web Tollkit).

For a full feature list click here.

OpenKM install hints:

I installed OpenKM on a recent Debian 6.0

Getting .pdf, .docx, .xlsx preview running:

First you need to install OpenOffice. Make sure you install …-math, …-writer, … -draw, …-calc packages.

OpenOffice hast to bee run in headless mode. I use following startup script:

#!/bin/sh
### BEGIN INIT INFO
# Provides:        OpenOffice Headless
# Required-Start:    
# Required-Stop:    
# Default-Start:    2 3 5
# Default-Stop:        
# Short-Description:    OpenOffice Headless
### END INIT INFO

PIDFILE=/var/run/openoffice-server.pid

case "$1" in
'start')
 if [ -f $PIDFILE ]; then
 echo "OpenOffice headless server has already started."
 sleep 5
 exit
 fi
 echo "Starting OpenOffice headless server"
 soffice "-accept=socket,host=localhost,port=8100;urp;StarOffice.ServiceManager" -nologo -headless -nofirststartwizard & > /dev/null 2>&1
 touch $PIDFILE
 ;;
'stop')
 if [ -f $PIDFILE ]; then
 echo "Stopping OpenOffice headless server."
 killall -9 soffice && killall -9 soffice.bin
 rm -f $PIDFILE
 exit
 fi
 echo "Openoffice headless server is not running."
 exit
 ;;
*)
 echo "Usage: $0 { start | stop }"
 ;;
esac
exit 0

To get the preview stuff working you need also pdf2swf. Check your /bin directory there should be a pdf2swf executable or if you prefer you could take the swftool package from ubuntu.

The last step to get the previewer feature running is to set the corresponding config. flags at the OpenKm.cfg file.

  • system.openoffice=on
  • system.pdf2swf=/usr/bin/pdf2swf

Mail Notification configuration:

Mail notification is straight forward. Go to /opt/OpenKM-4.1_JBoss-4.2.3.GA/server/default/deploy/mail-service.xml . Edit the section to your needs.

If you face the problem that the links in your notification mails are pointing to localhost, you can alter the application.url flag in your OpenKM.cfg.

  • application.url={yourURL}:{yourPort}/OpenKM/es.git.openkm.frontend.Main/index.jsp

Changing from port 8080 -> 80

GoTo /opt/OpenKM-4.1_JBoss-4.2.3.GA/server/default/deploy/jboss-web.deployer/server.xml and edit

Change the port field to 80.

Securing your JBoss

One last thing needs to be done :-). Security! Holy Moly… what… yep.. Jboss runs out of the box like an open barn door. So a good idea would be to secure the jmx-console and web-console stuff. Because of that the jmx-console and web-console are standard servlets you can protect them very easily via enabling the security-constraint.

Securing the jmx-console:

1. Edit \server\default\deploy\jmx-console.war\WEB-INF\web.xml and uncomment the security-constraint section:

<!-- A security constraint that restricts access to the HTML JMX console
 to users with the role JBossAdmin. Edit the roles to what you want and
 uncomment the WEB-INF/jboss-web.xml/security-domain element to enable
 secured access to the HTML JMX console.-->
 <security-constraint>
 <web-resource-collection>
 <web-resource-name>HtmlAdaptor</web-resource-name>
 <description>An example security config that only allows users with the
 role JBossAdmin to access the HTML JMX console web application
 </description>
 <url-pattern>/*</url-pattern>
 <http-method>GET</http-method>
 <http-method>POST</http-method>
 </web-resource-collection>
 <auth-constraint>
 <role-name>JBossAdmin</role-name>
 </auth-constraint>
 </security-constraint>

 <login-config>
 <auth-method>BASIC</auth-method>
 <realm-name>JBoss JMX Console</realm-name>
 </login-config>

 <security-role>
 <role-name>JBossAdmin</role-name>
 </security-role>
</web-app>

2. Edit \server\default\deploy\jmx-console.war\WEB-INF\jboss-web.xml. Uncomment the following section:

 <jboss-web>
 <!-- Uncomment the security-domain to enable security. You will
 need to edit the htmladaptor login configuration to setup the
 login modules used to authentication users.-->
 <security-domain>java:/jaas/jmx-console</security-domain>

</jboss-web>

3. Edit \server\default\conf\props\jmx-console-roles.properties file

4. Edit \server\default\conf\props\jmx-console-users.properties file

5. Edit \server\default\conf\login-config.xml edit following section

 props/web-console-users.properties
 props/web-console-roles.properties

6. under \server\default\conf\props\ copy and rename the two jmx-console-xx to web-console-xx.

Automatically start OpenKM (Jboss) via init scripts:

If you want to start your OpenKM automatically at boot time you can use this init script:

#!/bin/sh
# /etc/init.d/jbossokm: Start and stop JBoss Application Service
### BEGIN INIT INFO
# Provides:        OpenKM
# Required-Start:    
# Required-Stop:    
# Default-Start:    2 3 5
# Default-Stop:        
# Short-Description:    OpenKM
### END INIT INFO

ECHO=/bin/echo
TEST=/usr/bin/test
JBOSS_START_SCRIPT=/opt/OpenKM-4.1_JBoss-4.2.3.GA/bin/run.sh
JBOSS_STOP_SCRIPT=/opt/OpenKM-4.1_JBoss-4.2.3.GA/bin/shutdown.sh

$TEST -x $JBOSS_START_SCRIPT || exit 0
$TEST -x $JBOSS_STOP_SCRIPT || exit 0

start() (
 $ECHO "Starting JBoss OKM."
 rm -rf /path/to/server/default/tmp
 rm -rf /path/to/server/default/work
 rm -rf /path/to/server/default/log
 su -l -c "$JBOSS_START_SCRIPT -b 0.0.0.0 > /dev/null 2> /dev/null &"
 $ECHO "Done."
 )

stop () (
 $ECHO "Stopping JBoss OKM. "
 su -l -c "$JBOSS_STOP_SCRIPT -S > /dev/null &"
 sleep 10
 $ECHO "Done."
)

case "$1" in
 start )
 start
 ;;
 stop )
 stop
 ;;
 restart )
 stop
 sleep 30
 start
 ;;
 * )
 $ECHO "Usage: jbossokm {start|stop|restart}"
 exit 1
 esac
 exit 0

Shutdown problems (network unreachable exception)

If you get an exception at shutdown or your shutdown script does not kill your JBoss then you could check sysctl-setting under /etc/sysctl.d/bindv6only.conf.

Make sure that the net.ipv6.bindv6only=0. !

If you would like to show your appreciation consider to support the guys from OpenKM with a donation 🙂

See PayPal subscription link at the bottom of the page


Eclipse 3.6M7 update site not found fix

After installing the new Eclipse 3.6M7 Stream Stable Build I could not connect to any update site nor to another project site.

After some investigation I found out that there must be something wrong with the used IP protocol stack. Eclipse seems to use IP4

So if you start eclipse with

./eclipse -vmargs -Djava.net.preferIPv4Stack=true

eclipse should be able to reach your update sites.

A small update to my Post:

I just found out that the real problem is a new  sysctl-setting under /etc/sysctl.d/bindv6only.conf. LOL
Check the net.ipv6.bindv6only item this should be 0 (null).

After changing reset the sys kernel variabels with:

sudo invoke-rc.d procps restart

have fun