Fun with Nagios + NDO + NagVis

Yesterday a student from another study course asked me if I can help him to get Nagios with NDO support and NagVis up and running.  The main focus of his study course are Network Technologies but for some reason nobody could help him, hmm lol. So I did the job :-), once more. Nagios is the swiss army knife  among the IT infrastructure monitoring systems. It follows the OpenSource Way of life, which promises a big community, a lot of contents concerning problems which could arise , in one word –  getting the system up an running should not be a big deal. I thought…..

Linux seems to be a dark horse @Net….who would have thought it? So….first we started with a short overview about Linux distros, and the essential stuff you should know about. Original he came up with SUSE, so first we did a s\SUSE\Ubuntu. The Lucid release should suit his needs. The students plan was to compile everything from scratch, humpf, after introducing him into synaptics and the build- in-search-function we decided to give the precompiled stuff a try.

It turns out that all needed packages are in universe. Some clicks later we had installed Nagios, MySQL and the Mysql-NDO Module.

After configuring the nagios.cfg and the database accountings/schema we got the core up and running.

The next step would be to get ndo2db up.  Nd02DB acts as a persistence layer for storing Nagios events and configuration data in the database. The DB is the interface between Nagios and Nagvis. To get your data to the DB you have to run ndo2db in daemon mode and provide the ndomod.o for loading.

The Nagios How To speaks about ..

broker_module=/usr/local/nagios/ndo/ndomod.o config_file=/usr/local/nagios/etc/ndomod.cfg

For at least ubuntu you have to change it to….

broker_module= /usr/lib/ndoutils/ndomod-mysql-3x.o config_file=/etc/nagios/ndomod.cfg

Don’t forget to alter the ndomod.cfg.

Check that:

output_typ=unixsocket

We run into the problem that first we could not start the nd02db daemon. The problem was a combination between access rights to the *.o module and an sytax error in the ndomod.cfg file.

After resolving it we were able to start the ng2db daemon and after that Nagios with the ndomod-mysql-3x. 🙂

Next step was to bring NagVis online. Since NagVis GUI is written in PHP you have to make sure you have all essential PHP stuff installed. Check you configuration

/etc/nagvis/nagvis.ini.php) for the DB schema name/credentials.

If you encounter problems to reach NagVis via HTTP: Make sure you have included the /etc/nagvis/apache.conf in your apache conf.d folder.

NagVis uses basic authentication, so first you have to login to Nagios and then you could try to call ../nagios/nagvis.

Have fun.

SCALA (System Convergence in Applications of Location Awareness)

One of the bigger projects which I am working on is the SCALA project.The acronym SCALA stands for System Convergence in Applications of Location Awareness.

This project is a cooperation between the research groups e-lab of Hogeschool Antwerp, DraMCo of KaHo Sint-Lieven and the Carinthia University of Applied Sciences involving my field of study Medical Information Technology.

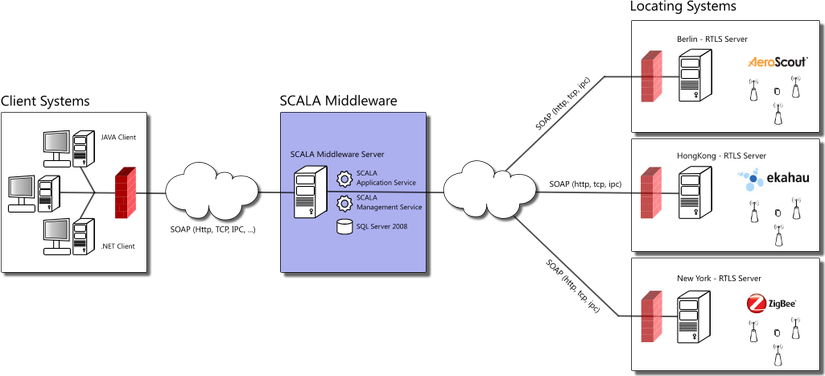
Location based services, context awareness,… are important components for further development of the ambient assisted living and working surroundings. For this reason, information about the indoor position of the users is necessary. SCALA acts as a middleware layer between the application site and the positioning/sensor systems on the other site.

The convergence layer does not only make positioning technologies more accessible from applications’ side, but also allows selecting and/or combining several technologies, according to their presence, to get more and/or better positioning information. The middleware layer consists of a more or less losely coupled tiers which are interfaced via WCF (Windows Communication Foundation).

Our part in the project is to handle the information transfer between our SMEs (Small Medium Enterprise) and to implement the Stack-Interface from our indoor localization system within the SCALA localization engine system. We are using the CC2431/2430. This is a System-on-Chip (SoC) Solution for ZigBee/IEEE 802.15.4 Wireless Sensor Network development by  Chipcon which was bought up later by TI.

The chip includes a location detection hardware module that can be used in devices which acts as blind nodes (i.e. nodes with unknown location) to receive signals from nodes with known locations. Based on this location engine they are able to calculate their position. The CC2431 consists of a CC2420 RF transceiver and an industry-standard enhanced 8051 MCU with 128 KB flash memory and 8 KB RAM. The ZigBee Stack is also from TI and is called ZStack .


Tiny (Mother)Board for DIMM-PC®/520-IE Part I

A few years ago a fellow worker and I started to work on an education platform for students to familiarize themselves with embedded /low resource systems.

We decided to take a DIMM-PC®/520-IE with AMD® Elan™ SC520 (133MHz) CPU from Kontron.

The Core used for the AMD Elan is a 5×86 processor. This processor is an x86-compatible CPU which was introduced in 1995 by AMD for use in 486-class computer systems.

Due to the internally-set multiplier of 4, the core runs at 133 MHz. The combination of the relatively large 16 KB  write-back L1 cache and 133 MHz clock speed allows the 5×86 to perform >= an Intel Pentium 75 MHz processor in integer arithmetic performance.


The Elan CPU comes with following architecture.


And last but not least the full feature list of our DIMM-PC

CPU AMD® Elan™ SC520 133MHz
Cache 16 kByte Write-Back L1
Common Features JIDA Support, I²C Bus, Programmable / CS Output, Support for alphanumerical displays
Dimensions (H x W x D) 68 x 40 mm (2.7 x 1.6“)
Ethernet 10/100 MBit Ethernet
Flash Disk IDE compatible Flash Disk up to 32 MByte on board
Hard Disk IDE Hard Disk Interface on external device
Humidity Operation: 10% to 90%
Storage: 5% to 95%, (non condensing)
Interface Floppy Interface single drive
JRC / JIDA32 JRC remote control via COM
Keyboard Keyboard Controller integrated with chipset
Main Memory Up to 32 MByte DRAM on board
Operating System Preinstalled DR-DOS®, lol 🙂
Parallel Port 1 x LPT1, EPP support
Power Consumption 2 Watt @ 5V only
Power Supply 5V
Real Time Clock Integrated with chipset
Serial 2 x Serial TTL (16550 compatible)
Special Features EEPROM for CMOS Setup
USB Optional 1x USB 1.1 OHCI
Watchdog Watchdog

Our aim was to build an education system to show our students how PC systems are working and how easy it is to build a Linux OS from scratch for this kind of architecture. Secondly we want also to have a small development platform for third party projects.

With 32MB of DRAM and up to 32MB of IDE compatible hard drive and full featured I/O interfaces like serial port, LPT, IDE interface, Watchdog Timer, I²C Interface, General Purpose Chip Select and last but not least a beautiful Ethernet Interface suit all our needs for an easy to handle development platform.

QuadroCopter MedIT-Lab-WorkShop Part I

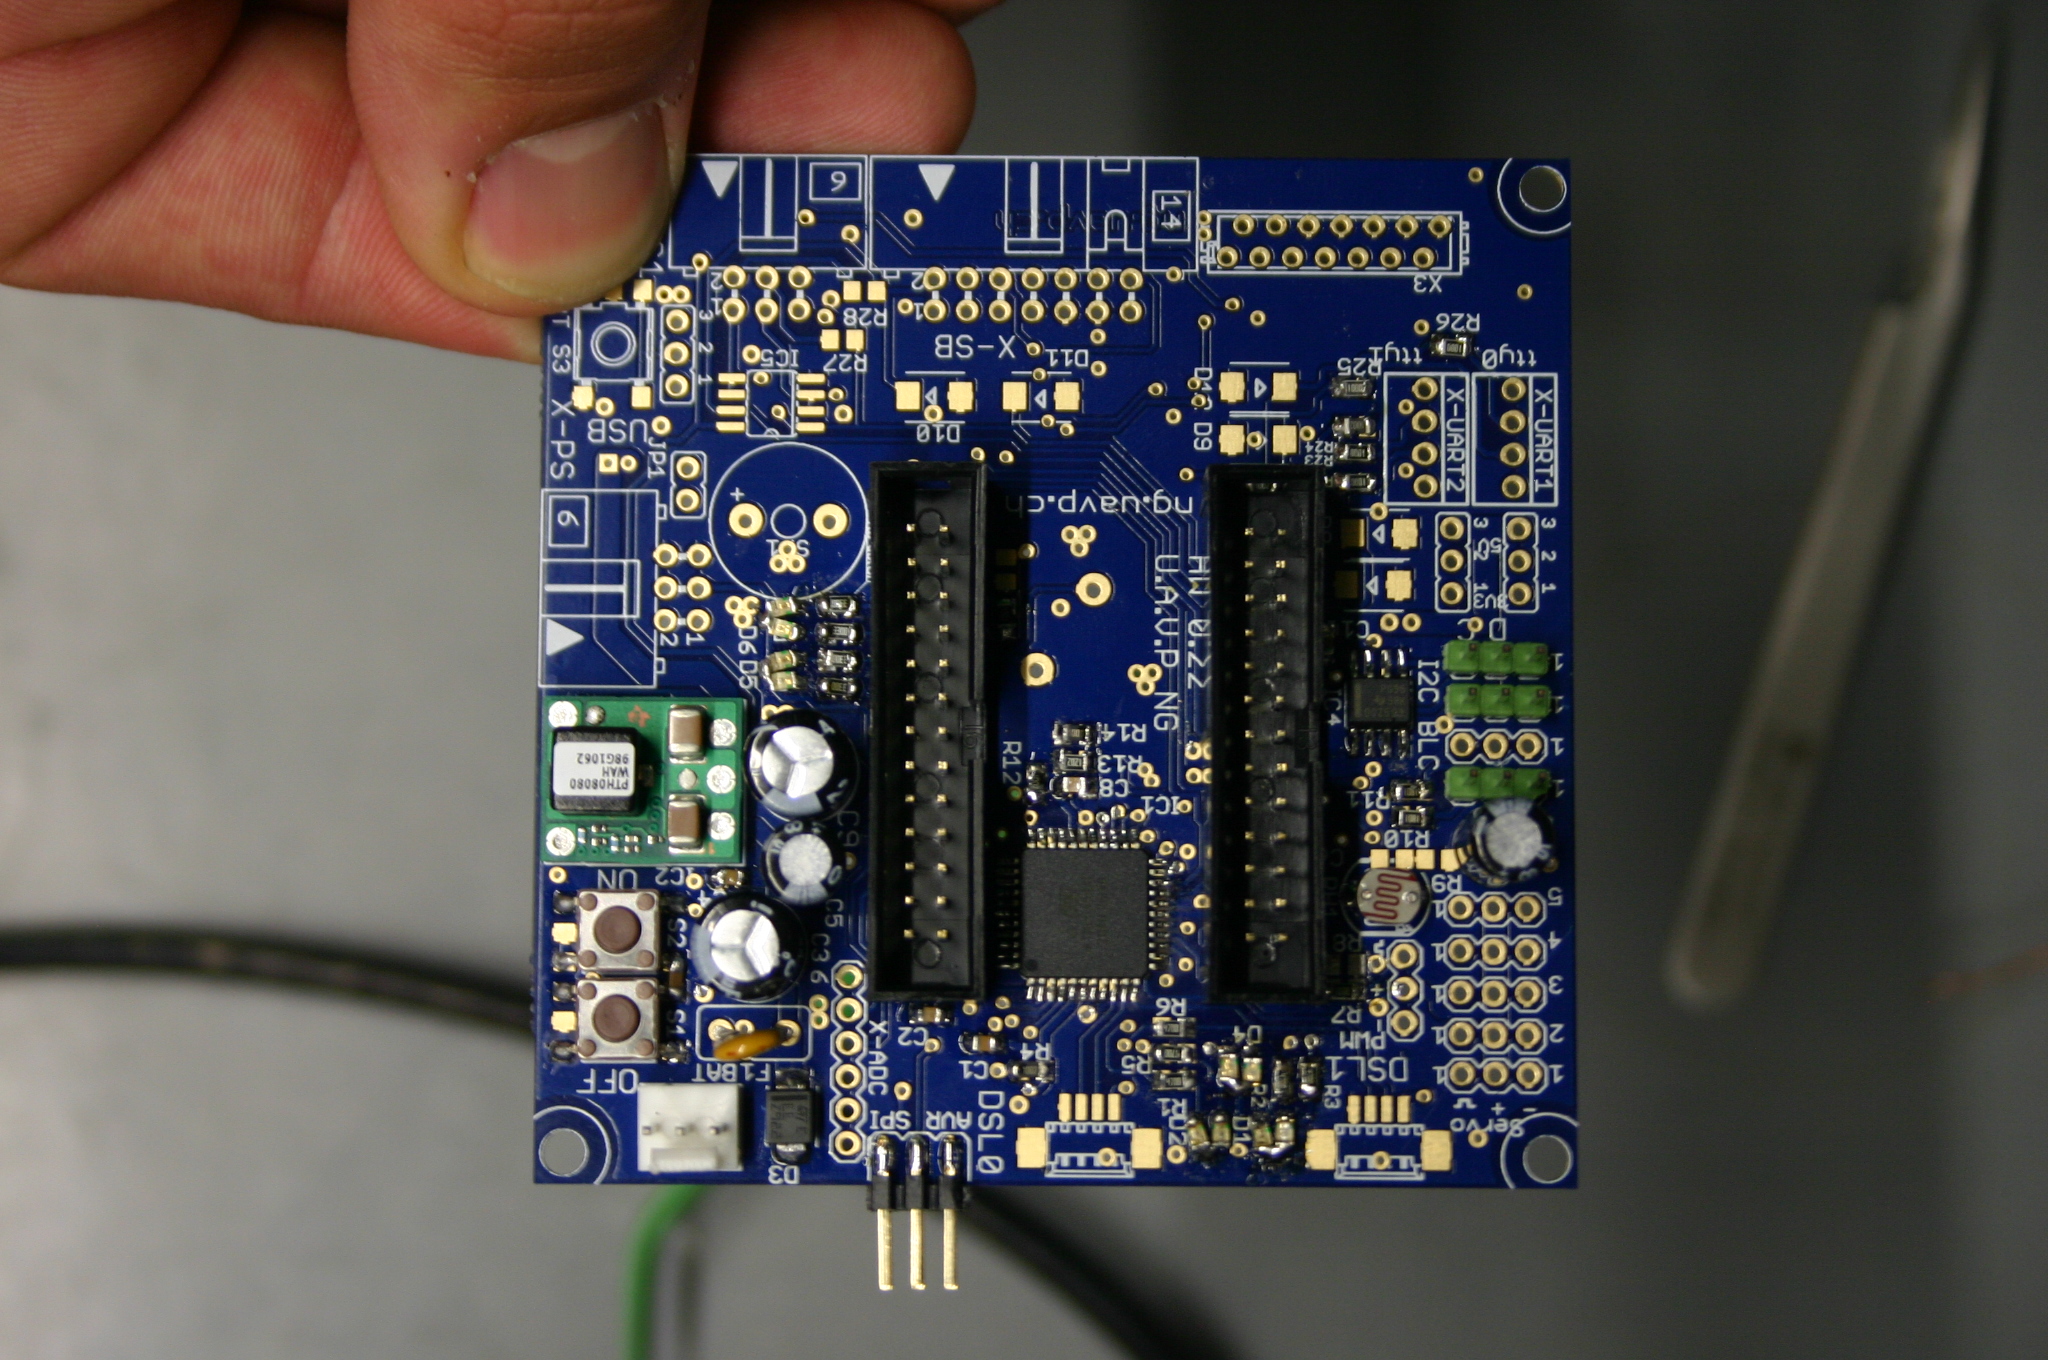
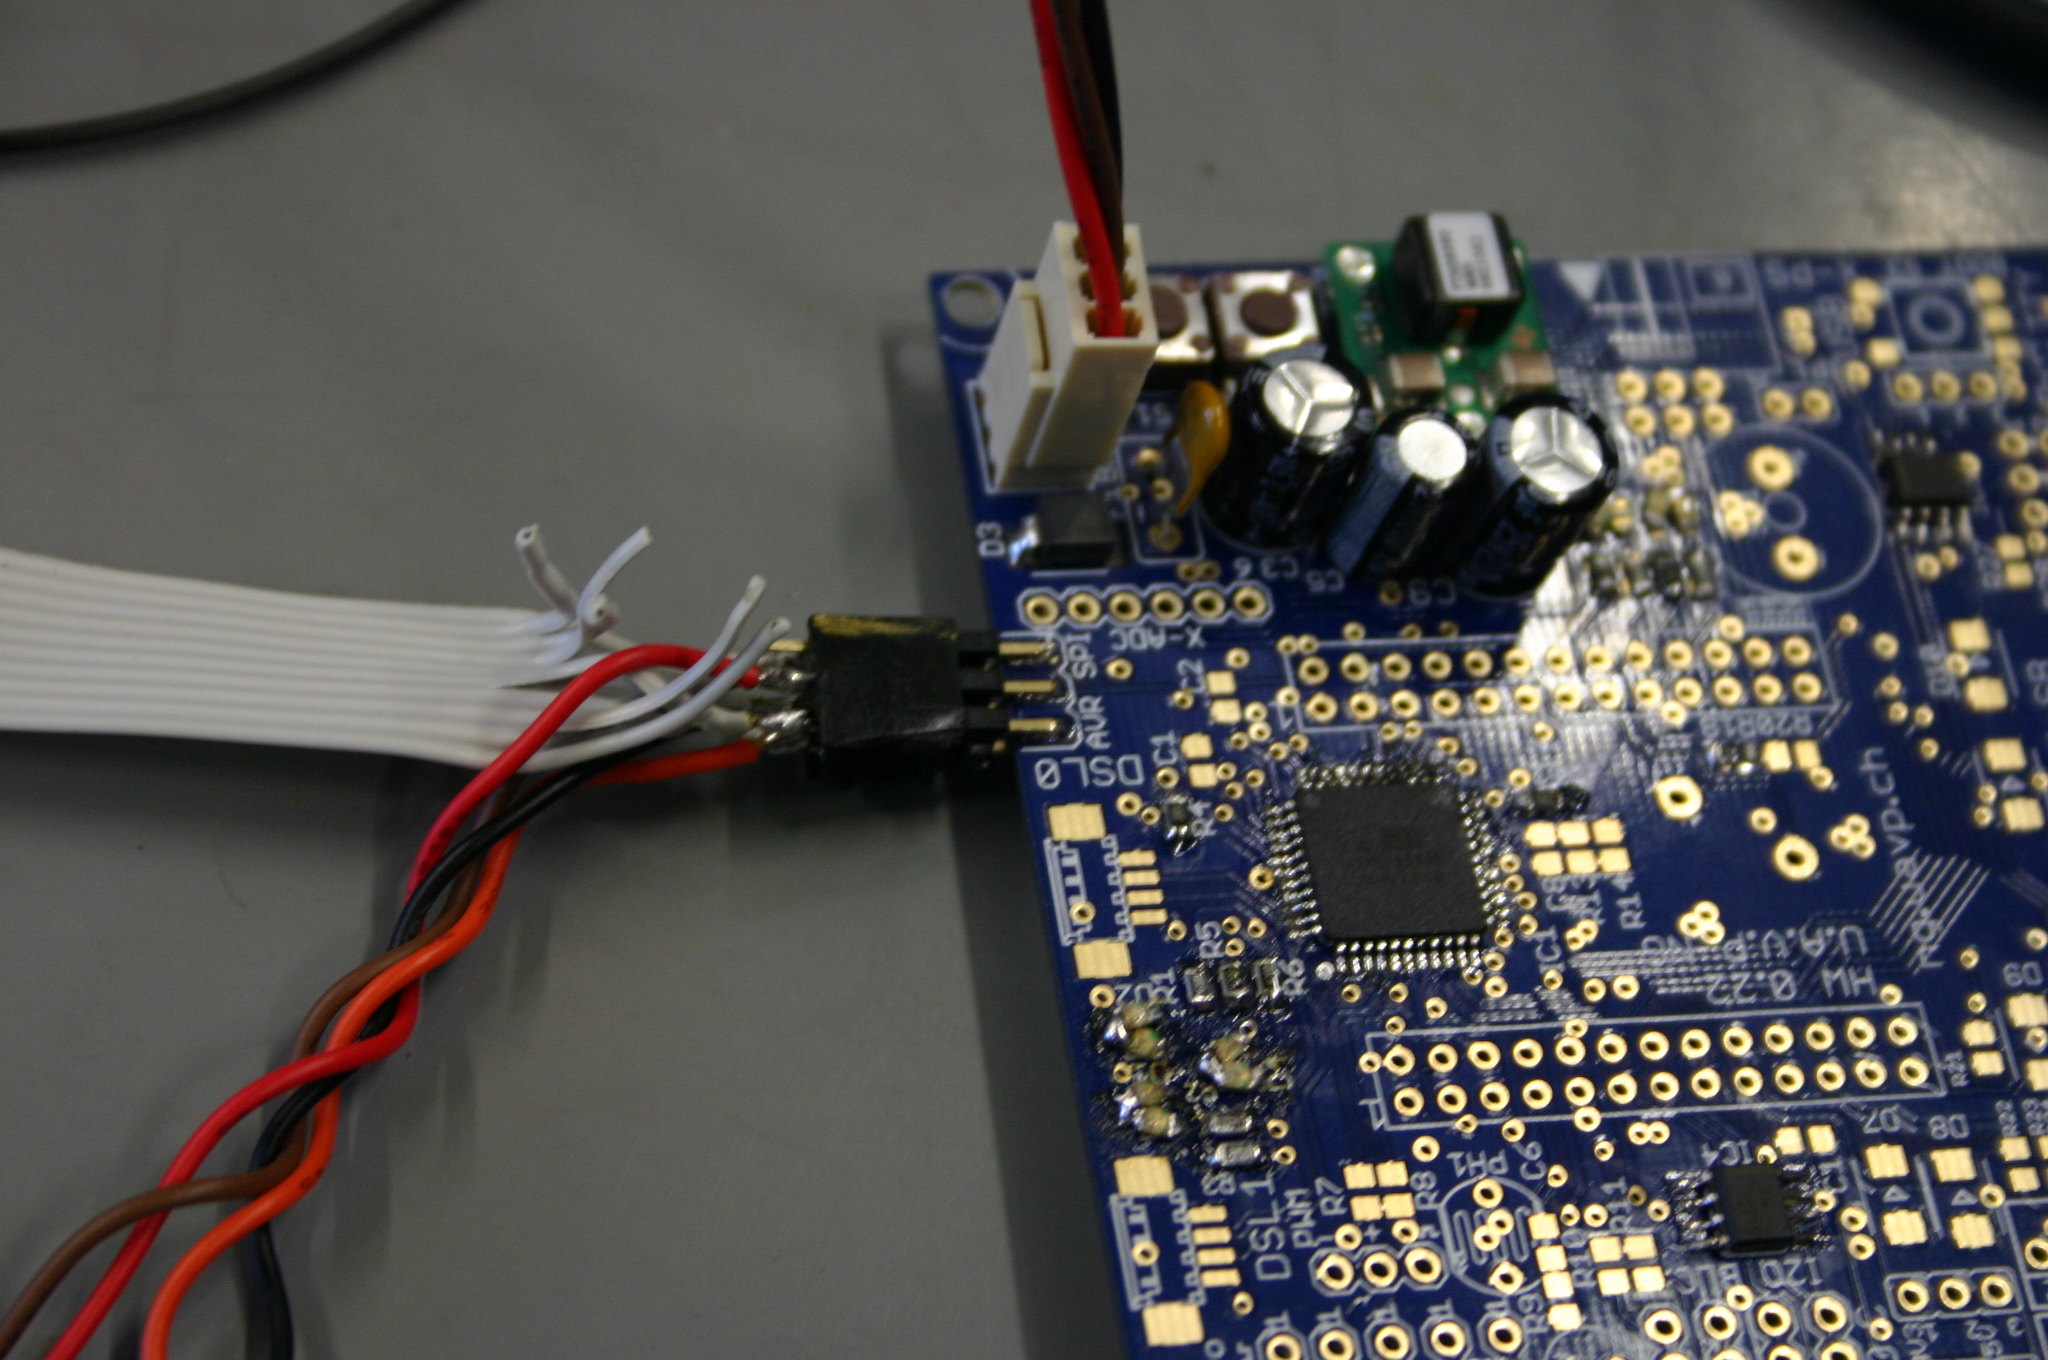
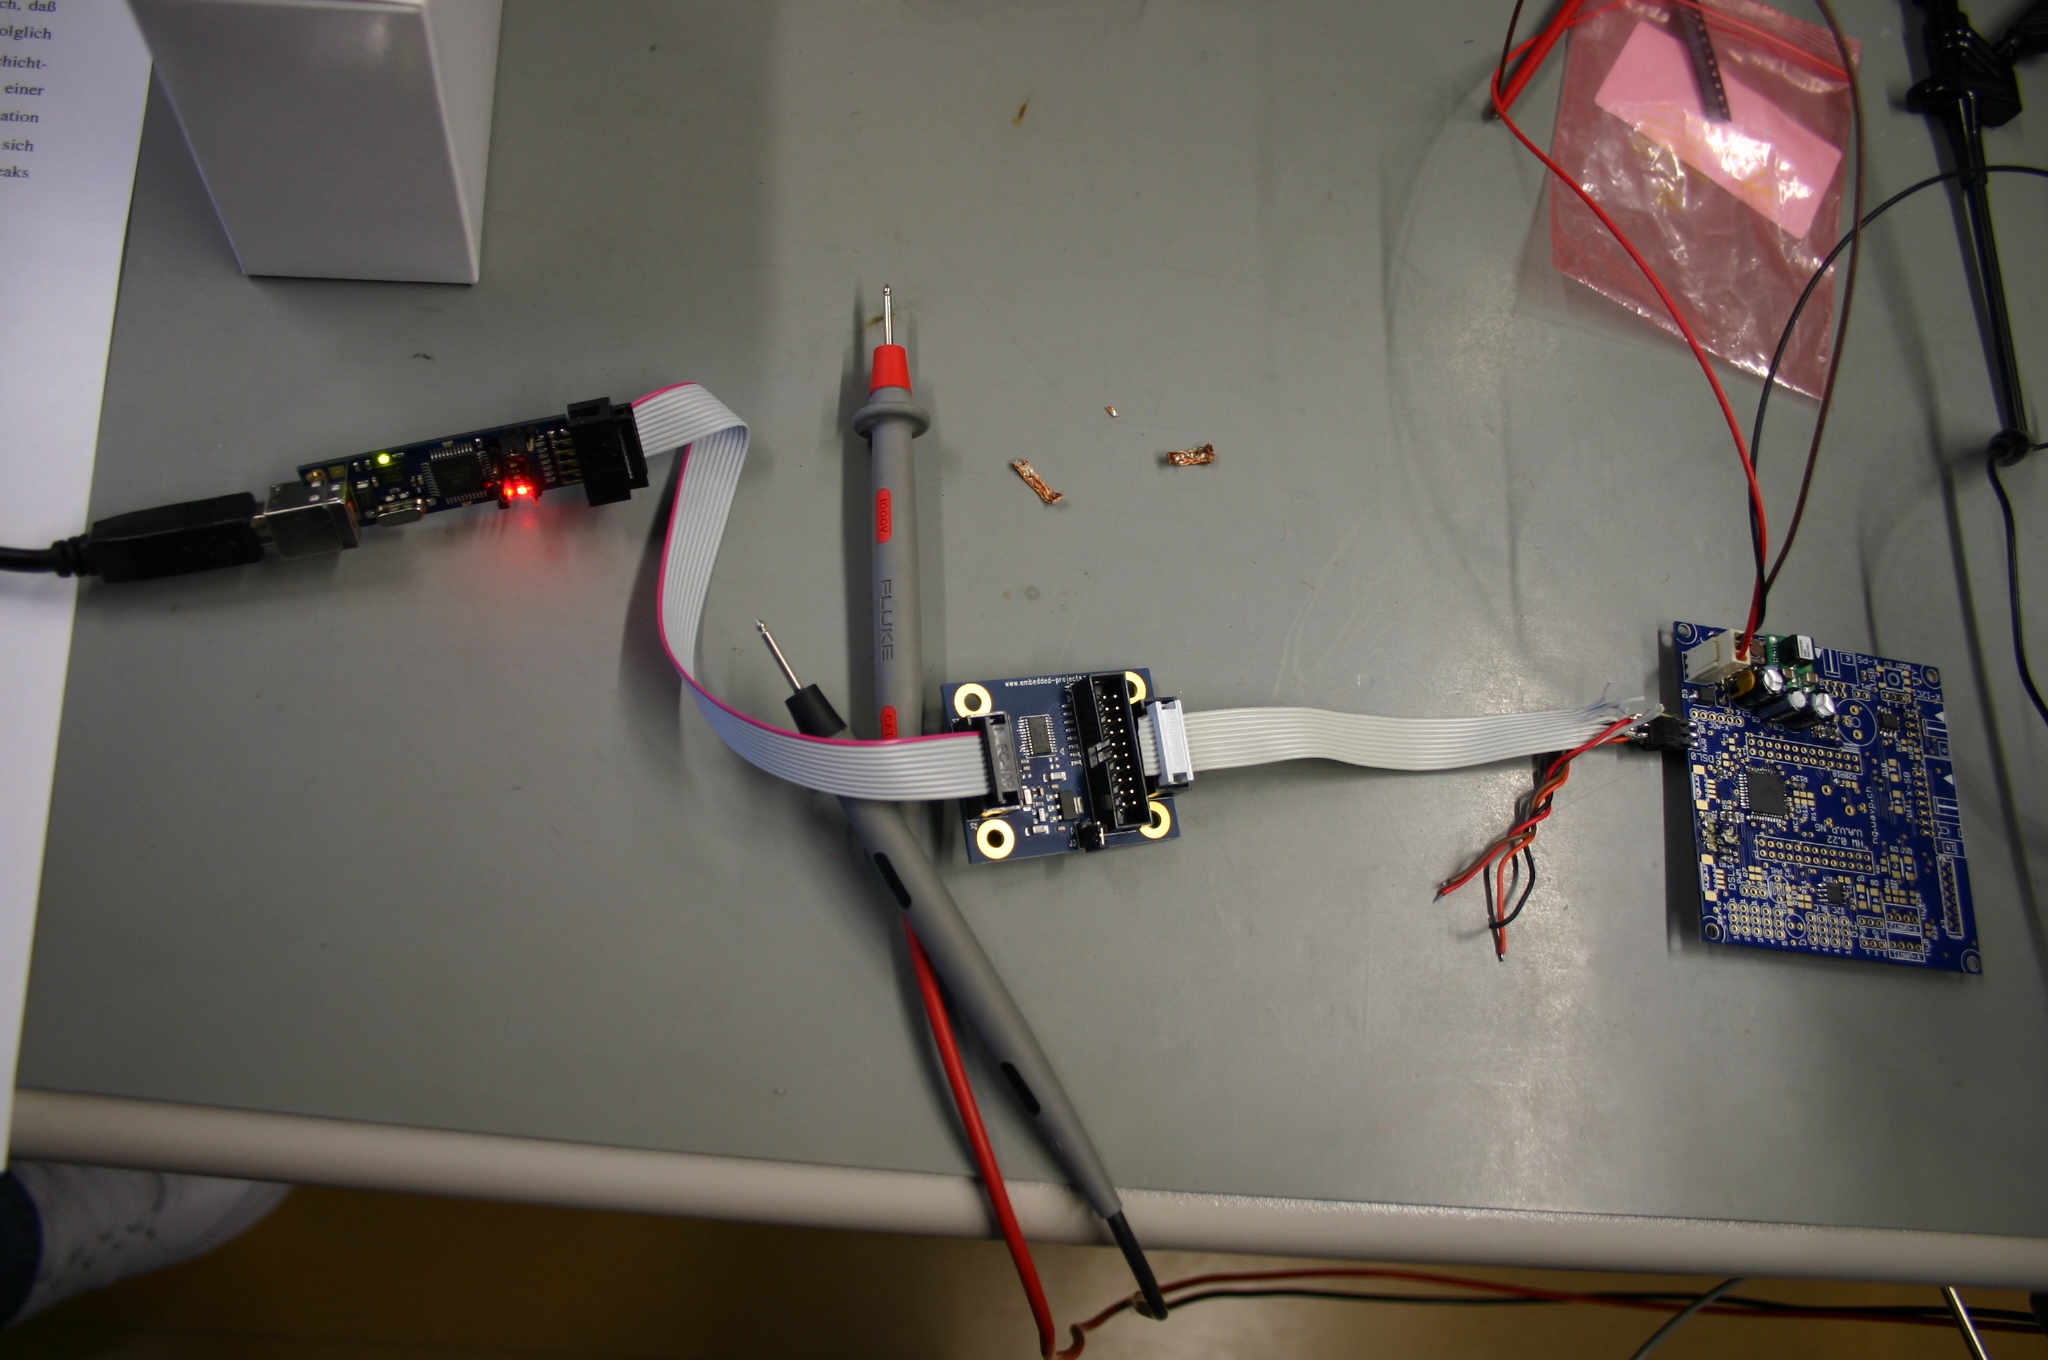
More than a year ago I joined the NG.UAVP (Next Generation Universal Aerial Video Platform) Project.  Amir and his NG-Gang are the brains of this cool Open-Source project. After fiddling around for about a year i decided to bring up some contents/themes to my field of study.

The idea here is to show our students how theory and practice can be combined and this is shown through the QuadroCopter example.  Since the major components of such a system would cover most of the key course elements I thought my fellow workers would take some of the ideas/themes into their courses. LOL, but the response was zero. No matter,  I already was changing to my new field of study (MedIT). Of course QuadroCopters doesn’t fit as perfect as they did to my former study field. But here I get more support. So I decided to start a workshop for students and some fellow workers with the aim to build a QuadroCopter from “scratch”. To make the whole stuff not to difficult we took the NG.UAVP project as base.

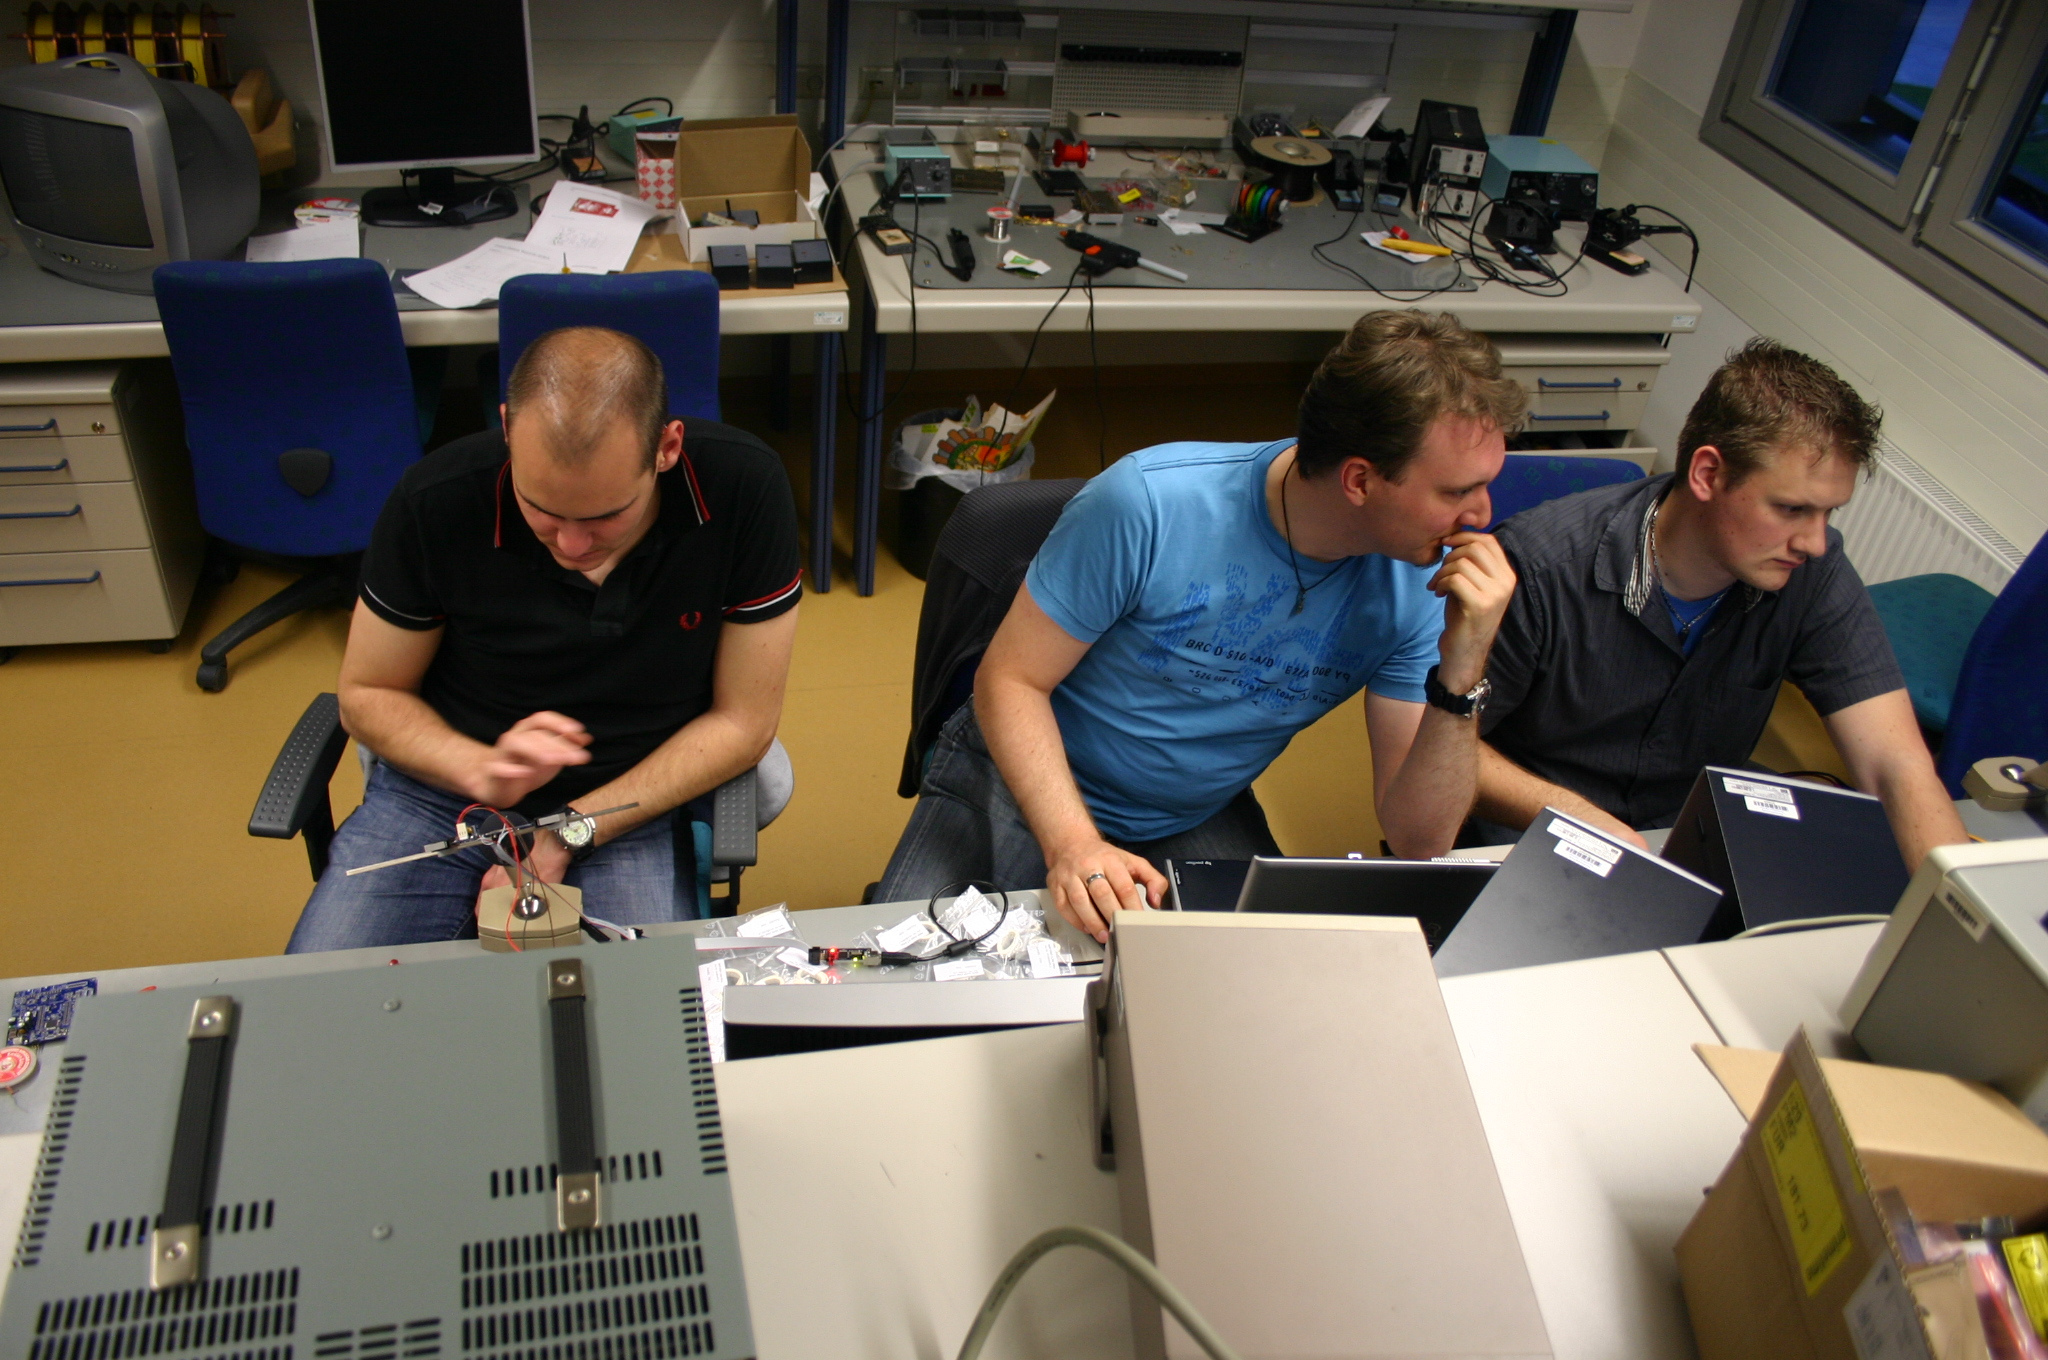
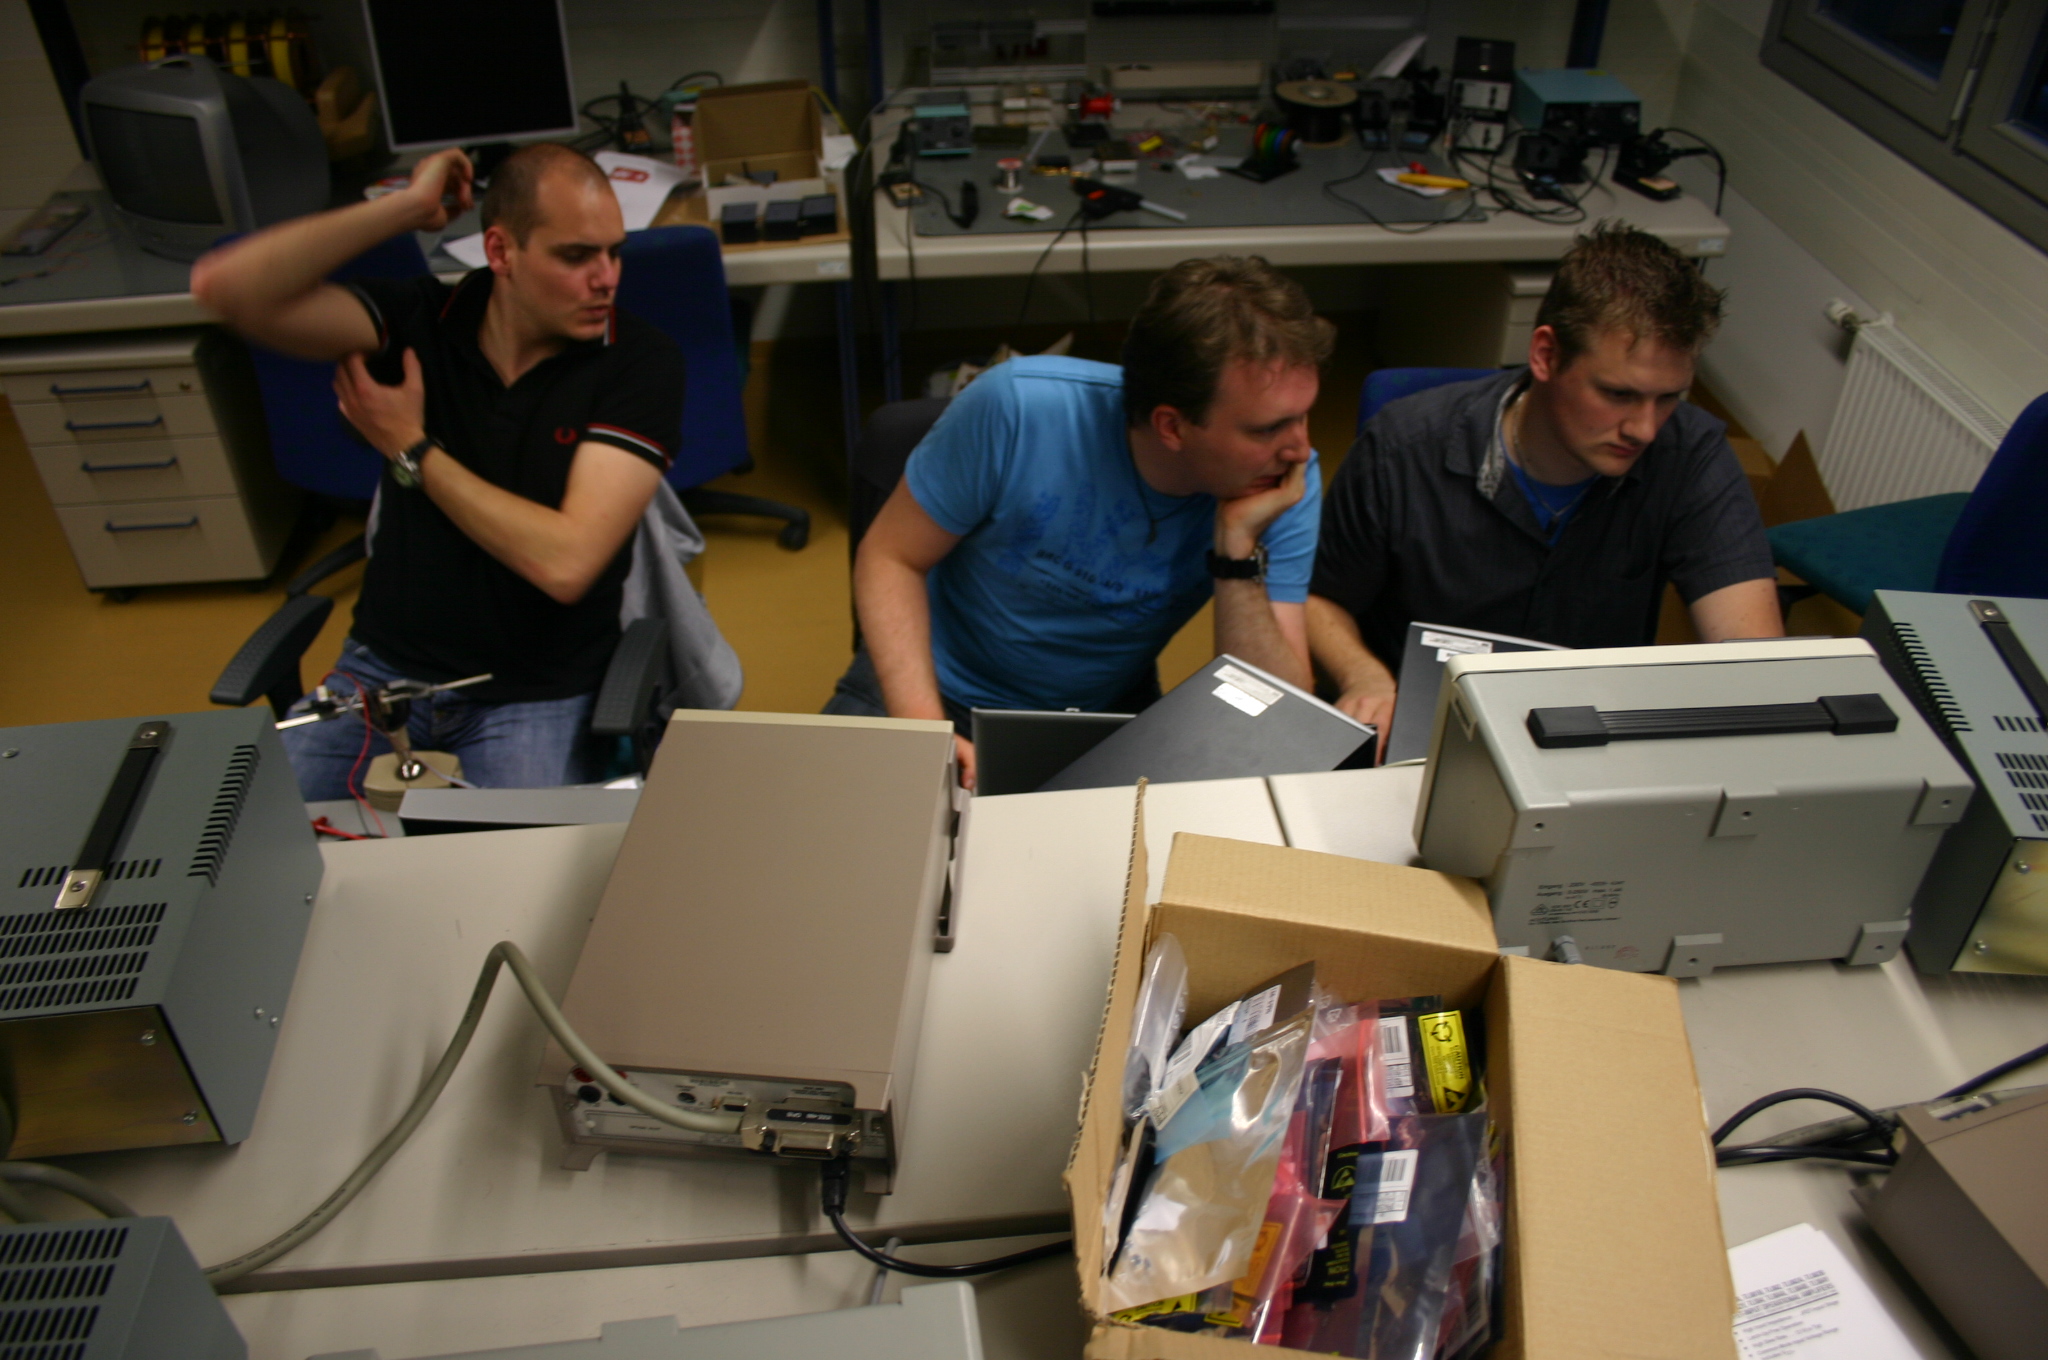
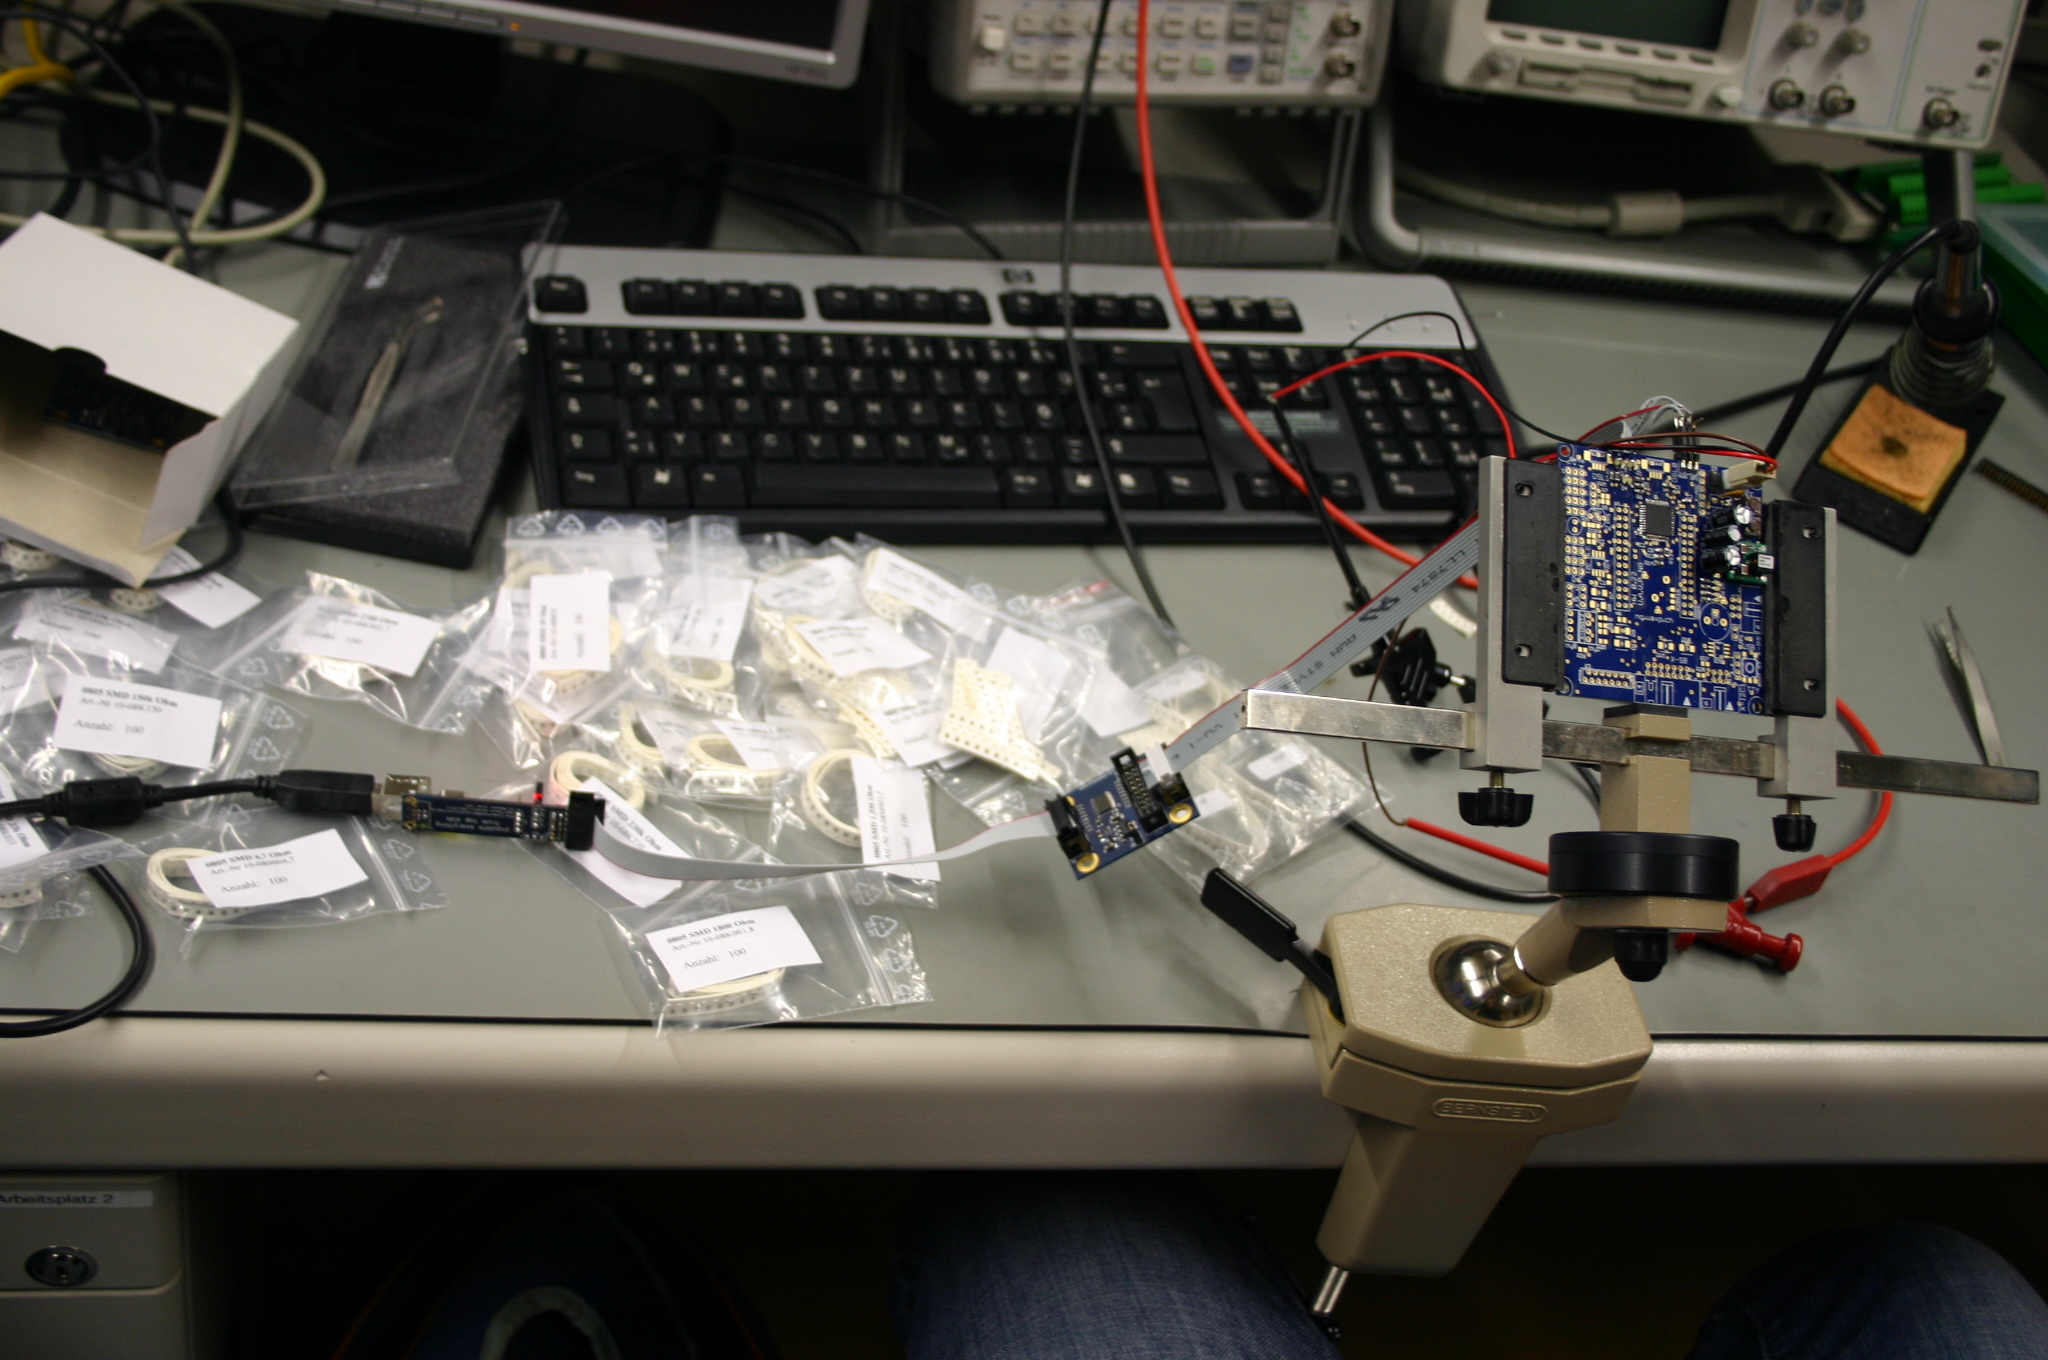
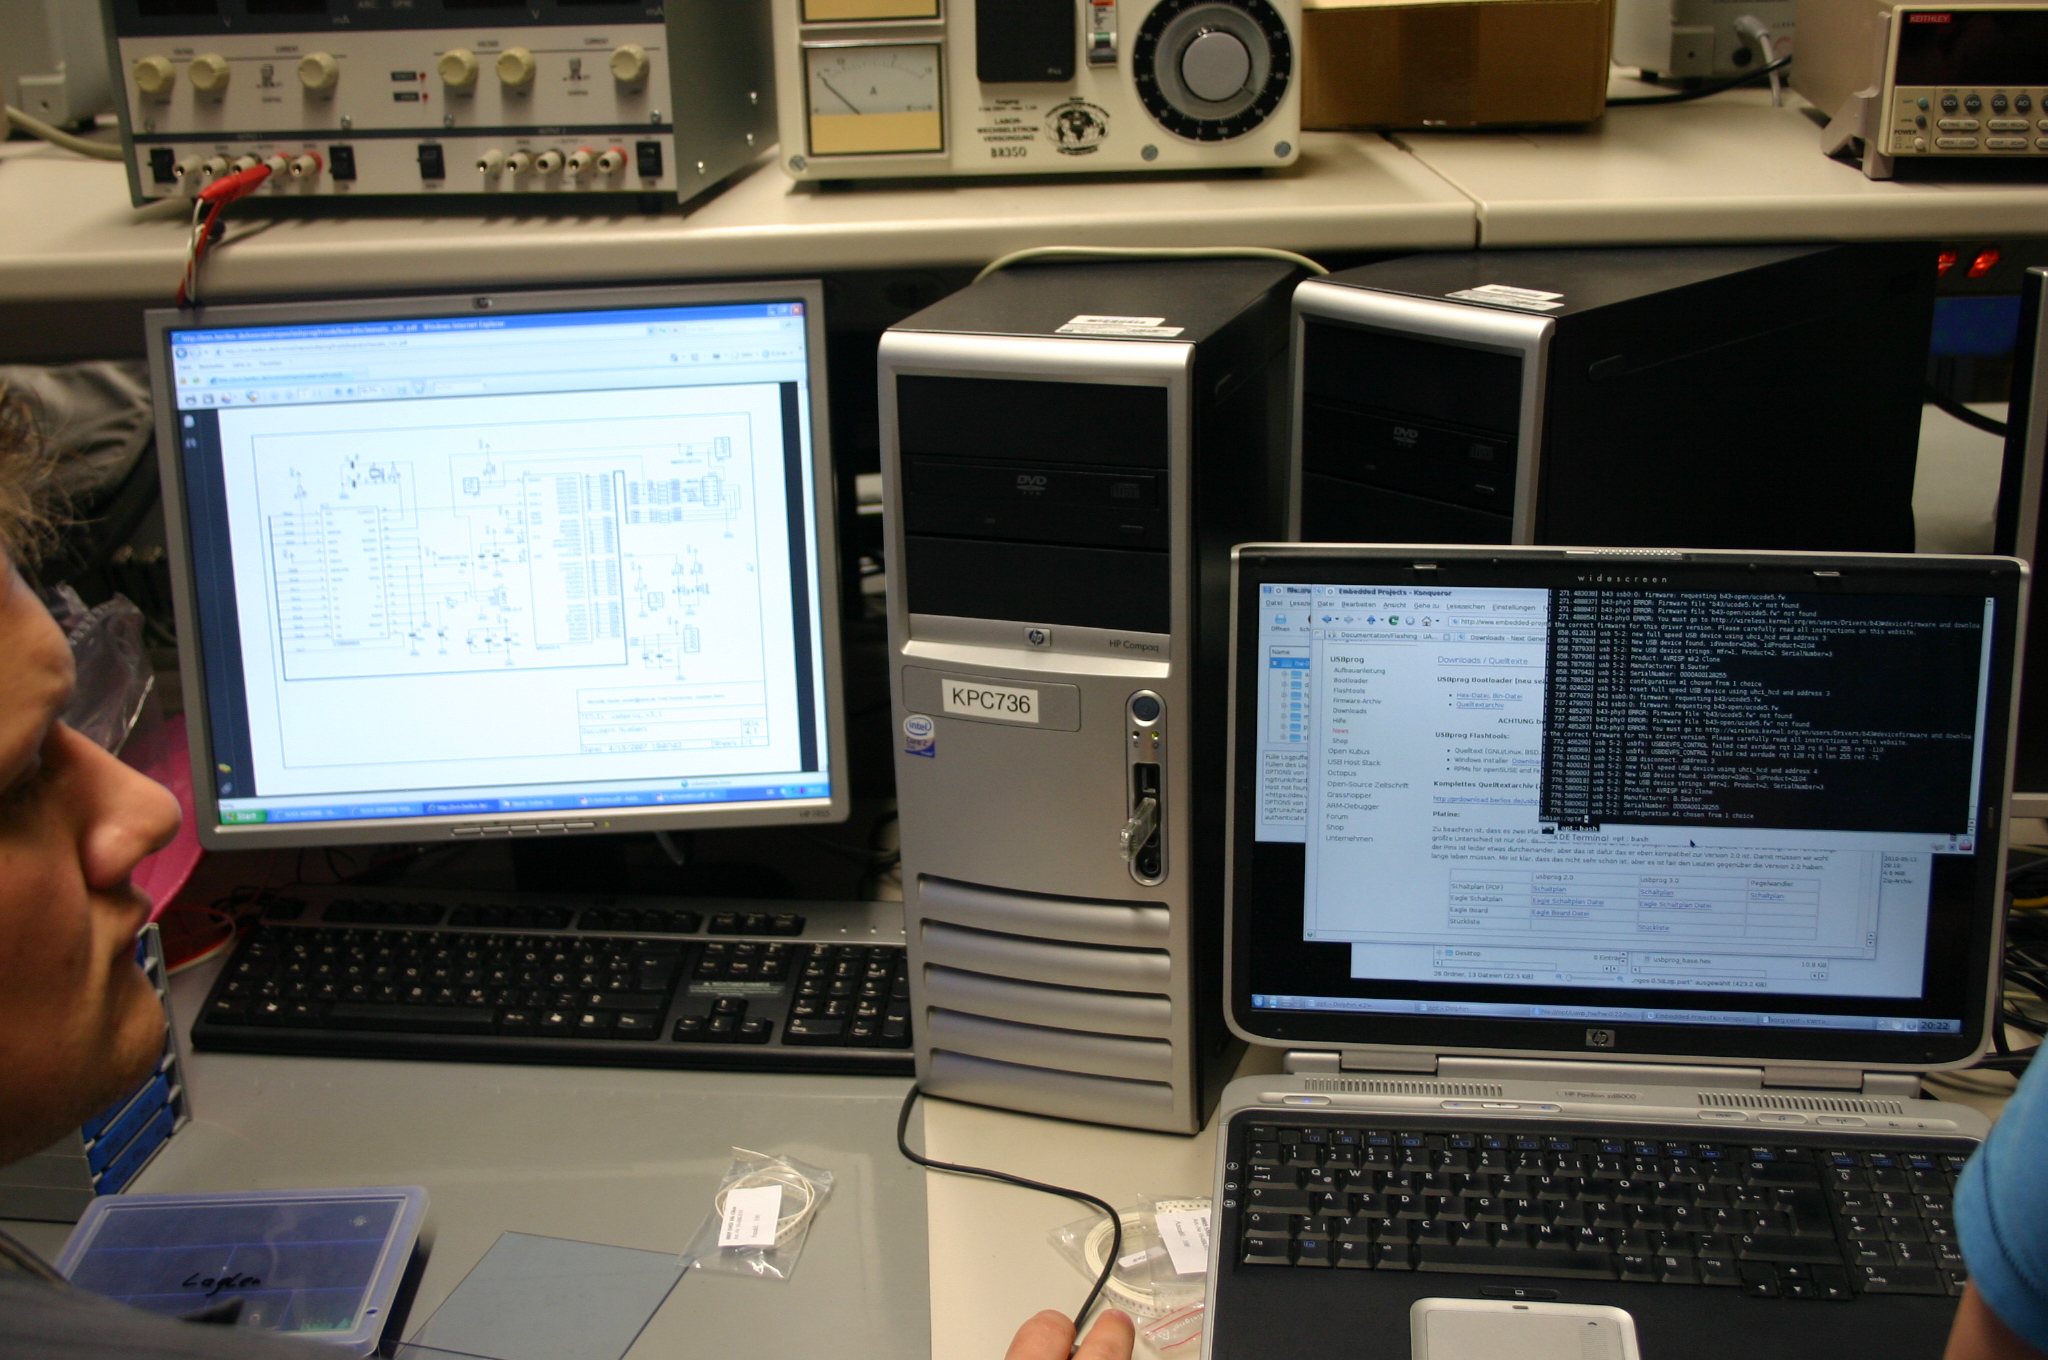
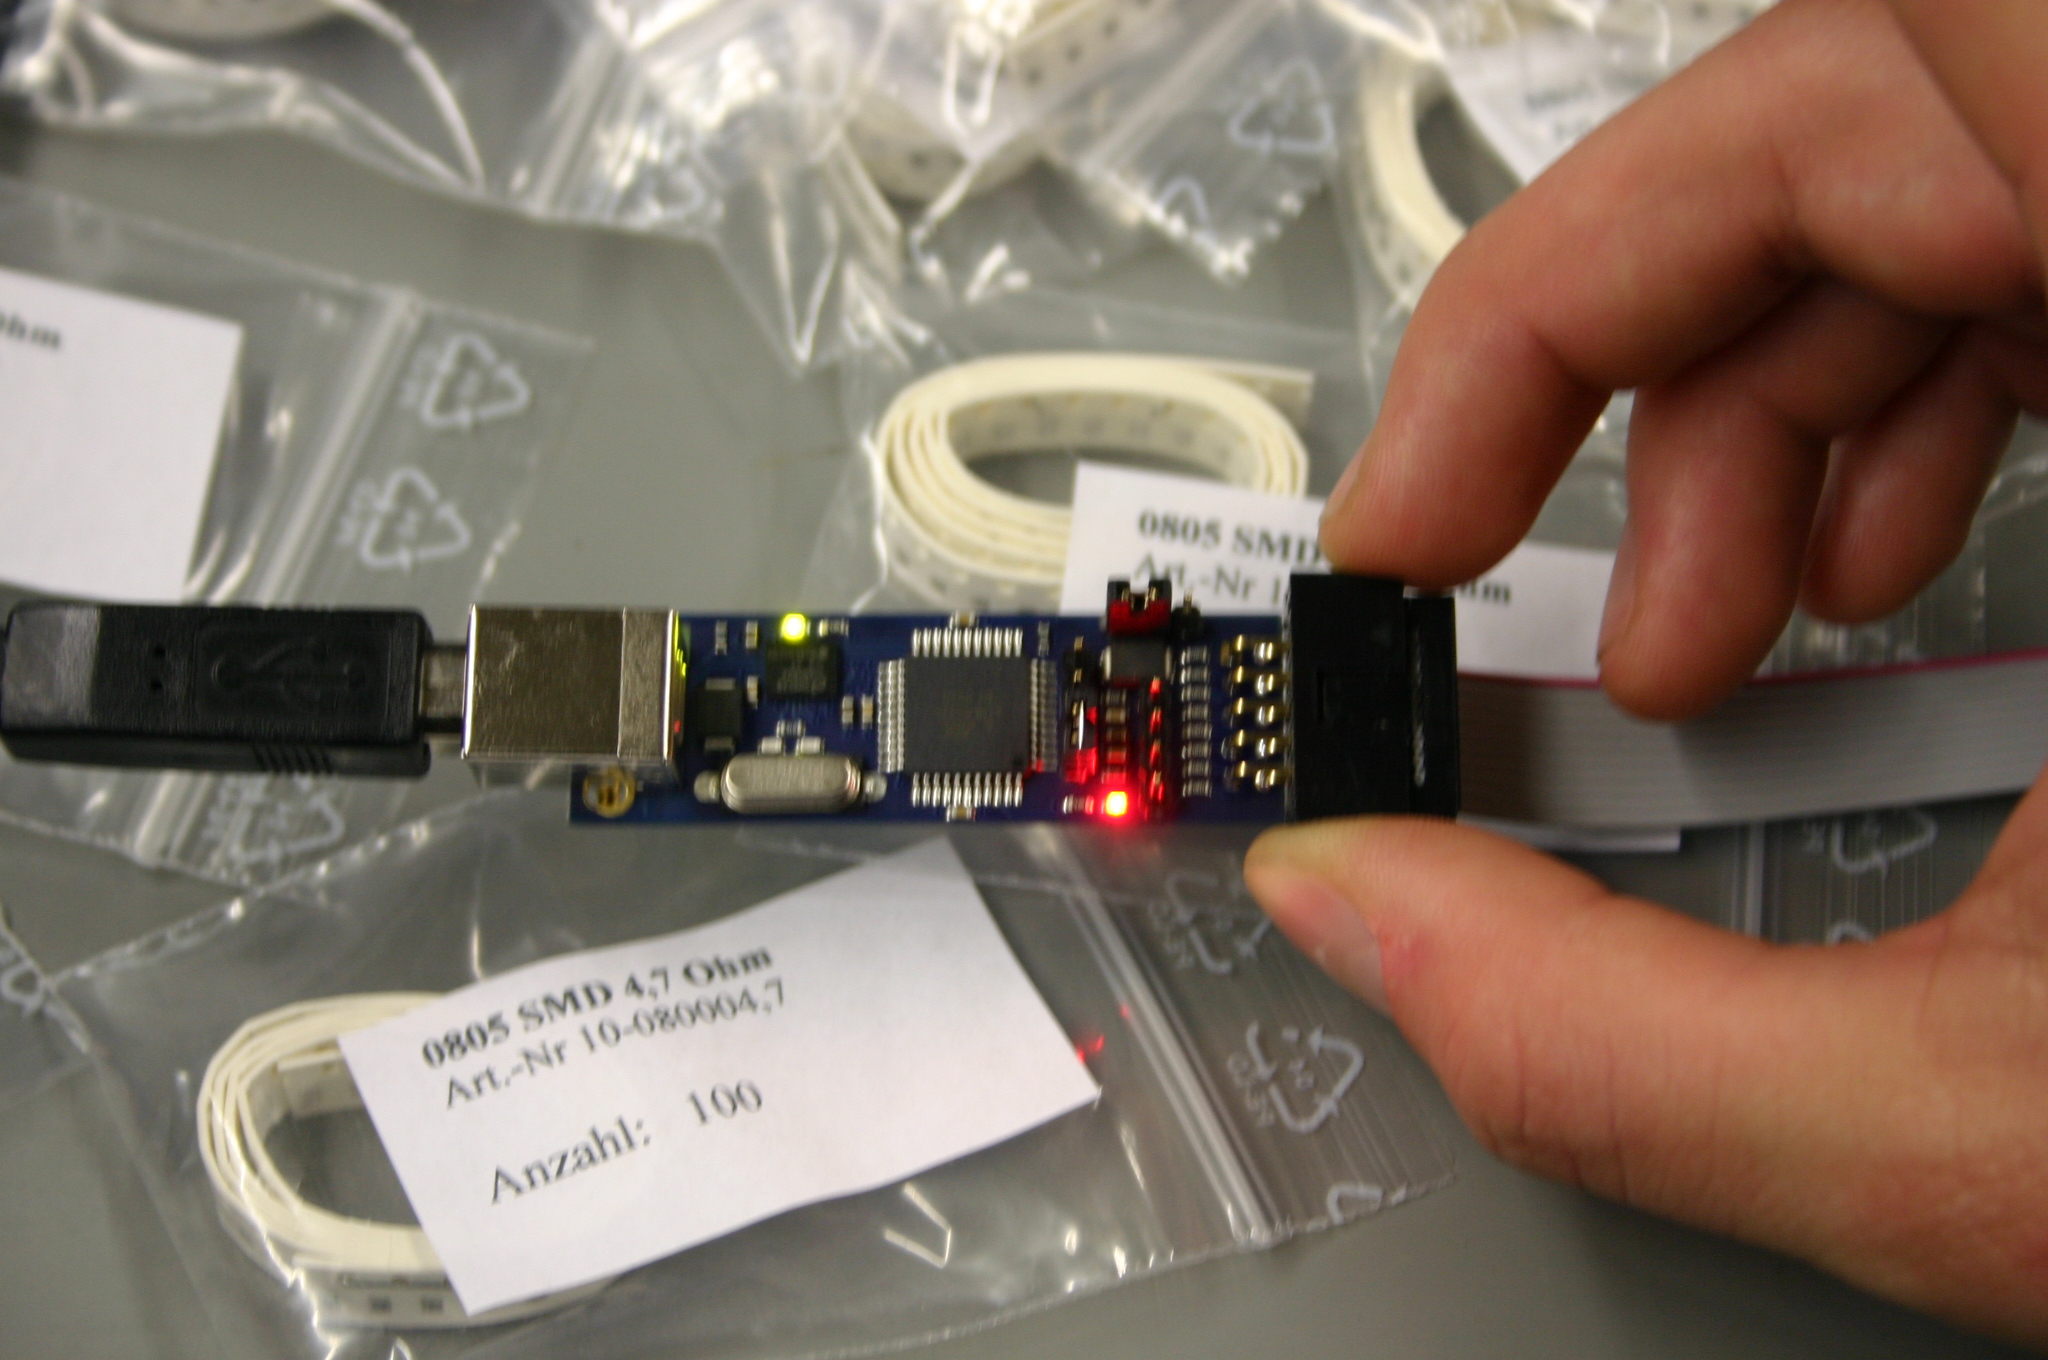
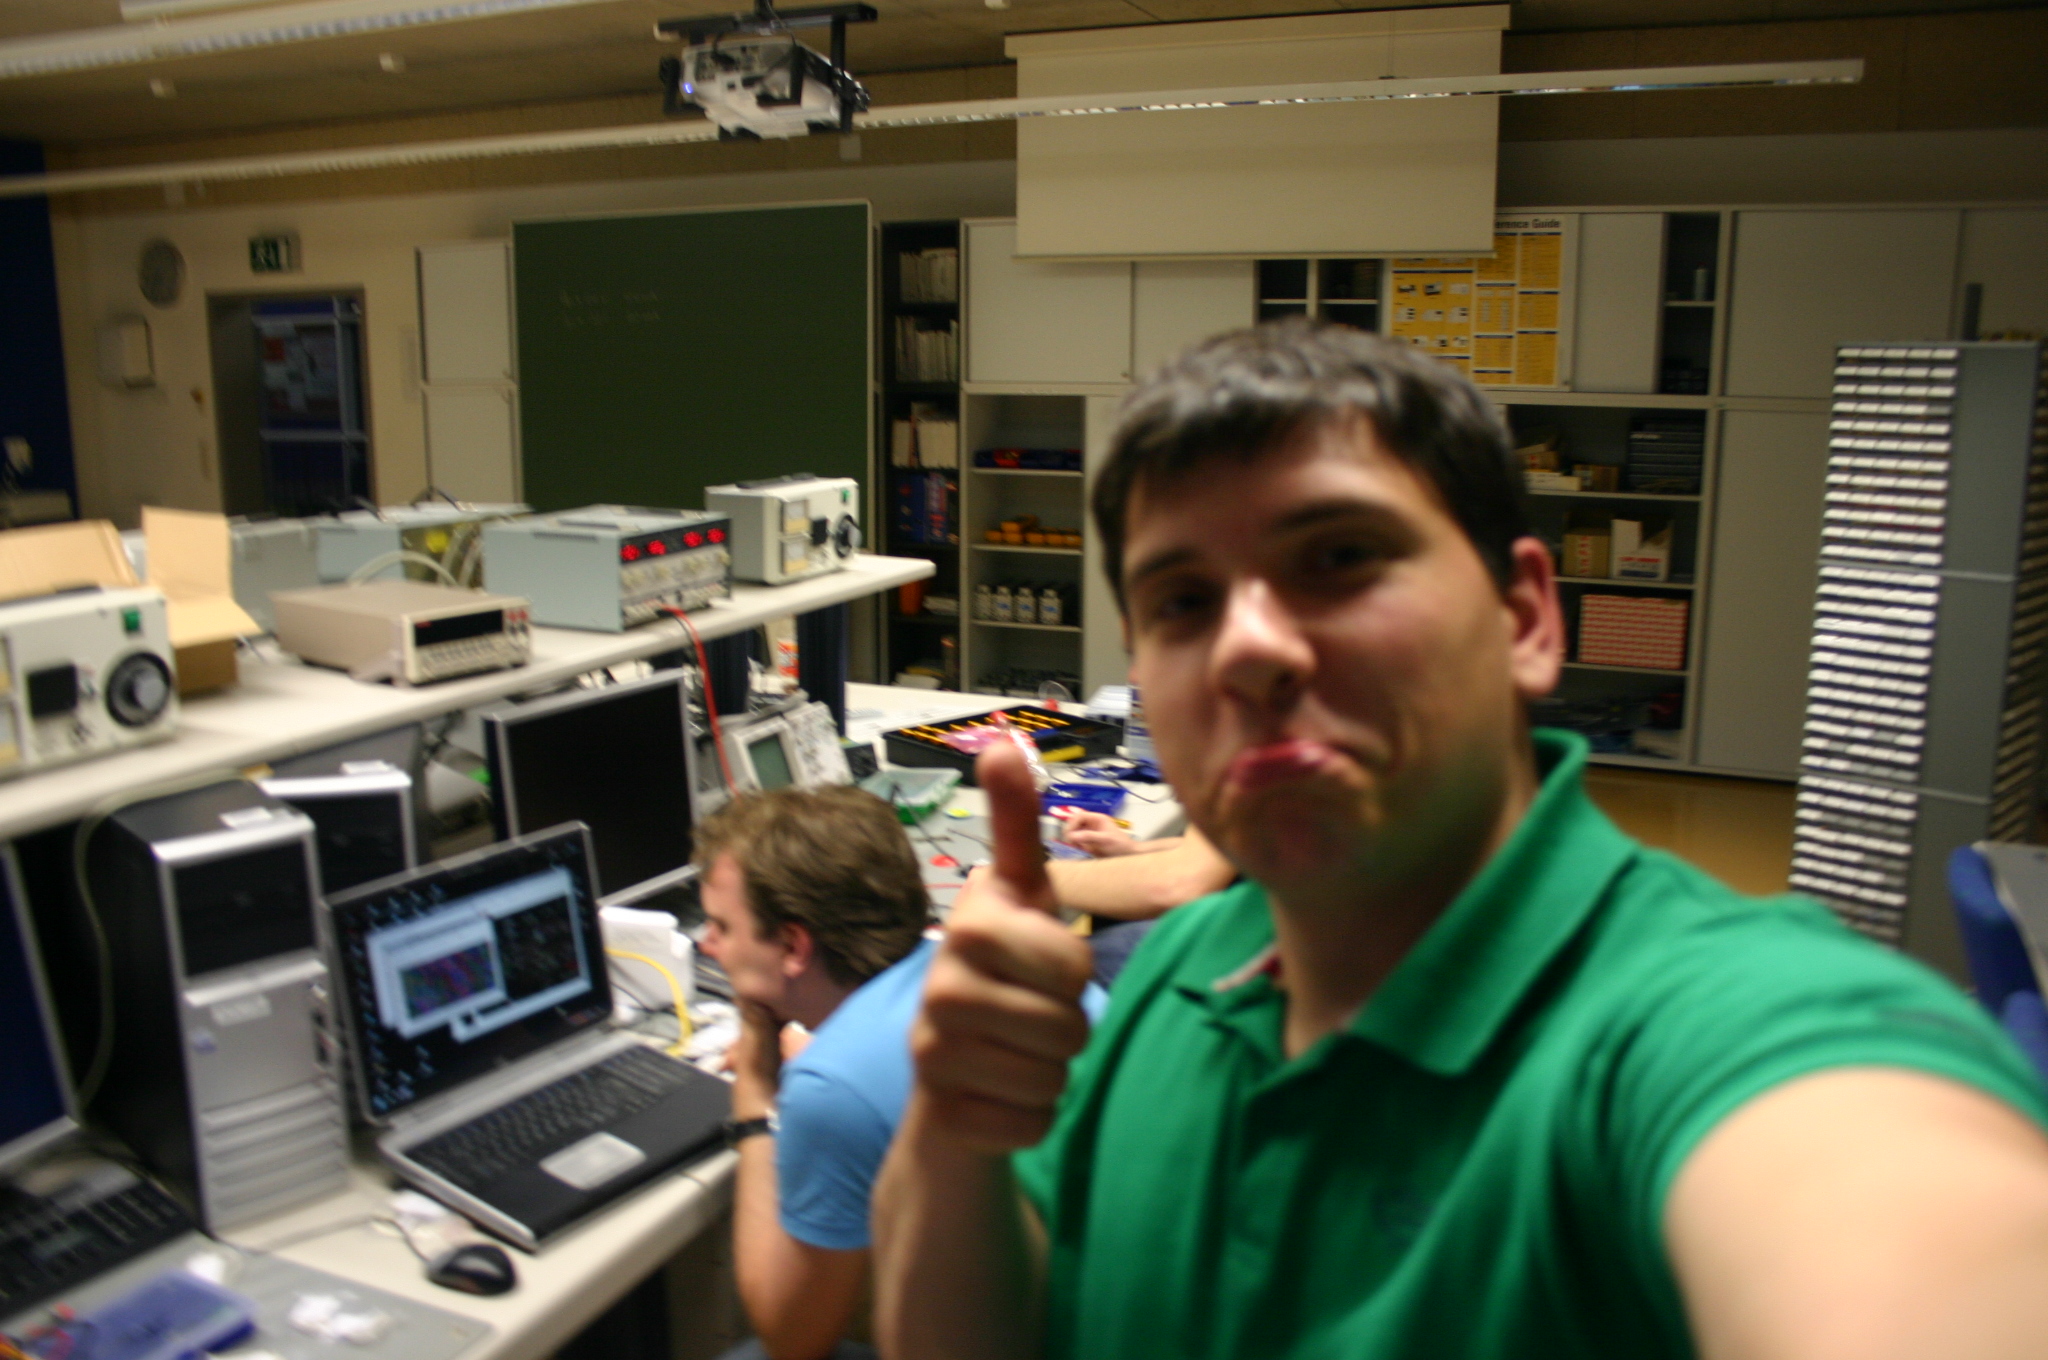
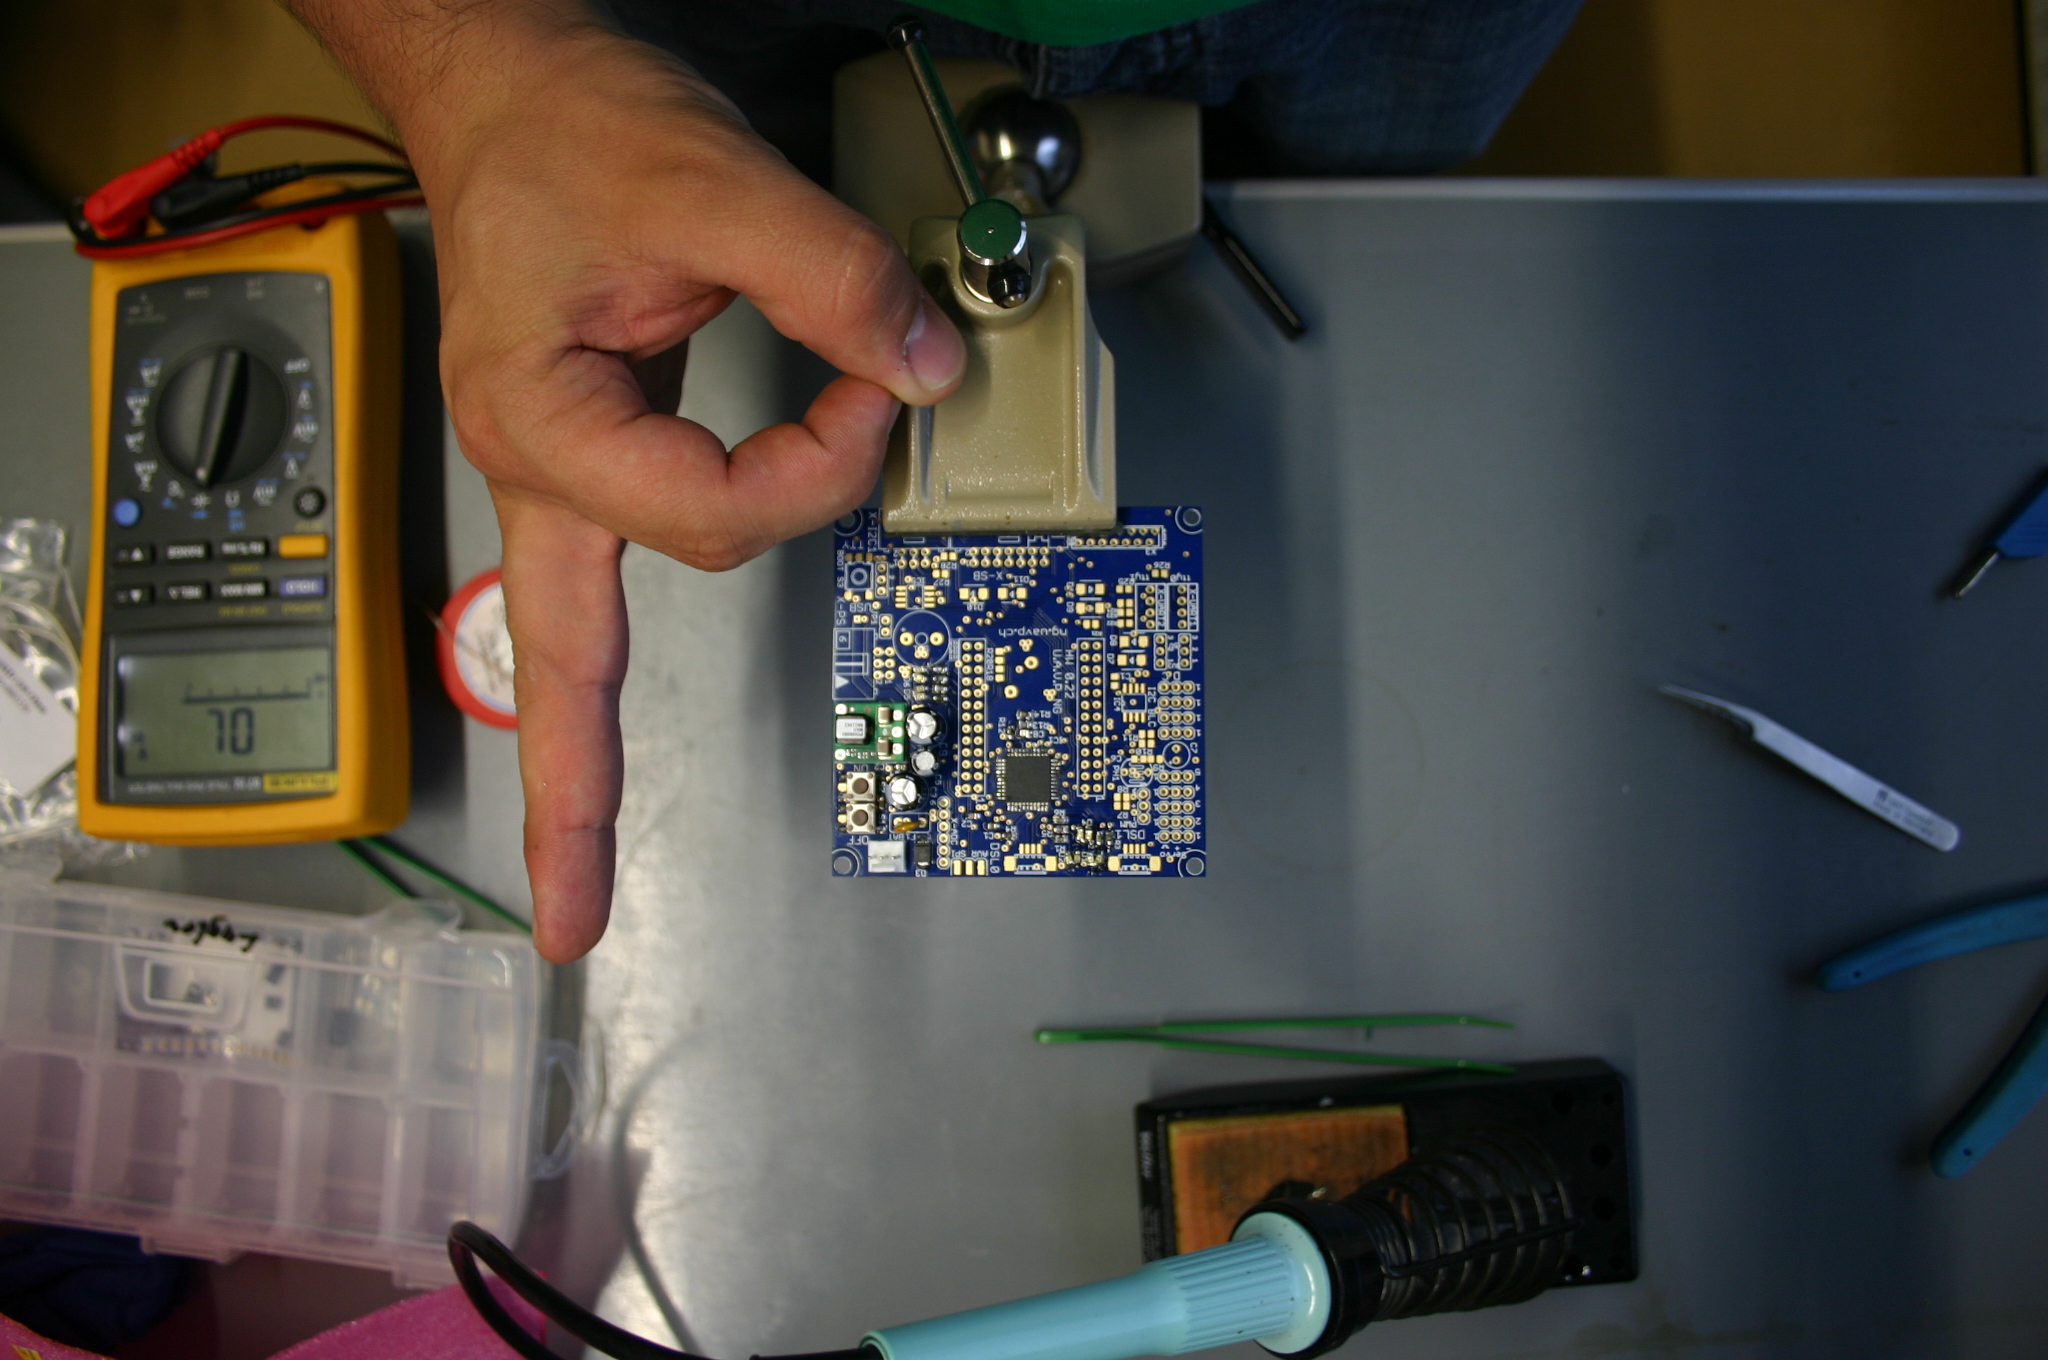
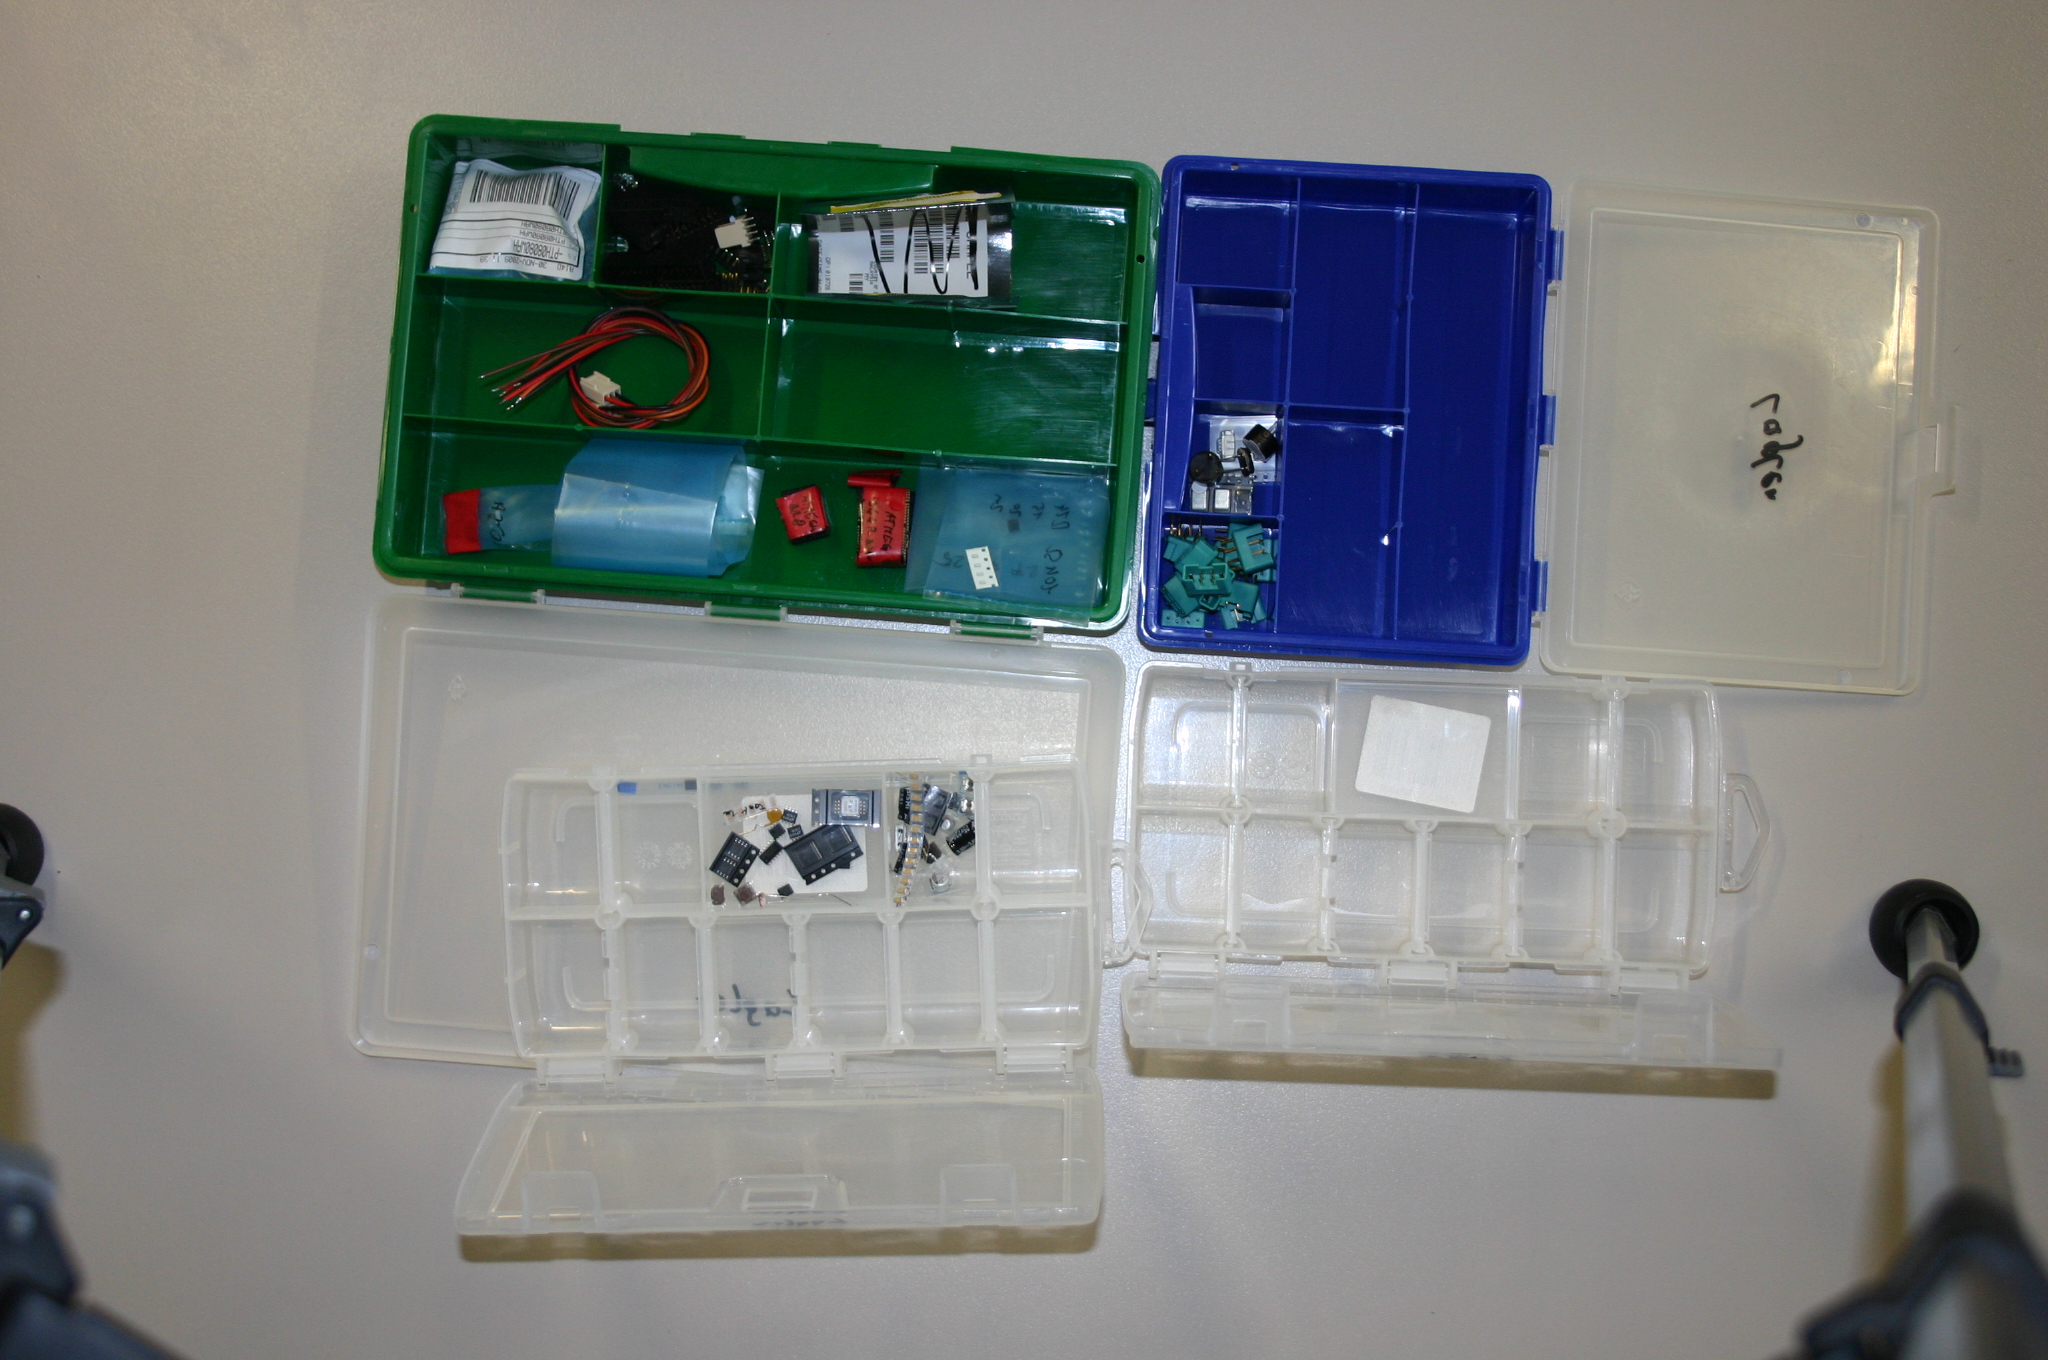
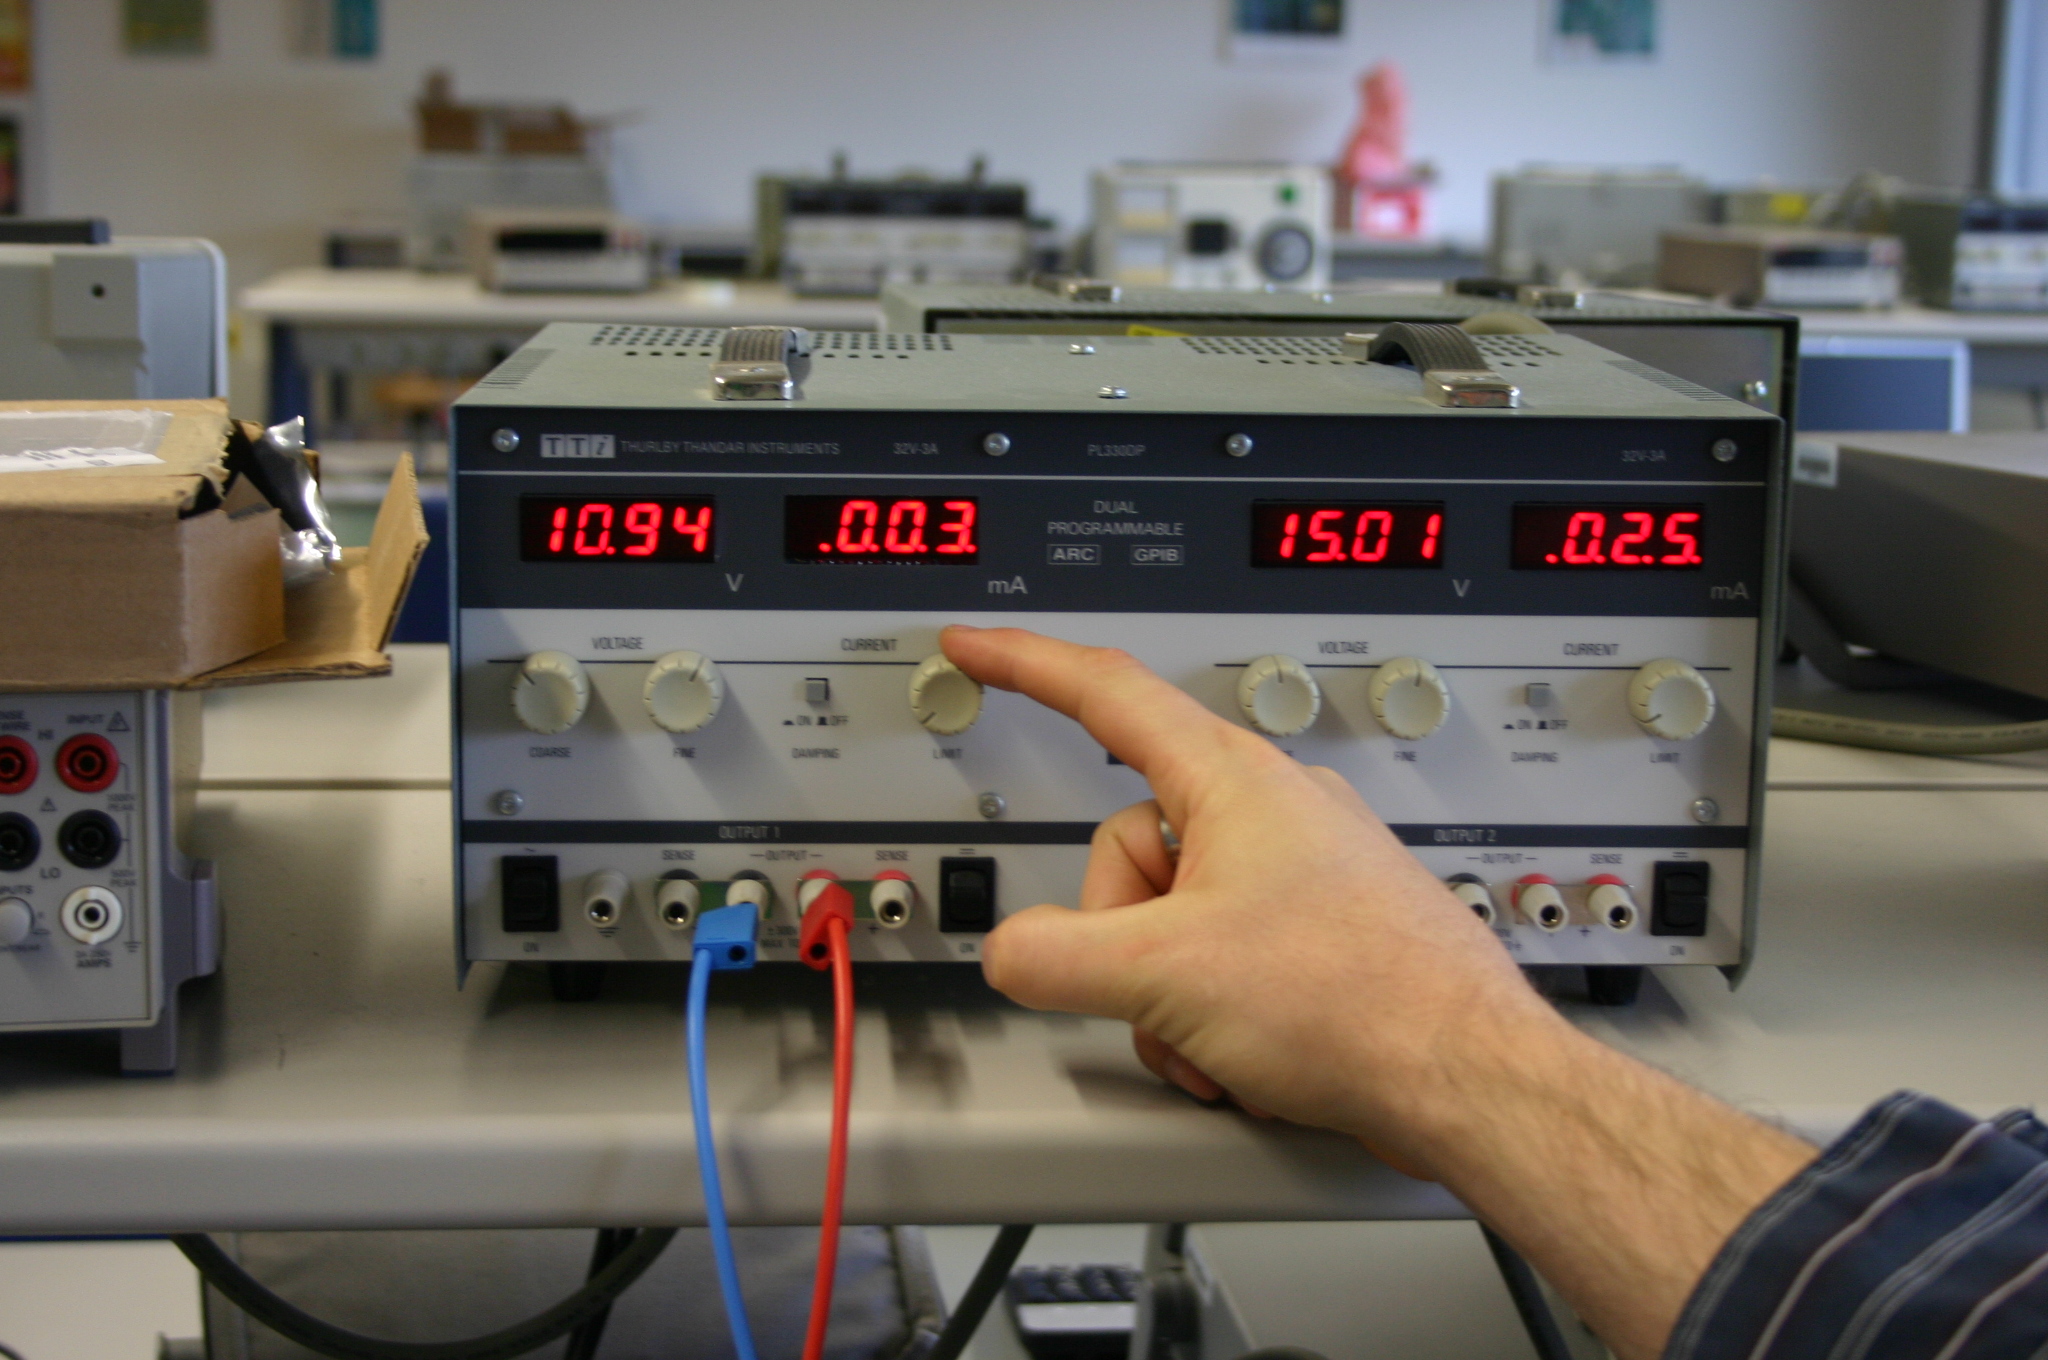
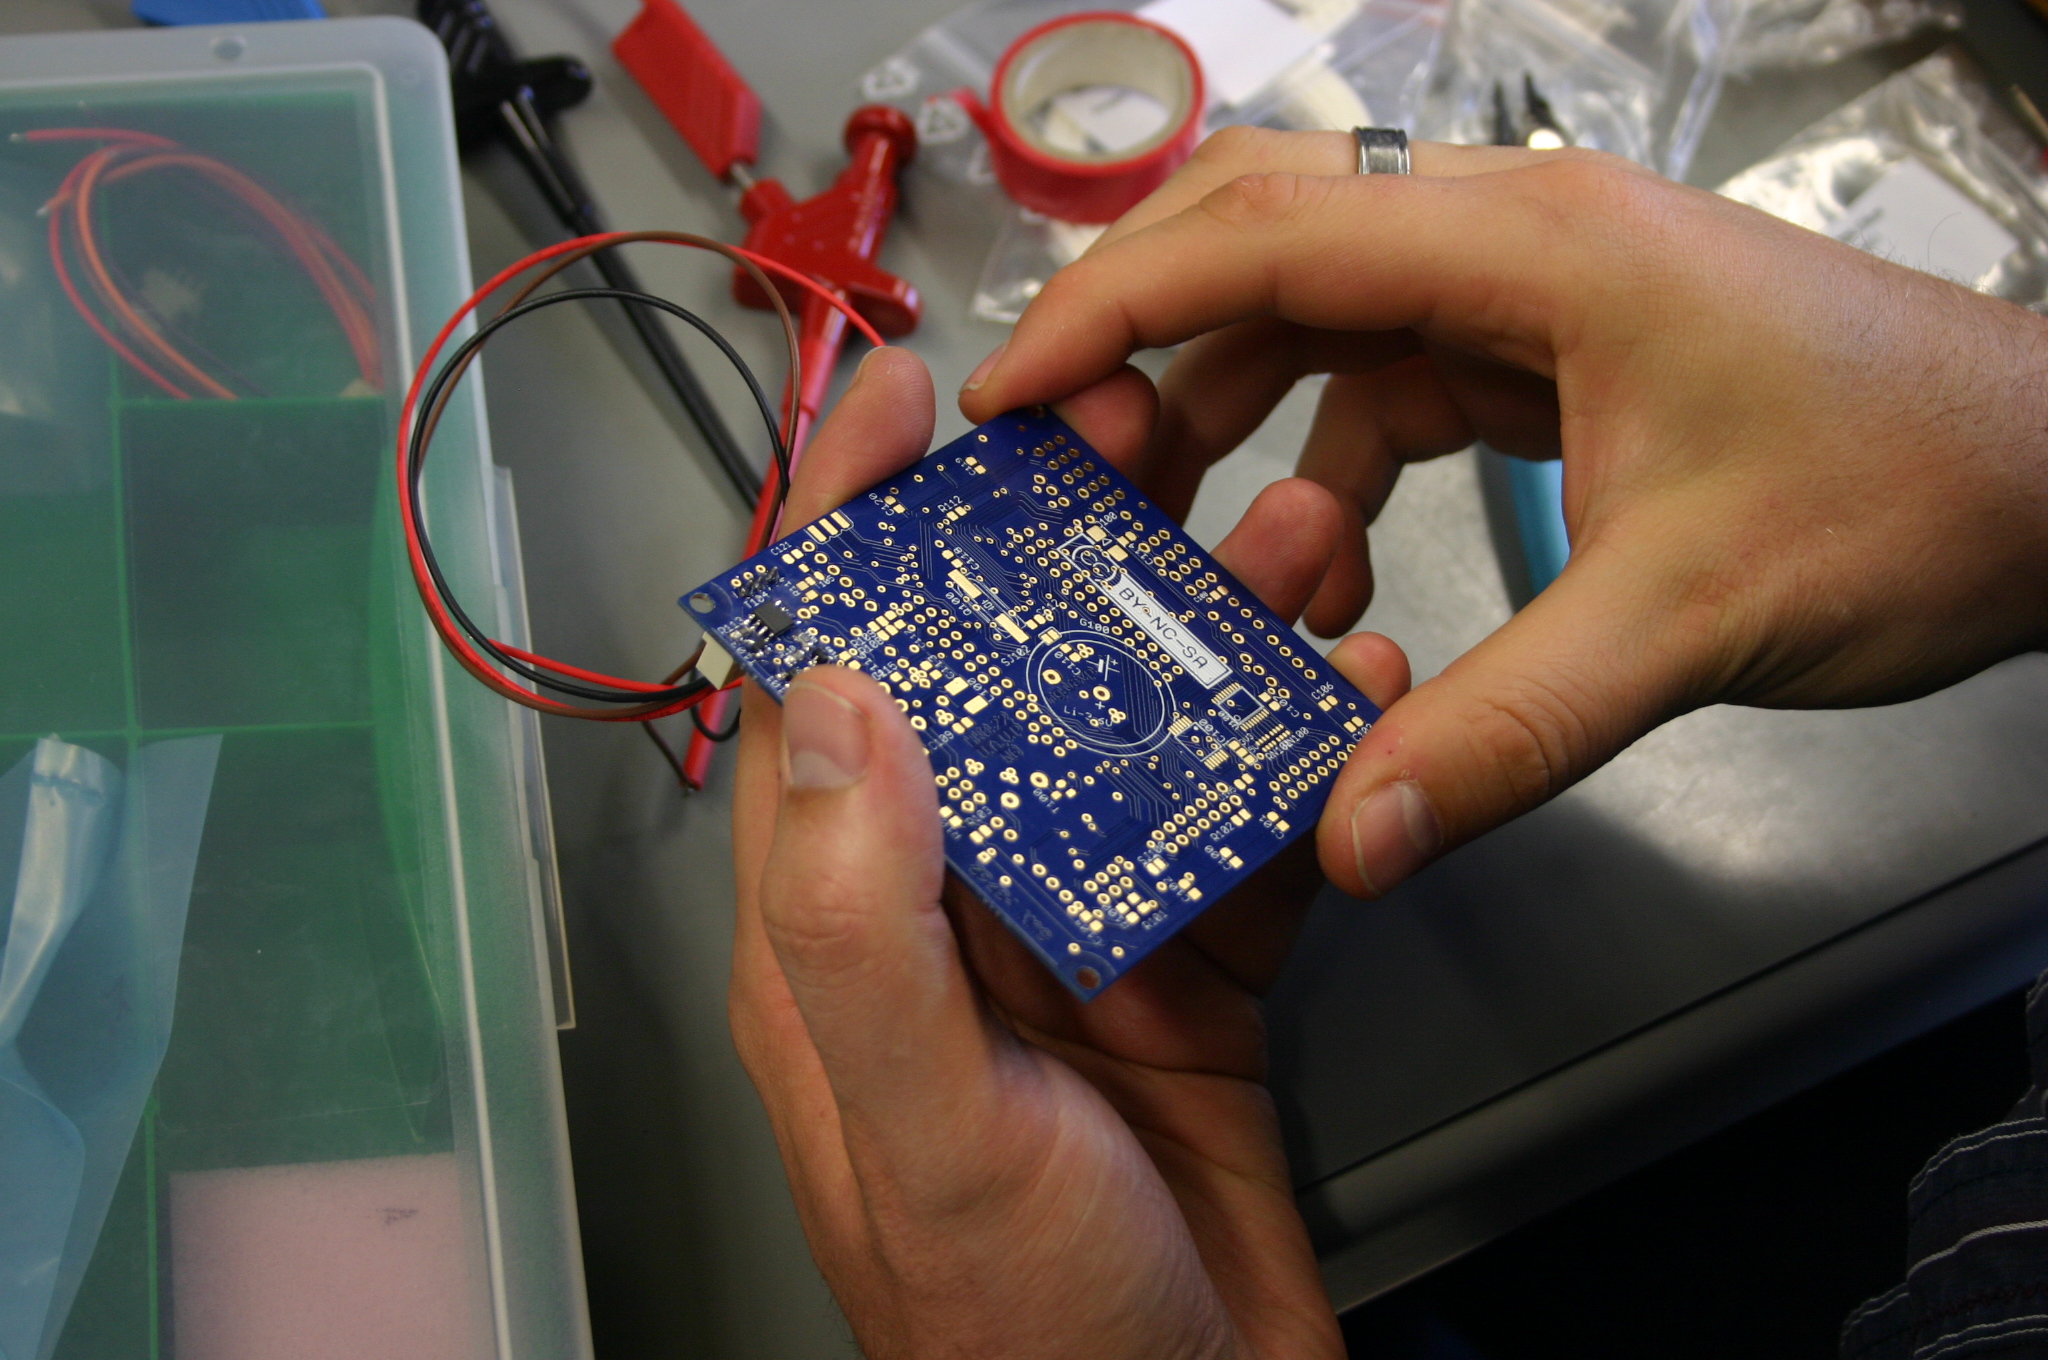
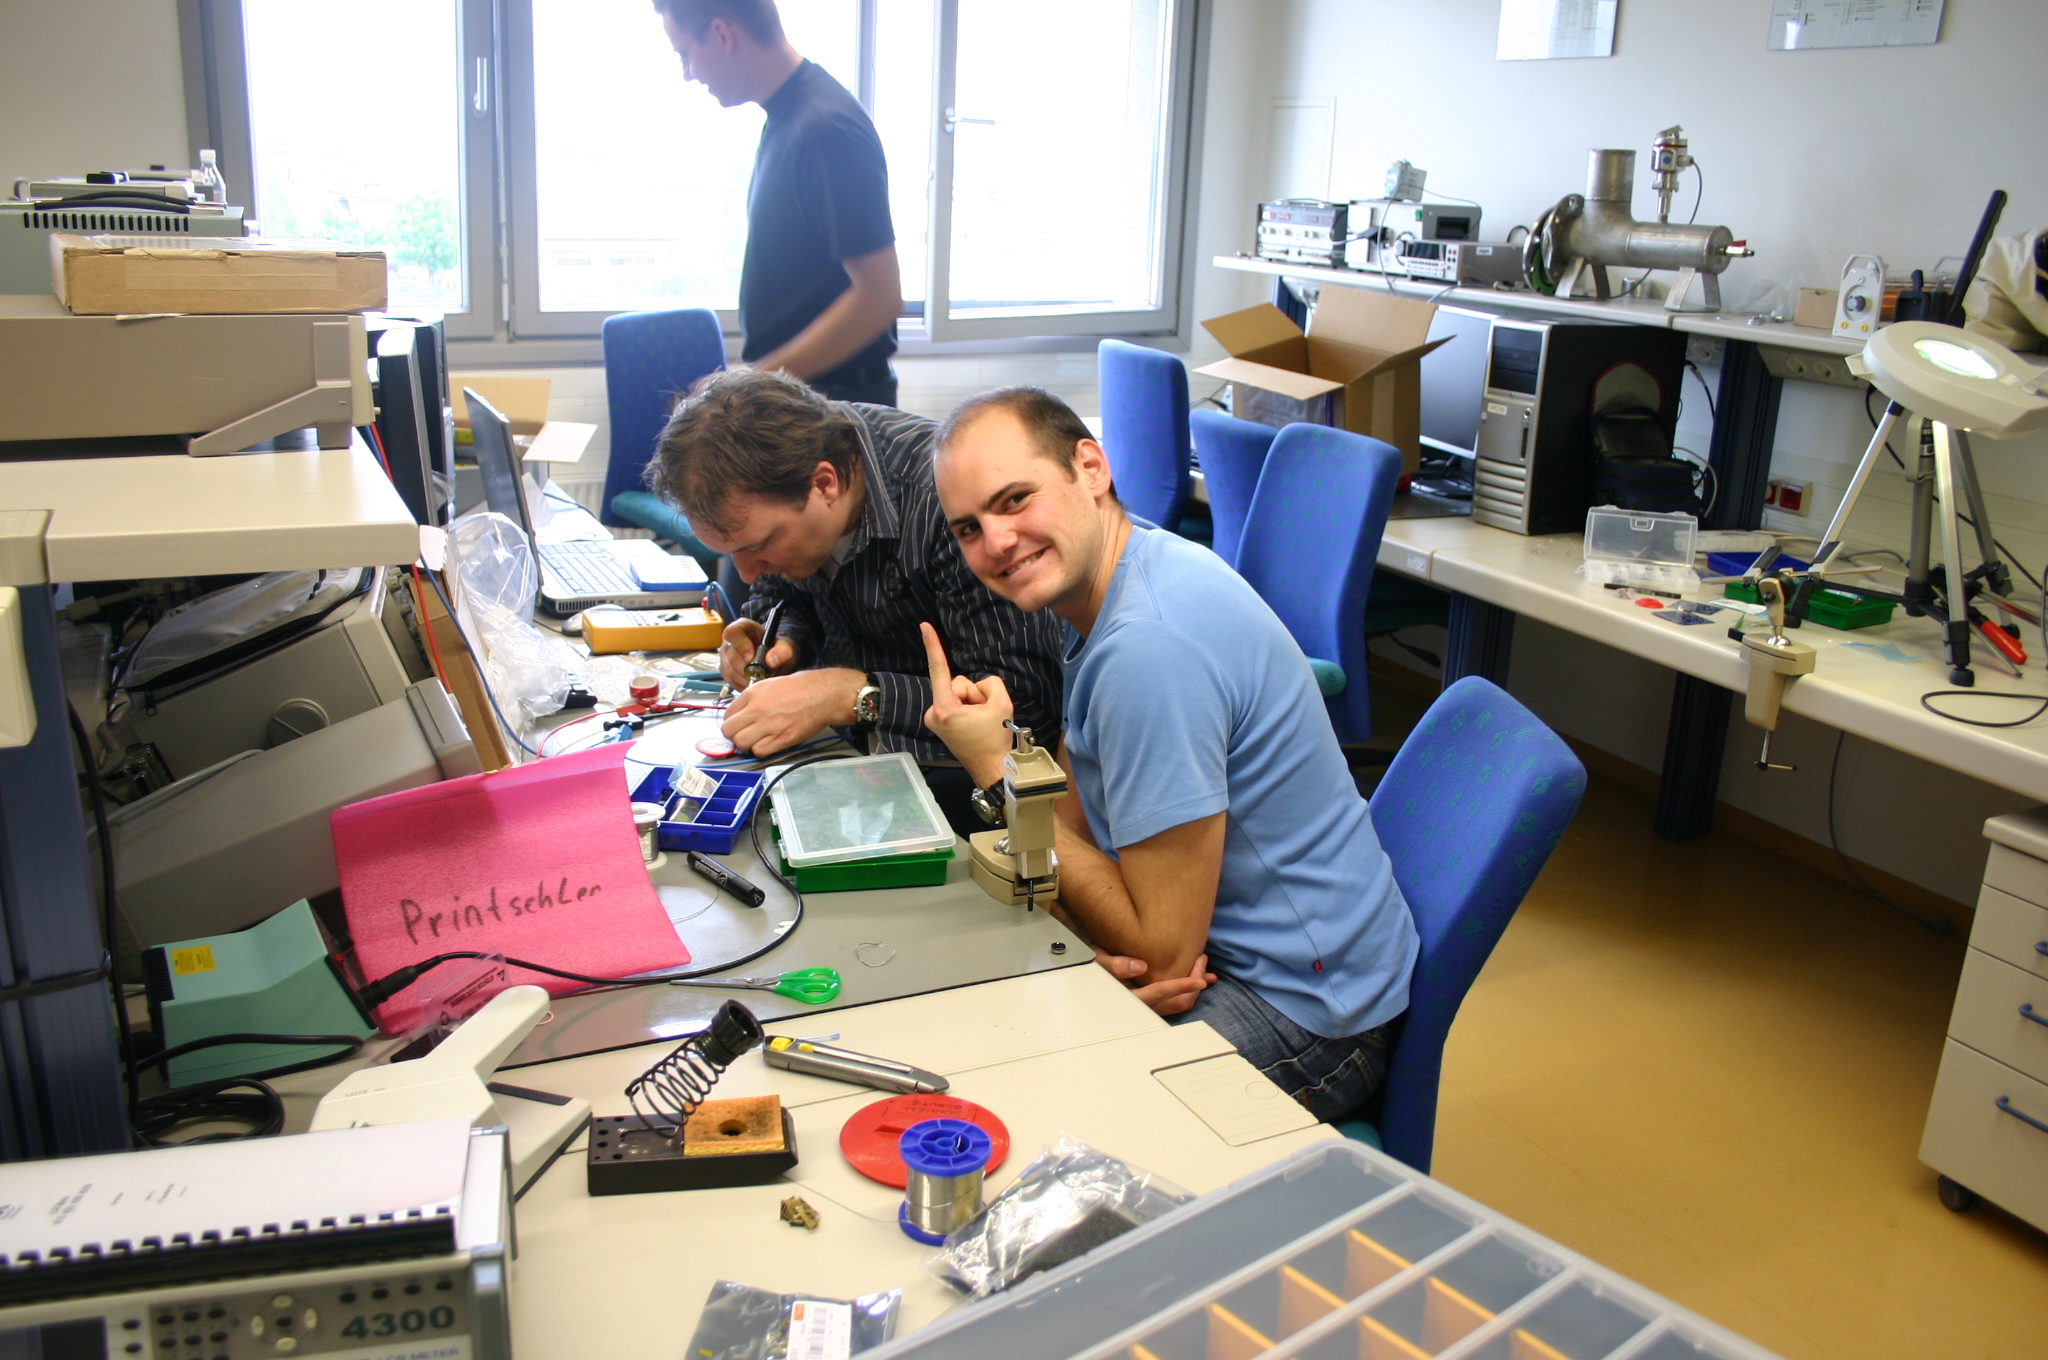
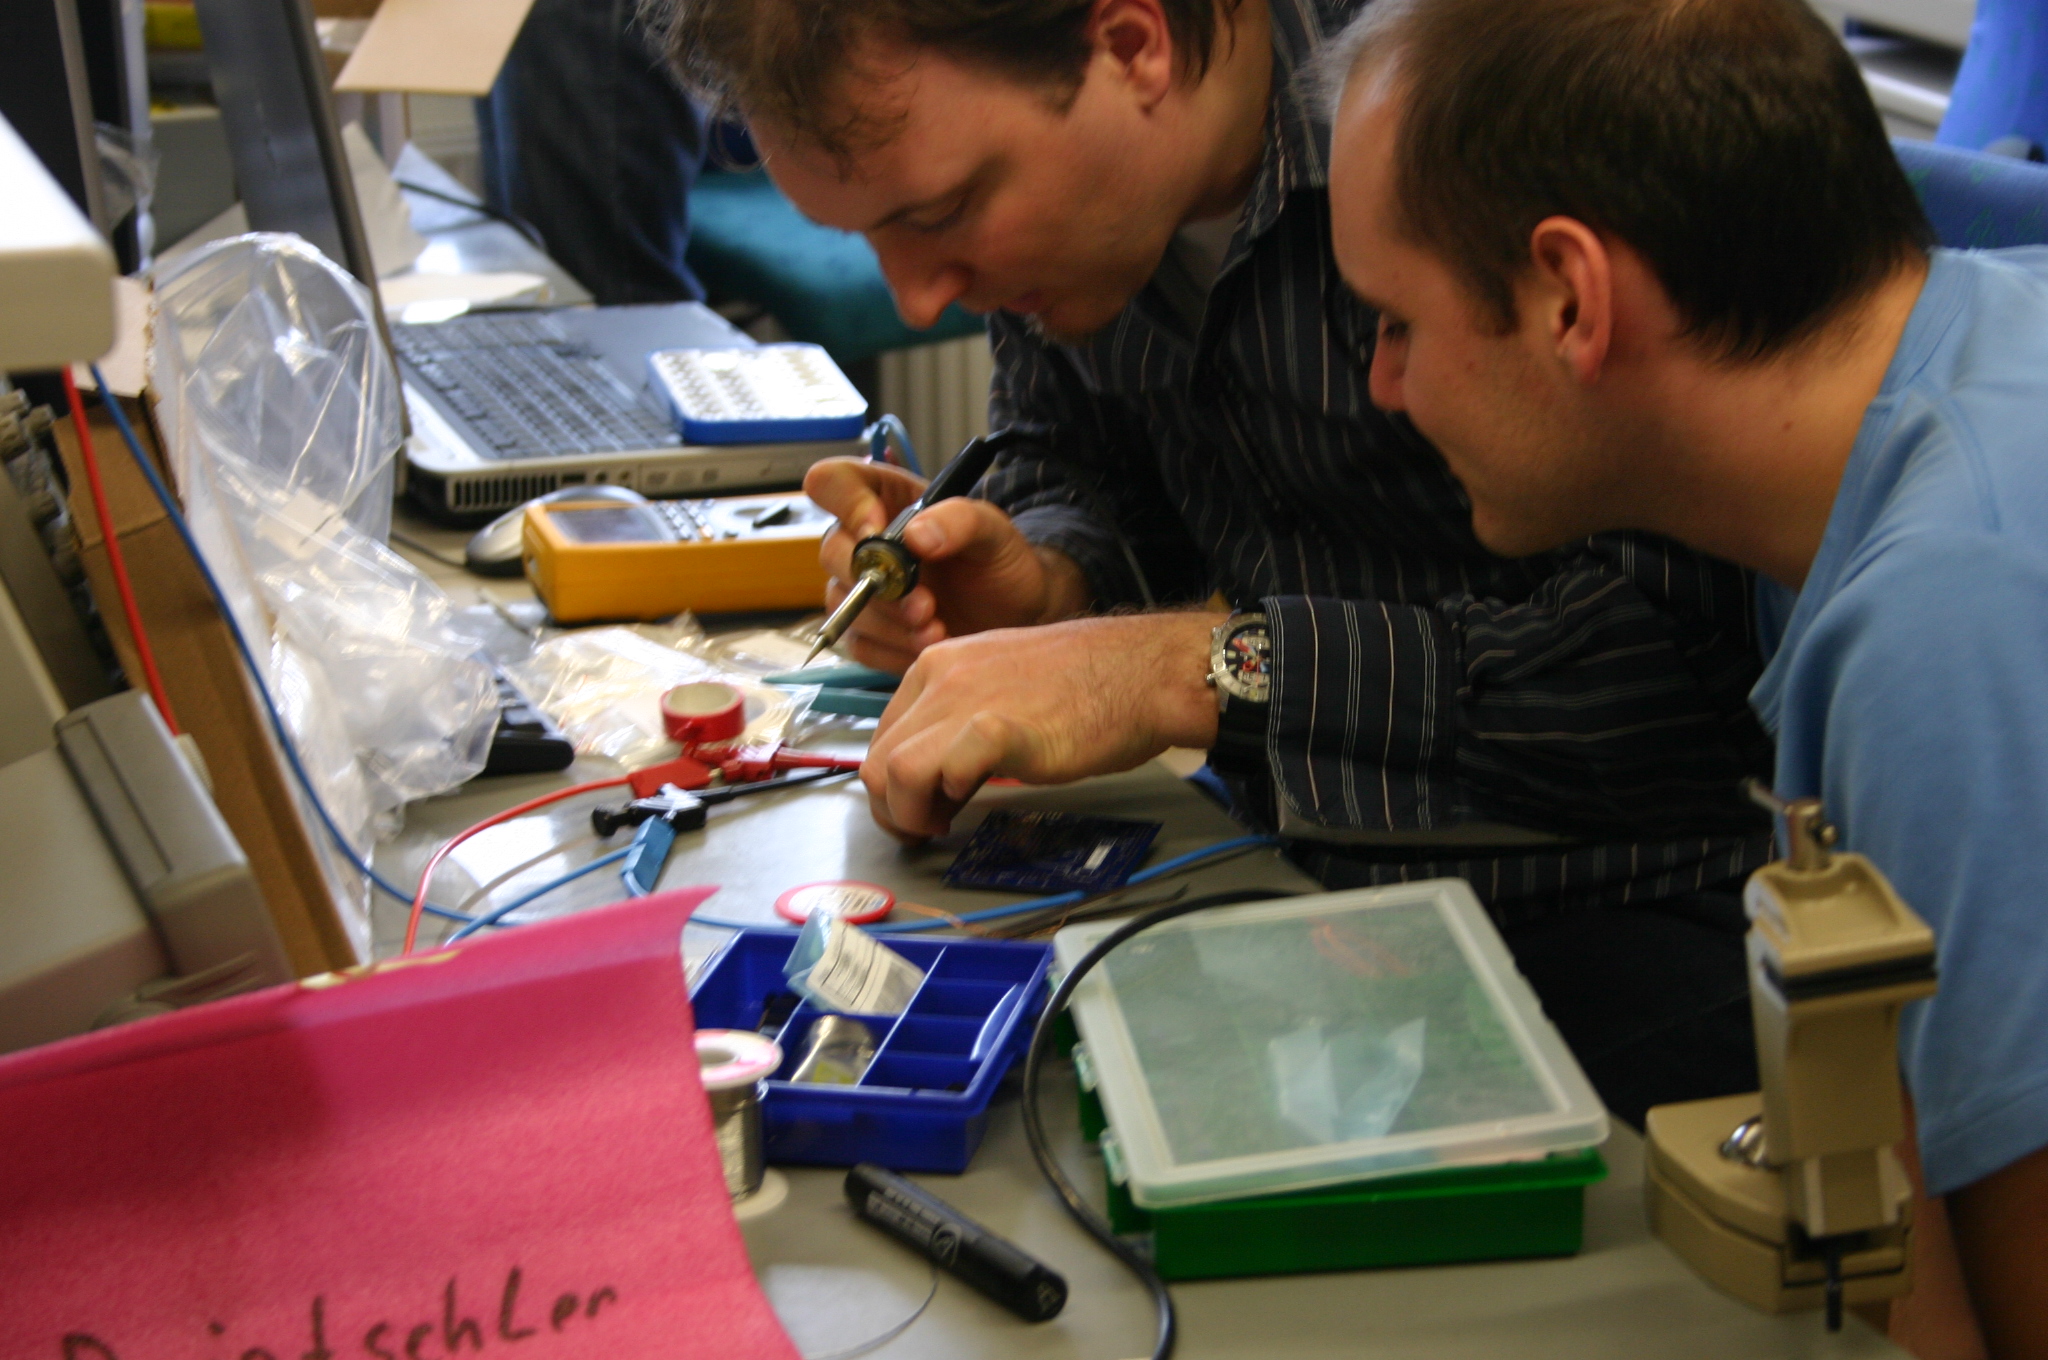
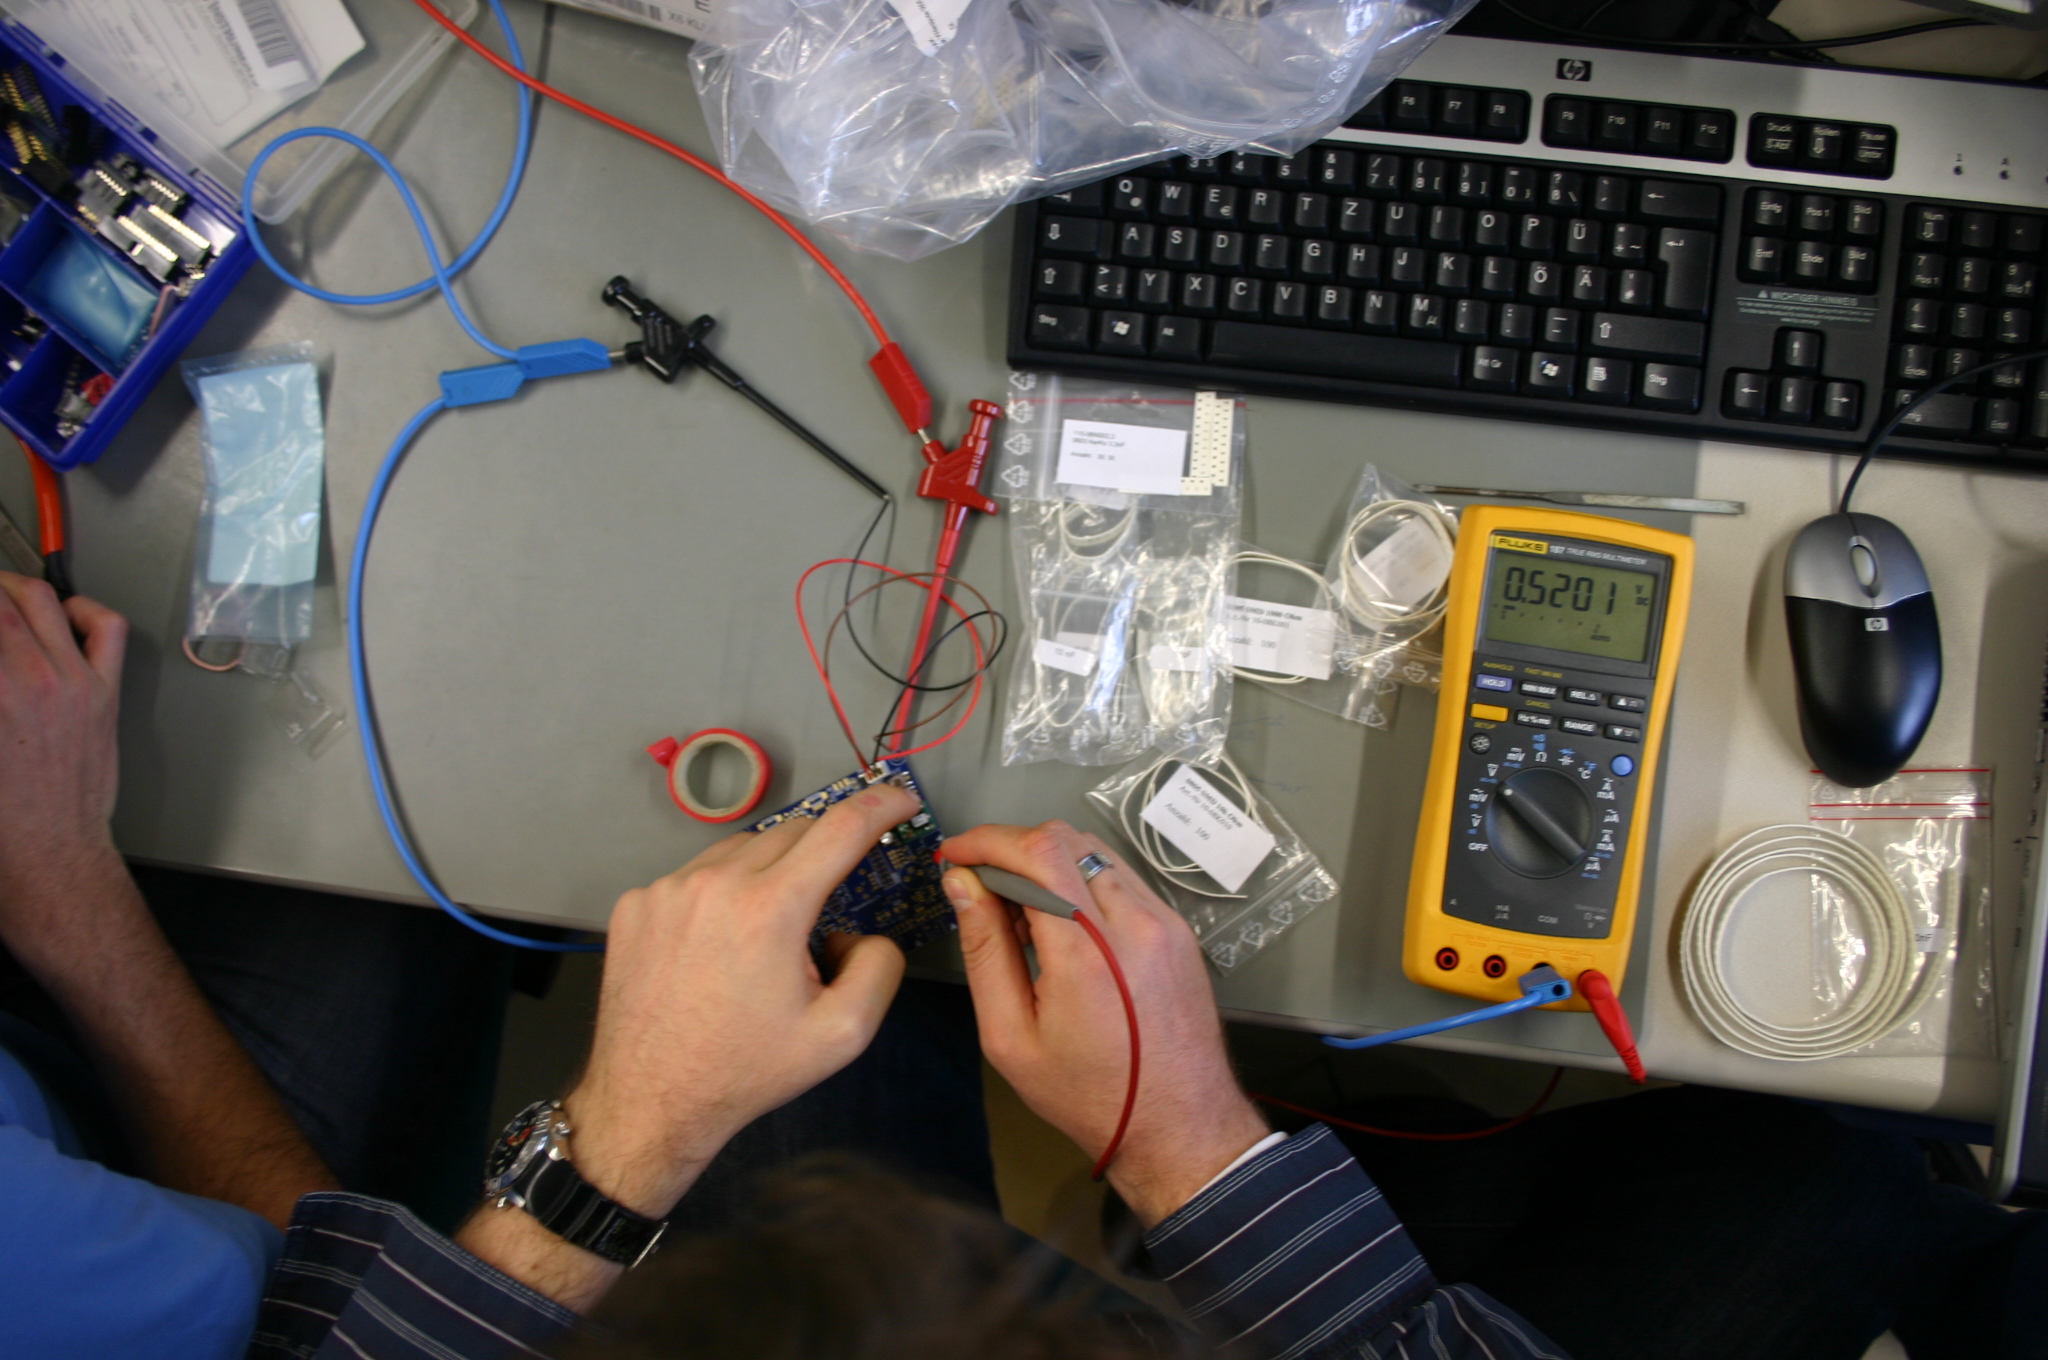
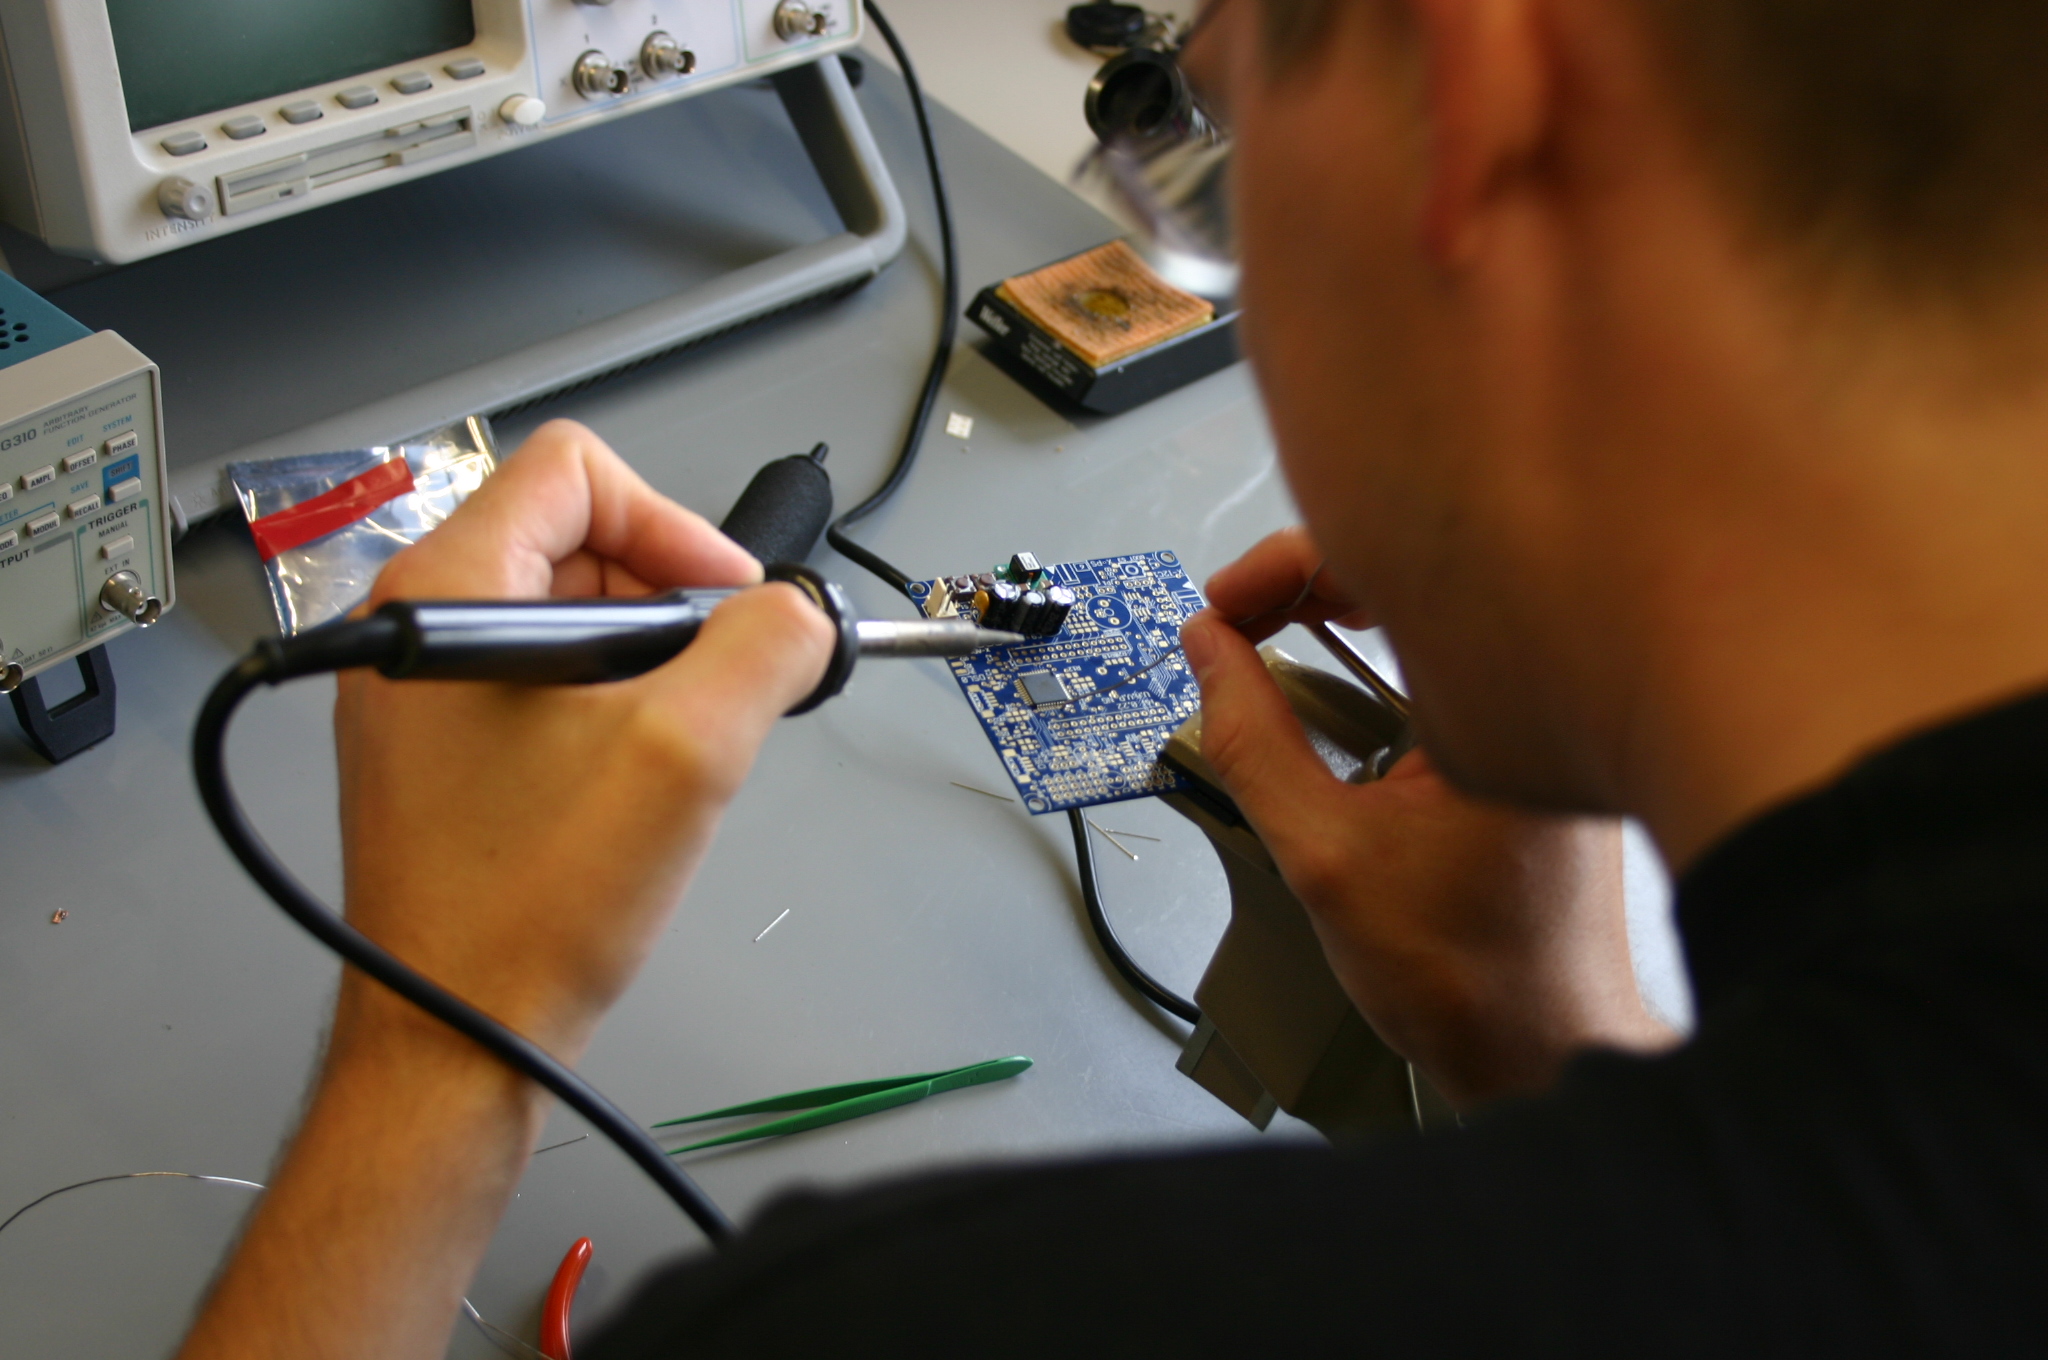
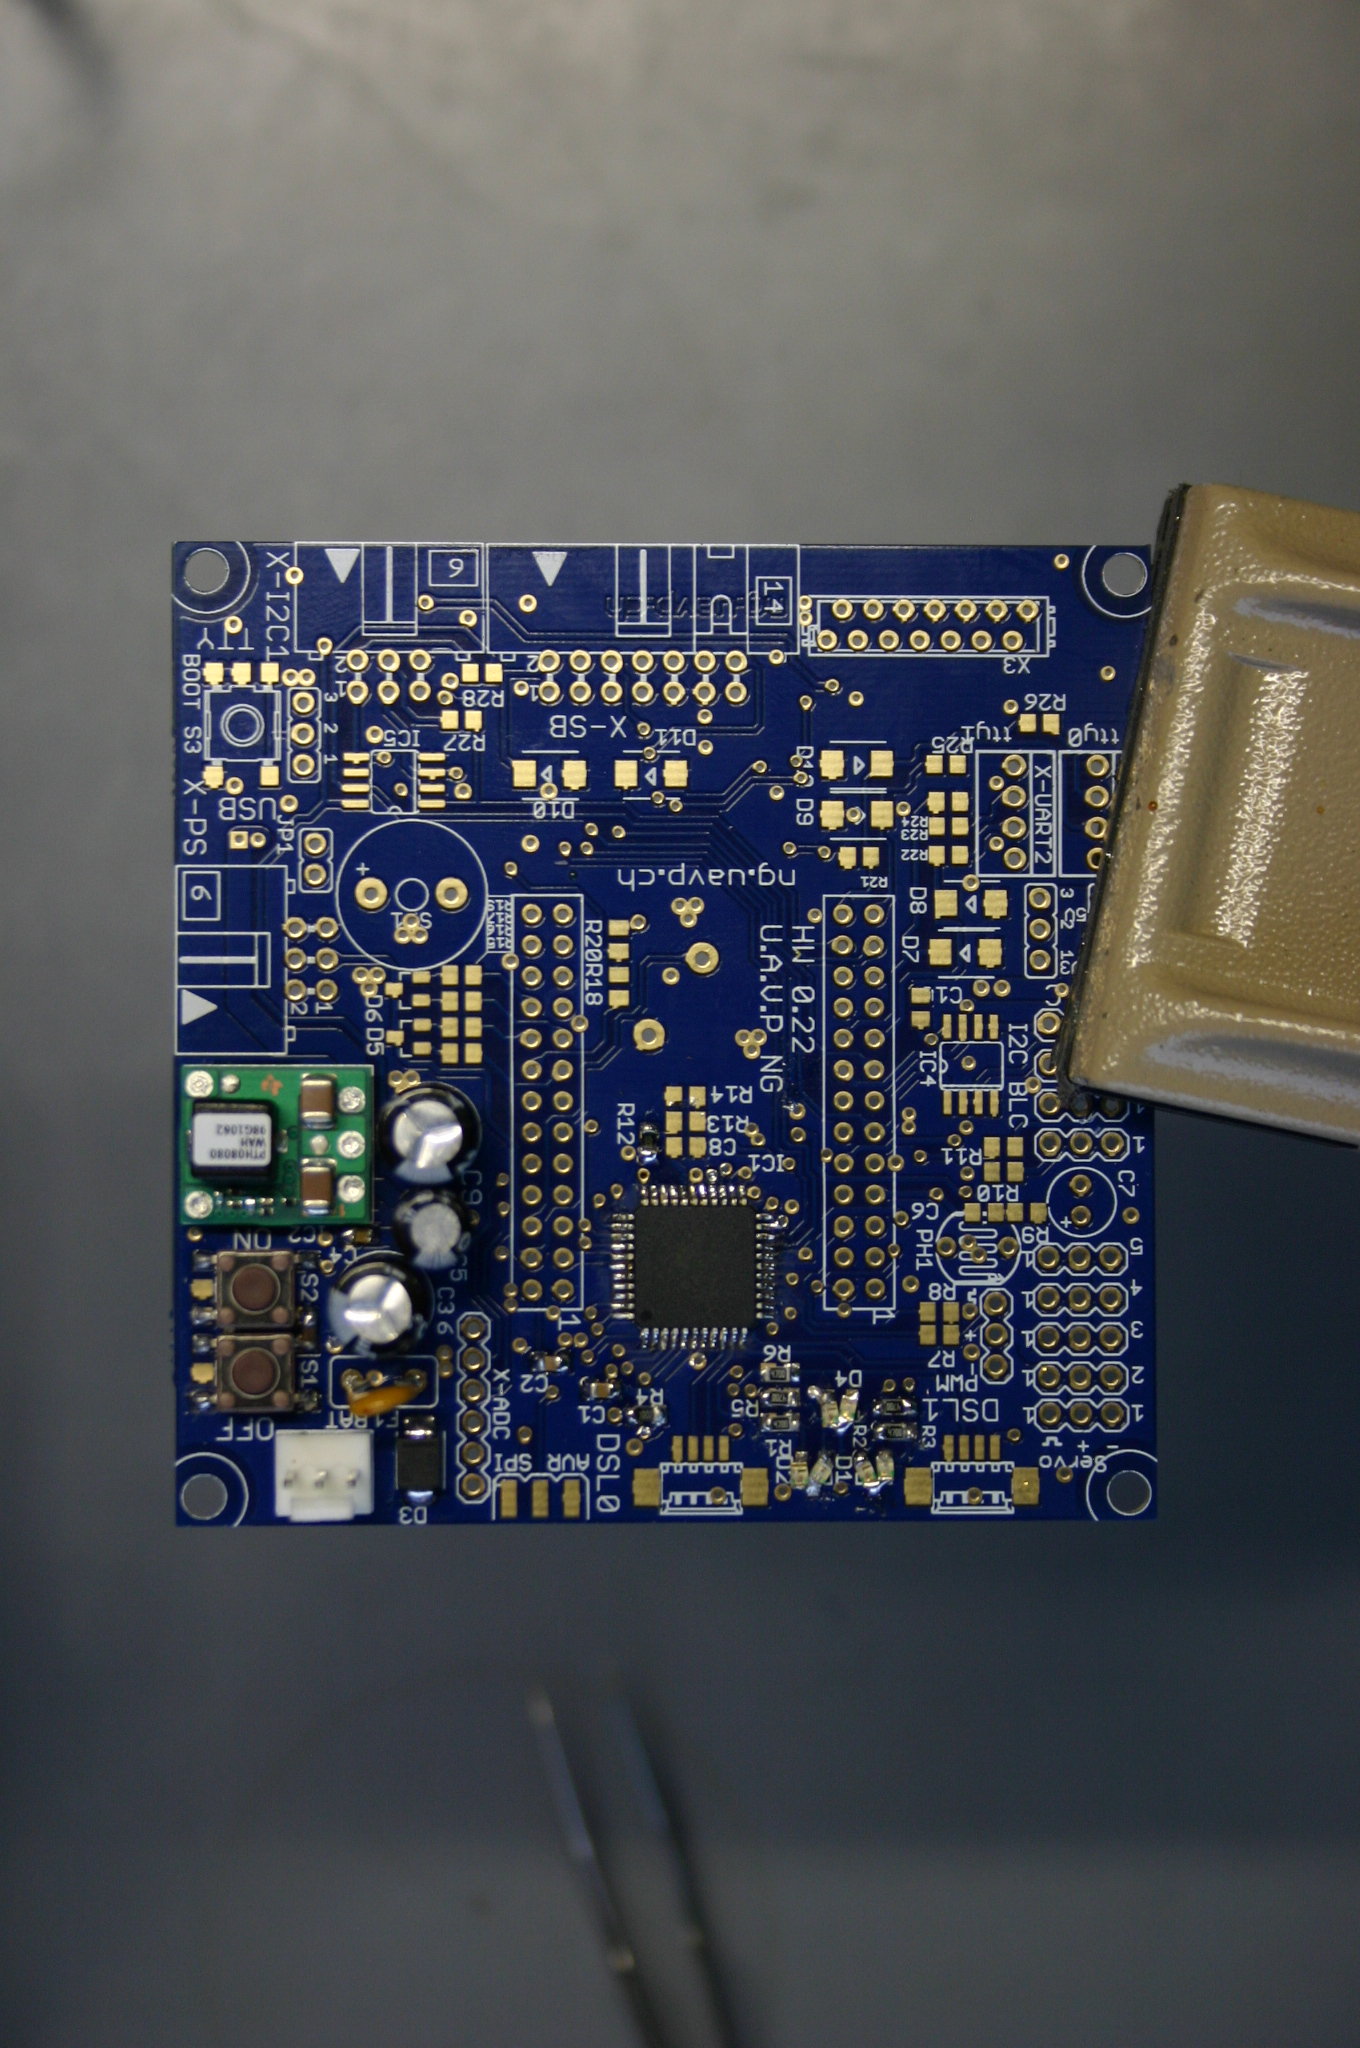
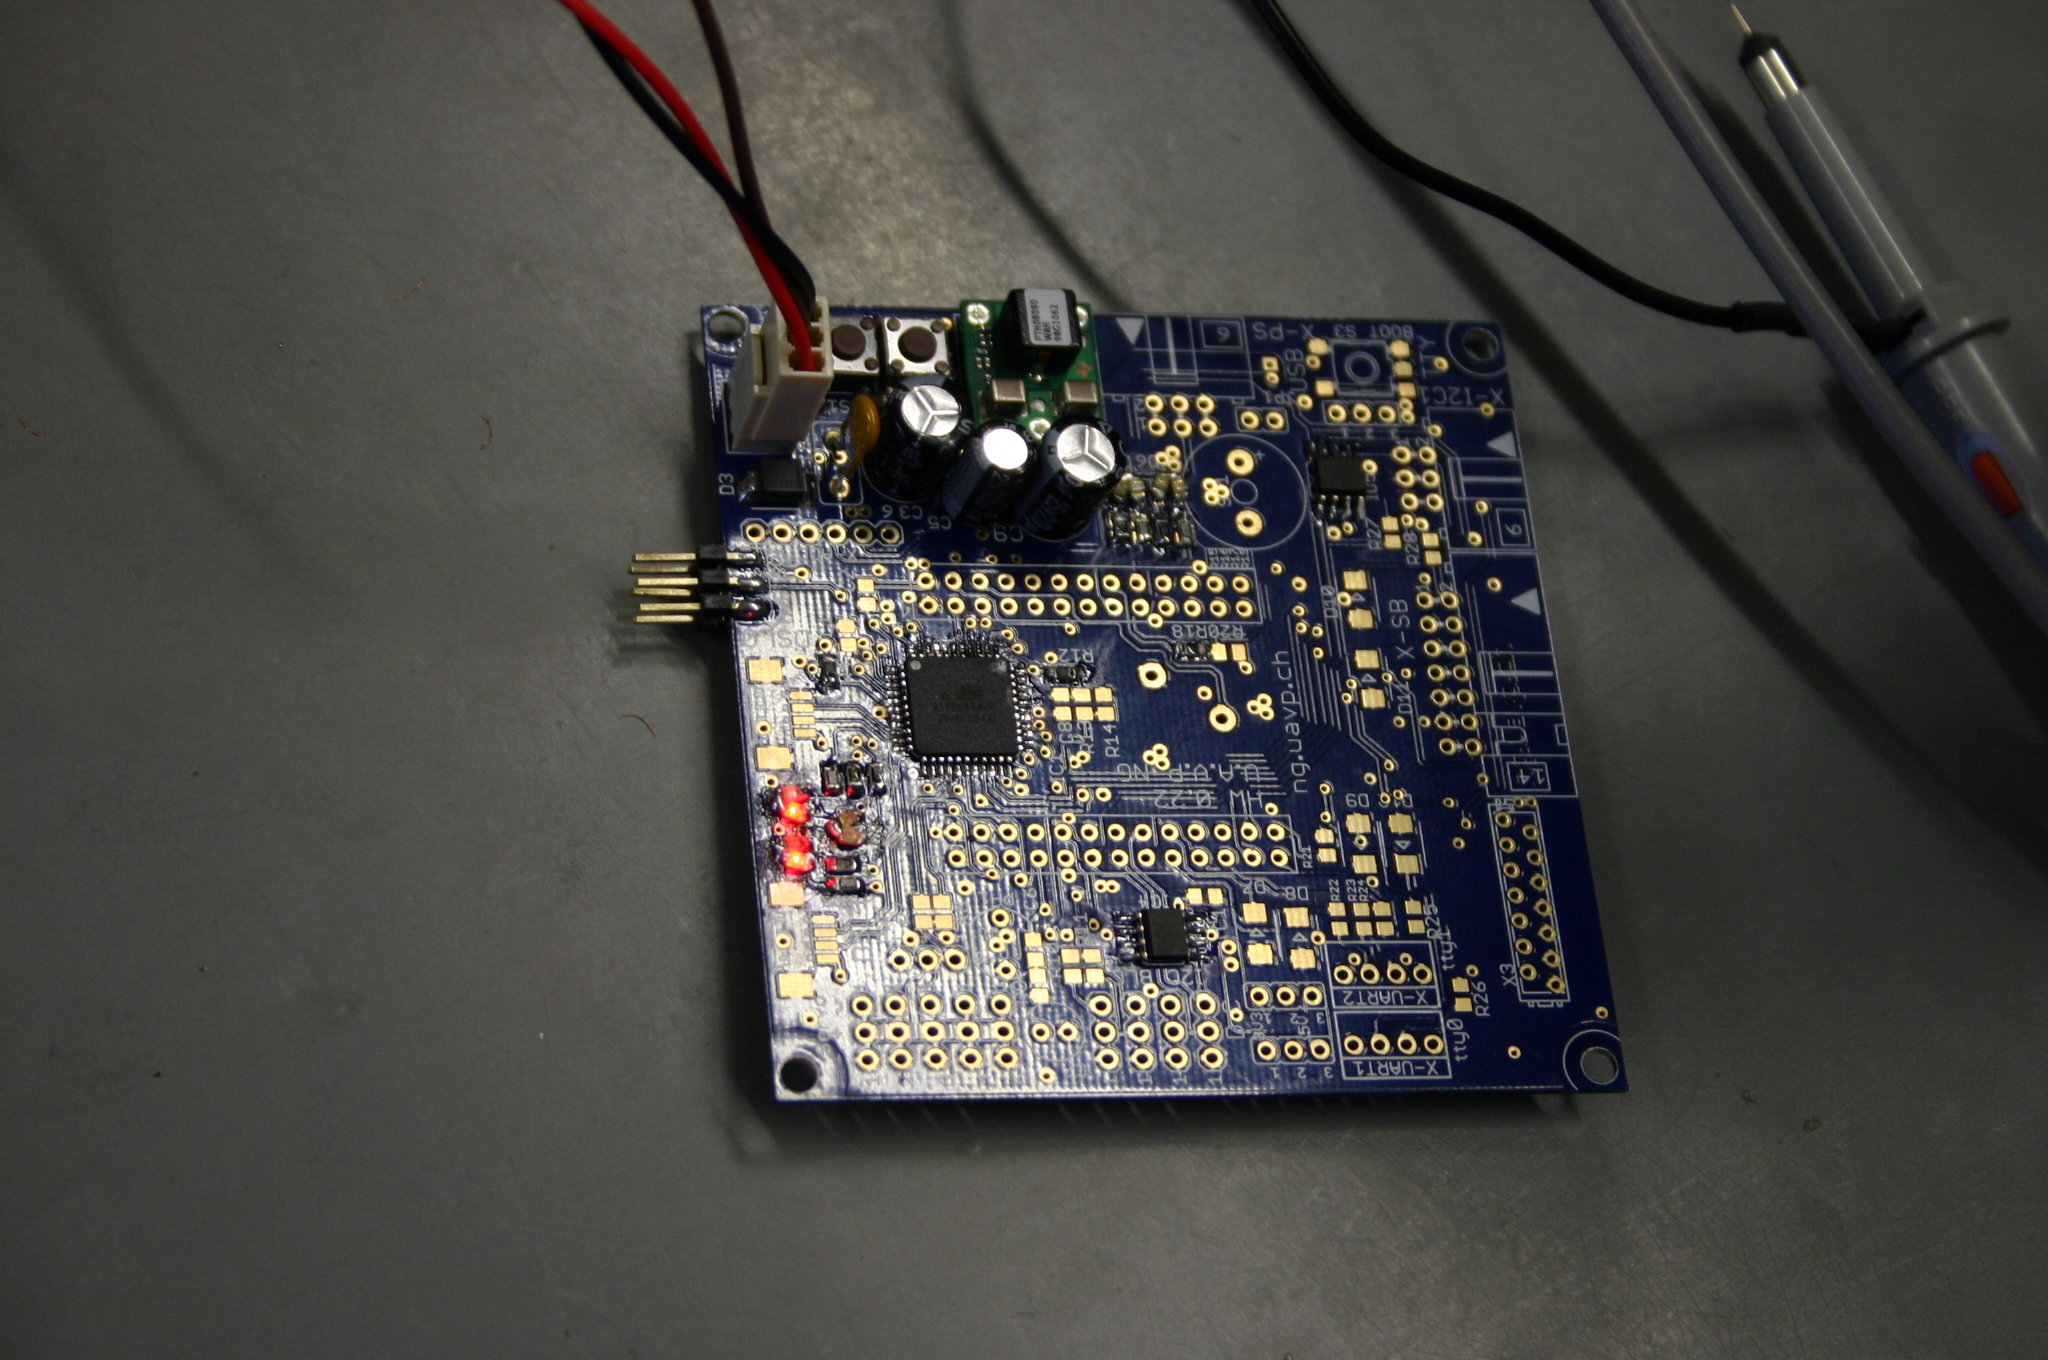
So here we are, some impression of our first workshop, students@work


Markus one of the students who are attending the workshop did a short fast motion video 🙂

[local /files/2010/05/Fim1Quadro.flv]

The Video has about 8Mb, so it could take some time to load.

MediaWiki Extension:Collection, no file after create pdf (or, fun with PHP upgrade)

Just played around with an extension for the MediaWiki wiki. Collection is the name of the devil :-). Installing was no problem but in the end when I requested the first .pdf I only got back a beautiful shiny white site. Of course some HTML tags were included, but no sign of the expected .pdf file. Hmm,… so I started my investigations.

The server OS is an Ubuntu Karmic with PHP 5.2.x and apache 2.2.x ……..

After an hour I found out that a bug/feature seems to prevent the wm-server to give back the generated lr =>pdf files. The NET suggest,… upgrade to PHP 5.3.  So if you have no clue, do what the NET suggests. But Ubuntu Karmic does not have PHP 5.3 as packages available. So, what to do…. I always wanted to do a dist-upgrade on an live system :-).

No sooner said than done! I fired up the upgrade.

 aptitude update
 aptitude install dpkg aptitude get
 aptitude install dpkg aptitude aptaptitude install dpkg aptitude apt
 aptitude safe-upgrade

…did do the trick. And you would not believe it, the MediaWiki extension started to work, and I got a new shiny Ubuntu Lucidy 10.04 LTS.

The story goes on.  The main webpage is powerd by a recent version of Typo3 and for some reason some Typo-Code is using functions which are marked as deprecated in PHP5.3.  A nice deprecated warning was now replacing our beautiful sites. Our webmaster won’t be amused :-).  No big deal you will think, just disable the corresponding error_reporting…

error_reporting = E_ALL & ~E_DEPRECATED

removing E_DEPRECATED did not solve my problem whether changing it in php.ini ,htaccess or in the startup code of Typo. So,… the site is down, and i have no clue what’s going on. Once more, I started up googling. After some time I found some posts concerning about Typo and that ii uses its own error handler, so changing the PHP-INI variables have no effect. lol, okay so where are this variables. As I am not an Typo expert I continued my googling session.

I don’t know why but but it took me “some” time to find this simple configuration flag where you can shut down the internal error handling  of  Typo.

$TYPO3_CONF_VARS[SYS]['displayErrors'] = 0;

Nice, now our Webmaster will be happy and me too 🙂

Trac, Watchlist plugin support for trac 0.12 microsecond feature

This is a patch for getting the WatchPlugin working with trac 0.12.

+++ ./plugin.py    Sat Apr 03 16:56:17 2010
@@ -26,6 +26,7 @@

 from  trac.env         import  IEnvironmentSetupParticipant
 from  trac.util        import  format_datetime, pretty_timedelta
+from trac.util.datefmt import  from_utimestamp, to_utimestamp
 from  trac.web.chrome  import  INavigationContributor
 from  trac.web.api     import  IRequestFilter, IRequestHandler, RequestDone
 from  trac.web.chrome  import  ITemplateProvider, add_ctxtnav, add_link, add_script, add_notice
@@ -38,6 +39,7 @@
 from  trac.wiki.model  import  WikiPage
 from  trac.ticket.model import Ticket

+
 __DB_VERSION__ = 3

 class WatchlistError(TracError):
@@ -347,9 +349,9 @@
 'name' : name,
 'author' : author,
 'version' : version,
-                        'datetime' : format_datetime( time ),
-                        'timedelta' : pretty_timedelta( time ),
-                        'timeline_link' : timeline_link( time ),
+                        'datetime' : from_utimestamp( time ),
+                        'timedelta' : pretty_timedelta( from_utimestamp(time) ),
+                        'timeline_link' : timeline_link( from_utimestamp(time) ),
 'comment' : comment,
 'notify'  : notify,
 })
@@ -426,9 +428,9 @@
 'author' : author,
 'commentnum': to_unicode(self.commentnum),
 'comment' : len(self.comment) <= 250 and self.comment or self.comment[:250] + '...',
-                        'datetime' : format_datetime( changetime ),
-                        'timedelta' : pretty_timedelta( changetime ),
-                        'timeline_link' : timeline_link( changetime ),
+                        'datetime' : from_utimestamp( changetime ),
+                        'timedelta' : pretty_timedelta( from_utimestamp( changetime ) ),
+                        'timeline_link' : timeline_link( from_utimestamp( changetime ) ),
 'changes' : changes,
 'summary' : summary,
 'notify'  : notify,

This patch applies to rev 7710, you can download the patch from trac-Hacks

Have fun 🙂