Category Archives: Programming

How to solve Android adb device not found errors

To get your newly build Apps down to your device you have to use the ADB (Android Debug Bridge). The common way to  make your device ready for playing is to download the USB driver package which is included in the SDK Manager.

But these drivers are only for a couple of common mobile devices, so what if you have an ARCHOS 8 like me…. you still getting stuck with a nice…. device not found ….

The first part is easy, Archos in my case, offers his own usb drivers .

After downloading the USB driver I got a shiny “Archos 7 ADB” item under “Android Phone” in my windows device manager. But what the hell,…. after restarting the ADB daemon,…. “ADB devices” was only showing annoying … device not found….   mannnn.

Hmm, google is your best friend :-)…… The solution is that the ADB daemon needs also your USB device vendor ID (VID)

If you cannot get it from your device vendor you may look under device manager -> device details -> hardware ID -> USB\VID_xxxx.

The VID for the adb should be placed in a file under {user home}/.android/adb_usb.ini.

Insert the VID in HEX notation {0x0e79}

If this file does not exist, just create it!

have fun

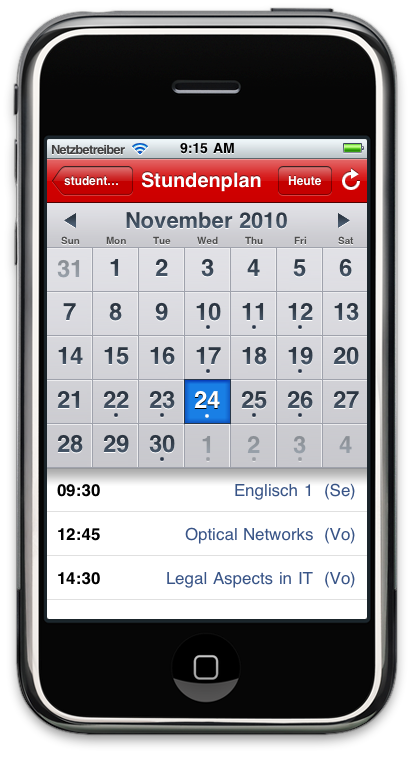
iPhone Apps III or ….hurray its a …. StudentsLife app


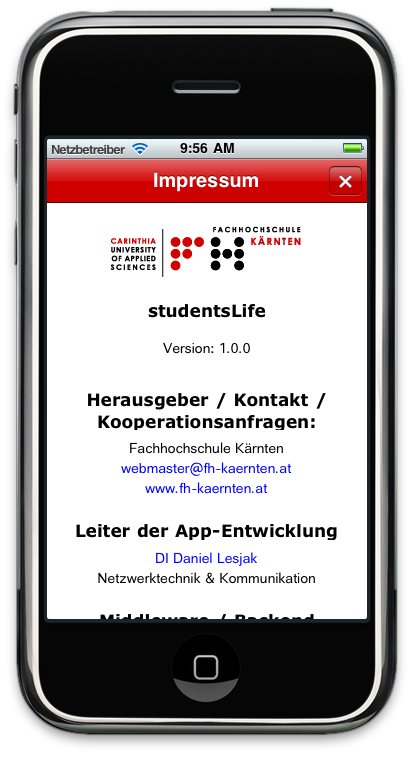
Let me introduce you our first iPhone app. called StudentsLife (v1.0.0) 🙂

StudentsLife is the must have iPhone Gadged for all Students of the FH-Kärnten.  … just try it out.

Our first release can be tested at the fair BeSt in Klagenfurt.

Get it at the App-Store

…. to cut to the chase …..

The Feature set :

  • your personal timetable
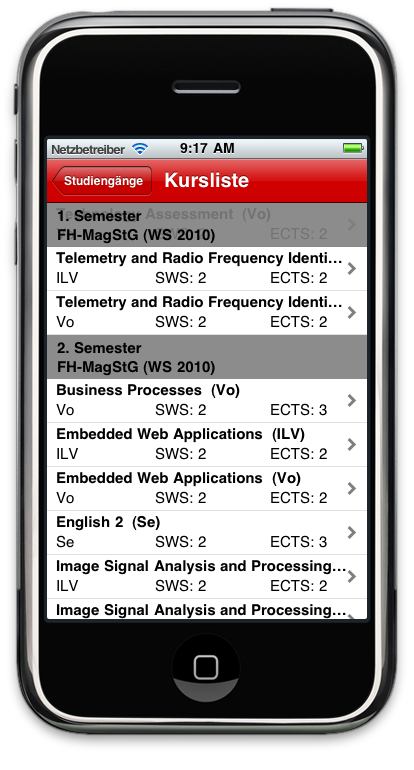
  • detailed course overview
  • news ticker
  • university contact list
  • course overview
  • location based service
    • amenities
    • current party locations
    • study locations
    • locations every student should know of 🙂
  • personal list of grades

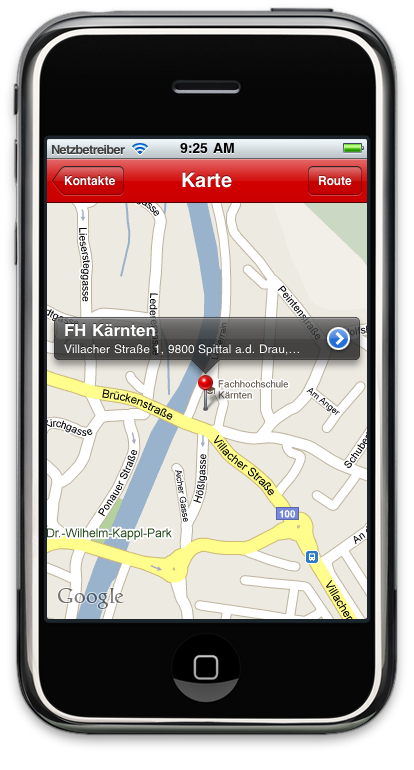
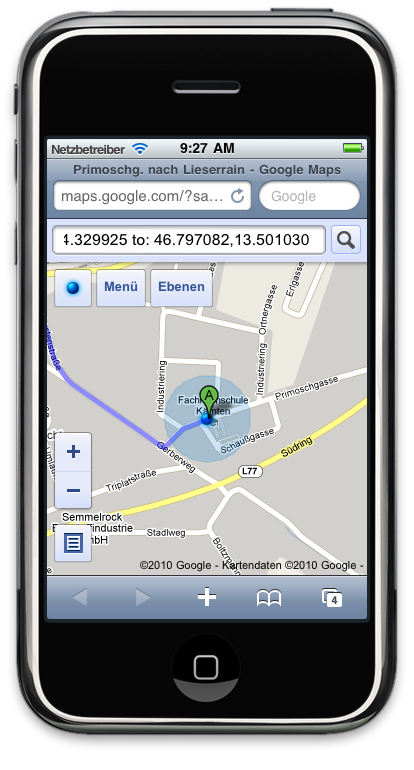
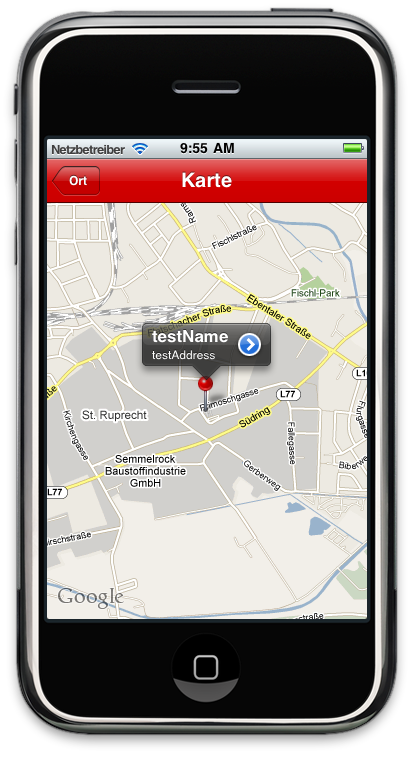
But take a look for yourself….


And … Daniel big thx for your hard work!!!! 🙂

By the way, we are also working on an Android version…. so stay tuned…

Phytec 8564-RTC I²C interface library used in interrupt driven env.

A few posts before I wrote about about the project “Campus Door System “. In our real time environment part of the project we are using the miniMODUL-167 which is equipt with an RTC-8583.

For I²C  < -> RTC interfacing we are using sources which can be downloaded from the Phytec ftp servers. For the whole project we have been using this source without problems 🙂

After rolling out the system to one of our customers a few weeks later the system suddenly stopped, only a reset could clear the situation. Our in-house systems have never shown this kind of symptoms. So what the hell was going on?

After some days I found out that the problem might be located on the RTC part. After the crash the RTC delivers such funny things like 56 h 78 m 99 s , lol, ok so the RTC counters only compare for equals thats for sure :-). But what part of our code is setting the RTC  ?

To make it short, the problem was a combination of our system architecture and the way the used I²C library is working.

Because the I²C library has a low level layer which is responsible for generating the bit pattern of the I²C data, this part of the code is prone to wrong designed interrupt architecture.

Sample of the low level I²C:

/****************************************************************************/
/* sends one bit to I2C-bus, also used for sending ACKNOWLEDGE condition    */

void I2CSendBit(BYTE State) {
// I2CDelay();
   I2CPutSCL(0);                       /* setup SCL (redundant)             */
// I2CDelay();
   I2CPutSDA(State);                   /* setup SDA                         */
// I2CDelay();
   I2CPutSCL(1);                       /* enable SDA writing                */

// I2CDelay();                         /* let SCL get stabilized High       */

   while(!I2CGetSCL());                /* wait until SCL-line is released   */

// I2CDelay();
   I2CPutSCL(0);                       /* disable SDA writing (SDA is now   */
                                       /* clocked)                          */
// I2CDelay();
   I2CPutSDA(1);                       /* release SDA */
}

/****************************************************************************/
/* set SCL-line to desired state                                            */

void I2CPutSCL(BYTE State)
{
 if(!State)
 {
 I2C_PORT &= ~I2C_SCL_MSK;             /* set SCL-Line to ZERO                */
#ifdef __C166__
 I2C_PORT_DIR |= I2C_SCL_MSK;     /* set SCL-Pin for OUTPUT Mode        */
#endif
 /* enable output AFTER setting of    */
 /* correct level to avoid '1'-level  */
 /* spikes                            */
 }
 else
 {
#ifdef __C166__
 I2C_PORT_DIR &= ~I2C_SCL_MSK;    /* set SCL-Pin for INPUT Mode        */
#endif
 /* this is possible because of the   */
 /* external pull-up resistor !       */
 /* set SCL-line to ONE               */
 I2C_PORT |= I2C_SCL_MSK;
 }
}

/****************************************************************************/
/* read state of  SCL-line                                                  */
/* WARNING: This function should be used only if SCL-line is in High-level !*/
/* (This function is for used only for realizing the Slow-Down-Mode)        */

BYTE I2CGetSCL(void)
{
 #ifdef __C166__
 I2C_PORT_DIR &= ~I2C_SCL_MSK;            /* set SCL-Pin for INPUT Mode        */
 #endif

 if(I2C_PORT&I2C_SCL_MSK)
 return(1);                               /* read SCL-line status              */
 else
 return(0);
}

This is exactly what happend. In-house we have only a certain amount of readers connected to the external buses of the access system. But our customer has over 100 readers installed. So the interrupt load was at a level where the situation could arise that at the moment where the I²C bit pattern is generated a few interrupts suspended the pattern generation. This leads in the worst case to a write instead of a read flag 🙂

A quick fix was to globally disable interrupts in I²C write situations or a better solution would be to move the accourding code to a high priojority interrupt.

I’m also writing this because some of my colleagues also use this lib – and yes they also do not read manuals 🙂

have fun

Mario

IPhone programming part I

Yes it happened, I have started to program the iStuff!

The initial burn came from one of my fellow workers who wants to have a mobile application based information system for our campus.

As of now iPhone/iPad programming will also become one of our course topics @Medical Information Technology 🙂

First Step, get the tools.

What do you need for developing:

First of all you need a  Mac OSX . (Snow Leopard preferably). The rumor says there is a chance to get it run under VMware, well, see for your self and read the apple OS license stuff 🙂

The next step is to get an IDE to program your applications. The IDE for programming iStuff is named XCode. XCode offers you all the needed tools to configure, manage, code, compile, debug, simulate and upload your applications to a device.

OK, but where do you get the goodies? Although XCode is free of charge you can not download it on the fly. Yes, you work with apple stuff and apple thinks different. Before you can download your development utils you have to register a developer account at apple. Go ahead -> iPhone Deveoper Center.

You can choose between 5 developer programs -> developer programs comparison link.

As you can see from the comparison chart you have to pay if you want to deploy your application to a physical device.

But we are lucky, for our first steps on iPhone developing we do not really need a hardware. XCode comes with an iPhone simulator. To write and run apps on the simulator you only have to be registered as developer! A registered developer can download the IDE but he cannot create certificates nor provisioning profiles. – But who wants that, … yet 🙂

OK, now we are a registered iPhone Dev., have installed our Xcode IDE + SDK, what next?… Next we have to learn Objective-C (ObjC). what…… C … no problem.

How to write your first application with ObjC and what are the essential parts in the iPhone SDK will be discussed in Part II. stay tuned,…

Have fun!

Ninject, the first contact.

So what’s Ninject.  Ninject is a lightweight dependency injection framework for .NET applications. … and what is it good for (absolutely nothing?)? Ehm, not at all!

The simplest use case would be following scenario:

For example your design declares a singleton class. Normally you would code something like that:

 public sealed class TheManager
{
    static TheManager instance=null;
    static readonly object padlock = new object();

    TheManager()
    {
    }

    public static TheManager Instance
    {
        get
        {
            lock (padlock)
            {
                if (instance==null)
                {
                    instance = new TheManager();
                }
                return instance;
            }
        }
    }
}

Then you would get an instance of TheManager like that:

 TheManager myManager = TheManager.Instance()

Okay, now we will use Ninject for our singleton pattern.
If you use Ninject you need not to add code for locking down your class to achieve a singleton behavior. You only have to tell Ninject that the class type should be tied to some implementation, in our example to itself. Furthermore, you have to setup  the – what they call – Activation Behavior. In our Example it is,….  yes the InSingletonScope.

Ninject distinguishes between 4 (build-in) scopes:

Transient .InTransientScope() A new instance of the type will be created each time one is requested. (This is the default scope)
Singleton .InSingletonScope() Only a single instance of the type will be created, and the same instance will be returned for each subsequent request.
Thread .InThreadScope() One instance of the type will be created per thread.
Request .InRequestScope() One instance of the type will be created per web request, and will be destroyed when the request ends.

The first step would be to create a new NinjectModule which will hold the bindings.

public class MainModule : NinjectModule
{
 public override void Load()
 {
   Bind<TheManager>().ToSelf().InSingletonScope();
 }
}

Our TheManager class looks like that:

 public class TheManager
{
    public TheManager()
    {

    }
    public  DoManage()
    {
        System.Console.WriteLine("Resistance is futile");
    }
}

Now we can use our TheManager class as a singleton.

The simplest use would be if you ask the Ninject kernel for the TheManager class

 class Program
  {
    static void Main(string[] args)
    {
      IKernel kernel = new StandardKernel(new MainModule());
      TheManager myManager = kernel.Get<TheManager>();
    }
}

Whenever you call the Ninject kernel for the TheManager type implementation you will get a reference to the same instance.

But Ninjects magic can do a lot more cooler stuff for you.

Let’s suppose you have another class TheBoss which should use TheManager. And you want that if you instantiate the TheBoss it should automatically have a TheManager.

Then you could use the [Inject] Attribut. Whenever you use this Attribut Ninject will search his binding “tables” for an implementation which suits to the request context respectively to the bindings.

For example you can use the  Property Injection feature. Here we annotate the myManager property with [Inject] . So if we create an instance of  TheBoss we also get myManager automatically resolved.

 public class TheBoss
{
    [Inject]
    TheManager myManager { get; set;}

    public TheBoss()
    {
    }
}